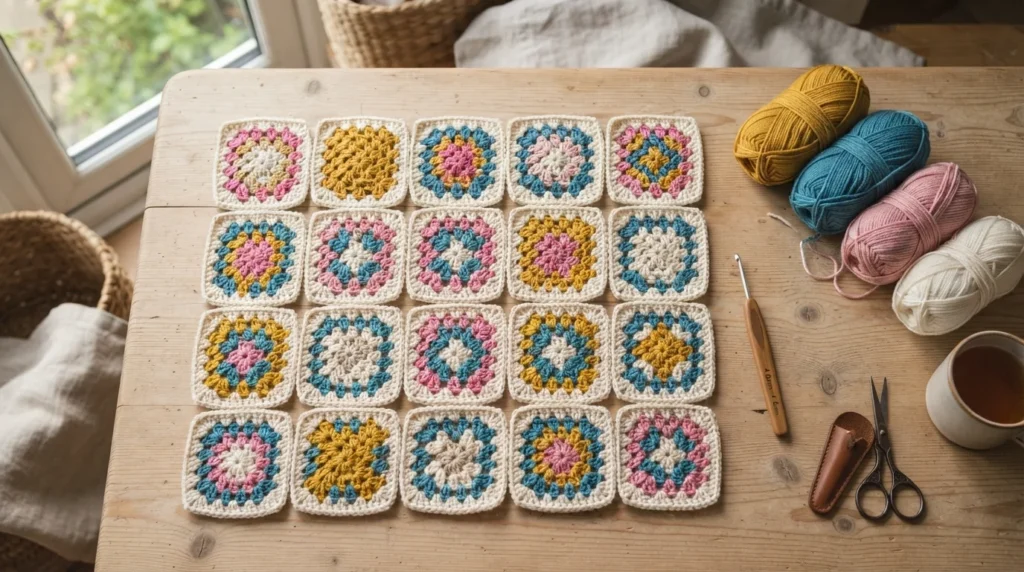
There’s something almost magical about the granny square. One small piece of yarn, a hook, and a few rounds later, you’re holding a colorful little square that could become a blanket, a bag, or a cozy cardigan. If you’ve ever wanted to learn crochet, this is the perfect place to begin.
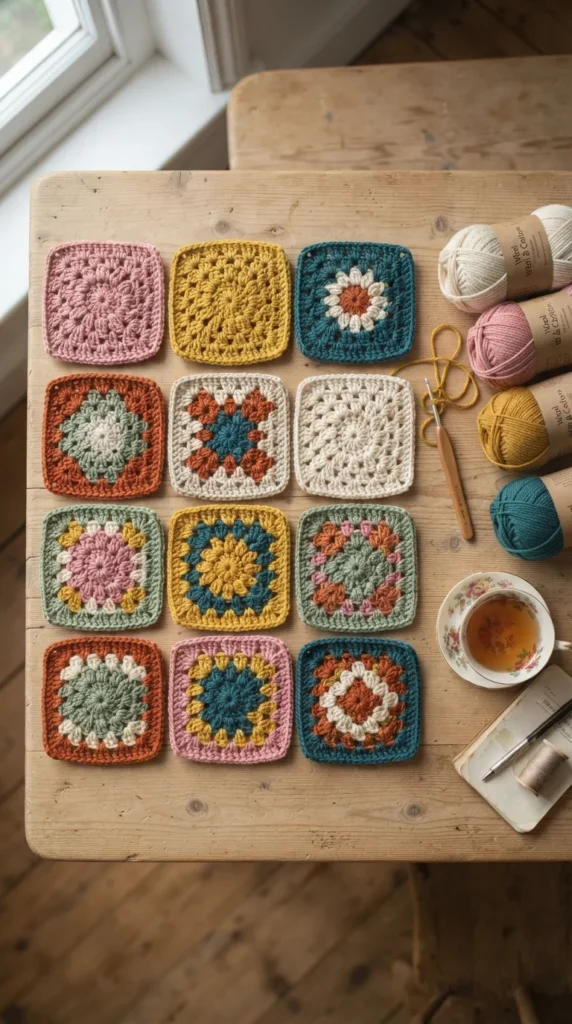
The best part? You only need to know two stitches. Let’s get hooking!
What You’ll Need
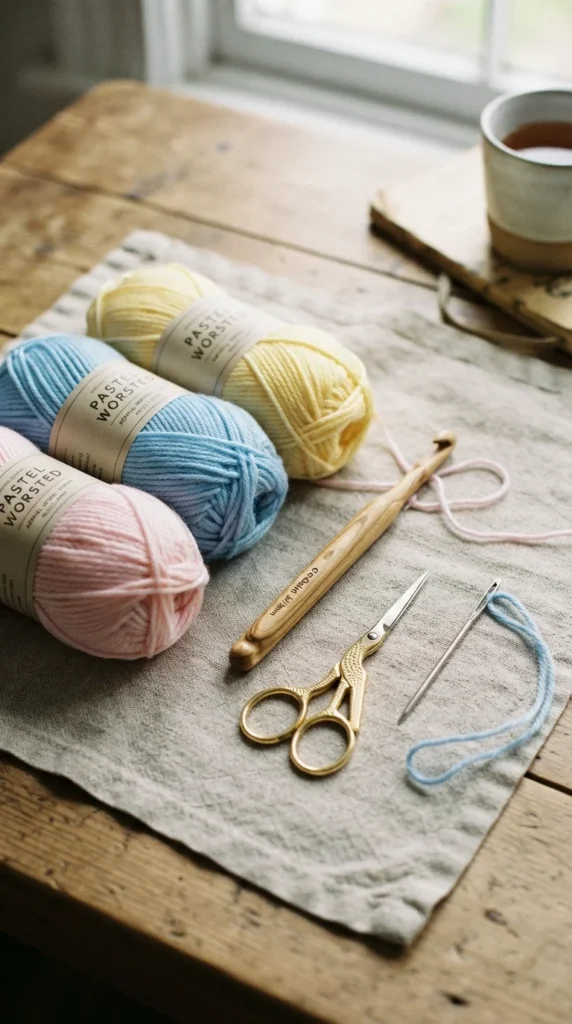
Keep it simple. Here’s your starter kit:
- Worsted weight yarn in 2 to 4 colors (cotton or acrylic both work beautifully)
- A 5 mm (H-8) crochet hook
- Scissors
- A yarn needle for weaving in ends
Tip: Choose light-colored yarn for your first square. It’s much easier to see your stitches!
Stitches to Know
This pattern uses just a few basics:
- Chain (ch): the foundation of nearly every crochet project
- Slip stitch (sl st): used to join rounds
- Double crochet (dc): the star stitch of the granny square
Here’s a quick refresher on the double crochet: yarn over, insert your hook into the stitch, yarn over and pull through (3 loops on hook), yarn over and pull through 2 loops, then yarn over and pull through the last 2 loops. That’s it!
Step-by-Step Granny Square Pattern
Round 1: Start the Center
- Chain 4, then join with a slip stitch to the first chain to form a ring.
- Chain 3 (this counts as your first double crochet).
- Work 2 dc into the ring.
- Chain 2 to create your first corner.
- Work 3 dc into the ring, then chain 2. Repeat this two more times.
- Join with a slip stitch to the top of the starting chain-3.
You should now have four little clusters of 3 dc with four corner spaces. Congratulations, you’ve made the heart of your square!
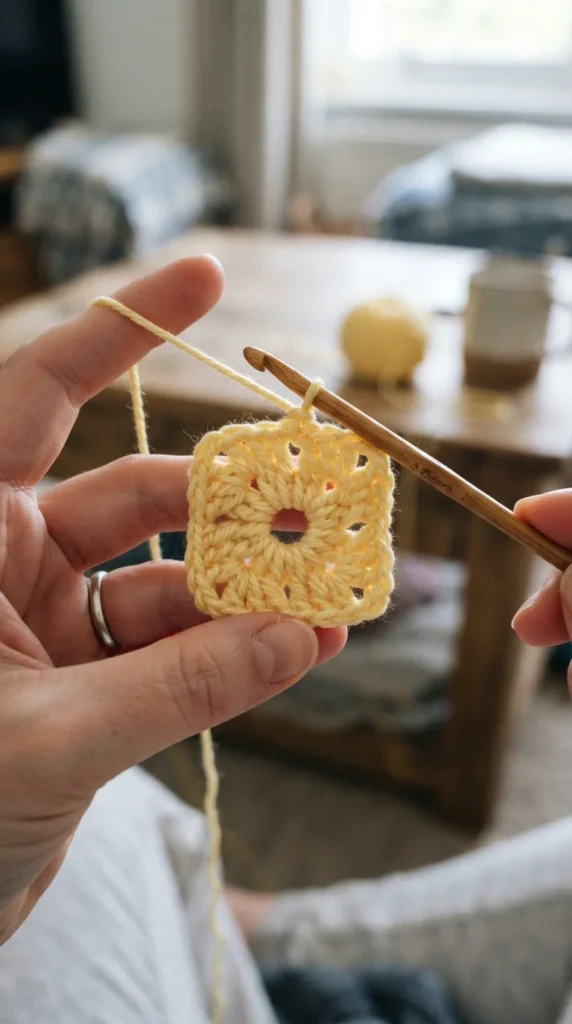
Round 2: Build the Corners
- Slip stitch across the next 2 dc and into the first corner space.
- Chain 3, then work 2 dc in the same corner space.
- Chain 2, then work 3 dc in that same corner space. You’ve just made your first corner!
- Chain 1 and move to the next corner space.
- Repeat this pattern in each corner: (3 dc, ch 2, 3 dc), ch 1.
- Join with a slip stitch to the top of the starting chain-3.
Color change tip: Switching colors here gives that classic, vintage granny look. Simply finish your join, cut the yarn, and start the new color in any corner space.
Round 3 and Beyond: Grow Your Square
Each new round follows the same rhythm:
- Work (3 dc, ch 2, 3 dc) in each corner space.
- Work 3 dc in each chain-1 space along the sides.
- Chain 1 between each group.
- Join and fasten off when your square reaches your desired size.
Most people make 4 to 6 rounds for a standard 6-inch square.
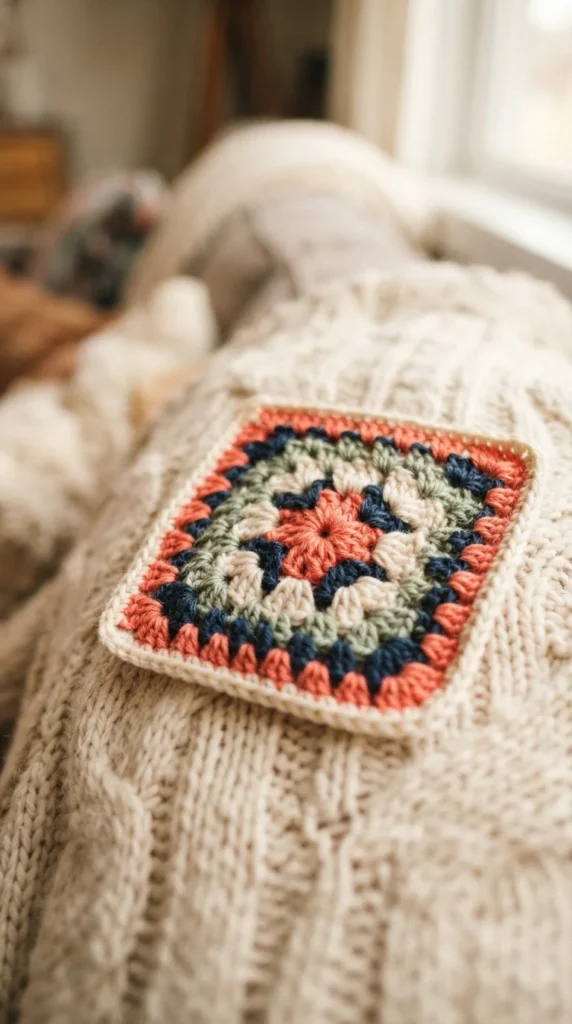
Finishing Touches
Don’t skip this part, it makes your square look professional!
- Fasten off by cutting your yarn, leaving a 6-inch tail.
- Pull the tail through the last loop.
- Use your yarn needle to weave the ends into the stitches.
- Gently block your square by misting it with water and pinning it flat to dry.
Common Mistakes (and Easy Fixes)
- Square looks wavy? You may have too many stitches in the corners. Recount your clusters.
- Edges curling? Try going up one hook size.
- Lost track of your corner? Look for the chain-2 spaces. They’re your guide.
- Square looks lopsided? Check that you’re turning or joining consistently each round.
Remember, every crocheter has frogged (ripped out) rounds. It’s part of the process!
What to Make With Your Granny Squares
Once you’ve mastered one square, the possibilities explode:
- A cozy patchwork blanket
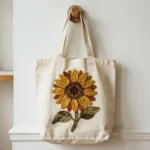
- A boho market tote bag
- Coasters or dishcloths
- A vintage-style vest or cardigan
- A colorful pillow cover
Making a small stack of squares each week is a relaxing, budget-friendly way to build a bigger project over time.

Final Thoughts
The granny square is proof that simple can be beautiful. With just a few stitches and a little patience, you’ve learned a classic that crocheters have loved for generations.

Lily Summers is a digital artist and creative storyteller who loves bringing colorful characters to life. With a passion for cartoons, fan art, and playful sketches, she inspires others to explore their imagination through art. When she’s not sketching, you’ll find her dreaming up new ideas for CraftedWizard.com to spark creativity in every artist. 🌈✨