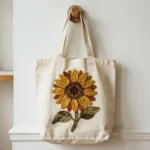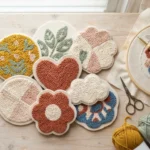

Have you ever seen those adorable textured rugs, colorful wall hangings, and cozy handmade cushions on Pinterest and wondered how people make them? The secret might be punch needle embroidery! This beginner-friendly craft is surprisingly easy to learn, even if you have never picked up an embroidery tool before.
Punch needle is a relaxing way to turn simple yarn and fabric into beautiful, fluffy designs. With just a few basic supplies and a little practice, you can create everything from cute floral decorations to personalized home accessories. The best part? You don’t need advanced sewing skills or expensive equipment to get started.
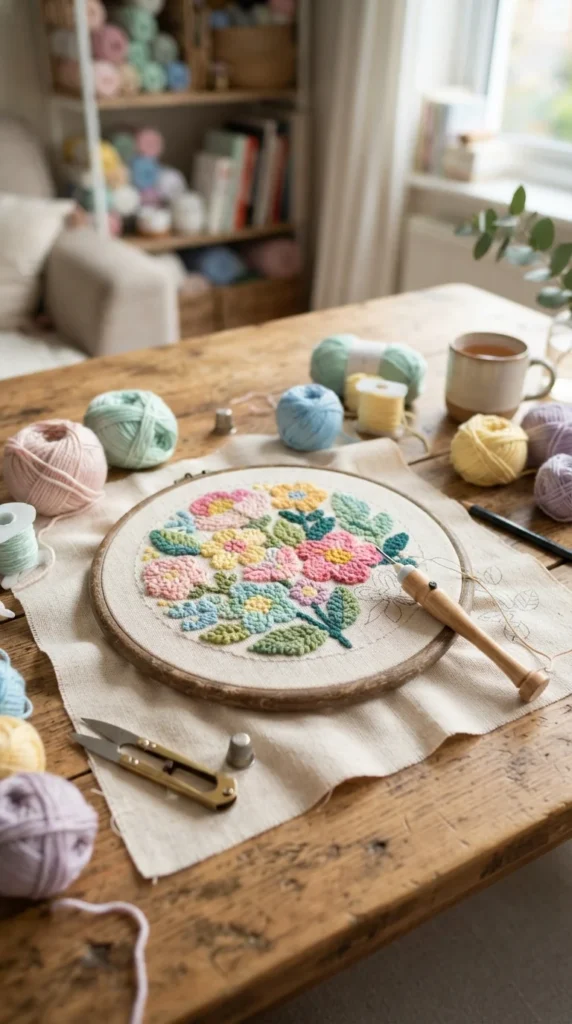
Let’s walk through everything you need to know to complete your first punch needle project!
Step 1: Gather Your Punch Needle Supplies
Before starting, collect a few essential materials. Having everything ready makes the process much easier and helps you avoid unnecessary interruptions.
Here is what you’ll need:
- Punch needle tool: Choose an adjustable beginner-friendly needle that works with your yarn thickness.
- Embroidery fabric: Monk’s cloth is a popular choice because its loose weave allows the needle to pass through easily.
- Yarn: Select soft acrylic, cotton, or wool yarn in your favorite colors.
- Embroidery hoop or frame: This keeps your fabric stretched tightly while you work.
- Embroidery scissors: Use sharp scissors to trim loose yarn ends.
- Design template: Start with a simple shape, flower, heart, or geometric pattern.
For your first project, avoid complicated designs with too many tiny details. Simple patterns are easier to follow and help you understand how the technique works.

Step 2: Choose and Transfer Your Design
Now comes the fun part: choosing what you want to create!
For beginners, simple designs with bold outlines and larger sections work best. Consider trying:
- A small flower with colorful petals.
- A cute smiling sun.
- A simple rainbow.
- A heart-shaped decoration.
- A minimal geometric pattern.
Once you’ve selected your design, transfer it onto your fabric using a washable fabric marker or another suitable marking tool.
Keep the pattern relatively simple and make sure the lines are visible enough to follow while stitching.
One important tip: Remember that your punch needle design will usually appear on the opposite side of the fabric from where you’re working. If your pattern includes letters or directional details, account for this before transferring it.
Step 3: Secure Your Fabric in the Hoop
Proper fabric tension is one of the most important parts of punch needle embroidery.
Place your fabric inside the embroidery hoop or frame and pull it evenly until it feels tight, almost like a drum. Loose fabric can cause stitches to slip out, making your project frustrating.
Before moving forward, check that:
- The fabric is stretched evenly.
- There are no wrinkles or loose sections.
- Your design is positioned comfortably within the hoop.
- The fabric stays secure when gently touched.
If you’re using monk’s cloth, make sure the weave is suitable for your particular punch needle size.

Step 4: Thread Your Punch Needle
Threading your punch needle might seem a little tricky at first, but once you understand the process, it becomes much easier.
Most punch needle tools come with a small threading wire or threader.
Follow these general steps:
- Push the threading wire through the hollow needle shaft.
- Insert your yarn through the wire loop.
- Pull the wire back through the needle, bringing the yarn with it.
- Pass the yarn through the small opening near the needle tip.
- Leave a short yarn tail hanging from the tip.
Make sure the yarn moves freely through the tool. If it gets stuck or feels too tight, your stitches may not form correctly.
Always follow your punch needle manufacturer’s threading instructions because different tools have slightly different designs.
Step 5: Start Punching Your First Stitches
You’re finally ready to create your design!
Hold the punch needle comfortably, with the beveled side of the needle facing in the direction recommended by the manufacturer. Push the needle straight through the fabric until the handle or depth setting reaches the fabric surface.
Then gently lift the needle just enough for its tip to clear the fabric without pulling it completely away. Move forward a short distance and punch again.
Continue repeating this motion.
A few beginner-friendly tips will make a big difference:
- Keep the needle tip close to the fabric while moving between stitches.
- Avoid lifting the needle too high.
- Don’t pull the yarn tightly.
- Maintain consistent spacing between stitches.
- Keep enough slack in the yarn so it feeds smoothly.
If your stitches keep coming loose, check your fabric tension, yarn compatibility, and needle movement.

Step 6: Fill Your Design With Color
Once you’re comfortable with the basic punching motion, start filling in your pattern.
Work through one section at a time, following the outlines of your design. You can change yarn colors whenever you reach a new section.
For a beautiful result:
- Use contrasting colors to make different shapes stand out.
- Keep your stitches evenly spaced.
- Check the back occasionally to ensure your loops are forming correctly.
- Avoid overcrowding small sections.
Remember that punch needle creates two different textures. One side has soft, raised loops, while the other side has flatter, more embroidered-looking stitches.
You can choose which side you prefer to display depending on your design and the look you want.
Step 7: Finish and Display Your Project
When your design is complete, carefully remove the fabric from the hoop.
Trim any loose yarn ends, but avoid cutting the actual loops. If you’re making a decorative piece, you can apply a suitable fabric backing to help secure the stitches. Follow the adhesive manufacturer’s instructions and allow everything to dry completely.
You can also:
- Add a felt backing for a polished finish.
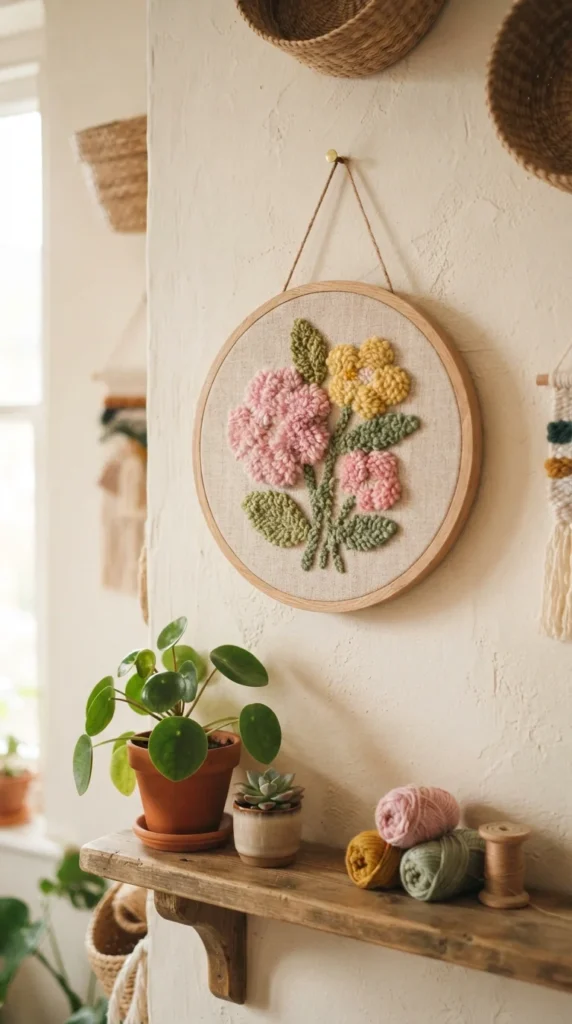
- Turn your design into a small wall hanging.
- Make a decorative cushion cover.
- Frame your finished artwork.
- Create a handmade gift for someone special.
Helpful Punch Needle Tips for Beginners
Before starting your next project, keep these simple tips in mind:
- Practice first: Try a few rows of stitches on spare fabric before beginning your main design.
- Choose compatible supplies: Your needle, yarn, and fabric must work together.
- Maintain fabric tension: Tight fabric helps create consistent stitches.
- Be patient: Uneven stitches are completely normal when you’re learning.
- Experiment with textures: Try different yarn thicknesses and loop heights once you’re comfortable.
Don’t worry about making everything perfect. Small imperfections are part of learning a new handmade craft!
Start Your Punch Needle Journey Today!
Punch needle embroidery is an enjoyable way to explore your creativity while making beautiful handmade decorations. With a few basic supplies, a simple pattern, and some practice, you can turn ordinary yarn into something truly special.
Start with a small flower, heart, or rainbow, and gradually experiment with more detailed designs as your confidence grows.
Ready to give it a try? Gather your supplies, choose your favorite colors, and start punching your first design.

Lily Summers is a digital artist and creative storyteller who loves bringing colorful characters to life. With a passion for cartoons, fan art, and playful sketches, she inspires others to explore their imagination through art. When she’s not sketching, you’ll find her dreaming up new ideas for CraftedWizard.com to spark creativity in every artist. 🌈✨