
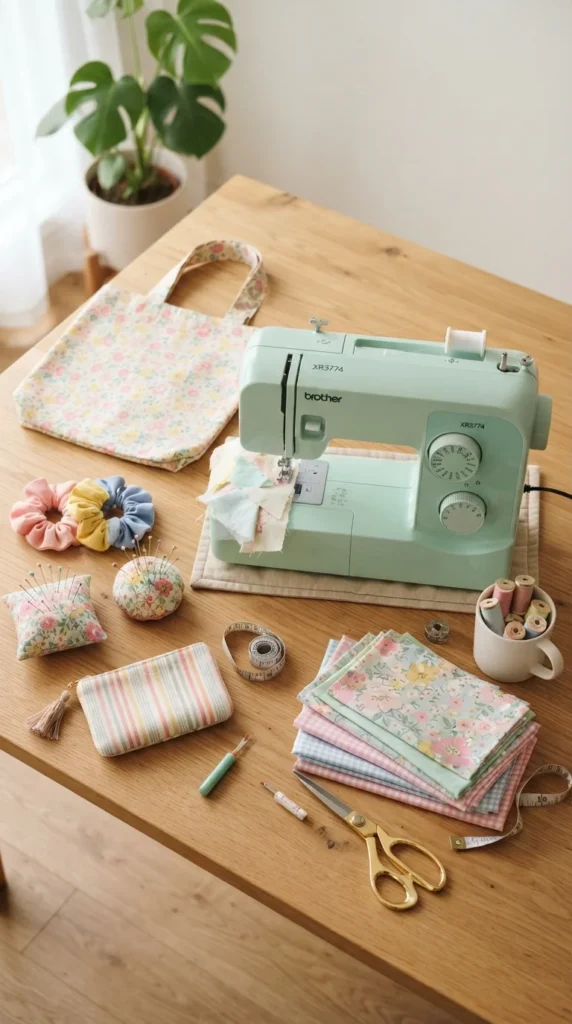
Learning to sew becomes much easier when you start with small projects you can finish in an afternoon. You don’t have to begin with complicated clothing or expensive equipment to learn useful skills. A few fabric scraps, basic sewing tools, and simple patterns can help you practice straight stitches, hems, seams, and other techniques while creating things you’ll actually use. These 22 beginner sewing projects range from quick accessories to practical home decorations, giving you plenty of ways to build confidence at your own pace. Pick a project that catches your eye, gather your supplies, and enjoy making something by hand.
1. Fabric Scrunchies
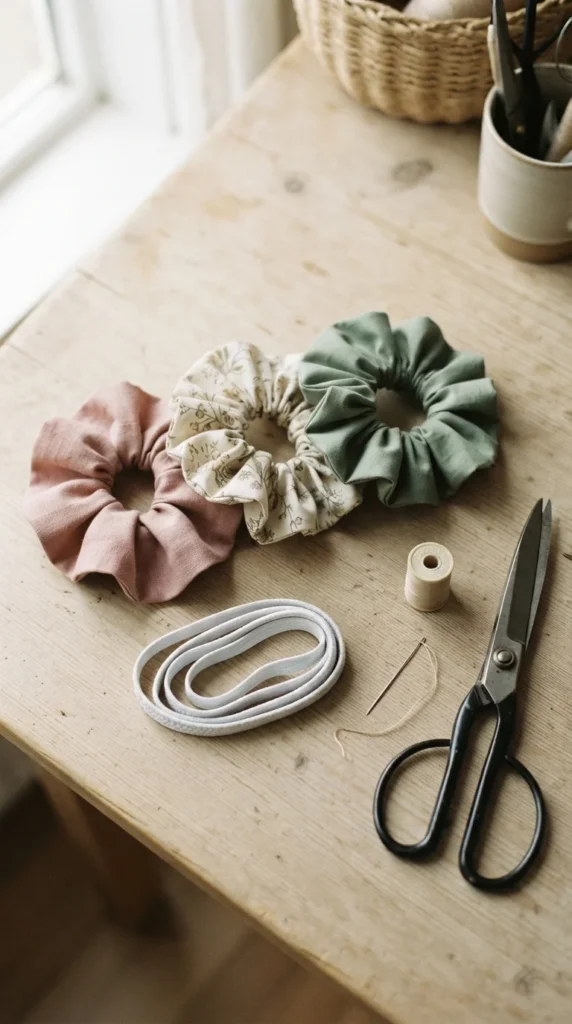
Fabric scrunchies are a wonderful starting point because they use a small amount of fabric and require only a few basic stitches. Choose cotton, satin, or leftover material from another project. Cut a rectangle approximately 20 inches long and 4 inches wide, adjusting the measurements for a fuller or slimmer scrunchie.
Fold the fabric lengthwise with the patterned sides facing each other. Sew along the long edge to create a tube, then turn it right side out. Thread a piece of elastic through the tube using a safety pin, tie or sew the elastic ends together, and close the opening with a few neat stitches.
The trickiest part is turning the narrow tube without damaging the fabric. A safety pin or turning tool makes this step easier. Keep the elastic snug enough to hold hair comfortably without pulling too tightly.
Make a matching set using different prints, or coordinate the scrunchies with your favorite outfits. This project teaches straight stitching, sewing a seam, and finishing an opening while producing a useful accessory.
2. Simple Fabric Tote Bag
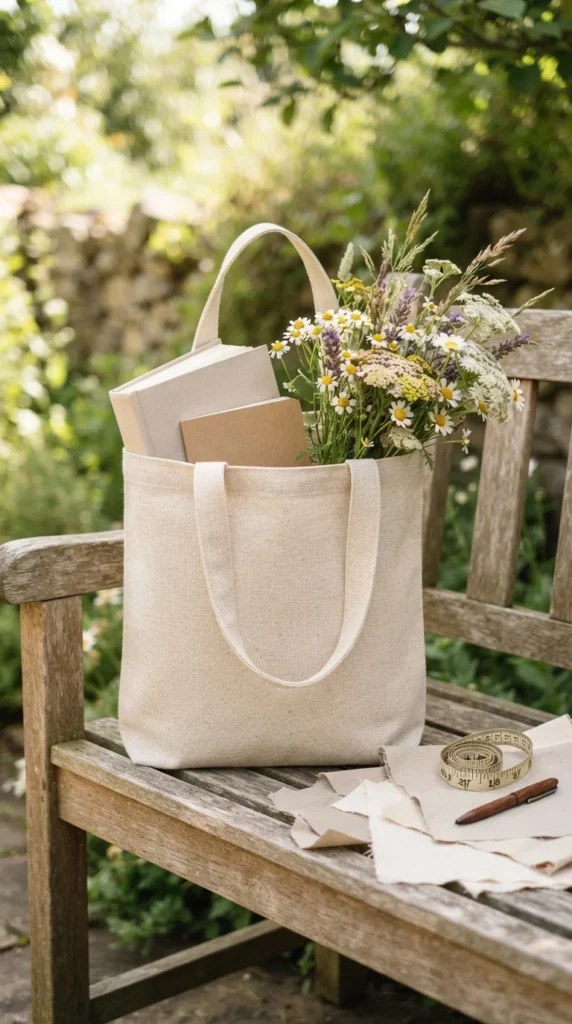
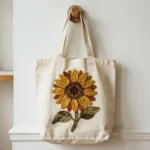
A basic tote bag is a practical way to learn how fabric pieces come together to form a useful item. Start with medium-weight cotton canvas or sturdy cotton fabric that doesn’t stretch much. Cut two matching rectangles for the bag body and two long strips for the handles.
Place the body pieces together with their patterned sides facing inward. Sew along both sides and the bottom, leaving the top open. Finish the raw edges with a zigzag stitch if your machine has that option. Fold the top edge inward twice, press it flat, and stitch around it to create a clean opening.
For the handles, fold each strip lengthwise, press the edges inward, and sew along both sides. Attach the handles evenly to the inside of the top edge, reinforcing the attachment points with a second row of stitching.
Start with a medium-sized bag rather than a large shopping tote. Smaller projects are easier to handle beneath the sewing machine’s presser foot. Once you understand the construction, you can experiment with pockets, contrasting handles, or a boxed bottom.
3. Reusable Fabric Gift Bags
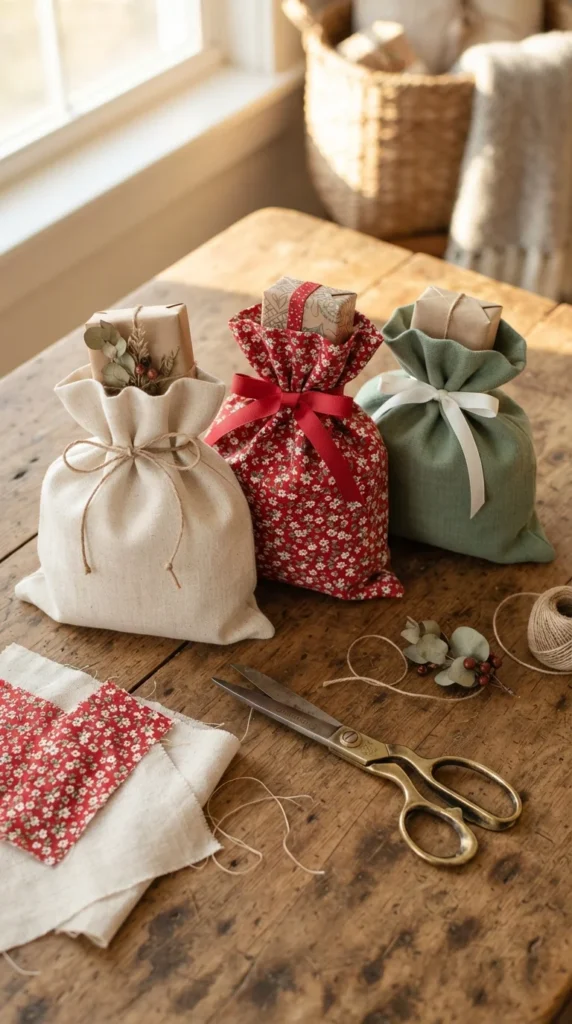
Reusable fabric gift bags make birthdays, holidays, and small celebrations feel more personal. They’re also a good way to practice sewing straight seams without worrying about complicated shapes. Lightweight cotton works well because it folds easily and comes in many attractive patterns.
Cut a rectangle of fabric, fold it in half with the patterned side inward, and sew along the side and bottom edges. Finish the upper edge by folding it over twice and stitching around the opening. You can leave the bag simple or add a fabric casing near the top for a drawstring.
To make the casing, fold the top edge down far enough to accommodate a ribbon or cord. Stitch around the folded section, leaving a small gap through which you can thread the drawstring. Attach a safety pin to the cord to guide it through the channel.
Try several sizes for jewelry, candles, homemade treats, or small presents. Larger bags work for books and clothing accessories. Washable fabric allows the recipient to reuse each bag for storage or another gift, making this a useful project for practicing seams and folded edges.
4. A Simple Fabric Bookmark

A fabric bookmark is small enough to finish quickly and offers an easy introduction to sewing two layers together. Choose cotton fabric with a print you love, then cut two narrow rectangles of equal size. A finished bookmark measuring about 2 by 7 inches works well for many books.
Place the pieces together with their patterned sides facing inward. Sew around the edges, leaving a small opening at one end. Trim the corners carefully without cutting through the stitches, then turn the bookmark right side out and gently push out the corners with a blunt tool.
Fold the raw edges of the opening inward and stitch it closed. Press the bookmark flat with an iron set to a temperature suitable for your fabric. You can add a short ribbon loop at one end or sew a decorative line around the border.
If you want a firmer bookmark, insert a thin layer of cotton batting before stitching. Keep it lightweight so it doesn’t strain the book’s binding. This little project helps you practice corner finishing, topstitching, and controlling small pieces of fabric.
5. Reusable Fabric Bowl Covers
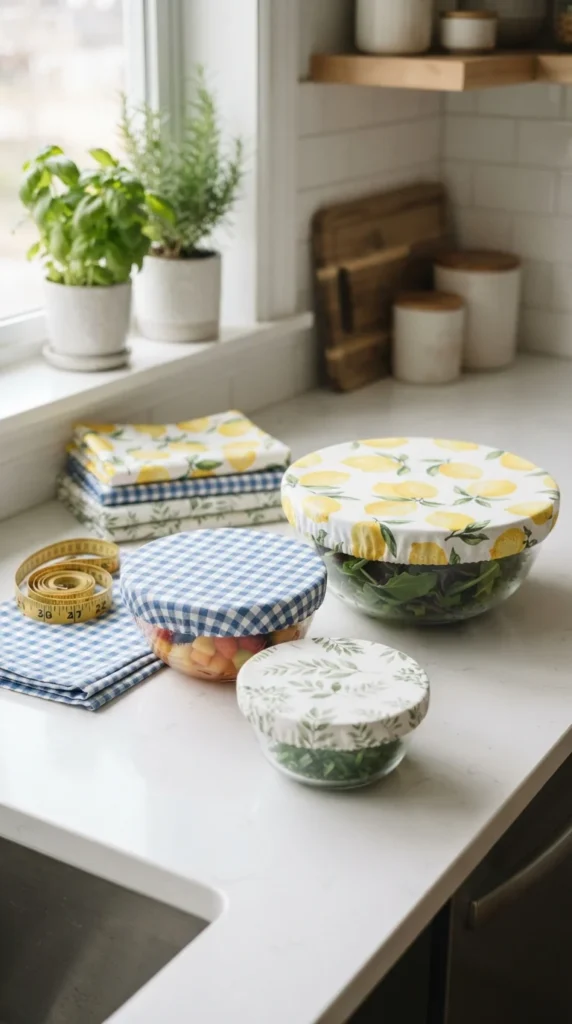
Fabric bowl covers offer a beginner-friendly introduction to sewing curved edges. Use tightly woven cotton and choose a bowl to measure before cutting. Place the bowl upside down on your fabric and trace a circle wider than the bowl’s rim, allowing enough extra fabric to cover the sides.
Cut the circle and fold its outer edge inward to form a narrow channel. Sew around the circle, leaving a small gap for elastic. Thread the elastic through the channel with a safety pin, then test the cover against the bowl before securing the elastic ends.
The elastic should hold the cover in place without stretching the fabric excessively. If the cover puckers unevenly, redistribute the gathers around the rim before closing the opening. Practicing on a smaller bowl can make the curved stitching easier to control.
These covers are handy for protecting bowls during food preparation or covering dry ingredients. For food-contact use, select washable fabric and follow appropriate food-safety practices. Fabric covers aren’t airtight and shouldn’t replace secure food-storage lids or refrigeration.
6. A Basic Pillow Cover

A simple pillow cover can change the look of a room without requiring you to sew an entire cushion from scratch. An envelope-style cover is especially suitable for beginners because it doesn’t require a zipper. Measure an existing cushion insert and cut one front square plus two overlapping back panels.
The front panel should match the insert’s dimensions, while the back panels should overlap enough to keep the cushion inside. Hem one long edge on each back panel by folding it over twice and stitching straight across. Place the front panel face up, arrange the back panels face down over it, and align the outside edges.
Sew around the entire perimeter, using a consistent seam allowance. Clip the corners carefully, turn the cover right side out, and push the corners into shape. Slide in the cushion insert through the overlapping opening.
Cotton canvas and medium-weight upholstery fabric are good choices for everyday cushions. Start with a plain square before trying piping, decorative buttons, or patchwork. This project gives you valuable practice with measuring, seam allowances, hems, and neat corners.
7. A Fabric Pin Cushion
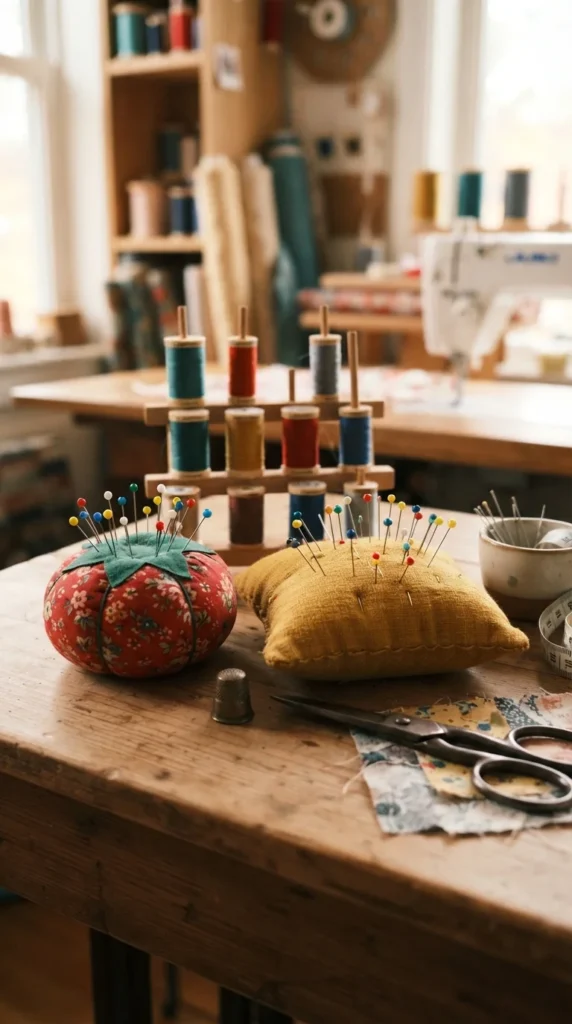
A pin cushion is a useful first sewing accessory because it can be made from small scraps left over from other projects. Choose two fabric squares for a simple cushion or cut a pair of circles for a rounded design. Cotton is easy to handle and holds its shape well.
Place the squares with their patterned sides together and sew around the edges, leaving a small opening. Turn the fabric right side out and fill it with polyester stuffing until it feels firm but not overly packed. Fold the raw edges of the opening inward and sew it closed by hand using small, discreet stitches.
For a rounded cushion, you can create gentle gathers around a circular piece of fabric and draw the thread tight after filling. Add a button at the center if you want a traditional tomato-style appearance.
Keep the cushion close to your sewing area so pins and needles have a designated place. Avoid filling it so loosely that pins fall out or so tightly that inserting them becomes difficult. This project helps you practice hand sewing, gathering, and closing small openings.
8. A Simple Zipper Pouch

A zipper pouch may look advanced, but a small rectangular version is manageable once you’re comfortable sewing straight lines. Choose two matching outer fabric rectangles and two lining rectangles. A zipper slightly shorter than the width of your fabric pieces works well for a compact pouch.
Place the zipper face down along the top edge of one outer piece, then position a lining piece over it with its patterned side facing down. Sew through the layers using a zipper foot if available. Repeat with the other outer and lining pieces on the opposite side of the zipper.
Open the fabric layers and press them away from the zipper. Topstitch close to the zipper tape to keep the fabric from catching when the pouch opens and closes. Then place the outer pieces together and the lining pieces together, keeping the zipper partly open.
Sew around the perimeter, leaving an opening in the lining. Turn the pouch through that opening, stitch the lining gap closed, and tuck the lining inside. Start with a plain zipper and lightweight cotton before trying metal zippers or thick fabrics.
9. A Simple Fabric Headband

A fabric headband is a fun way to turn leftover cotton into a wearable accessory. For a basic version, cut a long strip of fabric wide enough to fold into a narrow band, plus a small piece of elastic for the back. Measure around your head to determine the finished length, allowing extra fabric for seams and the elastic section.
Fold the fabric lengthwise with the patterned sides together and sew along the long edge. Turn the tube right side out, then press it flat with the seam positioned neatly along one side. Fold the ends inward and attach the elastic securely between them, checking the fit before sewing the ends closed.
Choose soft cotton for everyday comfort. If you prefer a fuller appearance, make a wider band and fold the edges inward to create a smooth finish. You can also add a small bow made from a matching scrap.
Test the fit before trimming any excess elastic. The band should stay in place without creating uncomfortable pressure. This project offers practice with narrow tubes, turning fabric, and attaching elastic—skills you can use in many other sewing projects.
10. A Reusable Fabric Shopping Bag

A reusable shopping bag is a practical project that helps beginners learn how to sew stronger seams. Medium-weight cotton canvas or denim works well because it supports groceries and everyday items better than very thin fabric. Cut two matching rectangles for the bag body and two long strips for the handles.
Sew the side and bottom seams with the fabric’s patterned sides facing inward. Finish the raw edges to reduce fraying, then fold and stitch the top edge to create a reinforced opening. Make the handles by folding each strip lengthwise, pressing the edges inward, and stitching along the sides.
Attach the handles evenly, placing each end well inside the top edge. Sew a square with a diagonal cross over each attachment point to help distribute the load. Reinforced stitching matters more than decorative details when the bag will carry heavier items.
For a simple variation, add a small pocket to the outside using a fabric scrap. You can also make the bag foldable by using lighter cotton, although it won’t carry heavy items as well as canvas. Test your finished bag with light objects before using it for groceries.
11. Fabric Coasters
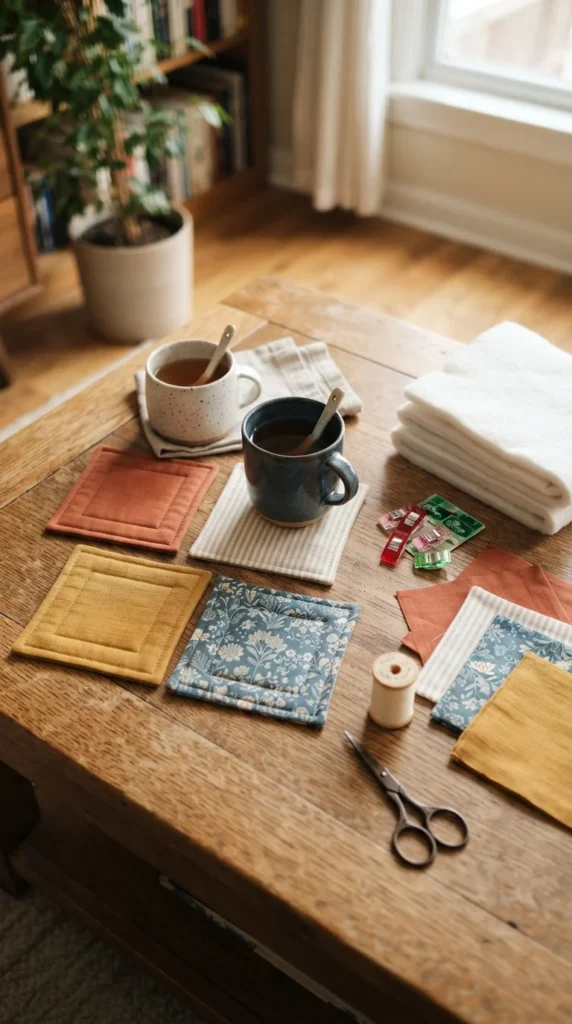
Fabric coasters are small, useful projects that help you practice sewing around corners. Cut two fabric squares for each coaster and one slightly smaller piece of cotton batting if you want a padded finish. Squares measuring around 5 inches are easy to handle and work well for most mugs.
Layer the fabric squares with their patterned sides facing inward, placing the batting on top or between the layers according to your chosen construction. Sew around the edges, leaving a small opening for turning. Trim the corners close to the stitches without cutting the thread.
Turn the coaster right side out, push the corners into shape, and press it flat. Fold the opening inward and topstitch around the perimeter to close it neatly. A second line of stitching inside the first creates a decorative border and helps hold the layers together.
Choose tightly woven cotton that can be washed easily. If you’re making coasters for hot drinks, remember that thin fabric alone may not provide much heat protection. These are best suited to ordinary cups and light moisture rather than hot cookware.
12. A Simple Drawstring Laundry Bag

A drawstring laundry bag is useful for storing delicates, organizing small clothing items, or keeping travel laundry together. Use a lightweight but durable woven fabric and cut two rectangles to your preferred size. Larger pieces work for laundry, while smaller versions are handy for socks or accessories.
Place the rectangles together with their patterned sides facing inward and sew along both sides and the bottom. Leave enough room at the top for the casing, and finish the side seams to prevent fraying. Fold the top edge down twice, press it flat, and stitch around the folded section to create a channel for the drawstring.
Leave a small opening in the casing seam or create an opening near the top edge before finishing the channel. Thread a cord through the channel with a safety pin, then knot the ends. If you want the bag to close from both sides, make two channels and thread separate cords in opposite directions.
Keep the construction simple until you understand how casings work. This project builds skills in long seams, folded edges, and threading cords through fabric.
13. A Fabric Tissue Holder

A pocket tissue holder is a quick project that introduces precise folding. Choose a small rectangle of cotton fabric and cut it according to the dimensions of your tissue packet, leaving room for hems and seams. Lightweight cotton is ideal because it folds without adding too much bulk.
Hem the short ends by folding them inward twice and sewing straight across. Fold the rectangle so the finished ends overlap at the center, forming a small envelope shape. Pin the folds in place and sew along both outer sides using an even seam allowance.
Trim the corners carefully and turn the holder right side out. Use a blunt tool to shape the corners, then press the finished piece flat. Slide a small tissue packet through the opening and adjust the folds if the fit feels too tight.
Make several holders from coordinated prints and keep one in your handbag, backpack, or car. You can also sew a matching holder for a travel kit. The project is small enough to use fabric scraps and gives you practice with hems, folding, and short straight seams.
14. A Simple Apron

A basic half apron is a useful beginner project because most of its construction involves straight seams and simple hems. Choose medium-weight cotton and cut a large rectangle for the apron body. Cut two long strips for the waist ties and a smaller rectangle for the front pocket.
Hem the sides and bottom of the apron by folding the edges inward twice and stitching them down. Fold the top edge over to create a neat finish. For the pocket, hem the upper edge first, then fold the remaining edges inward and press them flat.
Position the pocket near the center of the apron, pin it in place, and sew around the sides and bottom. Add a vertical line of stitching through the pocket if you want two separate compartments. Attach the waist ties securely at the upper corners, reinforcing the seams with extra stitching.
Choose a fabric print that suits your kitchen or craft room. Before cutting, measure the apron width and length against your body so it sits comfortably. This project helps you practice longer seams, hems, pocket placement, and reinforced attachments.
15. Fabric Book Covers

A removable fabric book cover protects a favorite journal or notebook while giving it a personal style. Measure the closed book’s height and the full width around its front, spine, and back. Add extra fabric for hems and the inside flaps that hold the cover in place.
Cut one main rectangle from cotton fabric and fold each short end inward to form pockets for the book covers. Hem the raw edges before securing the flaps. Fold the flaps toward the center, then stitch along the upper and lower edges to create two sleeves.
Slide the front and back covers into the fabric sleeves. Check that the book opens and closes without pulling the fabric too tightly around the spine. If the cover feels loose, adjust the flap depth rather than adding unnecessary layers.
Use lightweight fabric for slim notebooks and slightly sturdier cotton for hardcover journals. A contrasting lining or small fabric loop can add personality, but a plain cover is easier to make on your first attempt. This project teaches measuring, hemming, and constructing simple fabric pockets.
16. A Fabric Cable Organizer

A fabric cable organizer is a handy way to keep charging cables from tangling in a bag or desk drawer. Cut two small matching rectangles of cotton fabric and a piece of lightweight interfacing if you want extra structure. Rounded ends or a simple rectangular shape both work well.
Place the fabric pieces with their patterned sides together and sew around the perimeter, leaving a small opening. Trim the corners, turn the piece right side out, and press it flat. Fold the opening inward and stitch around the edge to close it neatly.
Attach a suitable snap fastener or sew-on hook-and-loop tape near each end so the organizer can wrap around a coiled cable. Follow the fastener manufacturer’s instructions, especially if the hardware requires a special tool. Position the closure so it holds the cable without squeezing it tightly.
Make a few sizes for phone chargers, earbuds, and computer accessories. Use distinct colors to identify different cables at a glance. This small project helps you practice turning small fabric pieces, topstitching, and attaching closures.
17. Fabric Plant Pot Covers

Fabric plant pot covers can give plain nursery pots a coordinated look that suits a bedroom, living room, or home office. Choose woven cotton or linen and measure the pot’s circumference and height. Cut a rectangle long enough to wrap around the pot, adding extra width for the seam and enough height for a folded upper edge.
Sew the short ends together with the patterned sides facing inward to create a tube. Cut a circular base that matches the tube’s bottom circumference, allowing room for the seam. Pin the base around the lower edge and sew slowly, easing the fabric around the curve.
Fold the top edge inward twice and stitch it to create a neat finish. Turn the cover right side out and slip it over a nursery pot. If the fabric feels too loose, adjust the circumference to suit the pot.
Use the cover as a decorative sleeve around a separate, waterproof pot. Keep the fabric away from standing water, and remove the cover before watering if moisture could collect inside. This project offers practice with curved seams, measuring circumference, and joining a tube to a circular base.
18. A Simple Fabric Bunting

Fabric bunting is a cheerful decoration for birthdays, bedrooms, craft spaces, and small celebrations. Start by making a paper triangle template and tracing it onto your chosen cotton fabrics. Cut two matching triangles for each flag if you want double-sided bunting with a tidy finish.
Place each pair together with the patterned sides facing inward and sew along the two sloping edges, leaving the top open. Trim the pointed corners carefully, turn each triangle right side out, and press it flat. Fold the raw top edge inward or tuck it into folded bias tape.
Arrange the flags in your preferred color order, leaving equal spaces between them. Pin the top edges inside the bias tape or fabric strip, then sew along the length to hold the flags securely. Check that each triangle hangs straight before stitching.
Choose three or four coordinating prints to keep the finished decoration visually balanced. Make the flags larger for a party backdrop or smaller for a shelf decoration. This project teaches you how to sew angled seams, turn pointed corners, and attach several fabric pieces along one long strip.
19. A Simple Fabric Glasses Case

A soft glasses case is a useful project for practicing lining and light padding. Measure your glasses while they’re folded, then cut two outer fabric pieces and two lining pieces large enough to fit them with a little extra room. Add a thin layer of batting between the outer fabric and lining for cushioning.
Place the outer pieces together and sew along the sides and bottom. Repeat with the lining, leaving a small opening along one seam or the bottom. Turn the outer case right side out and place it inside the lining so the patterned sides face each other.
Sew around the top opening, then pull the case through the gap left in the lining. Close the lining opening with small stitches and tuck it inside the case. Press the top edge carefully and add a line of topstitching if you want a crisp finish.
Check the fit with your glasses before using the case regularly. Soft fabric can protect against scratches, but it won’t offer the same impact protection as a hard-shell case. Choose a simple rectangular shape before attempting a curved or flap-style design.
20. A Fabric Pot Holder

A fabric pot holder introduces beginners to layering and quilting-style stitching, although it requires more care than a basic accessory. Choose heat-resistant cotton fabric and suitable heat-resistant batting designed for pot holders. Avoid polyester filling or ordinary decorative foam, which may melt or fail under high heat.
Cut two outer fabric squares and the appropriate batting layers according to the batting manufacturer’s instructions. Stack the layers evenly and pin them together. Sew parallel lines across the surface to hold the layers in place, keeping the lines straight and evenly spaced.
Trim the edges, then bind the perimeter with cotton bias tape. Fold the tape around the raw edges and sew carefully so both sides are secured. If you want a hanging loop, make it from folded cotton tape and stitch it firmly into one corner while attaching the binding.
Follow the heat-resistance instructions for every material you use. A decorative fabric square isn’t automatically safe for handling hot cookware, and stitching alone doesn’t provide thermal protection. This project is best attempted after you’ve gained confidence controlling layered fabric beneath your sewing machine.
21. A Simple Fabric Basket

A fabric basket is a practical way to organize sewing supplies, bathroom items, or small household accessories. For a beginner-friendly version, use medium-weight cotton and fusible interfacing to help the walls hold their shape. Cut matching outer and lining pieces according to your preferred basket dimensions.
Sew each fabric set into a box shape by joining the side seams and attaching a rectangular base. If you’re making a square basket, cut small squares from the lower corners before joining the base, then sew across each opening to create a flat bottom. Keep your seam allowances consistent so the basket sits evenly.
Place the outer basket inside the lining with their patterned sides facing each other. Sew around the top edge, leaving a small opening for turning. Turn the basket right side out, close the opening, and press the upper edge. A line of topstitching around the rim helps the basket keep its shape.
Choose a smaller size for thread, buttons, or makeup products. A wider basket works for folded towels or fabric scraps. Once you’re comfortable with the basic construction, add small handles or a contrasting lining.
22. A Simple Patchwork Pillow
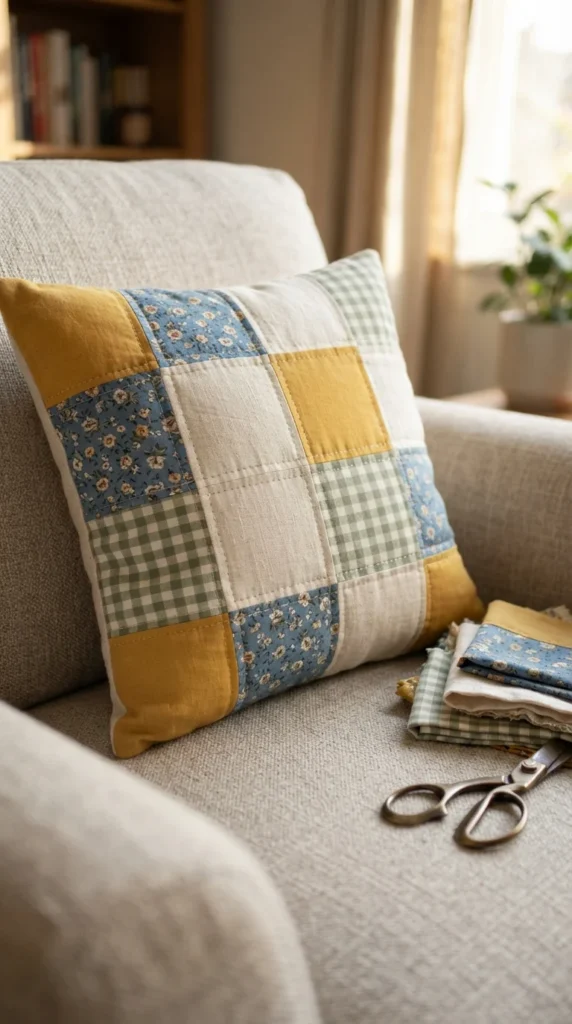
A patchwork pillow lets you practice accurate cutting, seam matching, and joining several fabric pieces into one finished design. Gather cotton scraps in coordinating colors and cut them into equal-sized squares. Four, six, or nine squares make a manageable arrangement for your first patchwork panel.
Lay the squares on a table and experiment with the order before sewing. Join the squares into rows, keeping the patterned sides together and using the same seam allowance for every join. Press the seams flat after sewing each row, then join the rows to create one larger front panel.
Trim the completed panel so its edges are straight. Add a plain fabric backing using an envelope closure, following the same construction method as a basic pillow cover. Insert a cushion pad and check that the patchwork seams sit flat without puckering.
Choose fabrics with similar weights so the finished panel hangs evenly. Avoid stretchy jersey mixed with stiff canvas on your first attempt, since the different fabrics can shift while sewing. This project brings together many beginner skills and gives leftover scraps a useful second life.
Final Thoughts
These 22 beginner sewing projects offer a practical way to learn straight stitches, hems, seams, curved edges, elastic insertion, and simple closures while creating useful handmade items. Start with an easy scrunchie, bookmark, or coaster, then move on to a tote bag, zipper pouch, or patchwork pillow as your confidence grows. Keep your first attempts simple, save leftover fabric for small projects, and focus on neat, consistent stitching rather than perfection. Choose one project, gather your supplies, and set aside an hour to start sewing today.

Lily Summers is a digital artist and creative storyteller who loves bringing colorful characters to life. With a passion for cartoons, fan art, and playful sketches, she inspires others to explore their imagination through art. When she’s not sketching, you’ll find her dreaming up new ideas for CraftedWizard.com to spark creativity in every artist. 🌈✨