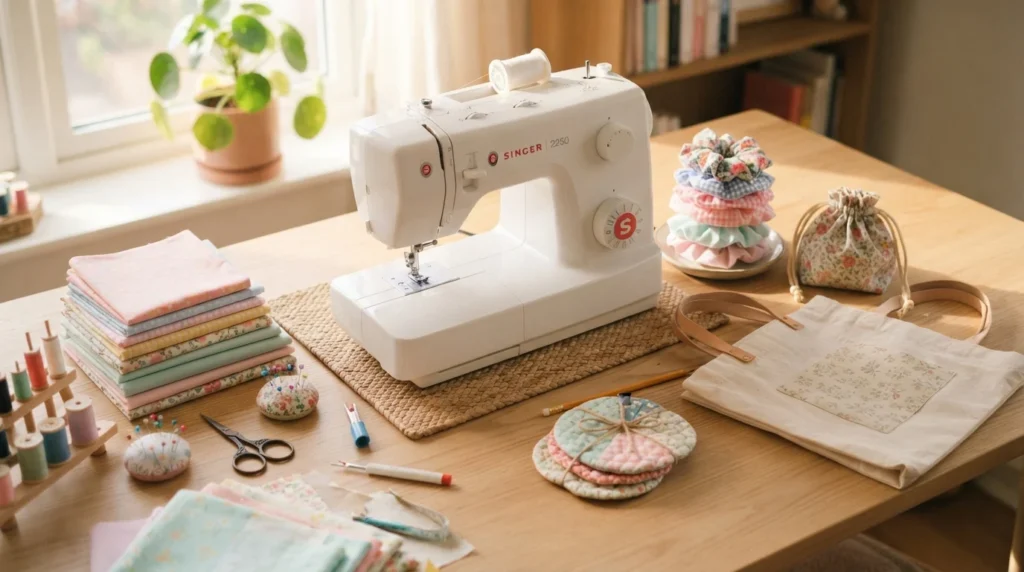
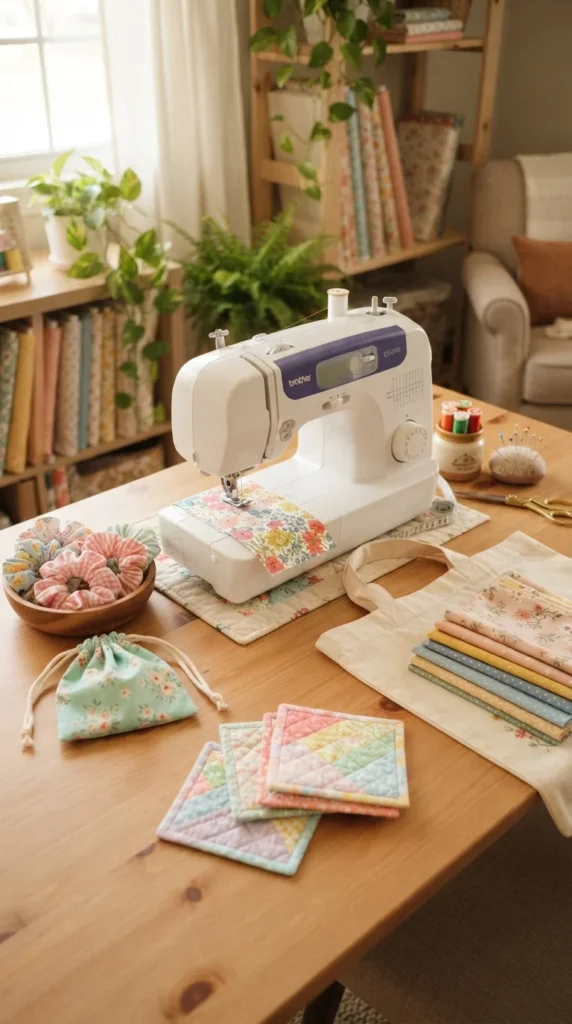
Learning to sew can be a rewarding way to make useful things for your home, wardrobe, and loved ones. You don’t have to start with complicated patterns or expensive equipment to create something you love. These 25 simple beginner sewing projects use basic stitches, easy shapes, and everyday fabrics to help you build your skills one step at a time. Whether you have just bought your first sewing machine or prefer sewing by hand, you’ll find plenty of practical ideas to try at your own pace.
1. Simple Fabric Scrunchies
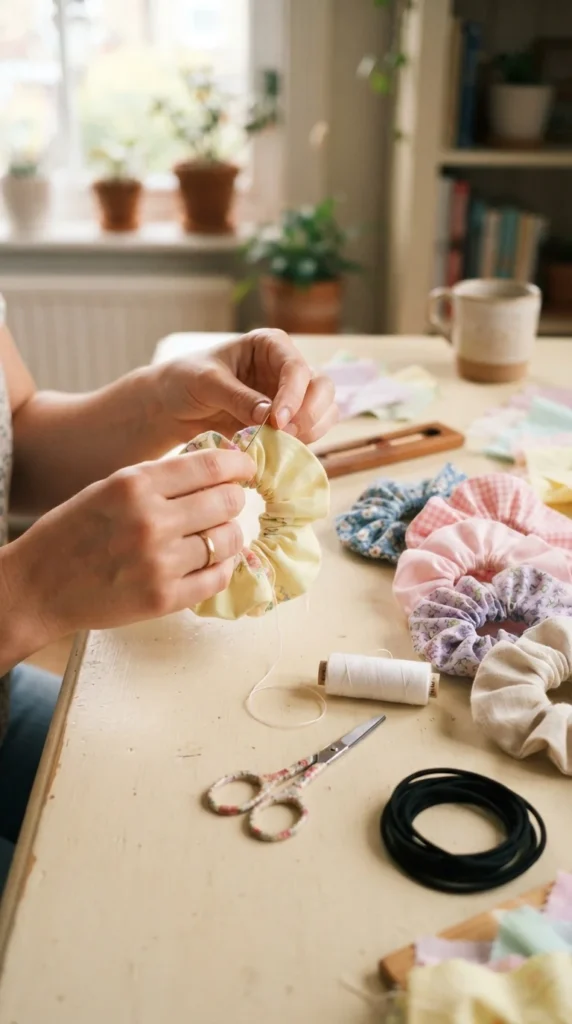
Fabric scrunchies are an excellent first project because they require just a small rectangle of fabric, elastic, thread, and a few basic sewing skills. Cotton scraps work well, making this a useful way to practice without cutting into expensive material. Choose a simple floral print or a solid color for your first attempt.
Cut a rectangle about 18 inches long and 4 inches wide. Fold it lengthwise with the right sides facing each other, then sew along the long edge to create a tube. Turn the tube right side out, thread elastic through it with a safety pin, and join the elastic ends securely.
Fold one open fabric end inside the other and stitch the opening closed. Don’t worry if the seam isn’t perfect; the gathered fabric hides small irregularities. Once you finish one, try making a matching set for gifts or everyday wear.
2. Reusable Fabric Coasters
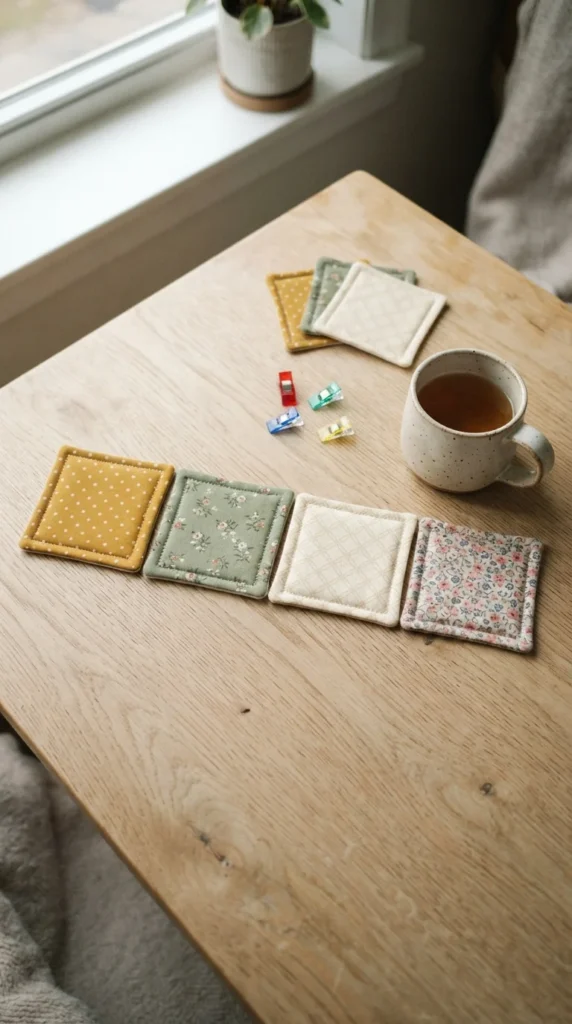
Fabric coasters are small, useful, and easy to customize. They help you practice straight seams, corner stitching, and turning sewn pieces right side out. Cotton fabric paired with thin cotton batting gives each coaster a soft, padded feel.
Cut two fabric squares and one batting square, each measuring about 5 inches. Stack the pieces with the batting underneath and the fabric squares facing each other. Sew around the edges with a small opening left on one side, then trim the corners carefully without cutting through the stitches.
Turn the coaster right side out, push the corners into shape with a blunt tool, and press it flat with an iron. Stitch the opening closed, then sew around the outer edge for a neat finish. Make four or six in coordinating colors for your coffee table or as a thoughtful housewarming gift.
3. Drawstring Gift Bags
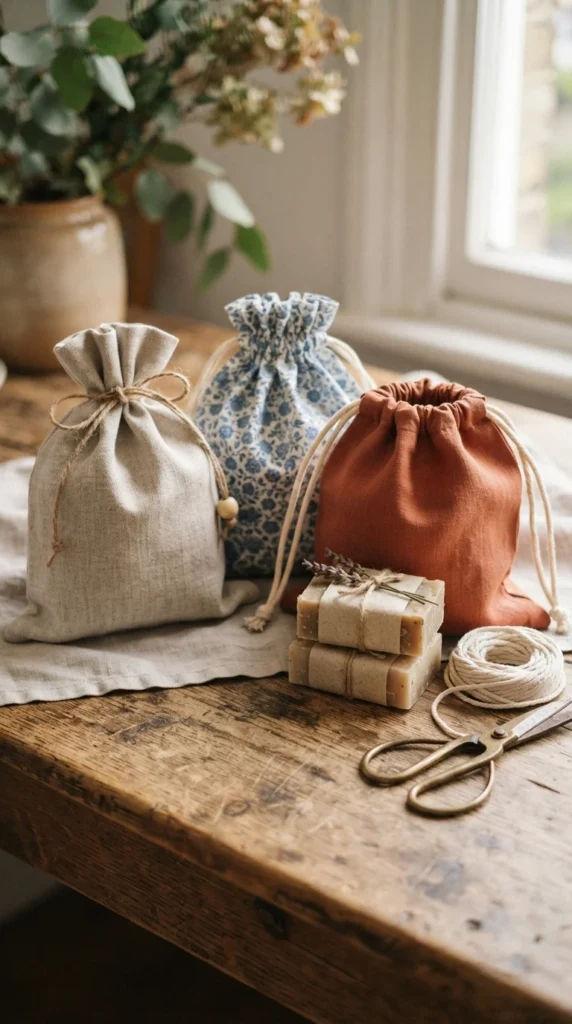
Drawstring bags are handy for gift wrapping, storing jewelry, organizing travel accessories, or keeping small toys together. Their simple rectangular shape makes them suitable for beginners who want to practice straight seams and fabric folding. You can make them in different sizes to suit different uses.
Cut two matching fabric rectangles. Place them together with the right sides facing inward, then sew the side seams and bottom edge, leaving the top open. Fold the top edge down twice to form a channel for the cord, and stitch around it while leaving enough room for the drawstring to pass through.
Turn the bag right side out and thread ribbon or cotton cord through the channel with a safety pin. Tie the cord ends to prevent them from slipping back inside. For a polished look, use contrasting cord or a small fabric loop at the side. These bags can also replace disposable wrapping for birthdays and holidays.
4. Basic Pillow Covers
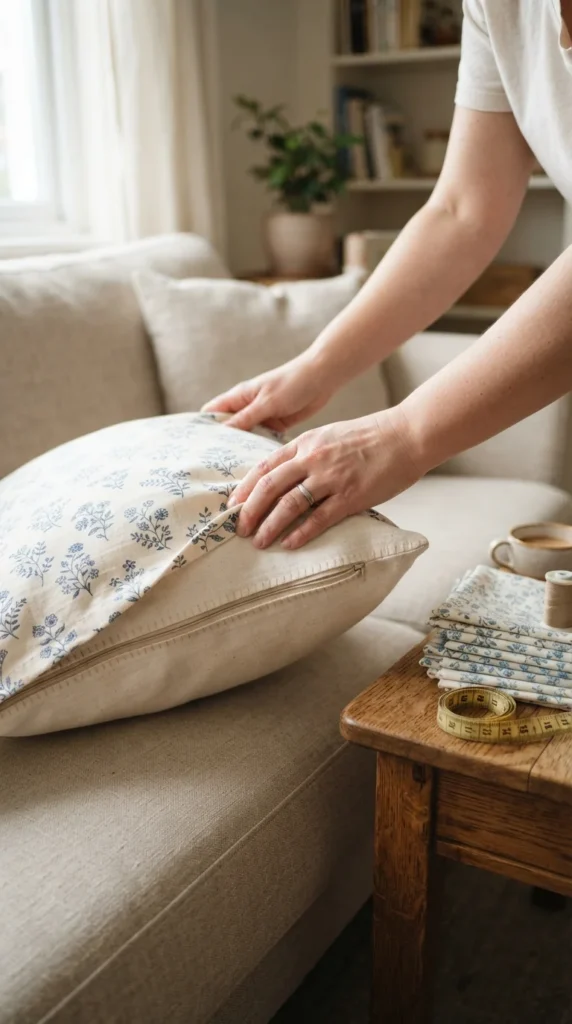
A simple pillow cover can change the look of a room without requiring advanced sewing techniques. An envelope-style cover is particularly beginner-friendly because it doesn’t require a zipper or buttonholes. It uses overlapping fabric panels to keep the cushion inside.
Measure your cushion, then cut one front panel to match its dimensions, allowing extra room for seam allowances. Cut two back panels that overlap by several inches when placed together. Hem one long edge on each back panel, then position all three pieces with their right sides facing inward and the back panels overlapping.
Sew around the perimeter, paying attention to the corners. Trim excess fabric at the corners, turn the cover right side out, and insert your cushion. Press the edges flat for a tidy appearance. Start with medium-weight cotton or linen because both are easy to handle and come in many attractive patterns.
5. Reusable Fabric Shopping Bags
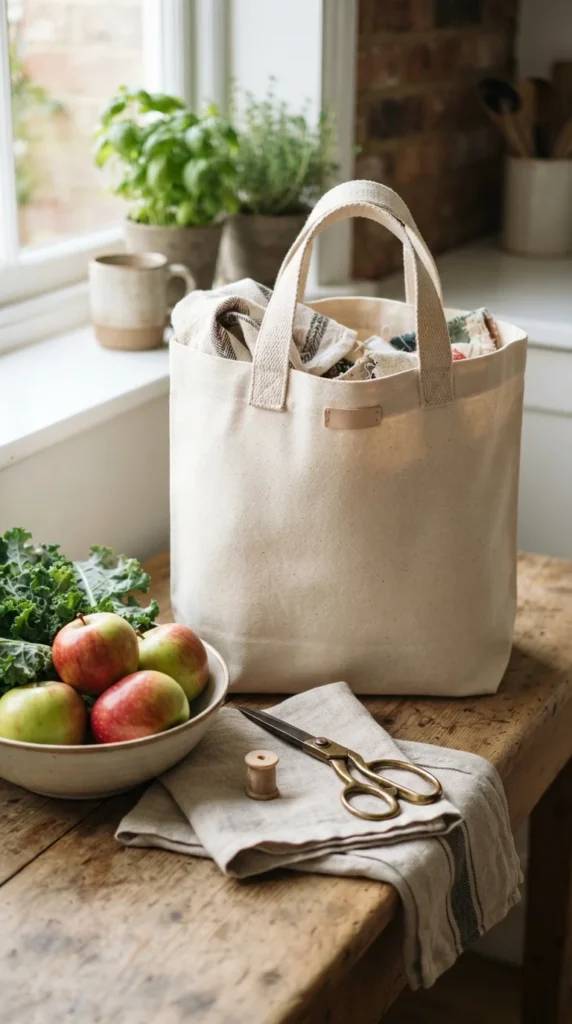
A reusable shopping bag is a satisfying first project because you’ll use it long after you finish sewing. Choose sturdy cotton canvas or medium-weight cotton for a bag that can carry groceries, books, or craft supplies. Plain fabric is easy to sew, while a printed cotton adds personality.
Cut two matching rectangles for the bag body and two long strips for the handles. Sew the body pieces together along the sides and bottom, keeping the right sides facing inward. For a stronger bottom, sew across each lower corner to create a flat base before turning the bag right side out.
Fold and stitch the handle strips into long, sturdy bands, or use ready-made cotton webbing if you prefer. Attach each handle to the upper edge with several rows of stitching. Reinforce the attachment points with a square and diagonal stitching pattern if your machine handles the fabric comfortably.
Start with a lightweight load while testing your finished bag. Avoid relying on a beginner-made bag for very heavy items until you’ve checked the seams and handles.
6. Fabric Bookmarks
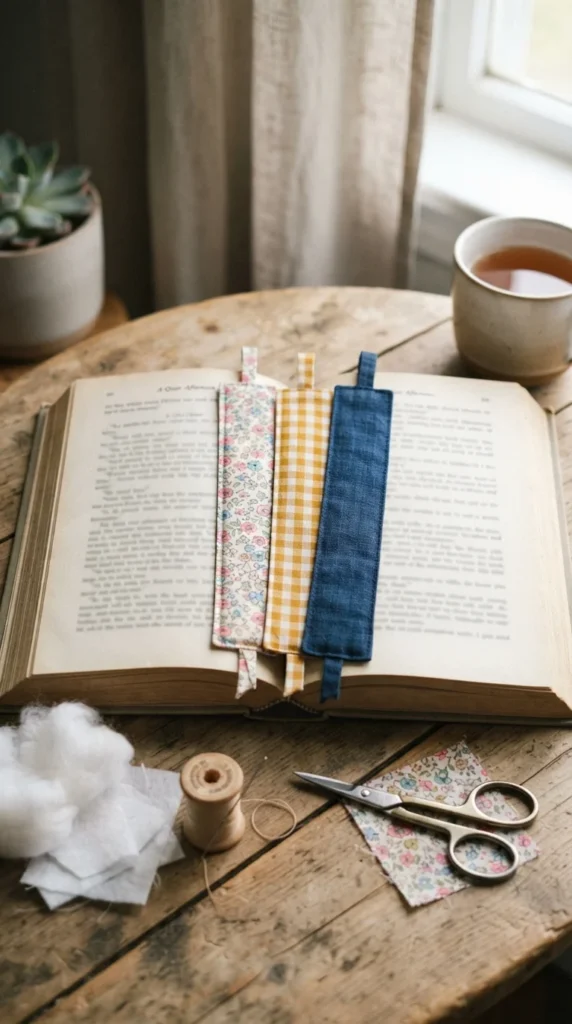
Fabric bookmarks are quick to sew and ideal for using leftover material from larger projects. Their narrow shape lets you practice sewing straight lines without handling large pieces of fabric. Add a small ribbon loop at one end for a decorative touch.
Cut two fabric strips about 2 inches wide and 7 inches long. Place them with the right sides together and add a thin strip of batting if you want a padded bookmark. Sew around the edges, leaving a small opening at one end for turning.
Turn the bookmark right side out, press it flat, and sew the opening closed. Add a line of stitching around the border to help the bookmark hold its shape. You can also sew a ribbon loop into the top seam before closing the opening.
Choose fabrics that match your favorite books or make a set for friends who love reading. Because each bookmark uses very little material, it’s an easy project to repeat while practicing consistent seam allowances.
7. Simple Fabric Napkins
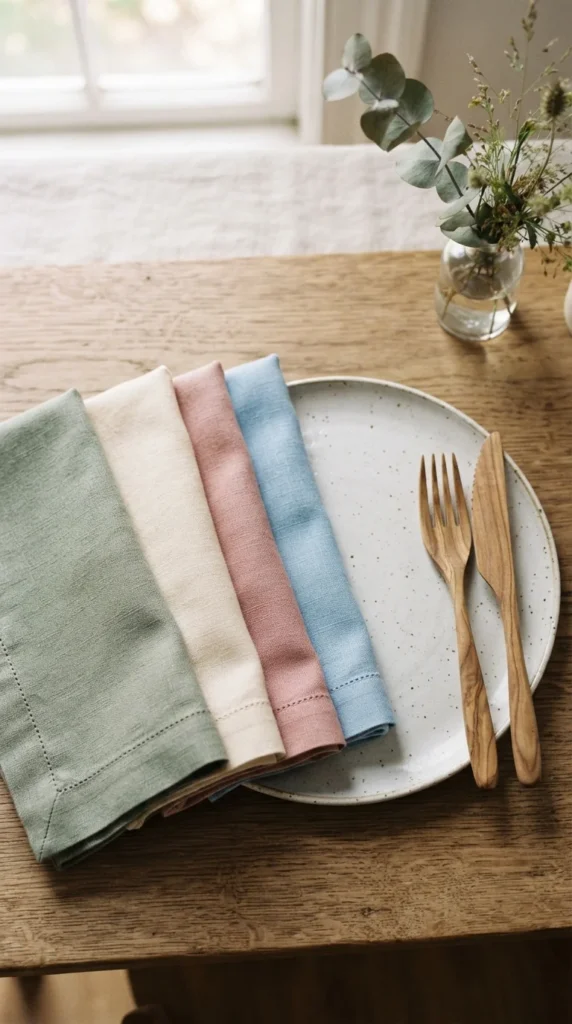
Reusable cloth napkins are practical for everyday meals and special gatherings. They’re also a great way to learn how to make clean hems, one of the most useful skills in sewing. Medium-weight cotton is a good starting material because it presses easily and holds its shape.
Cut your fabric into squares measuring about 16 to 18 inches on each side. Fold each edge inward by about half an inch, press it flat, then fold it inward once more to enclose the raw edge. Pin or clip the folds in place before sewing around the entire square.
Take your time at the corners, where several fabric layers meet. If the material becomes bulky, slow your machine down and guide the fabric gently rather than pulling it. A simple straight stitch is all you need for a neat result.
Wash and press the napkins before using them to remove any fabric sizing and reveal their finished texture. Make a coordinated set for your dining table or choose seasonal prints for holidays and family celebrations.
8. Easy Fabric Headbands
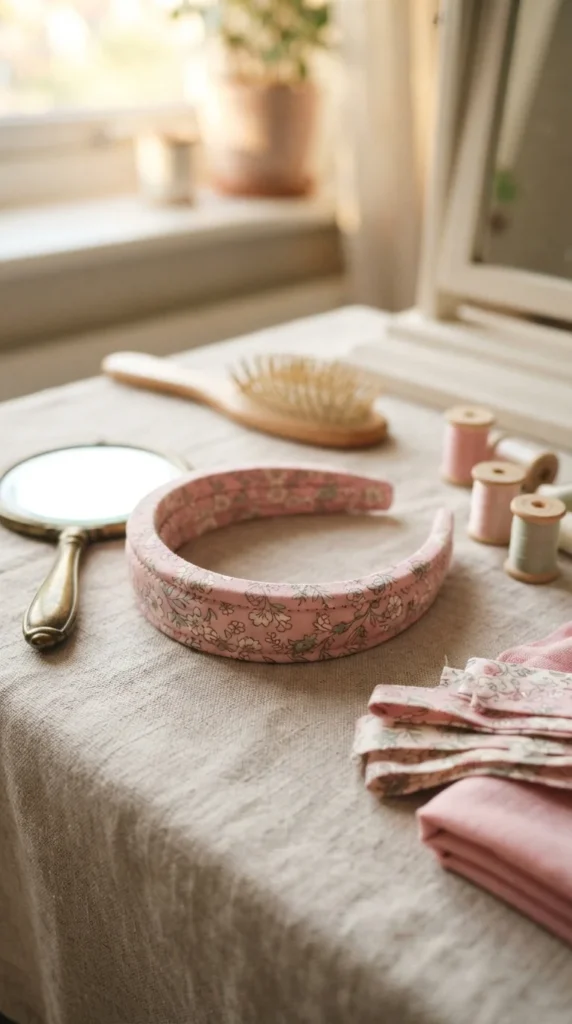
A fabric headband is a fun accessory that lets you explore sewing small, curved pieces. You can make a simple gathered headband or a padded version using a plastic headband as the base. For a beginner, a straight fabric tube with a flexible elastic section is often the easiest design.
Cut a long fabric strip wide enough to wrap around the headband or form a comfortable band. Fold it lengthwise with the right sides together and sew along the long edge. Turn the fabric tube right side out with a safety pin or turning tool, then press it carefully.
If you’re covering a plain headband, slide the tube over it and secure the ends with hand stitches. For a wearable fabric band, attach a short piece of elastic at the back so the band can fit comfortably. Measure around your head before cutting the elastic, allowing for a snug but gentle fit.
Try cotton florals, linen, or a small gingham print. Avoid very thick fabrics on your first attempt, since bulky seams can be tricky to turn and finish neatly.
9. Simple Zipper Pouches
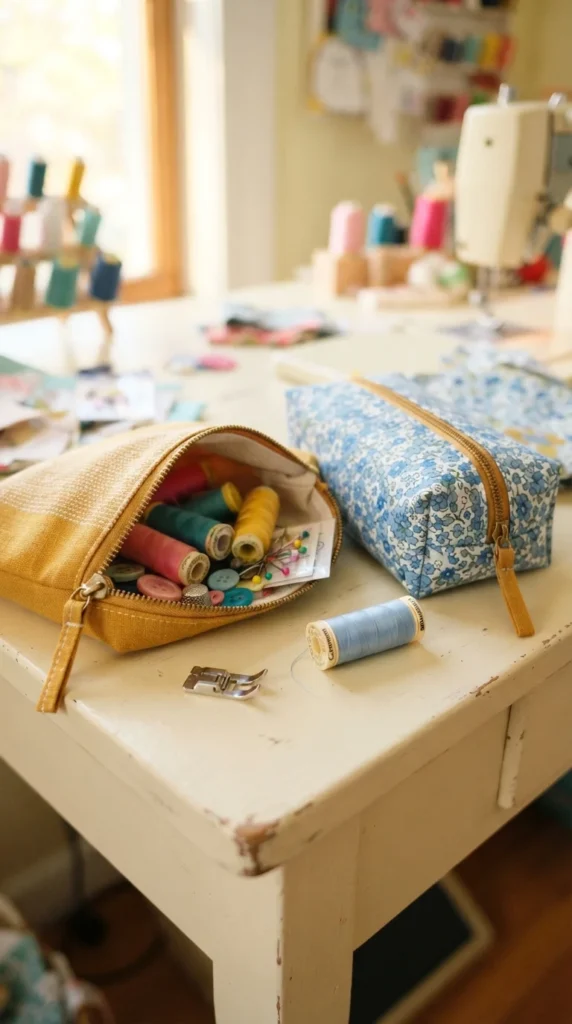
A small zipper pouch is a useful project for storing pencils, makeup brushes, charging cables, or sewing supplies. It introduces you to zipper installation without the complexity of a full bag. Choose a zipper slightly shorter than the width of your fabric panels.
Cut two matching outer fabric rectangles and two lining rectangles. Place one outer panel and one lining panel on either side of the zipper tape, with their right sides facing the zipper. Sew close to the zipper teeth using a zipper foot, then repeat with the remaining panels on the other side.
Open the zipper halfway before joining the pouch pieces, which makes turning the finished pouch much easier. Place the outer panels together and the lining panels together, then sew around the perimeter, leaving a gap in the lining for turning. Clip the corners, turn the pouch right side out, and hand-sew or machine-sew the lining opening closed.
Go slowly around the zipper ends and keep your fingers away from the needle. A simple rectangular pouch is a good first attempt before experimenting with boxed corners or multiple compartments.
10. Fabric Cord Keepers
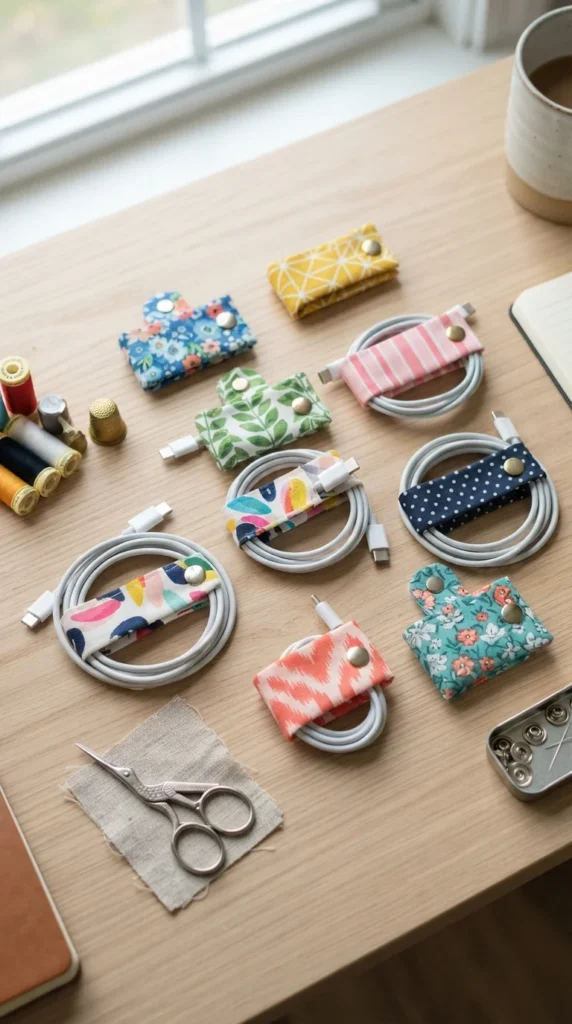
Fabric cord keepers help prevent charging cables and headphones from tangling in drawers or bags. These tiny sewing projects are suitable for practicing accurate cutting, edge stitching, and attaching simple closures. Cotton fabric and a thin layer of interfacing create a sturdy little tab.
Cut two small rounded rectangles, roughly 4 inches long and 1.5 inches wide. Place the fabric pieces with their right sides facing inward, sew around the edge, and leave a small opening for turning. Clip the curves carefully, turn the piece right side out, and press it flat.
Stitch around the border to close the opening and strengthen the edges. Attach a snap fastener according to its instructions, or sew on a small strip of hook-and-loop tape. Wrap the keeper around a coiled cable and close it without squeezing the cable too tightly.
Make several in different prints to identify individual chargers. If you’re not ready to install snaps, use a simple ribbon tie instead. Keep small fasteners away from young children, since they can pose a choking hazard.
11. Simple Fabric Baskets
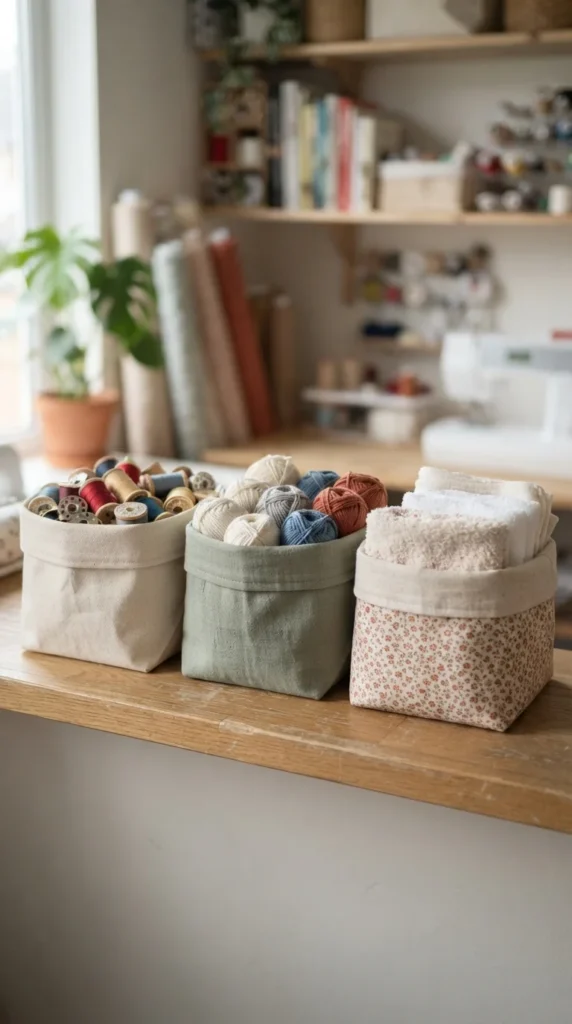
Fabric baskets are useful for organizing craft supplies, toiletries, desk accessories, or small household items. They look more complicated than they are, but the basic design relies on rectangular panels and straight seams. Lightweight interfacing helps the baskets stand upright.
Cut two outer fabric rectangles and two lining rectangles, adjusting the height and width to suit your storage space. Sew the side and bottom seams of each fabric set to create two open bags. To make a flat base, pinch each lower corner so the side seam meets the bottom seam, mark a straight line across the corner, and stitch it.
Place the outer basket inside the lining with the right sides facing each other. Sew around the upper edge, leaving a gap for turning. Turn the basket right side out through the gap, tuck the lining inside, and press the top edge.
Fold the rim outward to show the lining fabric, or keep the top straight for a cleaner look. Start with a small basket for clips or thread before making larger versions. If you plan to store heavier objects, choose firm interfacing and reinforce the base seams.
12. Handmade Fabric Key Fobs
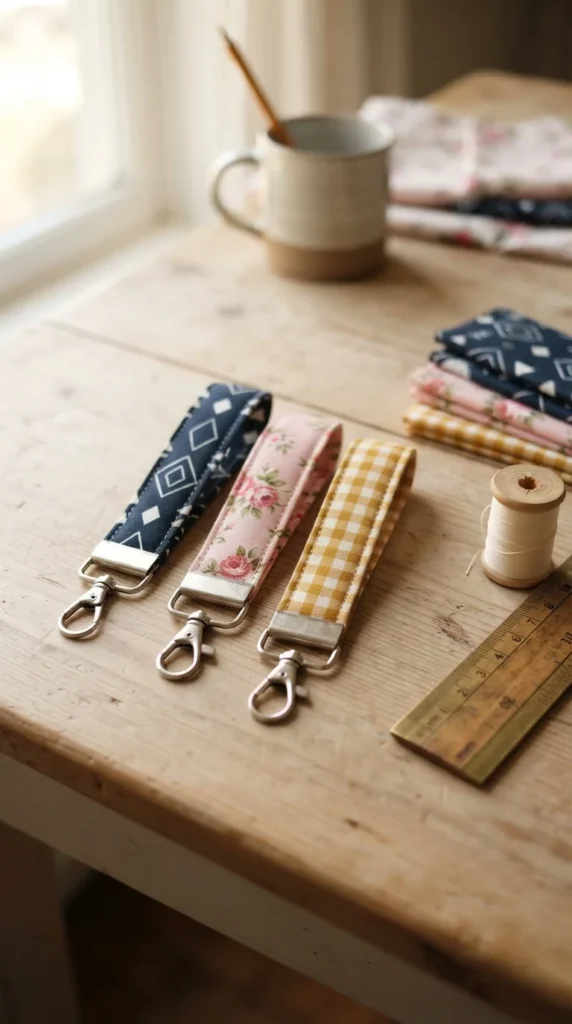
Fabric key fobs are small accessories that can be completed in a short crafting session. They use narrow strips of fabric and provide practice with folding, pressing, and sewing several layers together. You can make one for your own keys or create matching gifts for family members.
Cut a fabric strip about 10 inches long and 4 inches wide. Fold both long edges toward the center and press, then fold the strip in half lengthwise so the raw edges are enclosed. Stitch along both long edges to secure the strip and give it a tidy appearance.
Fold the strip in half around a key-fob ring, aligning the short ends. Sew across the ends several times to hold them together. A small metal key-fob clamp can also create a polished finish, though it requires a compatible tool to close securely.
Choose durable cotton and medium-weight interfacing if you want a firmer feel. Keep the strip straight as you sew, and avoid stitching over the metal ring itself. The finished fob is easy to spot in a handbag and makes good use of fabric remnants.
13. Simple Pot Holders
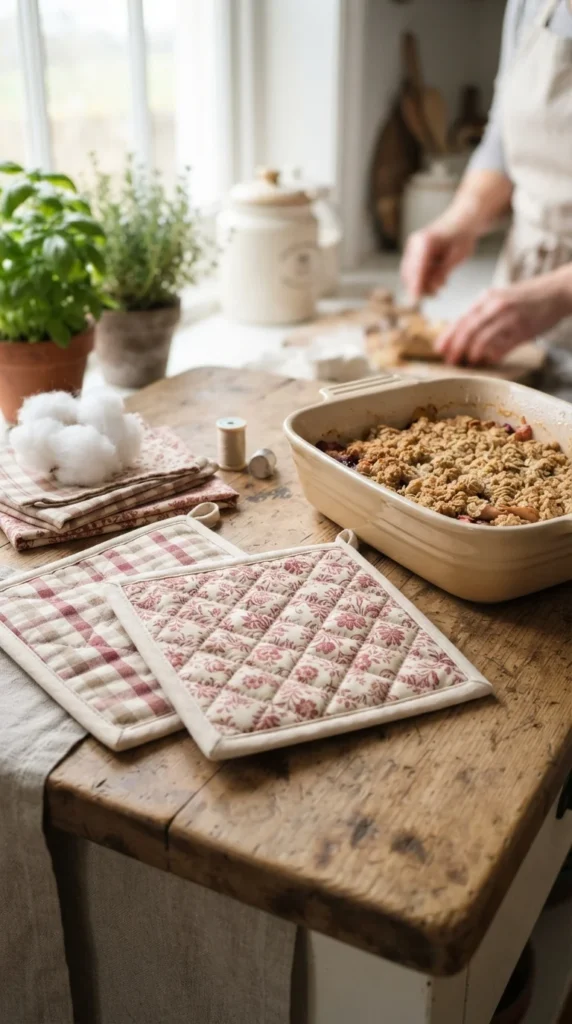
Pot holders are practical kitchen accessories that let you practice sewing layers together and adding simple quilting lines. Use heat-resistant batting rated for pot holders, paired with suitable cotton fabric. Ordinary polyester batting can melt or fail to protect your hands, so check the product’s intended use before sewing.
Cut two cotton squares and the appropriate heat-resistant batting to the same size, such as 8 inches by 8 inches. Layer the pieces and sew straight lines across the surface to hold them together. Keep the lines evenly spaced, using a ruler and fabric marker if that helps.
Cut a fabric strip for binding or a hanging loop. Sew the loop into one corner, then finish the raw edges with suitable cotton binding. If binding feels difficult, practice first on a small square of layered scrap fabric.
Inspect the stitching before using the pot holder and test it with cool cookware first. Never use a handmade holder that is damp, damaged, or too thin to protect your hands. A well-made pair also makes a thoughtful gift for someone who enjoys cooking.
14. Simple Cloth Tissue Covers
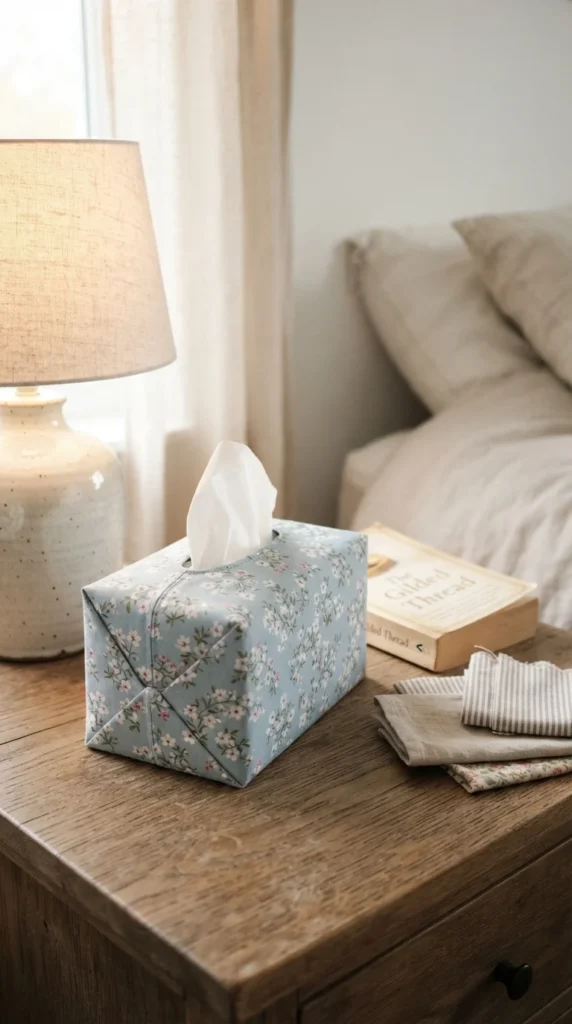
A fabric tissue-box cover is an easy home accessory that introduces you to neat hems and simple box construction. It can coordinate with your bathroom, bedroom, or home office, and it takes only a small amount of fabric. Choose cotton that presses easily for your first version.
Measure your tissue box, including its height and the opening at the top. Cut a long fabric panel or separate pieces according to the cover design, allowing extra fabric for seam allowances and a clean finish around the opening. Hem the edges around the tissue opening before joining the side seams.
Sew the sides together, keeping the fabric aligned so the cover sits squarely. If you’re making a fitted box cover, shape the corners by sewing across the excess fabric at each corner. Turn the cover right side out and fit it over the box to check the shape.
For an easier version, make a loose fabric sleeve with an open bottom. Once you understand the basic construction, try matching the cover to your cloth napkins or pillow covers for a coordinated room.
15. Simple Fabric Bunting
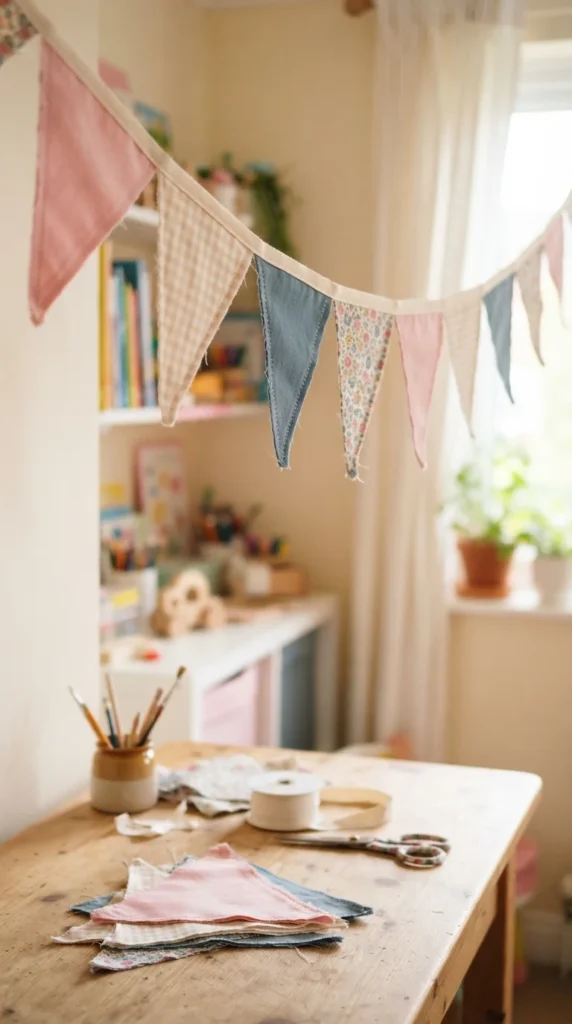
Fabric bunting adds color to birthday parties, bedrooms, craft spaces, and seasonal decorations. It’s a good project for practicing seams along angled edges and working with repeated shapes. You can use coordinating cotton scraps to make each flag different.
Draw a triangle template on paper, then use it to cut matching pairs of fabric triangles. Place each pair with the right sides facing inward and sew along the two angled sides, leaving the top edge open. Trim the pointed tip carefully without cutting the seam, then turn each triangle right side out and press it flat.
Arrange the flags in your preferred order, leaving equal gaps between them. Fold a length of bias tape around the top edges and sew along the tape to secure the flags. Leave extra tape at both ends for hanging.
If you’re making bunting for a party, choose washable cotton so it can be stored and reused. Keep decorations away from candles, heaters, and other heat sources. Once you finish the first string, experiment with rectangles, rounded flags, or seasonal colors.
16. Easy Fabric Wallets
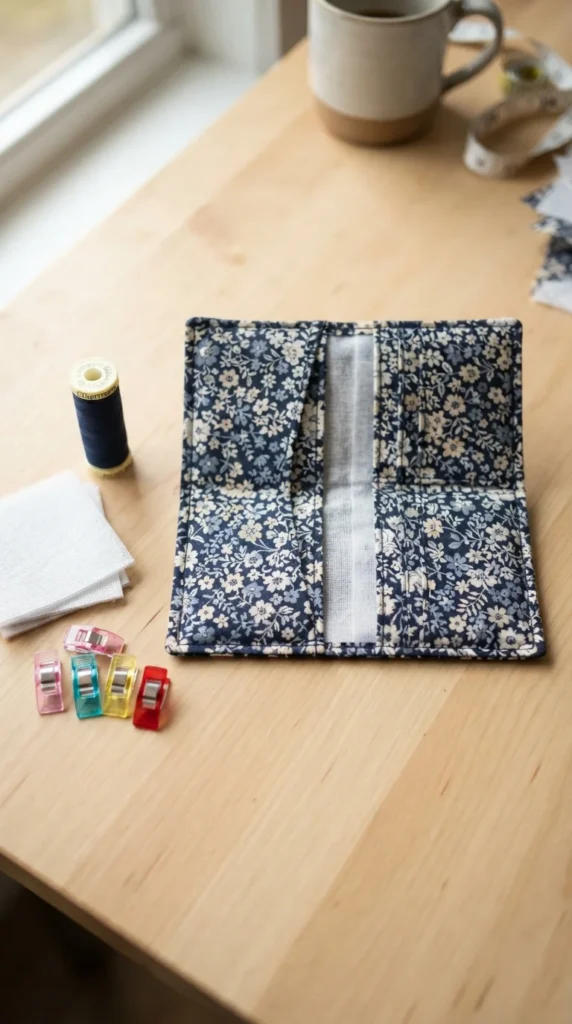
A simple fabric wallet gives you a chance to combine straight seams with folding and lining. Begin with a flat card wallet rather than a design with a zipper or many compartments. Cotton fabric and lightweight interfacing help it hold its shape without becoming too bulky.
Cut two outer rectangles and two lining rectangles to the size you want, leaving room for seam allowances. Add a smaller folded rectangle between the lining pieces if you want a basic card pocket. Press the pocket folds before sewing them in place so the edges remain even.
Join the outer and lining pieces with their right sides together, leaving a small opening for turning. Clip the corners, turn the wallet right side out, and press it flat. Sew the opening closed, then fold the wallet into its final shape and stitch along the sides where the pockets are formed.
Test the wallet with a few cards before adding more compartments. Thick denim or multiple layers can be difficult for a beginner machine, so medium-weight cotton is a better starting choice. Try a contrasting lining for a small detail that makes the finished wallet feel personal.
17. Simple Fabric Masks for Sleep
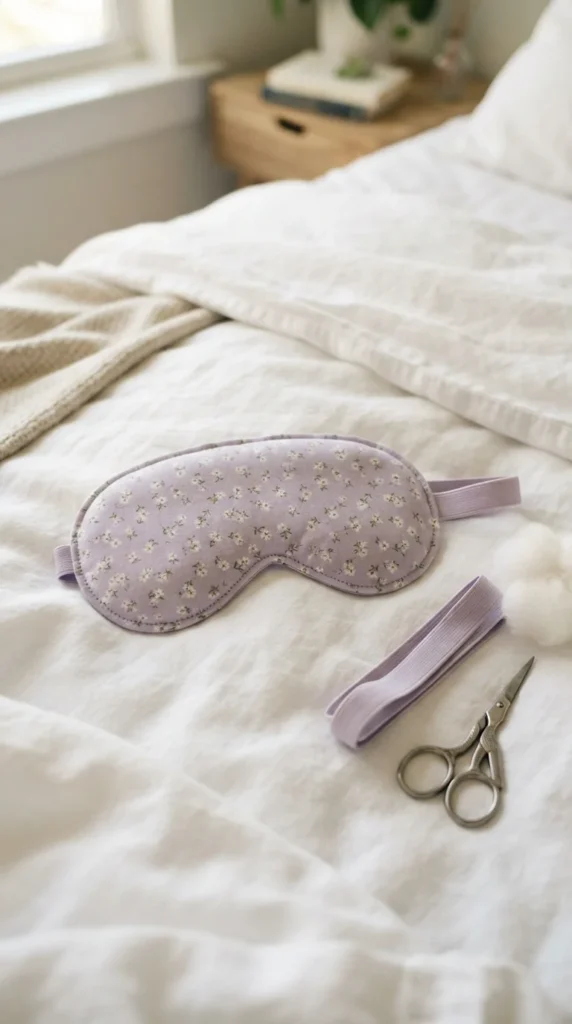
A soft sleep mask is a manageable project for practicing curved seams and adding elastic. It uses only a few fabric layers, and the shape can be traced from a paper template. Choose a comfortable cotton fabric that feels gentle against your skin.
Draw a simple eye-mask shape with rounded edges and cut two matching fabric pieces. Add a thin layer of soft, washable padding if you want extra coverage. Place the pieces with their right sides together, then sew around the curved edge while leaving a small opening for turning.
Clip small notches along the curved seam allowance, taking care not to cut the stitches. Turn the mask right side out and press the edges gently. Insert the ends of a suitable elastic strap into the side openings, checking that the length will fit comfortably without pulling.
Close the opening with neat stitching and inspect the inside for rough edges. The mask should sit comfortably without putting pressure on your eyes. Wash it regularly according to the fabric care instructions, and replace the elastic if it becomes stretched or uncomfortable.
18. Fabric Bowl Covers
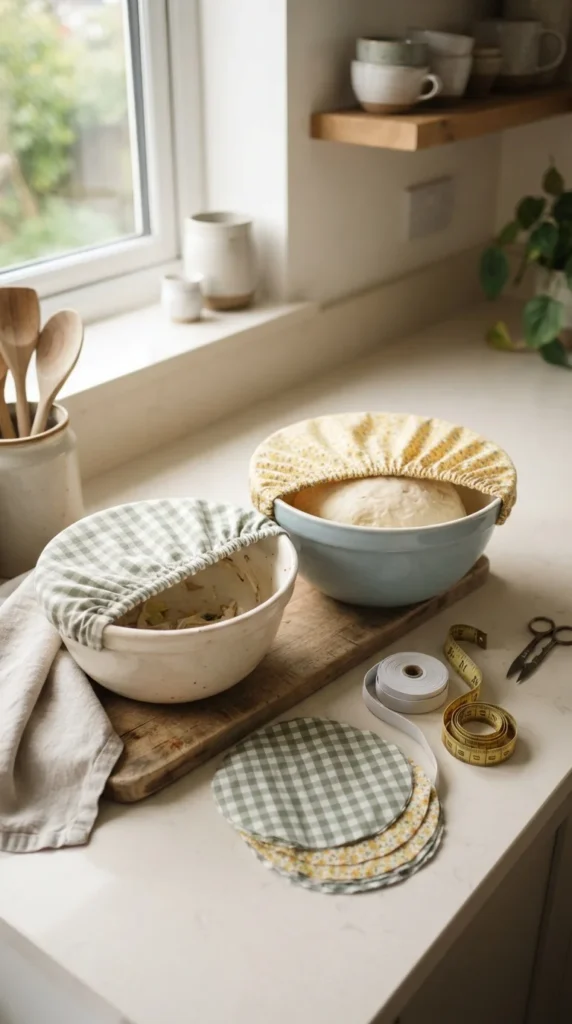
Reusable bowl covers are useful for covering dishes during serving or short periods of storage. They are simple to sew and help you practice gathering fabric with elastic. Choose tightly woven cotton and make a paper template based on the bowls you use most often.
Place a bowl upside down on your fabric and trace a circle that extends several inches beyond the rim. Cut the circle and fold the edge inward twice to form a narrow channel. Sew around the channel, leaving a small opening through which to thread elastic.
Measure the elastic around the bowl’s rim, allowing enough stretch for the cover to fit snugly. Thread it through the channel with a safety pin, join the ends, and sew the opening closed. Spread the gathers evenly and test the cover on the bowl.
Use these covers for protecting dishes from dust or covering food at the table. They are not airtight, so they should not replace sealed containers for long-term storage or food that requires refrigeration. Wash the fabric regularly and let the covers dry fully before storing them.
19. Simple Fabric Gift Tags
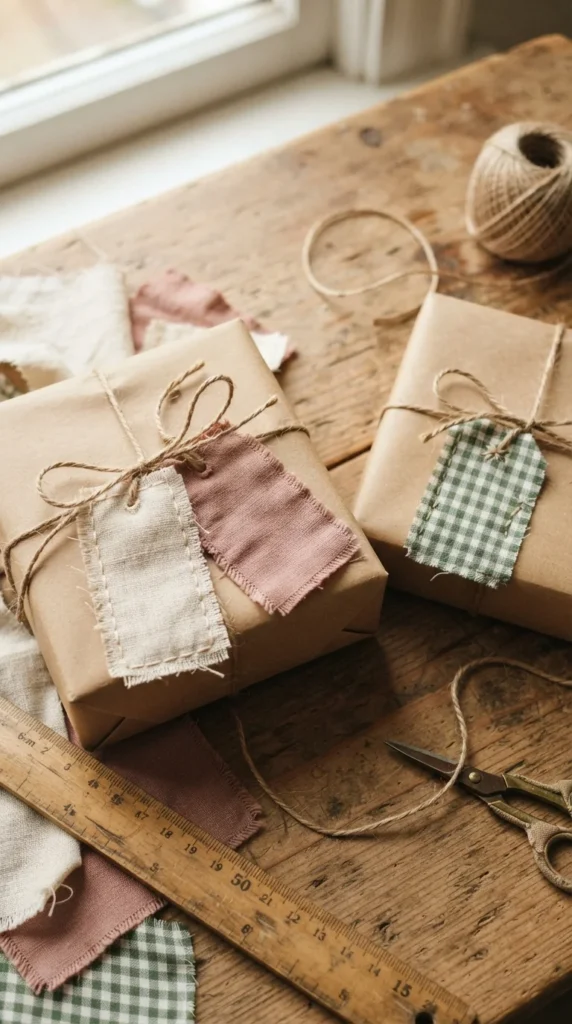
Fabric gift tags are tiny projects that turn leftover material into reusable decorations. They can be shaped like rectangles, hearts, or small flags, making them a simple way to practice cutting and sewing around corners. Keep the shapes uncomplicated until you feel comfortable handling curves.
Cut two matching fabric shapes for each tag. If you want a firmer finish, add a thin piece of interfacing between the layers. Place the fabric pieces with their right sides together and sew around the edges, leaving a small opening for turning.
Trim the seam allowance and clip the corners or curves carefully. Turn the tag right side out, press it flat, and stitch the opening closed. Add a small ribbon loop or a length of cotton twine through a reinforced opening near the top.
Attach the finished tags to wrapped gifts, fabric baskets, or reusable gift bags. Since the tags are small, they are perfect for practicing neat stitching without committing to a larger project. Keep them plain for a minimal look or choose festive prints for seasonal presents.
20. Simple Hemmed Tea Towels
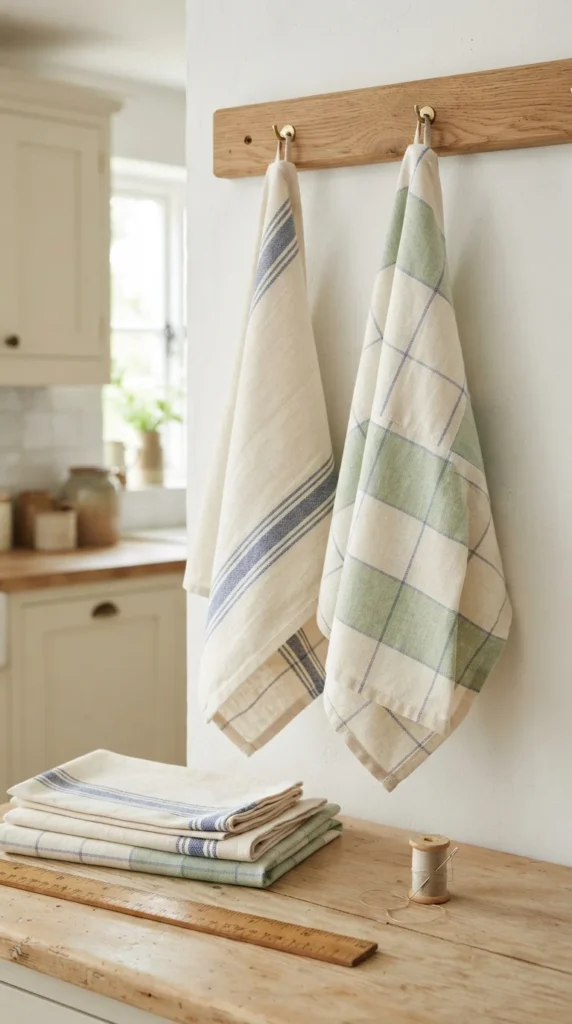
Tea towels are among the easiest useful items to sew because most of the work involves straight hems. You can buy cotton toweling fabric or use a suitable woven cotton that absorbs water well. This project is ideal for learning how to press folds before stitching.
Cut the fabric into a rectangle of your preferred size, such as 18 by 26 inches. Check that the edges are straight, then fold each side inward by about half an inch and press. Fold the edges inward again to enclose the raw fabric and hold the folds with clips.
Sew around the entire towel, keeping your stitching close to the inner folded edge. At the corners, slow down and pivot the fabric with the needle down so the seam remains neat. Add a small fabric loop at one corner if you want to hang the towel from a hook.
Wash the towel before using it in the kitchen, especially if the fabric has a factory finish. Avoid slippery or very thick material for your first attempt. Once you master the basic hem, you can add a contrasting border or make a matching set for your kitchen.
21. Simple Fabric Pencil Cases
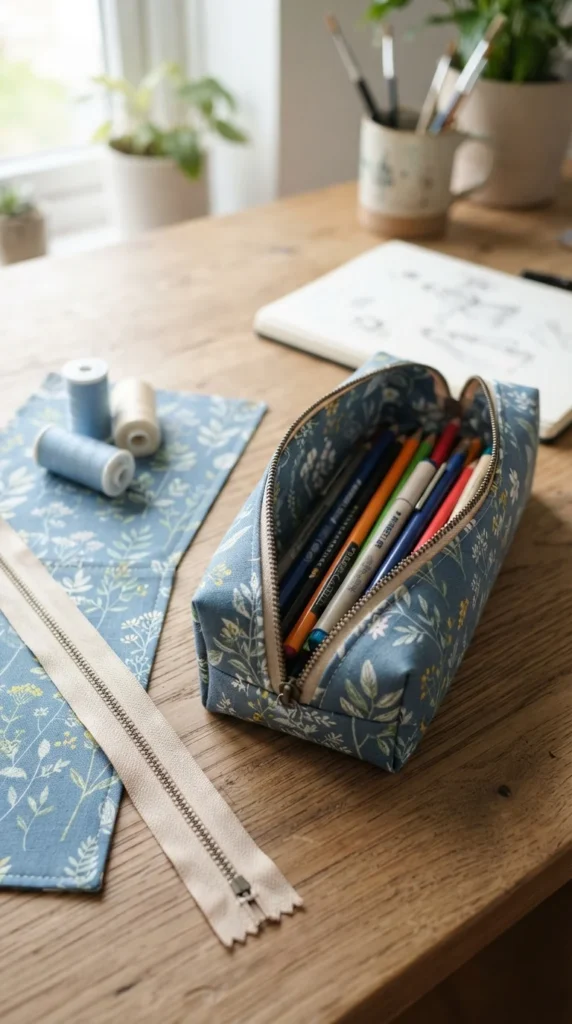
A fabric pencil case is a useful sewing project for students, artists, and anyone who wants a tidy place for small supplies. It shares some techniques with a zipper pouch, but you can keep the first version flat and rectangular. Choose a sturdy cotton that won’t stretch while you’re sewing.
Cut two outer fabric rectangles and two lining rectangles, all the same size. Sew the outer and lining pieces to opposite sides of the zipper tape, keeping the fabric edges aligned. Open the zipper and topstitch beside the zipper teeth to help the fabric lie flat.
Place the outer pieces together and the lining pieces together, with the right sides facing inward. Sew around the edges, leaving a gap in the lining for turning. Keep the zipper partly open and take care when sewing past its ends.
Turn the case through the lining opening and close the gap with stitching. Press the finished edges carefully and check that the zipper opens smoothly. Once the flat design feels easy, you can try adding a boxed bottom to create more room for markers or makeup brushes.
22. Simple Fabric Table Runners
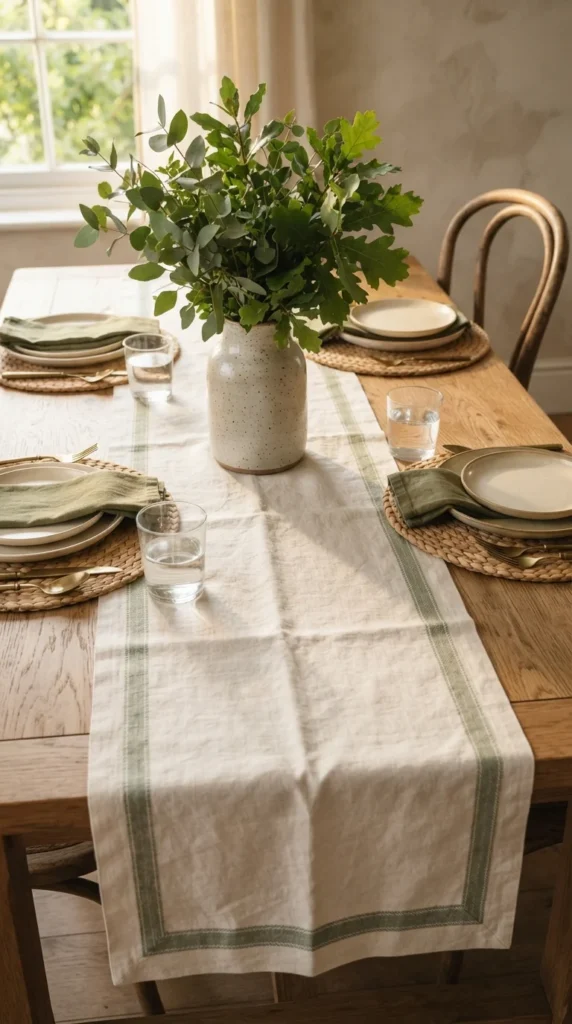
A table runner can make an ordinary dining table feel thoughtfully styled, and its construction is simple enough for a beginner. The main skills are measuring, cutting straight lines, and sewing even hems. Linen or cotton fabric works well for a clean, understated look.
Measure the length and width of your table, then choose a runner that leaves a little of the table visible around the edges. Cut a long rectangle with extra fabric for the seam allowance. Fold each edge inward twice, pressing carefully to create a consistent border.
Sew around the perimeter with a straight stitch. If the runner is long, take your time keeping the fabric flat so the stitching doesn’t drift. Fold the corners neatly before sewing them down for a more finished appearance.
For a simple decorative touch, use a contrasting thread or add a narrow strip of coordinating fabric at each end. Wash and press the runner before placing it on your table. Once you feel confident with straight hems, you can try adding a border or making matching placemats.
23. Simple Fabric Toy Bags
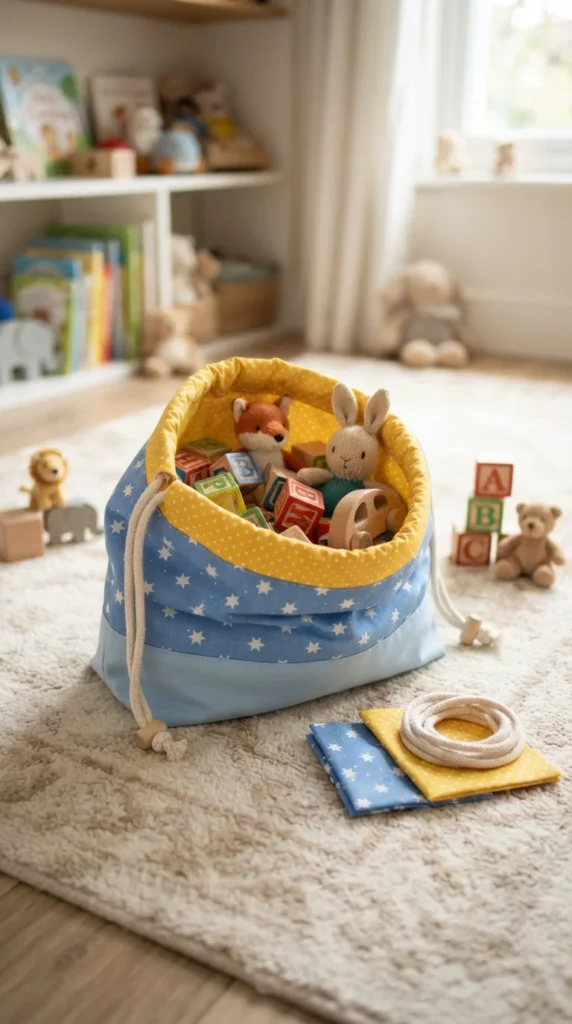
A fabric toy bag helps keep small toys together and gives you practice sewing larger rectangles and drawstring channels. It can hold building blocks, dolls’ accessories, or craft materials. Choose durable cotton and make the bag wide enough for easy access.
Cut two matching rectangles for the body. Sew the side seams and bottom edge with the right sides together, then finish the raw edges with a suitable seam finish if the fabric frays. Fold the upper edge down to create a wide channel, leaving room for the cord to slide freely.
Sew around the channel, leaving an opening for threading the drawstring. Turn the bag right side out and use a safety pin to guide the cord through the channel. Tie the ends securely and check that the bag opens and closes without catching.
For a flat base, sew across the lower corners before turning the bag right side out. Keep the first version simple, then add a small outer pocket if you want a place to store puzzle pieces or accessories. For homes with young children, choose age-appropriate closures and supervise access to cords.
24. Easy Fabric Pin Cushions
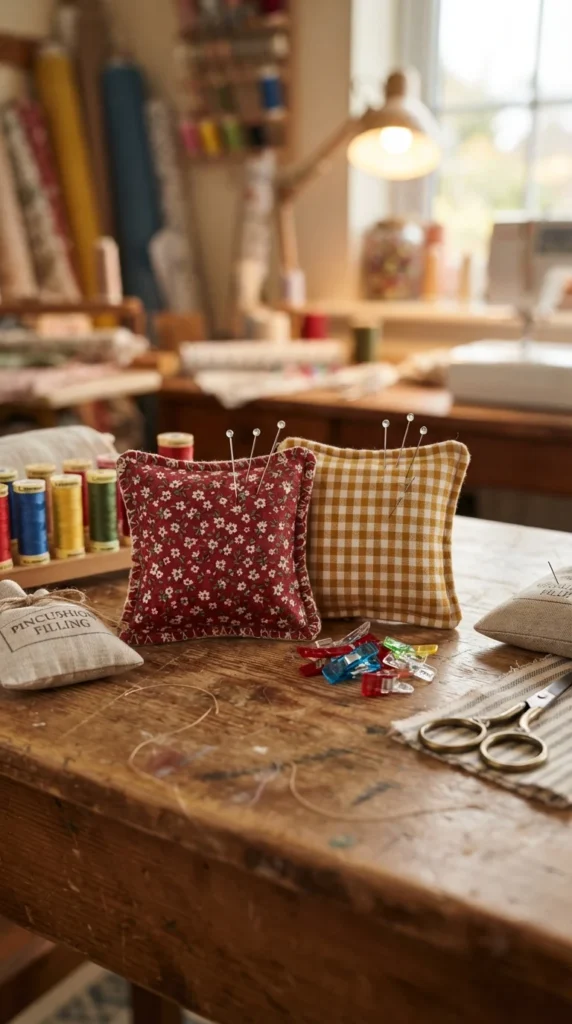
A pin cushion is a practical first project that can live beside your sewing machine. It requires only two fabric squares, filling, and basic straight stitching. The small size makes it easier to control the fabric, and you can finish one with either a machine or hand sewing.
Cut two squares about 5 inches wide. Place them with their right sides facing each other and sew around the edges, leaving a gap large enough for turning and filling. Trim the corners without cutting through the seams, then turn the cushion right side out.
Fill it with suitable polyester stuffing or another filling designed for pin cushions. Add small amounts at a time and distribute the filling toward the corners so the cushion feels firm rather than lumpy. Close the opening with small hand stitches, pulling the thread snugly to hide the raw edges.
Keep the finished cushion near your sewing supplies and return pins to it after use. You can add a decorative button in the center if you prefer a traditional tufted look, but a plain cushion works just as well. Store it away from small children and pets to prevent accidental contact with pins.
25. Simple Fabric Aprons
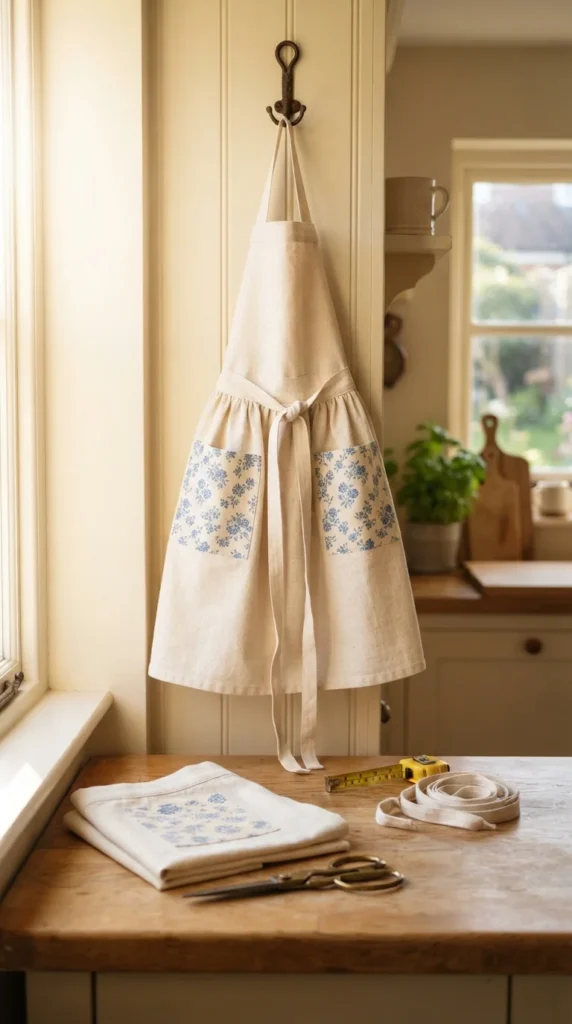
A simple half apron is a satisfying project that brings together straight seams, hems, pockets, and fabric ties. It’s useful for baking, gardening, painting, and everyday craft sessions. Choose medium-weight cotton that is comfortable to wear and easy to wash.
Cut a wide rectangle for the apron body and smaller rectangles for one or two pockets. Hem the sides and bottom of the main panel by folding the edges inward twice and stitching them down. Fold the top edge to create a channel or a clean waistband attachment area, depending on your chosen design.
Hem the pocket edges, position the pocket on the front of the apron, and sew around its sides and bottom. Add a dividing line if you want separate sections for utensils or small tools. Make the waist ties from long folded strips of fabric, then attach them securely to the upper corners or sew the apron body into a separate waistband.
Try the apron on before trimming the ties to their final length. Reinforce the points where the ties attach, especially if you’ll use the apron while carrying small tools. Once you’ve made one, you can adjust the width, length, and pocket placement to suit your everyday tasks.
Final Thoughts
These 25 simple beginner sewing projects give you plenty of ways to practice straight seams, hems, elastic, zippers, pockets, and basic fabric construction while making items you’ll actually use. Start with a scrunchie, coaster, or fabric bookmark, then move on to bags, pillow covers, and aprons as your confidence grows. Keep your first attempts simple, take your time, and remember that small imperfections are part of learning a new skill. Choose one project today, gather a few fabric scraps and basic sewing supplies, and make your first handmade creation.

Lily Summers is a digital artist and creative storyteller who loves bringing colorful characters to life. With a passion for cartoons, fan art, and playful sketches, she inspires others to explore their imagination through art. When she’s not sketching, you’ll find her dreaming up new ideas for CraftedWizard.com to spark creativity in every artist. 🌈✨