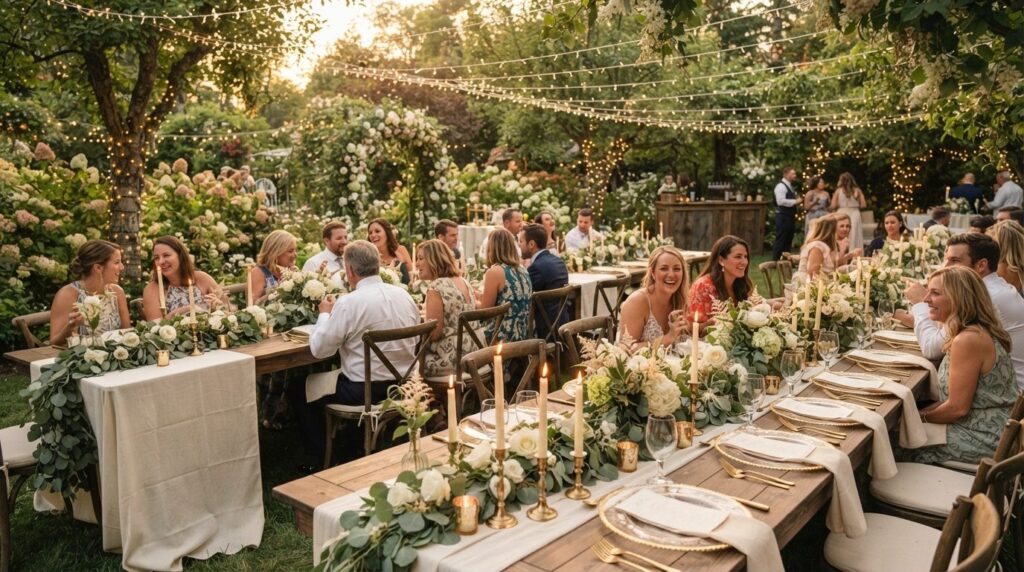
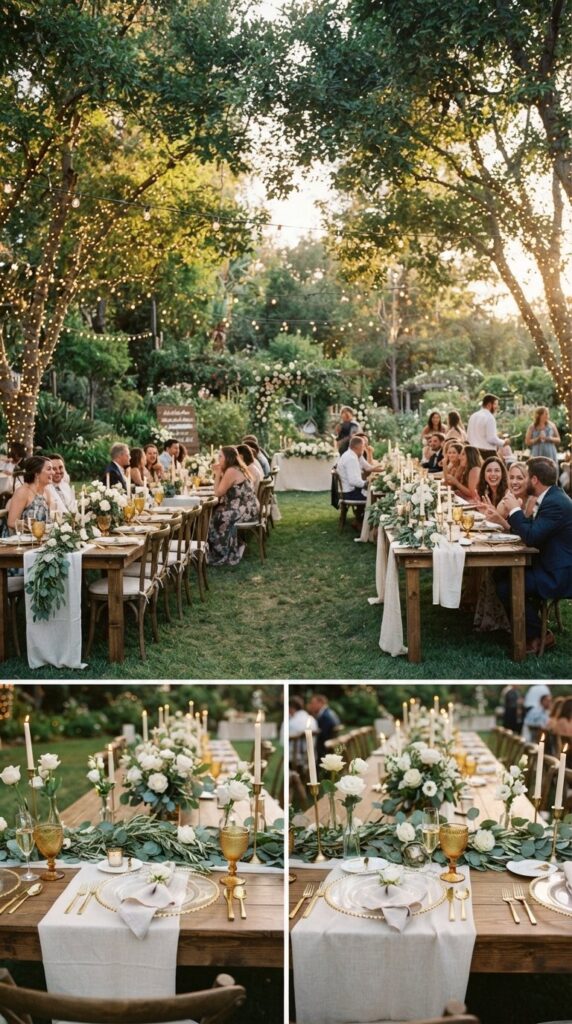
Want your wedding to look like it belongs in a luxury magazine without spending a fortune on professional decorators? The secret is not buying expensive decorations. It’s choosing the right colors, using a few quality-looking materials, and arranging everything with care. With simple DIY projects, you can create beautiful centerpieces, romantic lighting, personalized signs, and stunning backdrops that make your big day feel special. Whether you’re planning a garden wedding, a rustic celebration, or an elegant indoor reception, these practical ideas will help you create decorations that look polished, coordinated, and personal.
1. Choose a Simple Wedding Color Palette
One of the easiest ways to make DIY decorations look professional is to limit your colors. Too many competing shades can make a venue feel cluttered, even when every decoration is attractive on its own.
Choose two main colors and one accent shade. For example, ivory, sage green, and gold create a timeless look, while blush pink, white, and champagne feel romantic. Navy blue, cream, and silver work beautifully for a more formal celebration.
Use your chosen colors throughout the venue, including the table settings, flower arrangements, welcome sign, and chair decorations.
Try this simple approach:
- Use white or cream as your main color.
- Add greenery or soft pastel flowers for texture.
- Reserve metallic accents for small details, such as candleholders and ribbon.
- Repeat the same shades across different decorations.
Before buying supplies, collect a few fabric samples, flower photographs, or paint swatches. Seeing the colors together helps you avoid mismatched materials and unnecessary purchases.
2. Create Elegant DIY Floral Centerpieces
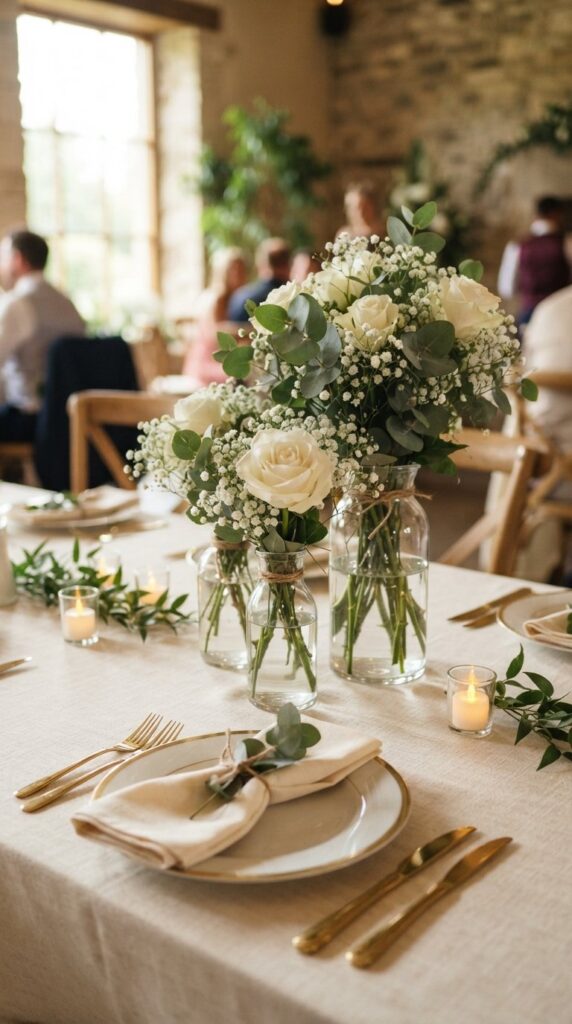
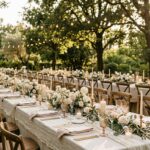
Floral centerpieces can transform an ordinary reception table into something beautiful. You don’t need oversized arrangements or expensive flowers to achieve the effect. A few carefully chosen stems in simple glass vases can look just as elegant.
Start with clear bud vases, mason jars, or small glass cylinders. Choose flowers that complement your palette, such as roses, carnations, baby’s breath, or seasonal blooms. Add eucalyptus or another leafy green to create movement and fill empty spaces.
For a polished arrangement, vary the height of the vases while keeping the flowers in similar colors. Grouping three containers together often looks more intentional than scattering individual jars randomly across the table.
To make the process easier, prepare artificial arrangements several days before the wedding. If you prefer fresh flowers, arrange them close to the event and store them according to the florist’s care instructions.
Keep centerpieces low enough for guests to see one another across the table. This small detail makes the reception more comfortable and helps the tables look balanced.
3. Make Romantic Lighting With Candles and Fairy Lights
Lighting plays a major role in how wedding decorations appear in photographs. Even simple materials can look luxurious when the light is warm, soft, and consistent.
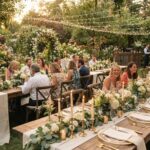
Use glass candleholders, LED tea lights, and warm-white fairy lights to create a welcoming atmosphere. Place small candles between floral arrangements or along the center of long banquet tables. For an outdoor reception, string lights can add a magical glow above the dining area.
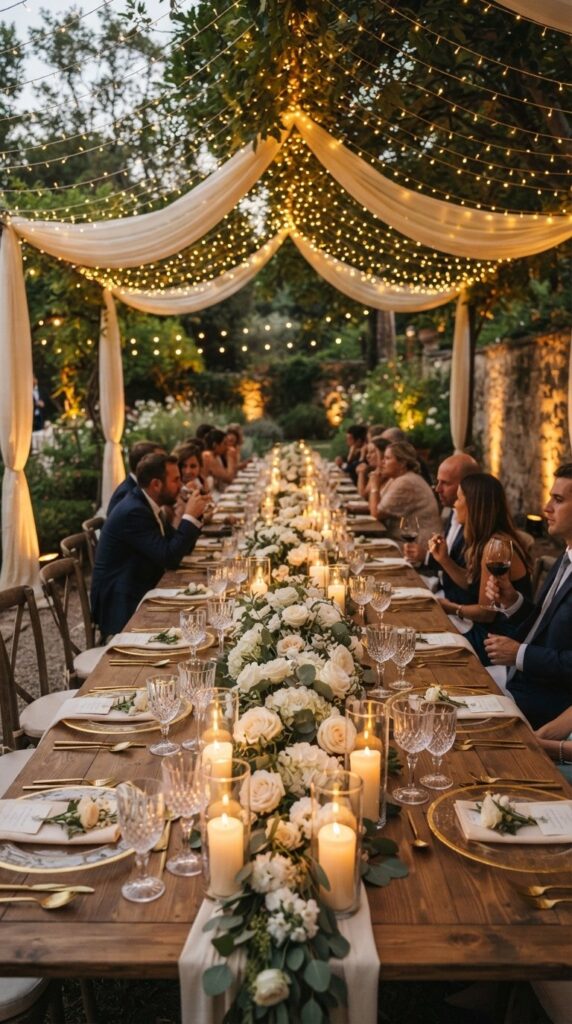
Here are a few ways to arrange your lighting:
- Table lighting: Group candles in odd numbers, using different heights for visual interest.
- Backdrop lighting: Hang warm fairy lights behind a fabric backdrop for photographs.
- Pathway lighting: Place enclosed LED lanterns along walkways without blocking foot traffic.
- Tent lighting: Use venue-approved, outdoor-rated string lights for a covered reception.
Avoid mixing cool blue lights with warm golden lights in the same area, as the difference can make photographs look inconsistent. Always check venue rules before using open flames, and keep fabric, flowers, and paper decorations away from heat sources.
4. Design a Beautiful DIY Wedding Welcome Sign
A welcome sign is often one of the first decorations guests notice. It sets the mood for the celebration and creates an attractive spot for arrival photographs.
You can make one using a wooden board, a framed poster, or a clear acrylic panel. For a modern wedding, try a transparent sign with a simple frame. For a rustic celebration, use a smooth wooden board with a natural finish.
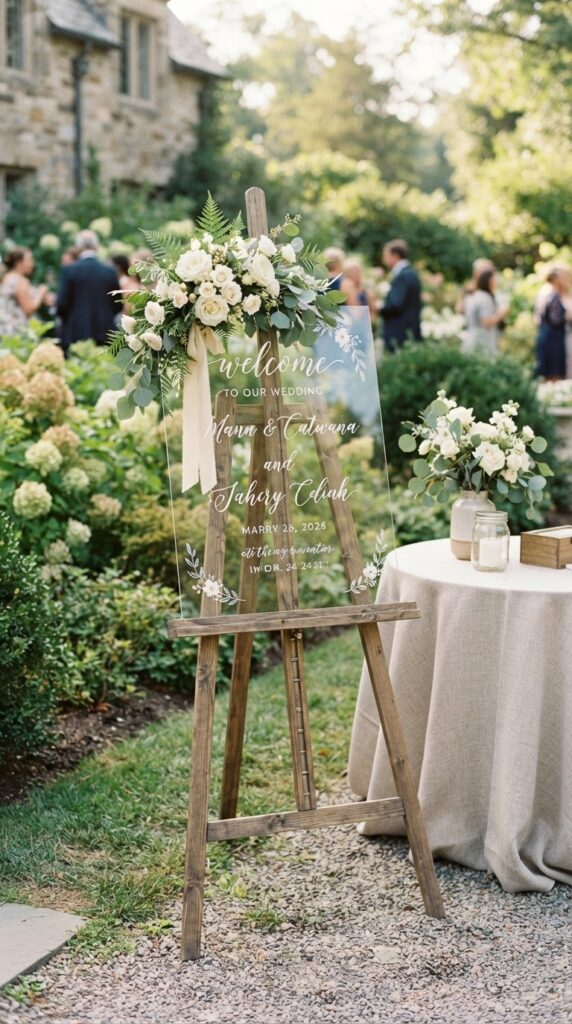
To create your own sign:
- Choose a board or panel that suits your venue.
- Plan the layout in a design program before adding lettering.
- Apply vinyl lettering, paint the wording by hand, or attach a printed design.
- Decorate one corner with flowers or greenery.
- Position the finished sign where guests can see it without obstructing the entrance.
Keep the wording short and the layout spacious. Too many decorative elements can make the sign difficult to read. If you’re using acrylic, clean fingerprints from the surface before guests arrive.
5. Make a Simple Wedding Photo Backdrop
A dedicated photo area gives guests a place to take pictures and adds another attractive feature to your reception. Fortunately, a professional-looking backdrop doesn’t require a complicated structure.
Use a sturdy freestanding frame, two or three lengths of lightweight fabric, and a small floral arrangement. Ivory, champagne, blush, and sage are excellent choices for a soft, coordinated look.
Attach the fabric securely and allow it to fall in natural folds. Add artificial flowers along one side or across the upper corner instead of covering the entire frame. This creates a focal point while leaving enough room for guests to pose.
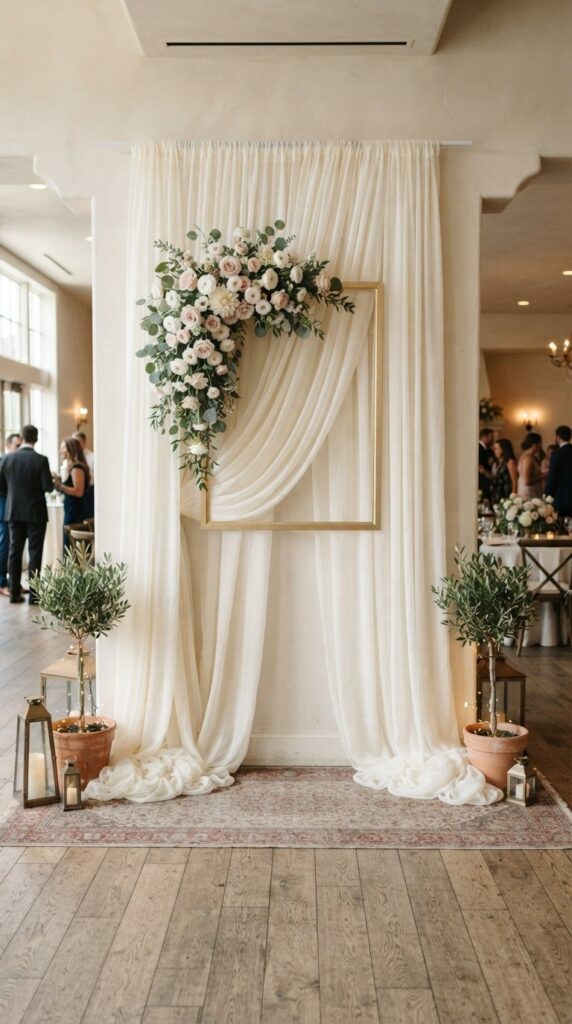
Before the event, test the backdrop with a few photographs. Check how it looks from different angles and whether the lighting creates harsh shadows. Make sure the frame is stable, particularly if children will be nearby or the backdrop is being used outdoors.
6. Add Small Details That Make Everything Look Finished
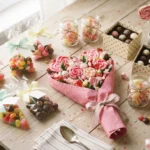
Professional-looking wedding decor often comes down to consistency. Matching table numbers, neatly folded napkins, coordinated ribbons, and carefully arranged favors can make a venue feel thoughtfully styled.
Try adding a few small finishing touches:
- Use matching ribbon on chair decorations and favor boxes.
- Print table numbers on the same cardstock as your menus.
- Fold napkins neatly and position cutlery consistently.
- Place guest favors in organized rows or shallow trays.
- Remove packaging, glue marks, and visible tape before displaying decorations.
You don’t have to decorate every corner. Leave some surfaces uncluttered so the flowers, lighting, and main focal points can stand out.
Create a sample table at home before the wedding. Photograph it in daylight and in the evening to see how the colors and materials work together. You can adjust the arrangement early instead of making last-minute changes at the venue.
Final Thoughts
Creating elegant DIY wedding decorations is all about thoughtful choices, coordinated colors, and careful presentation. Start with a simple palette, make a few beautiful centerpieces, add warm lighting, and choose one or two focal points, such as a welcome sign or photo backdrop. Prepare as much as possible before the wedding day and ask friends or family to help with the setup. Save this guide to your Pinterest board and choose your first DIY project today!

Lily Summers is a digital artist and creative storyteller who loves bringing colorful characters to life. With a passion for cartoons, fan art, and playful sketches, she inspires others to explore their imagination through art. When she’s not sketching, you’ll find her dreaming up new ideas for CraftedWizard.com to spark creativity in every artist. 🌈✨