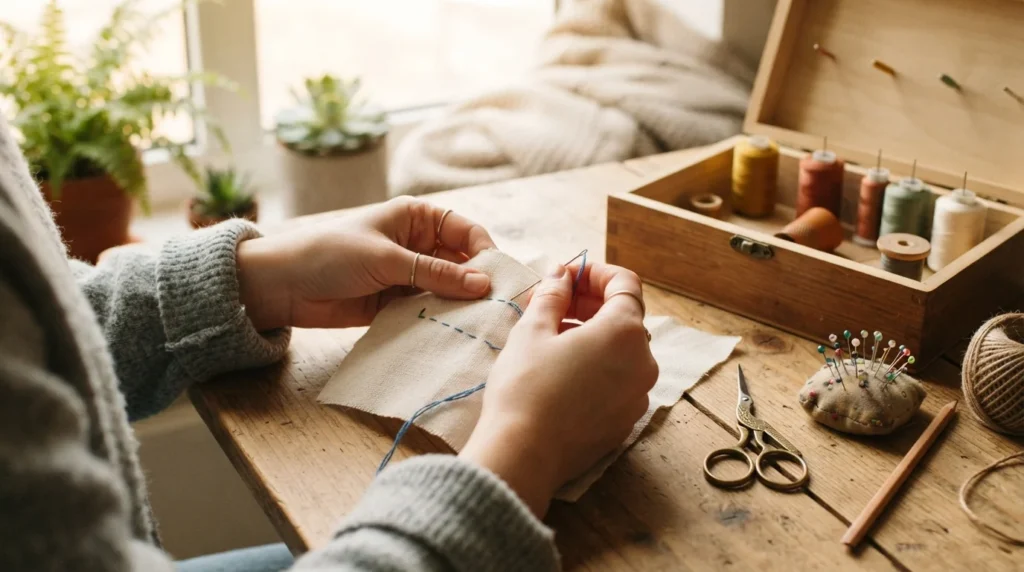
Have you ever found a loose button, small tear, or unfinished fabric edge and wished you knew how to fix it yourself? Hand sewing is much easier than it looks, and you only need a few basic supplies to get started. With some fabric, a needle, thread, and a little practice, you can learn useful stitches that work for repairs, crafts, clothing, and simple DIY projects.
What You Need to Start Sewing by Hand
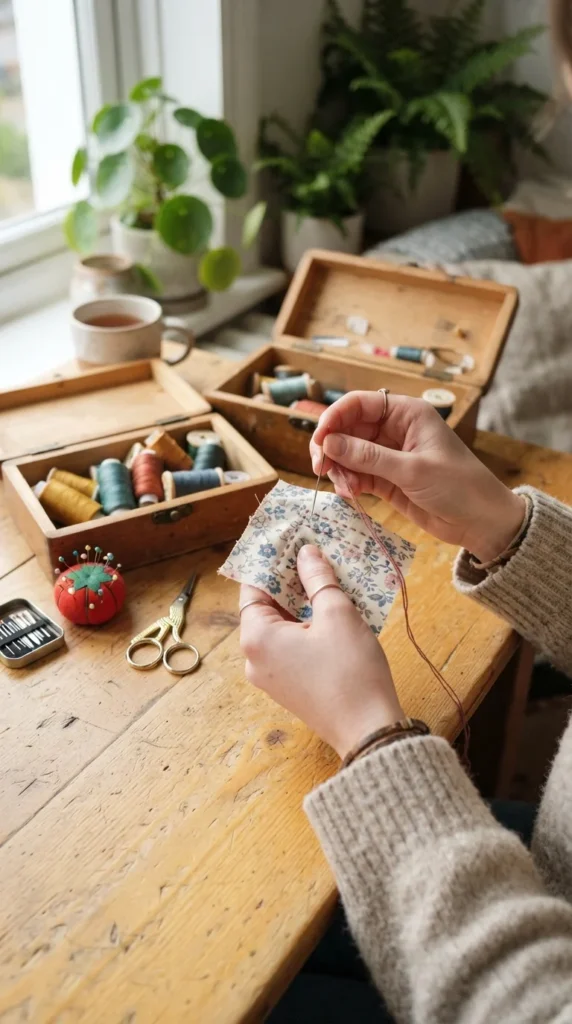
You do not need a large sewing kit for your first project. Gather a few simple supplies before you begin:
- A hand-sewing needle
- All-purpose sewing thread
- Small fabric scraps
- Sharp fabric scissors
- Straight pins or sewing clips
- A thimble, if you find it more comfortable
- A ruler or measuring tape
- A seam ripper for correcting mistakes
Choose medium-weight cotton fabric for practice. It is easier to handle than slippery satin or stretchy knit fabric.
Pick a thread color that contrasts with your fabric while learning. Seeing each stitch clearly makes it easier to spot uneven spacing and improve your technique.
How to Thread a Needle
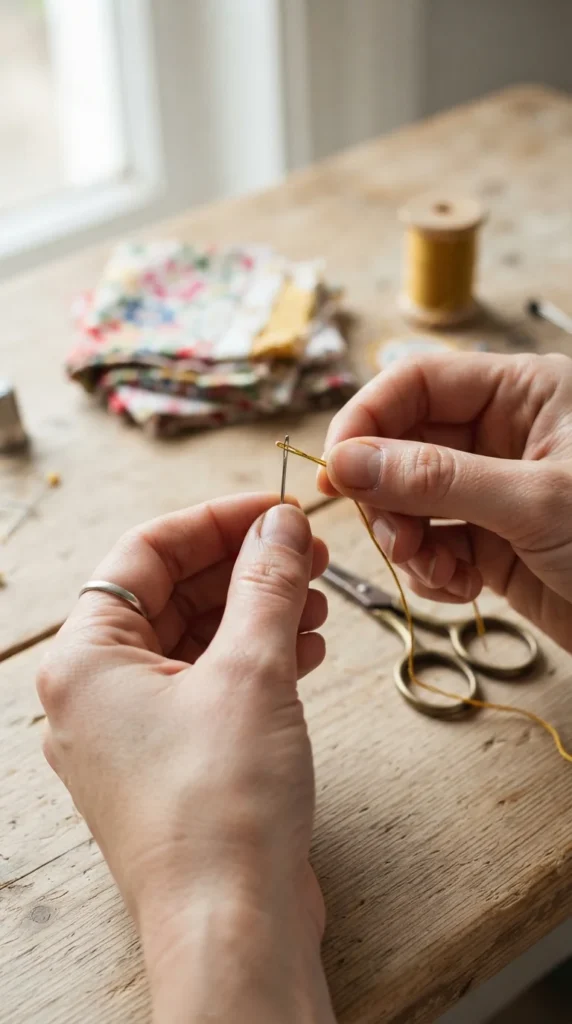
Start by cutting about 18 to 24 inches of thread. A very long piece can become tangled while you sew, so shorter lengths are easier for beginners.
Pass one end through the eye of the needle. If the thread keeps slipping away, cut the end cleanly and flatten it between your fingers before trying again.
Pull the thread through until both ends are roughly even. Tie a small knot at the ends. For some sewing techniques, you may work with a single strand instead, but two strands are simple for basic practice.
Learn the Running Stitch First
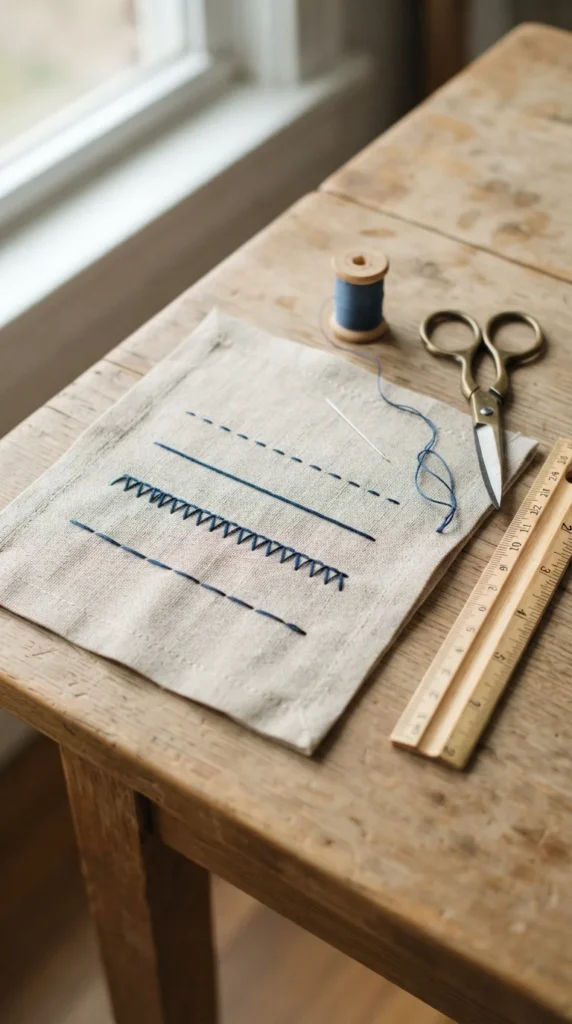
The running stitch is one of the easiest hand stitches to learn. It works well for basic seams, gathering fabric, temporary stitching, and simple craft projects.
To make it:
- Bring the needle up through the back of the fabric.
- Pull the thread until the knot rests against the fabric.
- Push the needle down through the fabric a short distance away.
- Bring it back up again.
- Continue creating evenly spaced stitches.
Try to keep your stitches similar in size. They do not have to be perfect. A steady rhythm matters more than getting every stitch identical.
Practice on a straight line drawn lightly on a fabric scrap. Once you feel comfortable, try sewing two fabric pieces together along a straight edge.
Try the Backstitch for Stronger Seams
The backstitch creates a stronger line than a basic running stitch, making it useful for small clothing repairs, bags, and seams that will receive regular handling.
Bring the needle up from the back of the fabric. Make one regular stitch forward, then bring the needle up one stitch-length ahead. Insert the needle back into the end of the previous stitch.
Repeat this movement along the seam. The stitches overlap slightly on the front, creating a continuous line.
Backstitching takes a little more time than running stitch, but it is a great skill to learn early. Use it when you want your handmade seam to hold firmly.
Learn the Whip Stitch for Fabric Edges
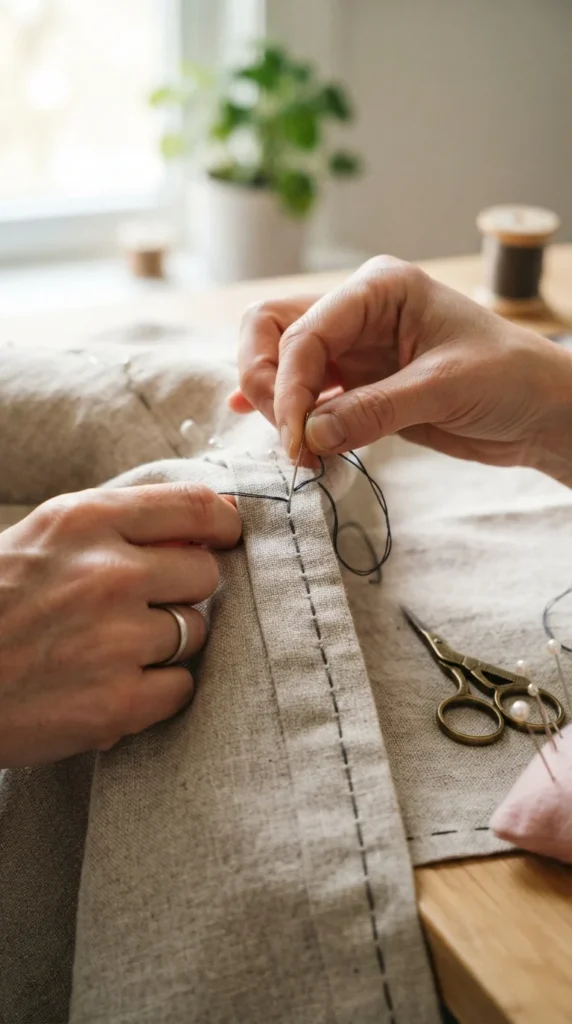
Whip stitch is especially useful when you want to join fabric edges or keep an edge from separating. It is also commonly used for felt crafts and small handmade projects.
Place the two fabric edges together. Bring the needle from the back and pass it over the edge before inserting it through the fabric again.
Repeat the movement at regular intervals. The thread will create small diagonal stitches along the edge.
Keep the tension firm but gentle. Pulling too tightly can cause the fabric to bunch up. This stitch is particularly handy for beginners because the sewing direction is easy to see as you work.
Practice the Slip Stitch for a Neater Finish
The slip stitch is useful when you want the stitches to be less visible. It works well for closing small openings in pillows, stuffed crafts, hems, and other projects.
Fold the fabric edges inward along the opening. Bring the needle through one folded edge, then take a tiny horizontal stitch from the opposite folded edge.
Move back and forth between the two sides. Keep the stitches small and gently pull the thread after every few stitches.
With matching thread, the finished seam can become difficult to see. This makes slip stitch a useful technique when you want a cleaner appearance.
Finish Your Sewing Without Loose Thread
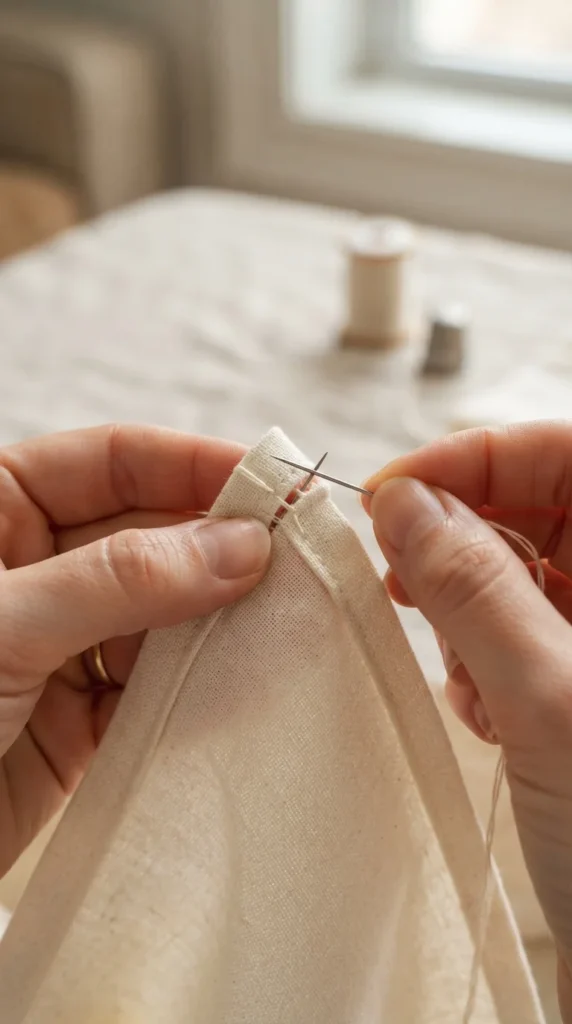
Once your stitching is complete, you need to secure the thread so the seam does not unravel.
Make a small loop close to the fabric. Pass the needle through the loop and pull gently to create a knot. Repeat once more if you want extra security.
Trim the remaining thread close to the knot with sharp scissors. Avoid cutting the fabric while trimming.
If your seam is visible, take a moment to inspect the stitches before cutting the thread. Fixing a loose stitch while the needle is still threaded is much easier than reopening the project later.
Simple Tips for Better Hand Sewing
A few small habits can make sewing much easier:
- Keep your thread fairly short to reduce tangles.
- Use sharp scissors for cleaner thread and fabric cuts.
- Practice on scrap fabric before starting a real project.
- Avoid pulling the thread too tightly.
- Keep your stitches reasonably even.
- Use a thimble if the needle makes your fingertips sore.
- Take breaks when your hands become tired.
Start With a Small Sewing Project
Once you know these basic stitches, put them to use on something simple. Repair a loose button, sew a small fabric pouch, decorate a piece of felt, mend a tiny tear, or create a basic bookmark.
Do not worry about making your first project perfect. Hand sewing improves through repetition, and every uneven stitch gives you a chance to understand how the needle, thread, and fabric work together.
Save this guide for your next beginner sewing project, gather a few fabric scraps, and practice one stitch at a time. Before long, you will have the confidence to tackle useful repairs and simple handmade projects on your own.

Lily Summers is a digital artist and creative storyteller who loves bringing colorful characters to life. With a passion for cartoons, fan art, and playful sketches, she inspires others to explore their imagination through art. When she’s not sketching, you’ll find her dreaming up new ideas for CraftedWizard.com to spark creativity in every artist. 🌈✨