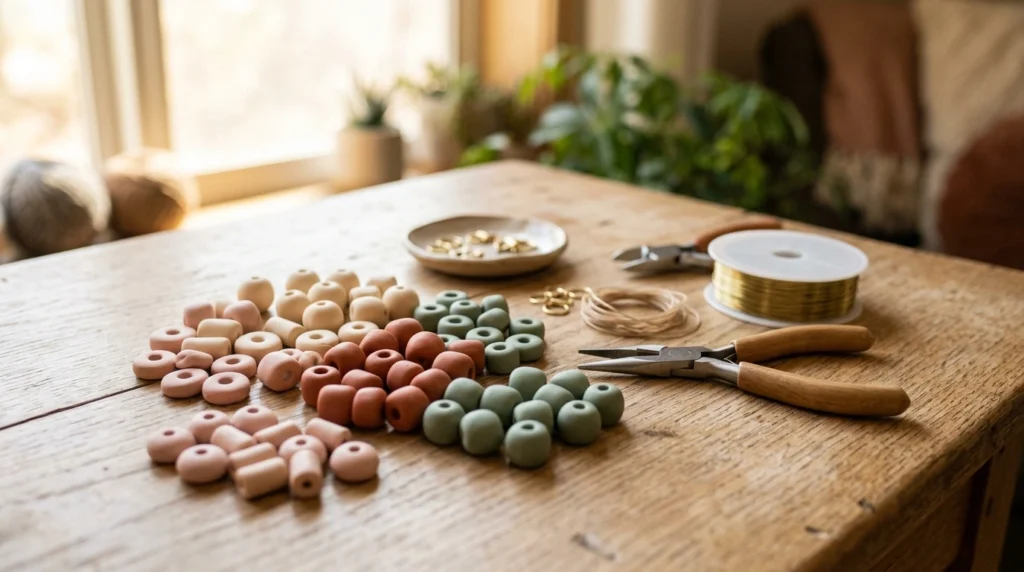
Ever made polymer clay beads that looked adorable on your worktable but somehow less polished after baking? The difference is usually not fancy equipment—it comes down to smooth surfaces, even shapes, clean holes, and a good finishing routine. With a few simple techniques, you can turn basic polymer clay into beads that look ready for bracelets, earrings, necklaces, and handmade gifts.
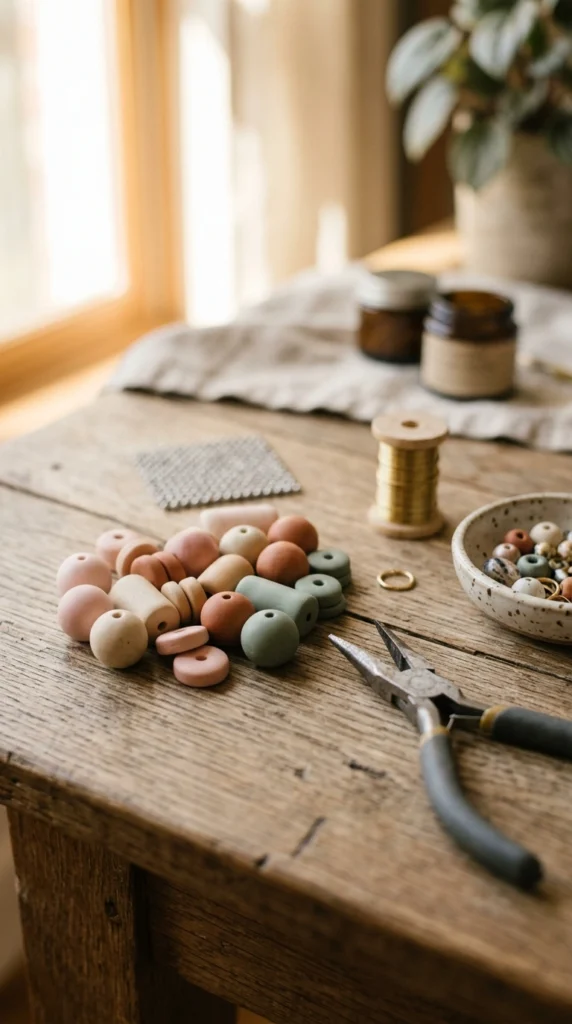
The best part is that these techniques are easy to repeat. Once you get your process down, you can make a whole batch of polished-looking beads without spending hours fixing imperfections.
Choose the Right Clay and Prepare Your Workspace
Start with polymer clay that is still soft and workable. Clay that has become crumbly or overly stiff can make it harder to create smooth beads. Condition it by kneading and rolling it between your hands until it feels flexible and even.
Your work surface matters, too. A smooth ceramic tile, glass sheet, or dedicated craft mat gives you a clean area for shaping. Dust and lint can easily stick to light-colored clay, so wipe your workspace before you begin.
Gather a few basic tools:
- Polymer clay in your chosen colors
- A sharp craft blade
- A bead piercing tool or thin needle
- Acrylic roller or pasta machine
- Small ruler
- Fine sandpaper for finishing
- Baking surface or ceramic tile
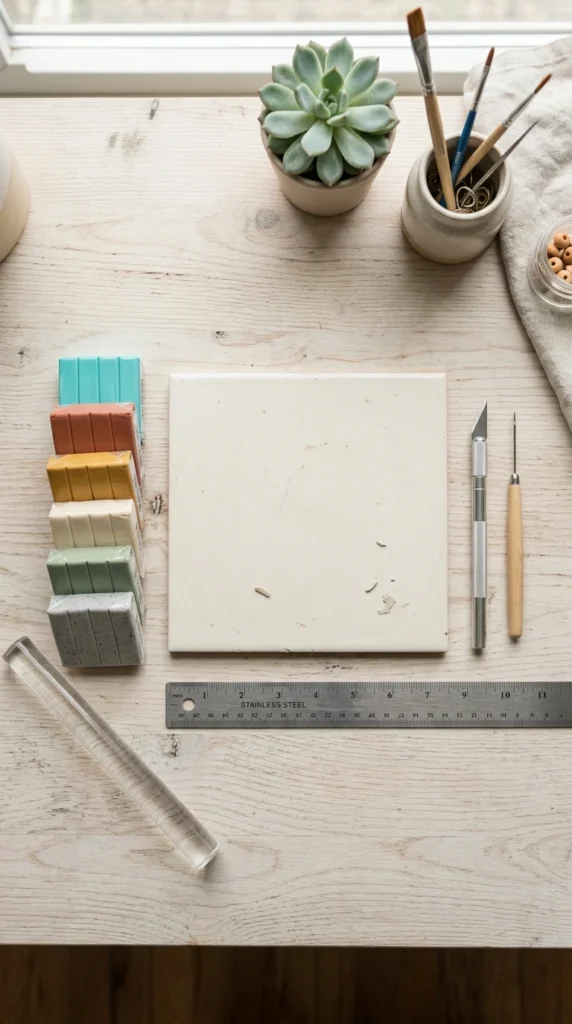
Conditioning is one of those small steps that makes a big difference. Roll the clay into a sheet, fold it, roll it again, and repeat until the surface looks smooth. Avoid rushing this stage, especially when making beads with clean geometric shapes.
Shape Your Beads for Consistency
Professional-looking beads usually have one thing in common: they look like they belong to the same collection. If you’re making a bracelet with round beads, try to keep the beads close in size and shape.
For simple round beads, roll equal portions of clay into balls between your palms. A small ruler can help you divide your clay into matching pieces before rolling.
For more control, try weighing each piece with a small digital scale. You don’t have to measure every bead perfectly, but using the same amount of clay will make the finished batch much more consistent.
You can also experiment with:
- Round beads
- Flat disc beads
- Barrel beads
- Oval beads
- Rondelle shapes
- Cube-style beads
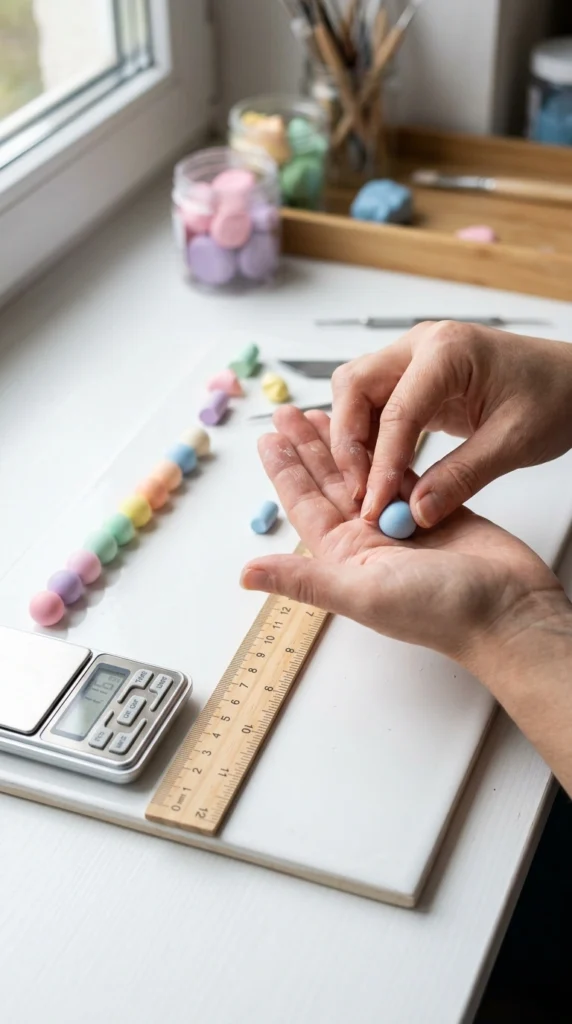
Take a moment to inspect each bead before making the hole. Smooth out fingerprints, dents, seams, or tiny cracks while the clay is still soft. Once the bead goes into the oven, those flaws become much harder to correct.
Make Clean, Centered Holes
A clean hole can make an ordinary clay bead look much more professional. The easiest approach is to pierce the bead slowly rather than pushing the tool through in one fast motion.
Hold the bead gently between your fingers and insert the piercing tool from one side. Stop before it reaches the opposite edge, then turn the bead and finish the hole from the other side. This helps prevent the clay from bulging or tearing around the exit point.
For larger beads, rotating the tool as you work can create a smoother channel. If clay starts sticking to your tool, wipe it clean and continue slowly.
Try to keep the hole centered. An off-center opening can make a bead hang unevenly when strung, particularly with flat or oval shapes.
Bake Without Losing the Shape
Follow the baking temperature and time recommended on your specific polymer clay package. Different brands and formulas can have different instructions, so the package directions should take priority.
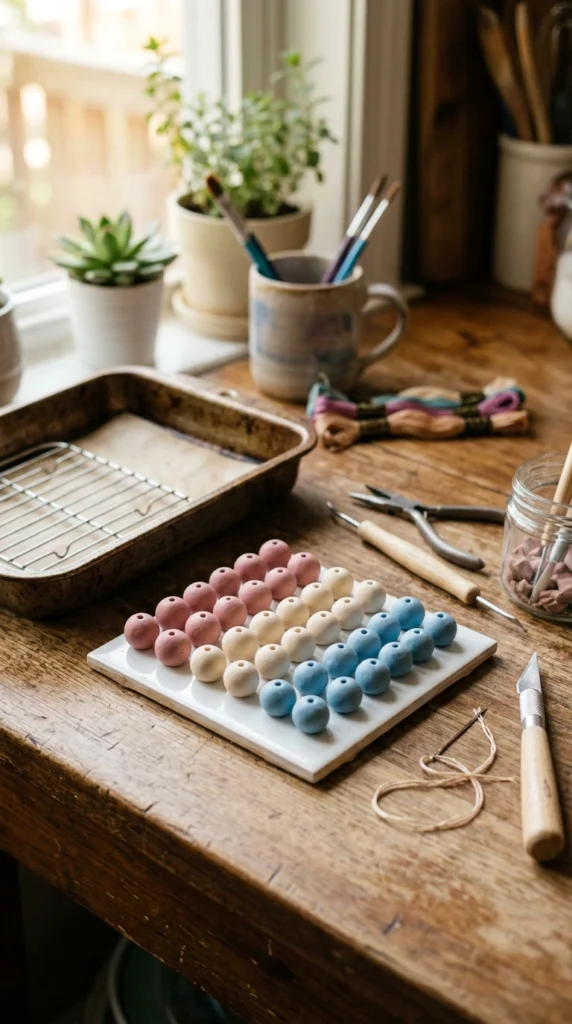
Arrange your beads on a smooth baking surface with enough room between them. If you are baking round beads, support them carefully so they don’t develop flat spots.
Avoid handling the beads immediately after they come out of the oven. They can be softer while hot and become firmer as they cool. Let them cool completely before judging the final shape.
Sand and Polish for a Smooth Finish
Even carefully shaped beads can have tiny rough areas after baking. Fine-grit wet/dry sandpaper can help smooth the surface and soften sharp edges around the holes.
Work gently rather than trying to remove a large amount of material at once. Sanding with water can help reduce dust and create a smoother finish. Wipe the bead clean and inspect it under good light as you work.
Not every bead requires a glossy coating. Many polymer clay surfaces look beautiful with a natural satin or matte finish. If you want extra shine, use a finish made specifically for polymer clay and follow its application directions.
For the cleanest result, apply thin coats rather than one heavy layer. Let each coat dry fully before handling the beads.
Add the Finishing Details
This is where your beads can go from handmade to shop-ready. Check each piece for stray fibers, uneven edges, cloudy spots, or rough holes before adding jewelry findings.
A simple quality check can include:
- Is the bead shape even?
- Is the hole centered?
- Are the edges smooth?
- Is the surface free from fingerprints?
- Has the bead been baked according to the clay instructions?
- Is the finish even?
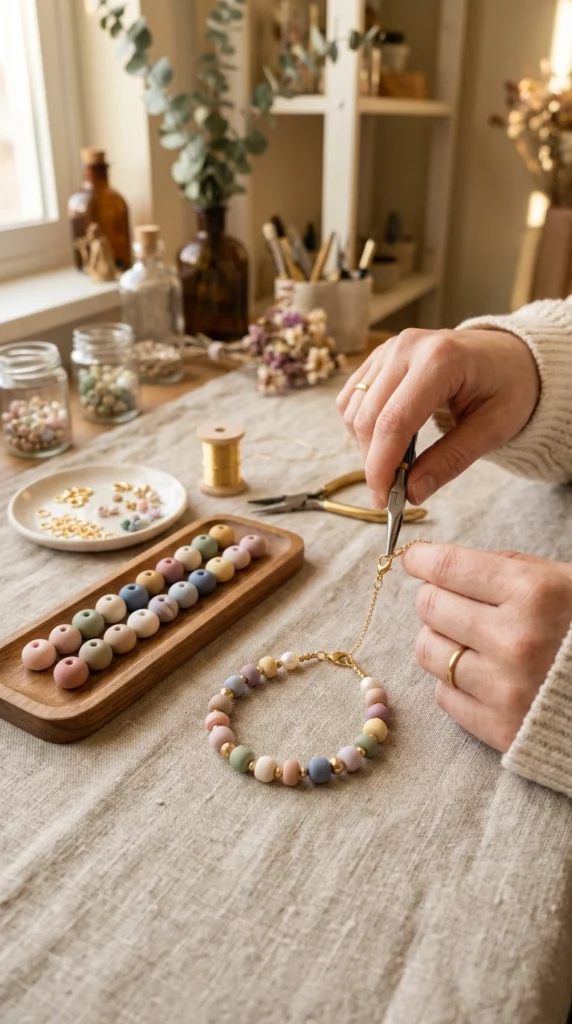
Small details matter when customers will wear or handle your finished pieces. Matching bead sizes, clean holes, smooth edges, and consistent colors can make an entire handmade collection feel much more polished.
Final Thoughts
Making professional-looking polymer clay beads is mostly about slowing down during the small steps: condition the clay well, keep your shapes consistent, pierce clean holes, bake carefully, and smooth the finished pieces when needed. You don’t need a large collection of tools to get started. Pick one bead shape, make a small batch, and practice until the process feels natural. Save this guide for your next clay session and make your first polished bead collection this week!

Lily Summers is a digital artist and creative storyteller who loves bringing colorful characters to life. With a passion for cartoons, fan art, and playful sketches, she inspires others to explore their imagination through art. When she’s not sketching, you’ll find her dreaming up new ideas for CraftedWizard.com to spark creativity in every artist. 🌈✨