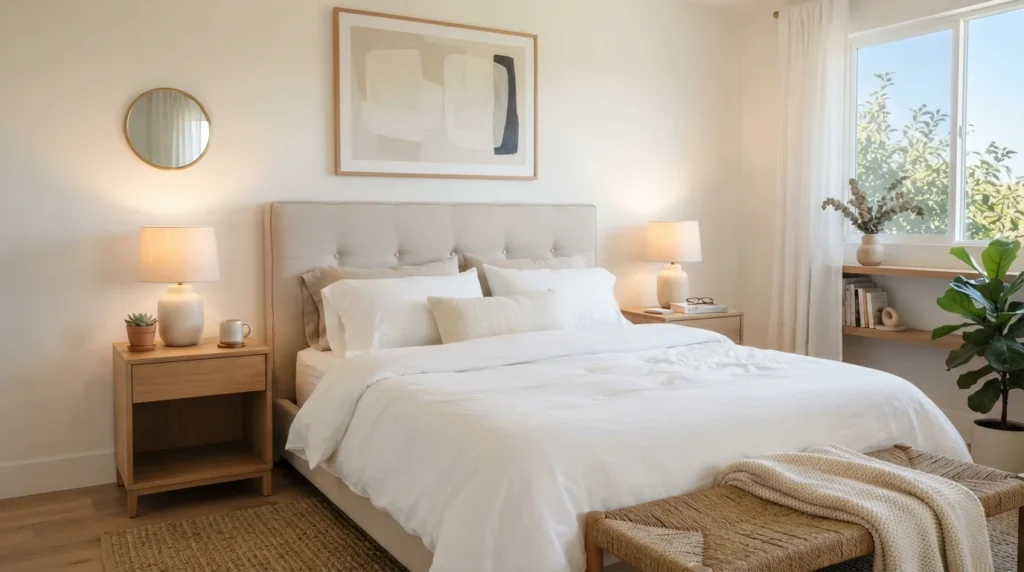
Want to give your bedroom a stylish makeover without spending a fortune on expensive furniture? A DIY fabric headboard is an easy way to transform your bed into a cozy, polished focal point. With a few affordable supplies, your favorite fabric, and a little creativity, you can create a beautiful headboard that looks custom-made.
Whether you love soft neutrals, modern patterns, or a luxurious upholstered look, this simple project lets you customize your bedroom to match your personal style.
Step 1: Gather Your Supplies
Before getting started, collect everything you need. Most of these materials are available at home improvement stores, fabric shops, or online retailers.
Materials you’ll need:
- A sheet of plywood or MDF cut to your desired headboard size
- Upholstery foam or a thick foam mattress topper
- Quilt batting for a smooth, cushioned finish
- Upholstery fabric in your preferred color or pattern
- A staple gun and staples
- Scissors or a fabric cutter
- Measuring tape and pencil
- Strong adhesive suitable for foam and wood
- Sandpaper for smoothing rough wooden edges
Choose a fabric that complements your bedding and curtains. Linen, cotton canvas, velvet, and textured upholstery fabrics are all excellent options.
If you’re working with a small budget, consider repurposing leftover fabric or using a clean, sturdy curtain panel.
Step 2: Measure and Prepare the Headboard Base
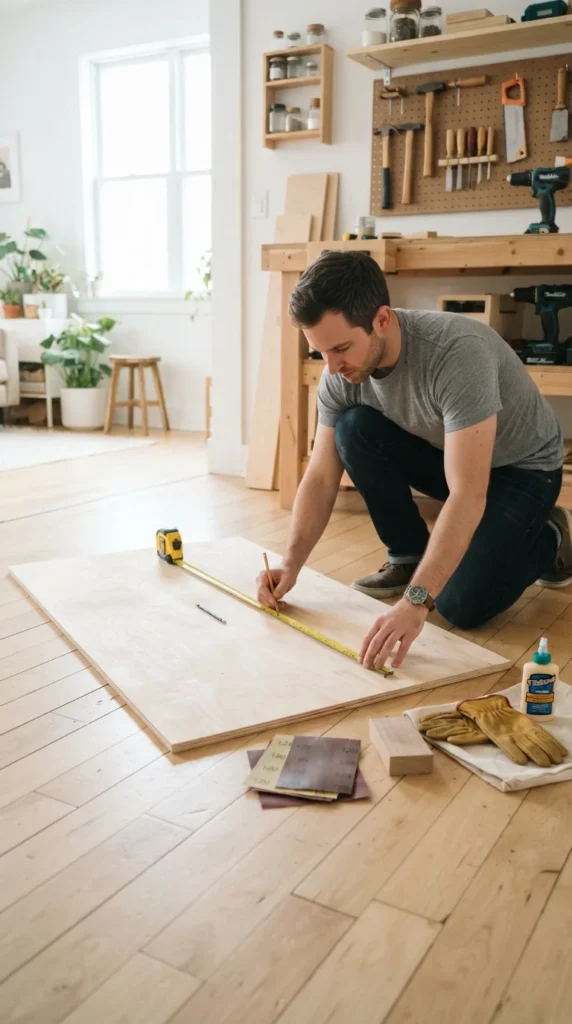
Start by measuring the width of your bed. Your headboard can match the mattress width for a simple appearance or extend a few inches beyond each side for a more substantial, designer-inspired look.
A typical headboard height ranges from 36 to 48 inches above the mattress, although you can adjust the dimensions to suit your room.
Once you’ve decided on the measurements:
- Mark the dimensions on your plywood or MDF.
- Have the board cut to size if you don’t have suitable cutting tools.
- Smooth any rough edges with sandpaper.
- Check that the board is clean, dry, and free of splinters.
You can keep the shape rectangular for a contemporary style or choose a gently curved top for a softer, more decorative appearance.
Step 3: Add Foam for a Soft, Upholstered Finish
The foam is what gives your fabric headboard its comfortable, padded appearance. It also creates a more professional finish than fabric stretched directly over a wooden board.
Lay your foam on a flat surface and place the wooden base on top. Trace around the board and cut the foam to match its shape.
Apply a suitable adhesive to the wooden surface according to the manufacturer’s instructions. Carefully position the foam and press it into place.
Next, spread the quilt batting over the foam. Leave several inches of extra batting around every edge so you can wrap it around the back of the board.
The batting helps soften the corners and prevents the upholstery fabric from looking uneven.
Helpful tip: A foam thickness of approximately 1–2 inches is a practical starting point for a simple upholstered headboard. Thicker foam creates a plusher appearance, while thinner foam gives you a sleeker profile.
Step 4: Cover the Headboard With Fabric
This is the step where your project really starts to come together!
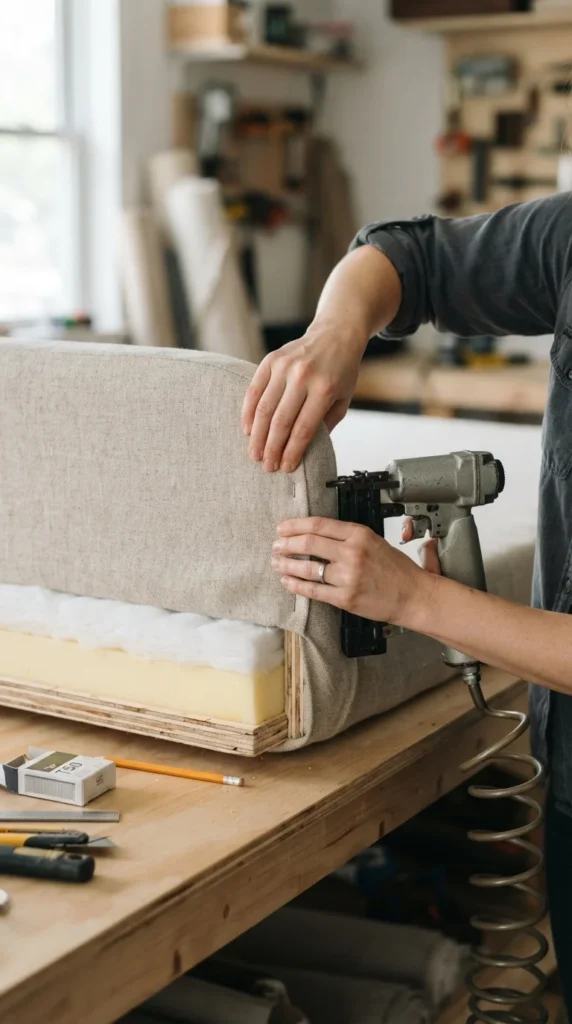
Place your chosen fabric face down on a clean, flat surface. Position the padded board on top, with the foam facing the fabric.
Make sure the fabric is centered, especially if it has stripes, geometric shapes, or a repeating pattern.
Follow these steps:
- Pull the fabric firmly over one long edge of the board.
- Secure it to the back with staples, starting near the center.
- Move to the opposite edge and pull the fabric taut before stapling.
- Repeat the process on the shorter sides.
- Work gradually toward the corners, smoothing wrinkles as you go.
Keep the tension even, but avoid pulling so tightly that the fabric compresses the foam excessively.
Step 5: Create Neat, Professional Corners
Corners can make the difference between a homemade-looking project and a polished upholstered headboard.
To achieve a tidy finish, fold the fabric at each corner as though you’re wrapping a present. Smooth the material, tuck any excess fabric neatly, and secure the folds with staples on the back.
Check the front regularly to make sure there are no visible wrinkles or bulky areas.
If you’re using thick velvet or textured fabric, take extra time with the folds because these materials can create noticeable lumps.
Trim excess fabric only after you’re happy with the result. Leave enough material around the edges to keep the upholstery secure.
For an extra decorative touch, consider adding fabric-covered buttons or simple vertical upholstery lines if you have the necessary tools and experience.
Step 6: Install and Style Your New Headboard
Once the fabric is securely attached, inspect the entire headboard. Check that the staples are firmly in place and that no sharp edges or hardware are exposed.
You can install the headboard using appropriate wall-mounted brackets or a suitable bed-frame mounting system. Choose hardware designed for the weight of your finished headboard and your wall type. If mounting to a wall, locate studs where required and follow the hardware instructions.
Avoid relying on loose furniture placement if the headboard could tip or fall.
Now comes the fun part: styling your refreshed bedroom!
Try these simple decorating ideas:
- Modern and minimal: Pair a cream fabric headboard with white bedding and black bedside accents.
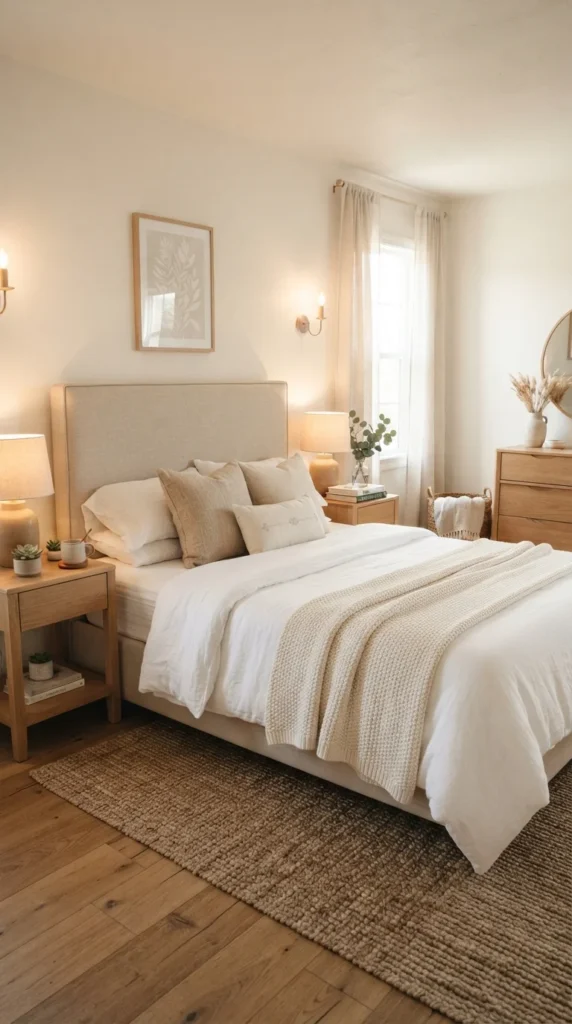
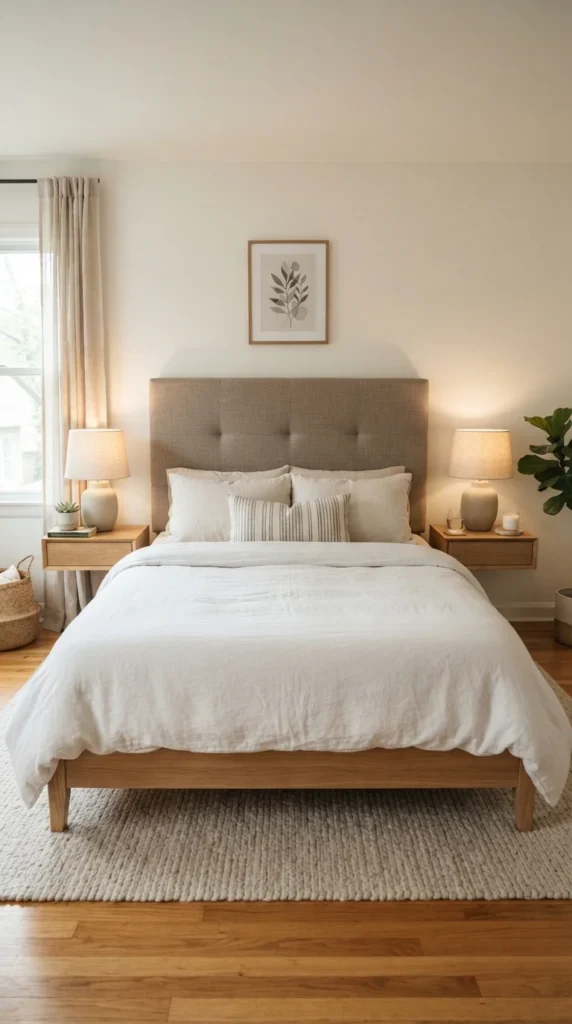
- Cozy and natural: Combine beige linen with wooden furniture and warm lighting.
- Elegant and luxurious: Choose deep green or navy velvet with layered neutral pillows.
- Soft and romantic: Use blush fabric, textured bedding, and delicate bedside decor.
Tips for Making Your Fabric Headboard Last
A little extra care will help your handmade headboard look beautiful for years.
- Choose durable upholstery fabric that can withstand everyday use.
- Vacuum the surface gently with an upholstery attachment to remove dust.
- Follow the fabric manufacturer’s cleaning instructions, especially for velvet and delicate materials.
- Check the mounting hardware periodically to ensure everything remains secure.
- Keep the fabric away from excessive moisture and direct sunlight to reduce fading.
If you want a renter-friendly option, consider a lightweight padded panel secured with suitable removable mounting hardware, provided the wall surface and product weight limits allow it.
Final Thoughts
Making a fabric headboard at home is a rewarding DIY project that can refresh your bedroom without the price tag of custom furniture. By combining a simple wooden base, comfortable padding, and fabric you love, you can create a personalized design that fits your space perfectly.
The best part? You control the size, color, texture, and overall look, so your finished headboard feels uniquely yours.

Lily Summers is a digital artist and creative storyteller who loves bringing colorful characters to life. With a passion for cartoons, fan art, and playful sketches, she inspires others to explore their imagination through art. When she’s not sketching, you’ll find her dreaming up new ideas for CraftedWizard.com to spark creativity in every artist. 🌈✨