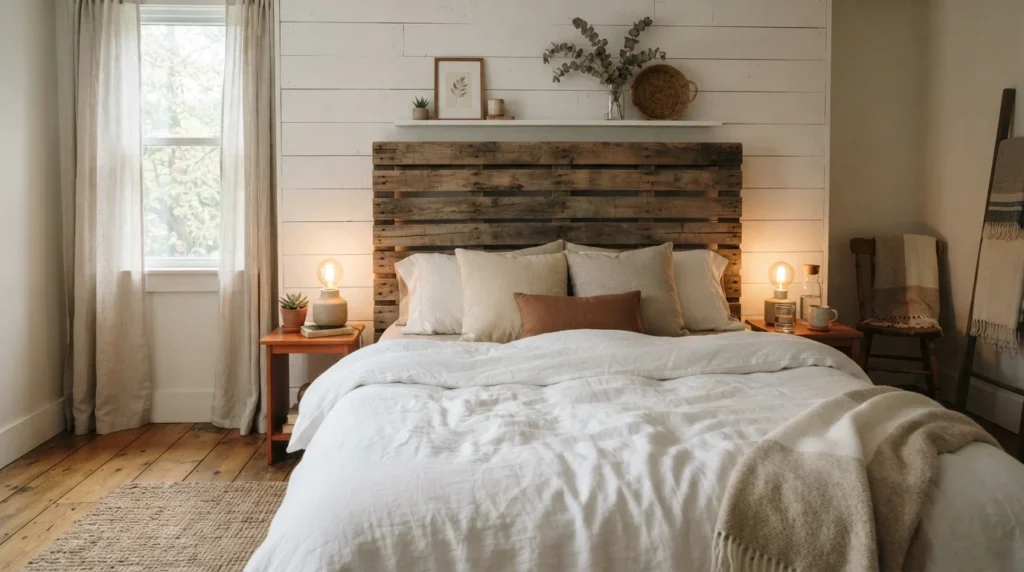
Want to give your bedroom a cozy, rustic makeover without spending a fortune? A DIY pallet headboard might be exactly what you need! With reclaimed wooden pallets, a few basic tools, and a little creativity, you can transform an ordinary bed into a warm, farmhouse-inspired centerpiece.
The best part? You can customize the size, wood finish, and overall style to match your bedroom. Whether you love a natural wood look, soft neutral colors, or a slightly weathered finish, this project is a budget-friendly way to add character to your space.
Why Make a DIY Pallet Headboard?
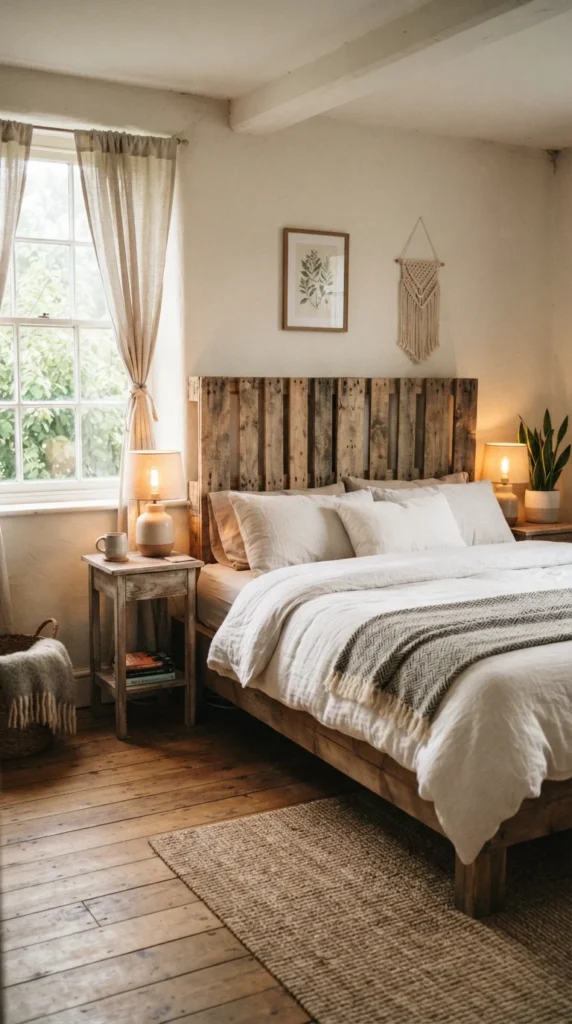
A pallet headboard is an easy way to introduce natural texture and rustic charm into your bedroom. Reclaimed wood has unique grain patterns, knots, and subtle imperfections that make every project feel one of a kind.
Here are a few reasons to try this DIY project:
- Budget-friendly: Reclaimed pallet wood can be inexpensive or free when sourced responsibly.
- Customizable: Choose your own dimensions, wood stain, paint color, and layout.
- Beginner-friendly: You can build a simple design with basic woodworking skills.
- Eco-conscious: Reusing suitable wood gives existing materials a new purpose.
You can keep the boards natural for a farmhouse look or paint them white, beige, or muted gray for a softer rustic style.
Materials and Tools You’ll Need
Before starting, gather your supplies so you can work comfortably without unnecessary interruptions.
Materials:
- Clean, dry wooden pallet boards
- Sandpaper in medium and fine grits
- Wood screws suitable for your design
- Wood stain, paint, or clear protective finish
- Wood filler, if needed
- Appropriate brackets or mounting hardware
Tools:
- Measuring tape and pencil
- Saw
- Drill and screwdriver
- Safety glasses and a dust mask
- Clamps, if available
Choose pallets from a known, clean source. Avoid wood that is oily, stained by unknown substances, moldy, or chemically treated. Heat-treated pallets marked “HT” are generally preferable to those marked “MB,” which indicates methyl bromide treatment.
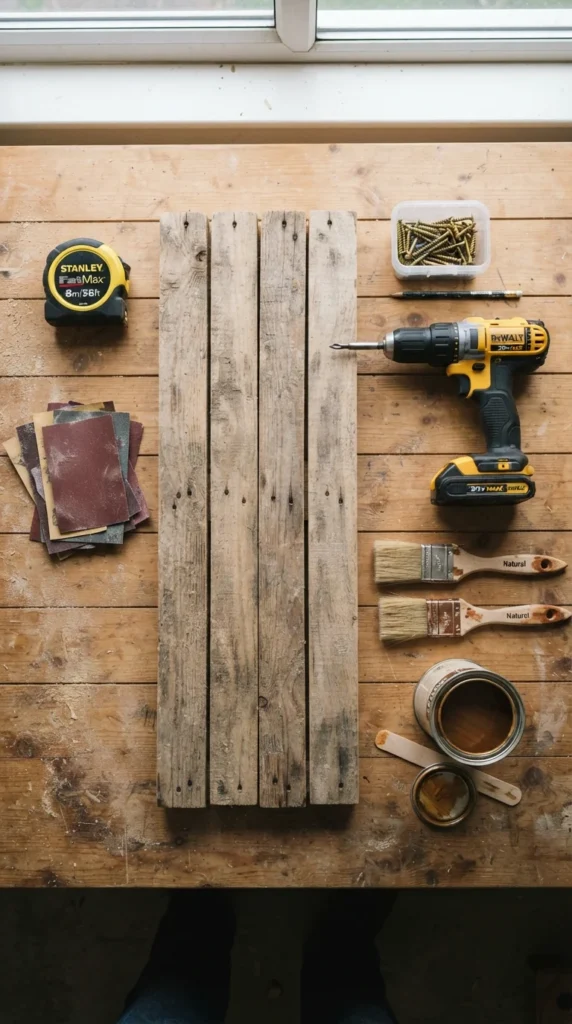
Step 1: Measure Your Bed and Plan the Design
Start by measuring the width of your bed. A headboard that matches the mattress width creates a balanced look, while one that extends a few inches beyond each side can make the bed feel more substantial.
Next, decide how tall you want the headboard to be. A low design looks simple and understated, while a taller panel creates a dramatic focal point.
Before cutting anything, sketch a quick layout. You can arrange the boards horizontally for a classic farmhouse appearance or vertically for a more contemporary rustic design.
Remember to account for the thickness of the boards and any supporting frame when planning your final dimensions.
Step 2: Prepare and Sand the Pallet Wood
Inspect every board carefully. Remove nails, staples, and loose fragments, and discard any pieces that are cracked, rotten, or badly warped.
Cut the boards to your desired length using the appropriate safety equipment. If you are new to woodworking, ask an experienced person to help with unfamiliar power tools.
Sand each board thoroughly, starting with medium-grit sandpaper and finishing with a finer grit. Pay special attention to corners, edges, and splintered areas.
The goal is to preserve the wood’s natural character while making the surface smooth enough to handle safely.
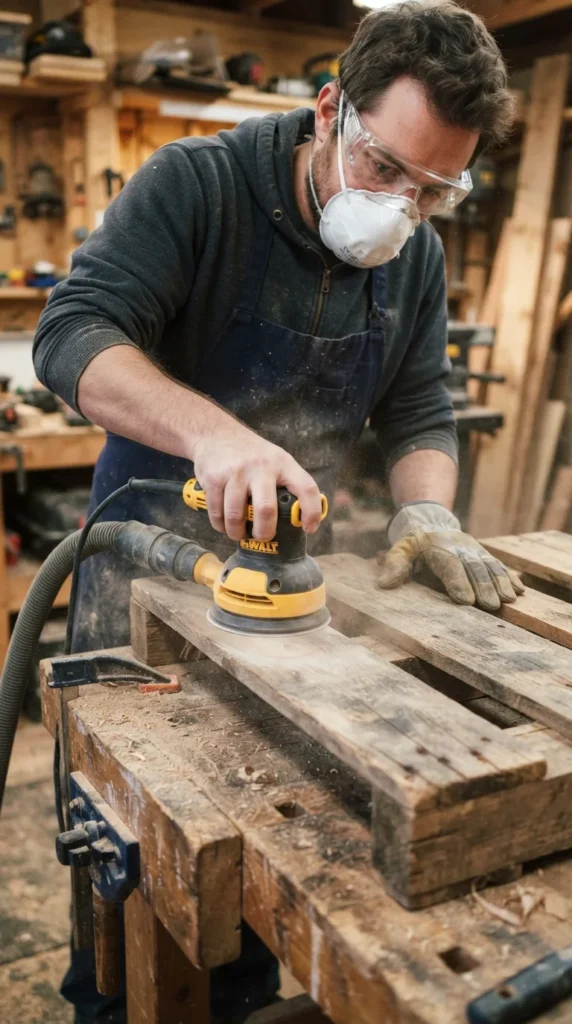
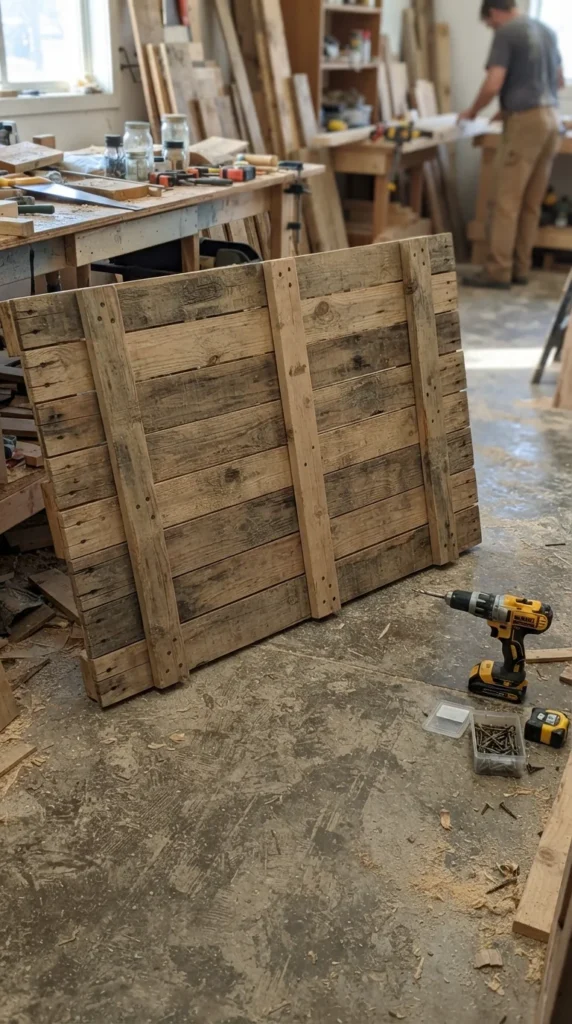
Step 3: Assemble Your Pallet Headboard
Once your boards are ready, lay them on a flat surface and arrange them in your preferred pattern. Mix different wood tones if you want a more organic, reclaimed appearance.
Place the boards close together for a solid panel or leave small, consistent gaps for a more open design.
To assemble the headboard:
- Arrange the boards in the desired order.
- Position sturdy support battens across the back.
- Secure each board to the supports using suitable wood screws.
- Check that the structure is square and stable.
- Tighten any loose connections before moving the headboard.
Choose screw lengths that provide a secure connection without piercing through the front surface. If your design is large or heavy, use additional support where needed.
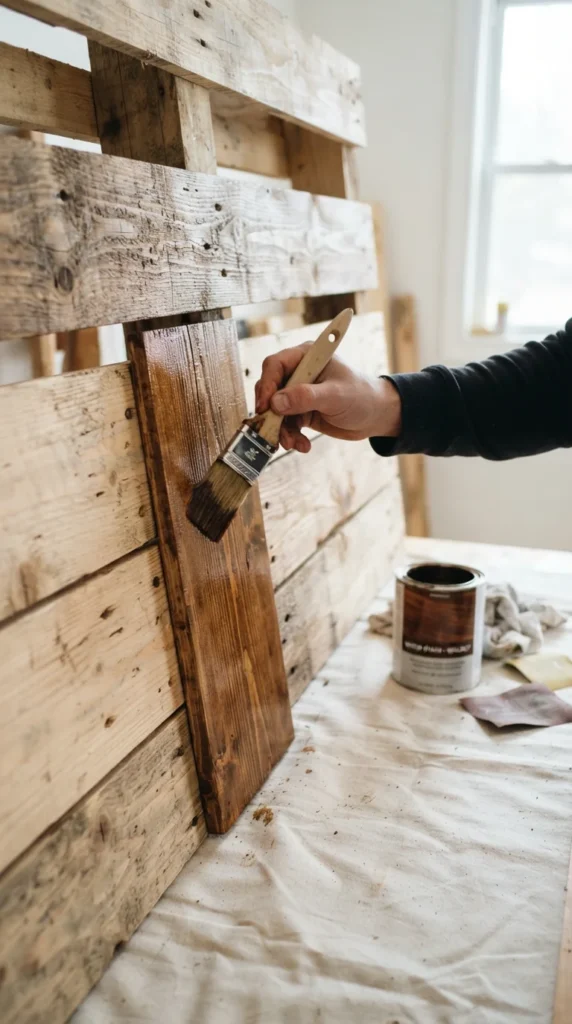
Step 4: Add a Rustic Finish
Now comes the fun part: choosing the finish that brings your bedroom vision to life.
For a natural farmhouse look, apply a clear matte wood finish that highlights the grain. A medium-brown stain creates a warm, traditional appearance, while a light oak shade feels airy and modern.
If you prefer a painted finish, try warm white, muted sage, or soft gray. You can lightly sand painted edges for a distressed appearance, but avoid creating rough or splintered surfaces.
Follow the finish manufacturer’s instructions, allow adequate drying and curing time, and work in a well-ventilated area.
Step 5: Install and Style Your New Headboard
Once the finish has fully cured, position the headboard behind your bed. Secure it properly to the bed frame or suitable wall structure using hardware appropriate for its weight and your wall type. Do not rely on leaning a heavy headboard loosely against the wall.
Keep the headboard stable and ensure it cannot tip or fall. If you are unsure about wall anchors or mounting methods, seek help from someone experienced with installation.
Finally, style the bed with soft bedding, textured cushions, and a cozy throw. Add warm bedside lighting, woven baskets, or a small wooden nightstand to complete the rustic look.
Keep decorations simple so the wood remains the star of the room.
Final Thoughts
Making a pallet headboard is a rewarding DIY project that can refresh your bedroom without requiring an expensive furniture purchase. With carefully selected wood, thoughtful measurements, secure assembly, and a finish that suits your style, you can create a personalized centerpiece full of rustic charm.
Ready to give your bedroom a makeover? Gather your materials, choose your favorite wood finish, and start planning your headboard. Save this idea to your Pinterest DIY board so you can return to it when you’re ready to build!

Lily Summers is a digital artist and creative storyteller who loves bringing colorful characters to life. With a passion for cartoons, fan art, and playful sketches, she inspires others to explore their imagination through art. When she’s not sketching, you’ll find her dreaming up new ideas for CraftedWizard.com to spark creativity in every artist. 🌈✨