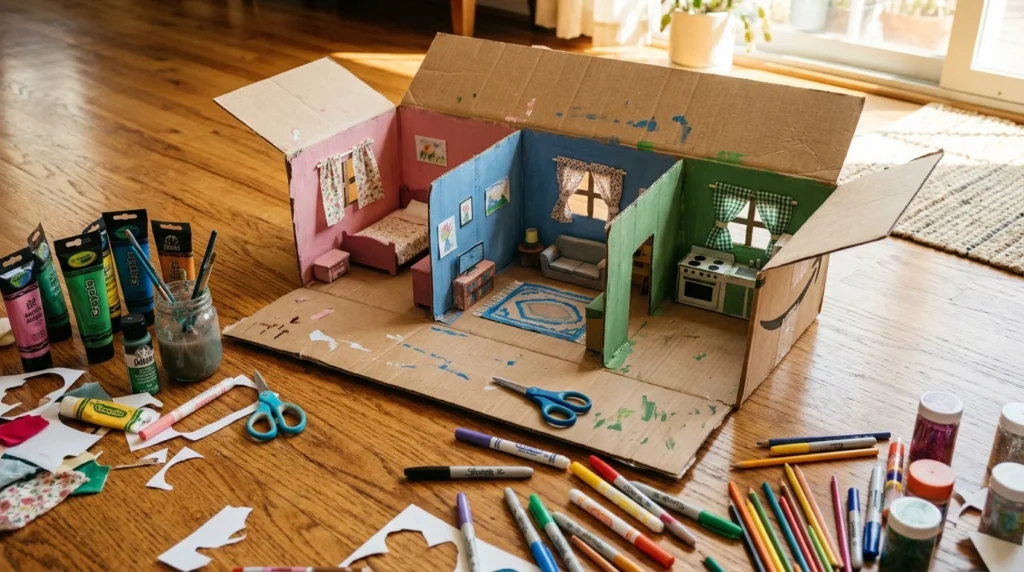
That box sitting empty in your hallway? It’s about to become the coziest little dollhouse your kid has ever bedazzled with crayon flowers and glitter glue. No fancy tools, no trip to the craft store, no stress. Just a box, some paint, and an afternoon.
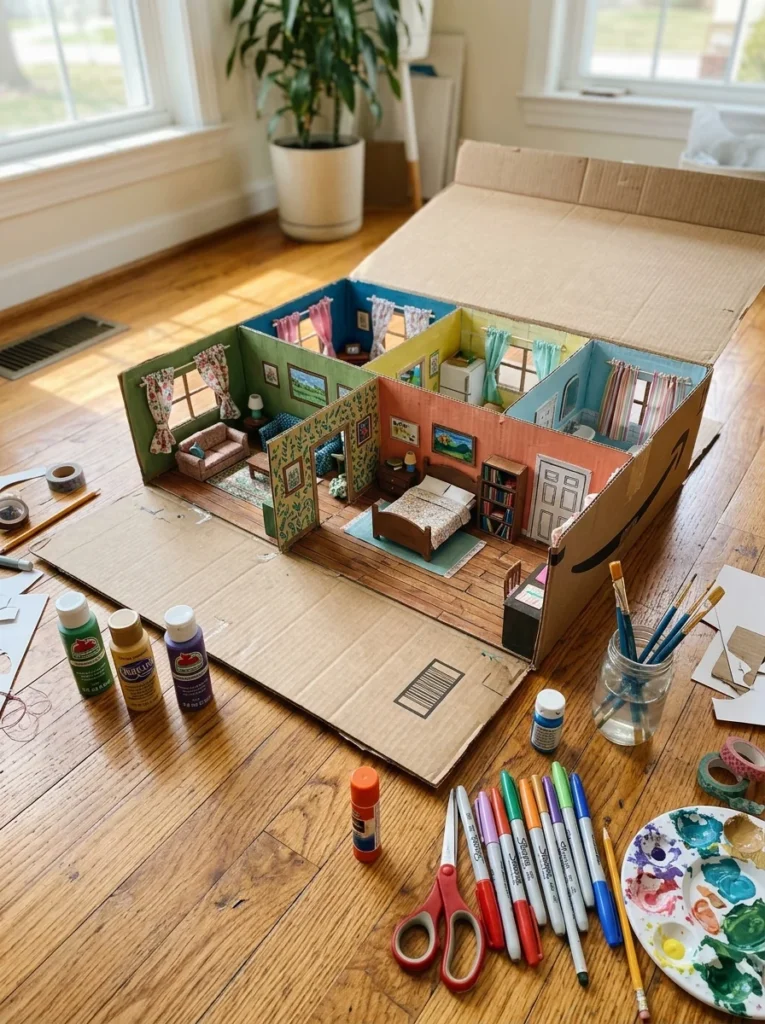
Here’s the thing — kids don’t need a $150 plastic dollhouse to have hours of pretend-play fun. A cardboard box, cut and painted the right way, does the job just as well (and honestly, it’s more fun because they built it). Let’s get into it.
What You’ll Need
Before you start cutting, gather these basics. Chances are, most of it is already in your recycling bin or junk drawer:
- 1 large cardboard box (an appliance box or moving box works best)
- Craft knife or box cutter (adult use only)
- Scissors
- Ruler and pencil
- Acrylic or poster paint + brushes
- Glue (hot glue for parents, glue stick for kids)
- Cardboard scraps for furniture
- Fabric scraps or paper for curtains and rugs
- Bottle caps, buttons, or fabric bits for tiny décor
That’s it. No specialty tools required.
Step 1: Flatten and Plan the Layout
Lay your box on its side so the open flap faces you like a stage. This becomes the front of your dollhouse. Grab a pencil and lightly sketch where you want walls to divide the rooms — a kitchen, bedroom, and living room is a good starting layout for beginners.
Tip: Keep it to 2–3 rooms if this is your first dollhouse build. You can always add a second story later with another box.
Step 2: Cut the Rooms and Windows
This is the step where an adult takes the lead. Using a craft knife, cut along your pencil lines to create room dividers from extra cardboard strips. Glue these upright inside the box to separate each space.
Next, cut small square or arched windows into the front and sides. Don’t worry about making them perfect — a little wobble adds charm.
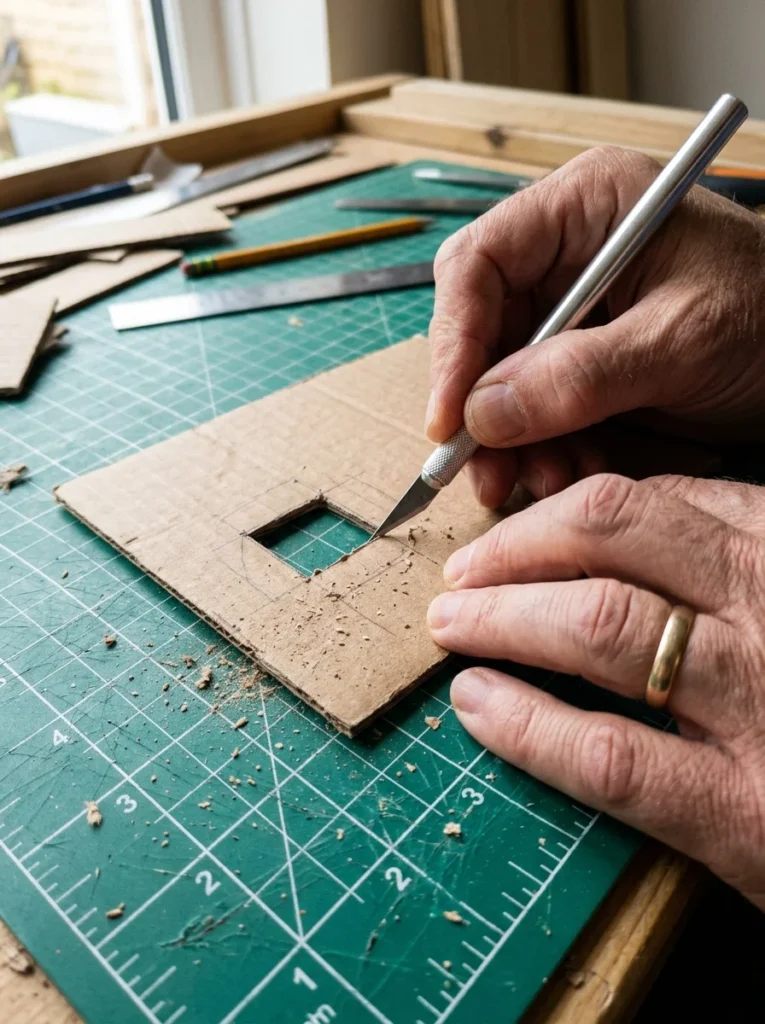
If your child wants a front door that actually opens, cut three sides of a rectangle and leave one side attached as a hinge. It’ll swing open just like the real thing.
Step 3: Paint Each Room
Now for the fun part — handing the brushes over to the kids. Let each room get its own color:
- Soft yellow for the kitchen
- Pale blue or pink for the bedroom
- Warm green for the living room
Don’t rush this step. Let one coat dry fully before adding a second, or the colors will smear together into mud (every parent’s least favorite craft outcome).
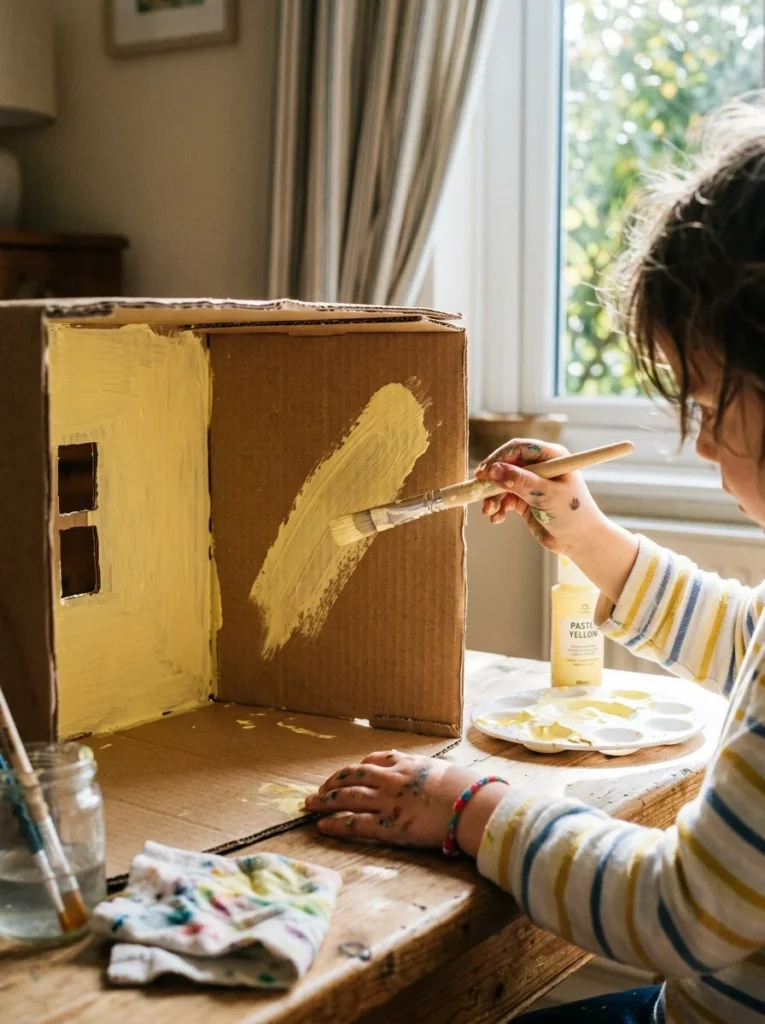
Budget tip: You don’t need fancy craft paint. Leftover wall paint samples or old kids’ watercolor sets work perfectly fine.
Step 4: Add Furniture and Tiny Details
Once the paint is dry, it’s time to furnish the place. Cut small tables, beds, and shelves out of flat cardboard scraps and fold them into simple box shapes. Glue them into place room by room.
A few easy furniture hacks:
- Bed: a matchbox covered in fabric scraps
- Bookshelf: bottle caps glued in a row
- Rug: a small fabric square glued to the floor
- Curtains: fabric strips taped above the window cutouts
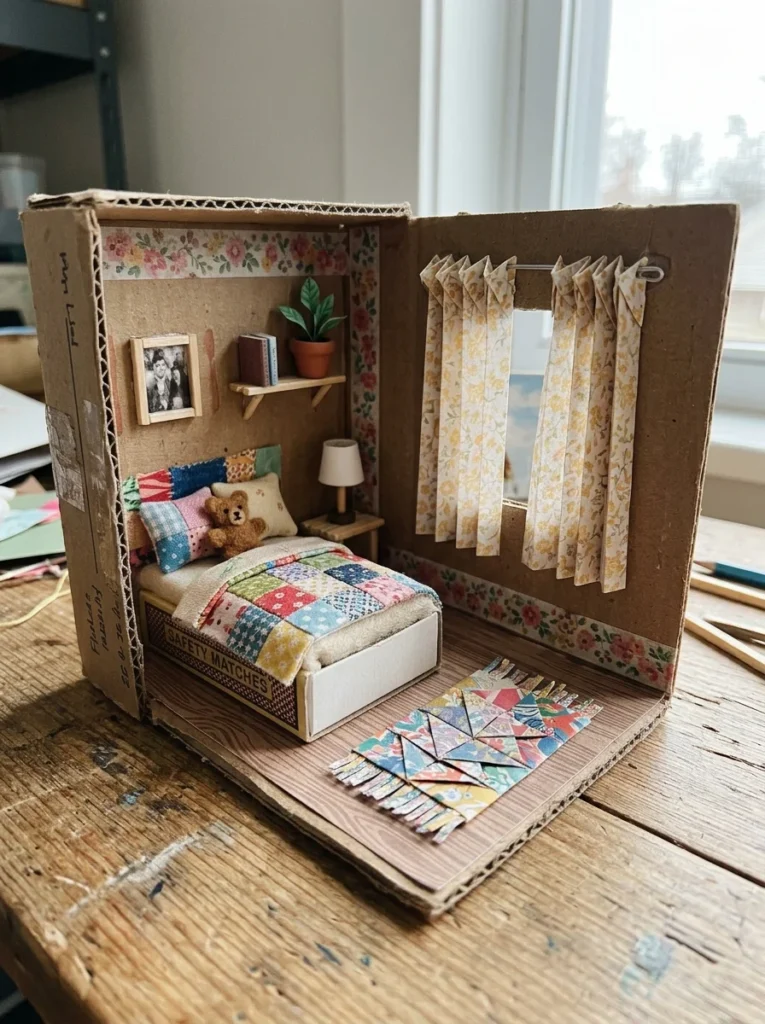
Let kids place their dolls or figures inside once everything’s dry. This is usually where the real magic happens — they’ll rearrange furniture ten times before dinner, and that’s exactly the point.
Tips to Make It Last Longer
Cardboard is sturdy, but it’s not indestructible. A few small tricks help your dollhouse survive weeks (not just days) of play:
- Add a layer of clear packing tape over painted surfaces to prevent chipping.
- Keep it away from spilled drinks and damp floors.
- Store it upright in a corner instead of stacking things on top.
- Reinforce weak wall joints with extra tape on the back side.
The Finished Dollhouse
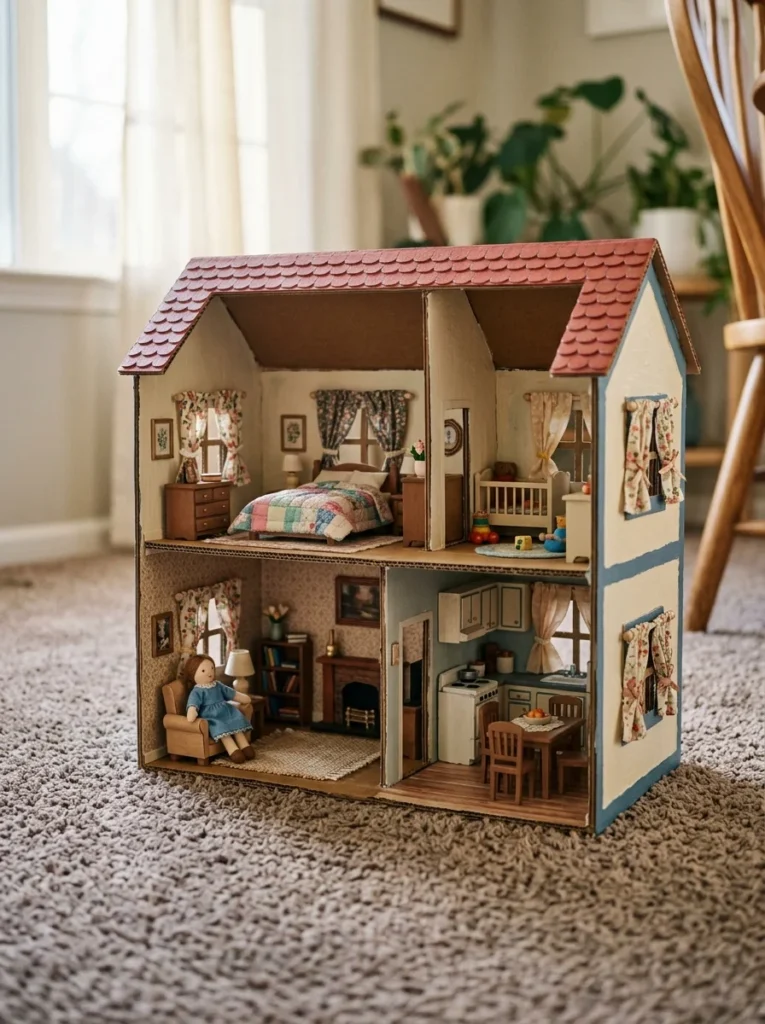
Once it’s all put together, step back and let your child show it off. Odds are, they’ll want to add a garage, a second floor, or a rooftop garden within the week — and that’s a great excuse to save the next box that comes through your door.
Save This for Your Next Craft Day
A cardboard dollhouse costs next to nothing, keeps little hands busy for hours, and gives kids a toy they’re genuinely proud of. Save this guide for the next time a big box lands on your porch — your kid’s dream dollhouse is one afternoon away.