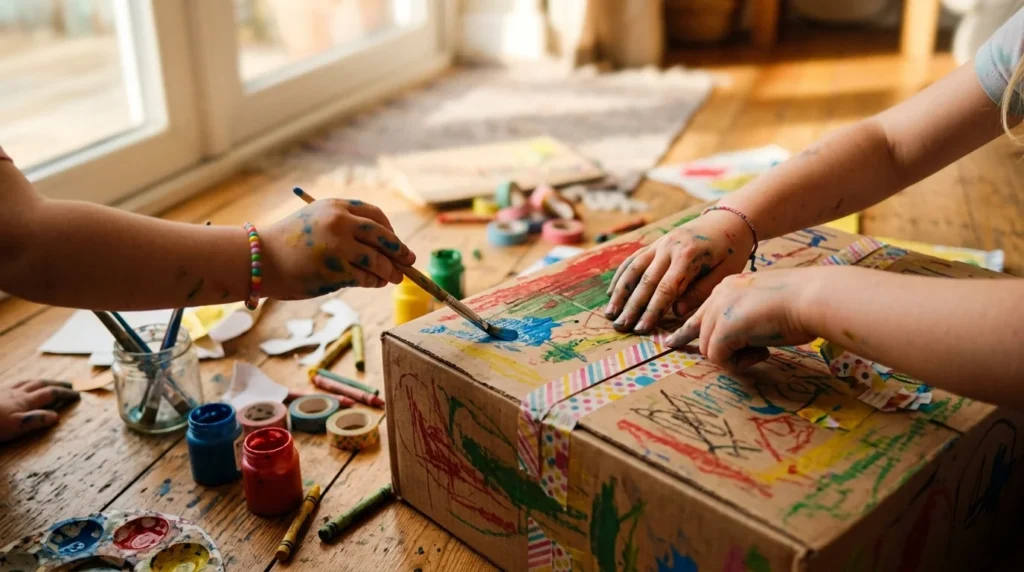
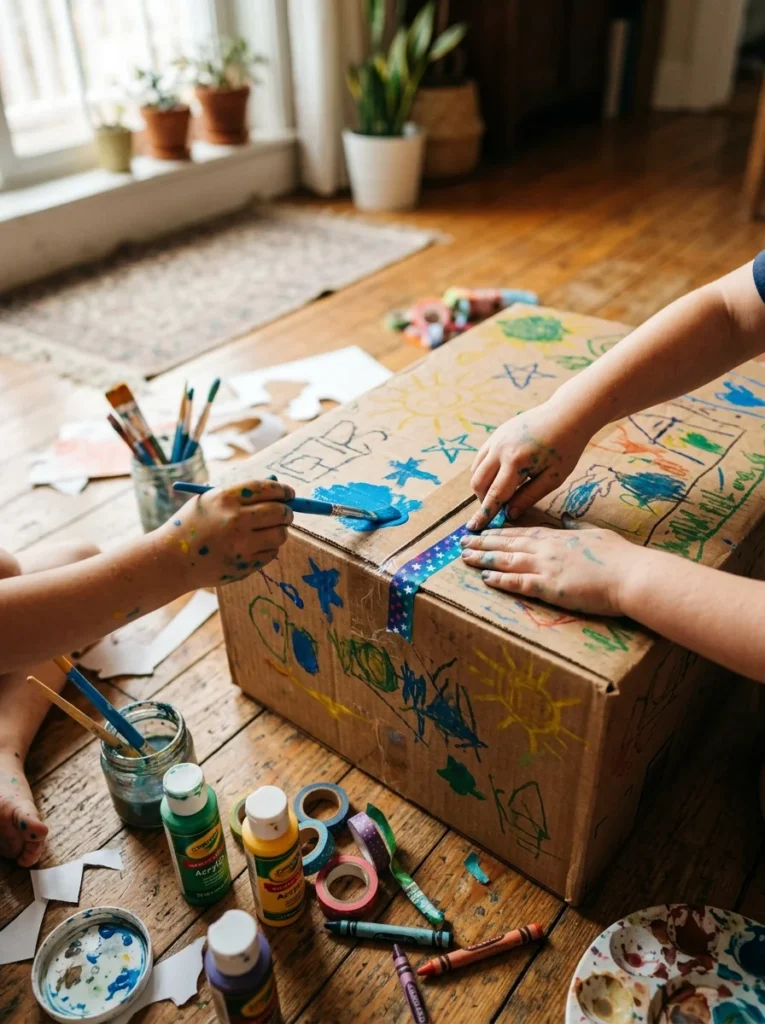
Empty boxes pile up fast after online orders and grocery runs, but before you break them down for recycling, save a few for craft time. A plain cardboard box can turn into a race car, a puppet theater, or a pirate ship with nothing more than scissors, tape, and paint. Kids get busy cutting, building, and imagining instead of asking for the tablet, and parents save money on store-bought toys that get forgotten in a week. This list gathers 22 cardboard box crafts using supplies most homes already have on hand. Pick a project that matches your child’s age, clear some floor space, and let the gluing and painting begin.
1. Build a Cardboard Race Car for Backyard Races
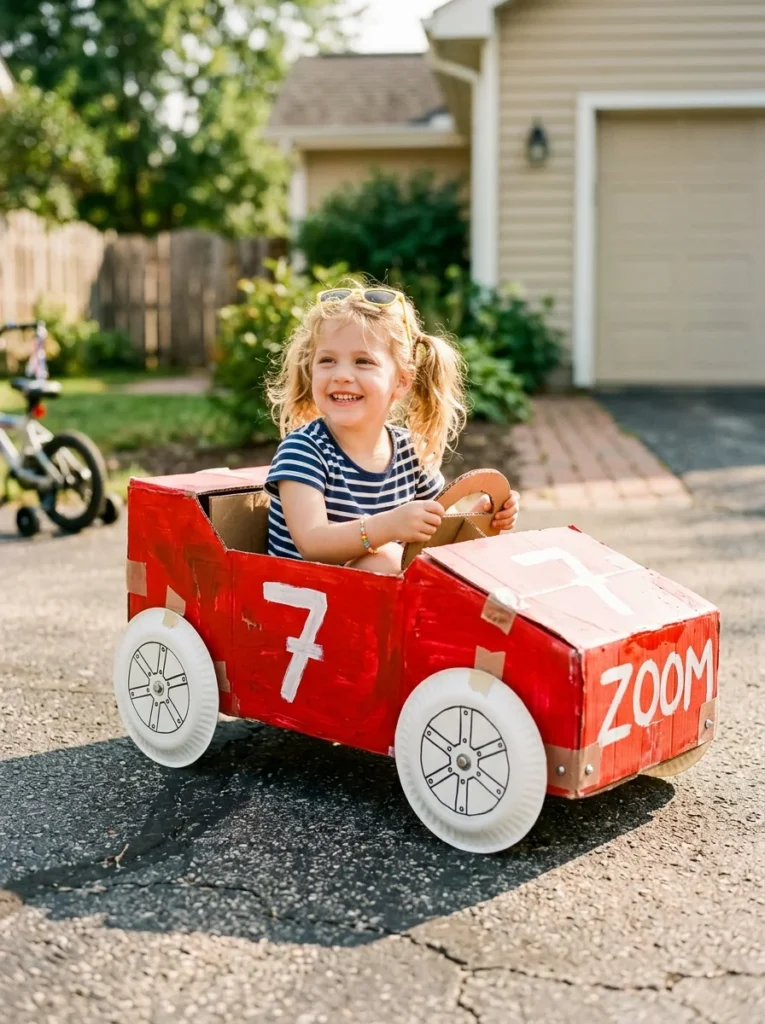
A large box turns into a race car in one afternoon. Cut the top and bottom off so your child can step inside. Cut a hole in the front for their legs. Paint the sides with bright colors, or let your child choose the scheme. Paper plates make easy wheels. Glue four onto the sides for a classic look. Add a paper plate steering wheel with a brass fastener so it spins. Bottle caps work well as headlights.
A strip cut from a cereal box becomes a license plate. Kids run around the yard while “driving” their car. Line up two or three boxes and race friends or siblings. This project costs almost nothing since most supplies come straight from the recycling bin. Paint and glue are the only extras you might buy, and a small bottle goes a long way. Let the paint dry overnight before playtime starts. Add racing stripes with tape for extra flair. This craft keeps kids moving outdoors, away from screens for hours at a stretch, and gives them a toy they actually helped build.
2. Set Up a Pretend Play Kitchen
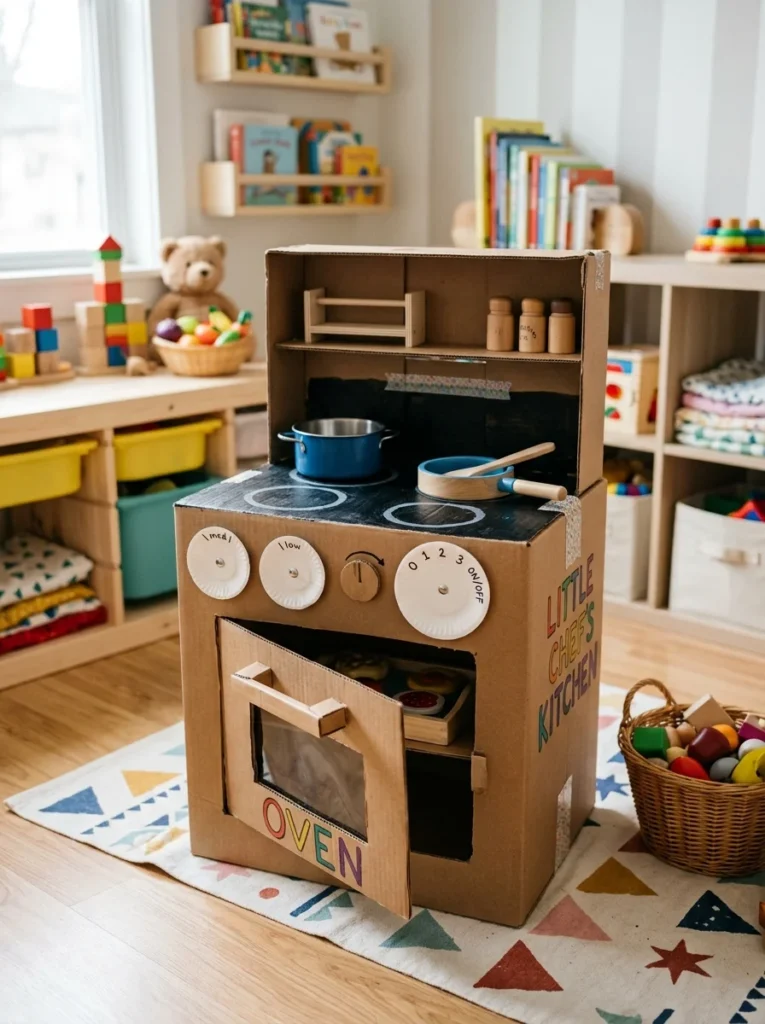
A medium box lying on its side becomes a stove in minutes. Cut a rectangle out for the oven door and attach it with tape so it swings open. Paint circles on top for burners using bottle caps as stencils. Bottle caps also double as knobs when glued on the front. Stack two smaller boxes beside it for a sink and counter space. A plastic bowl set into a cut hole works as the sink basin. Kids stir pretend soup with a wooden spoon and “wash” plastic dishes in the bowl. Add real measuring cups and empty food containers for extra realism.
This setup costs less than a store-bought play kitchen by a wide margin. Paint, tape, and a few kitchen items you already own cover the whole project. Let kids help paint their own stove, since ownership makes the play last longer. A play kitchen holds a child’s attention for weeks, especially when parents rotate in new pretend ingredients like empty spice jars or clean yogurt cups. It’s a screen-free activity that also builds early role-play and language skills through cooking pretend meals.
3. Create a Cozy Cardboard Dollhouse
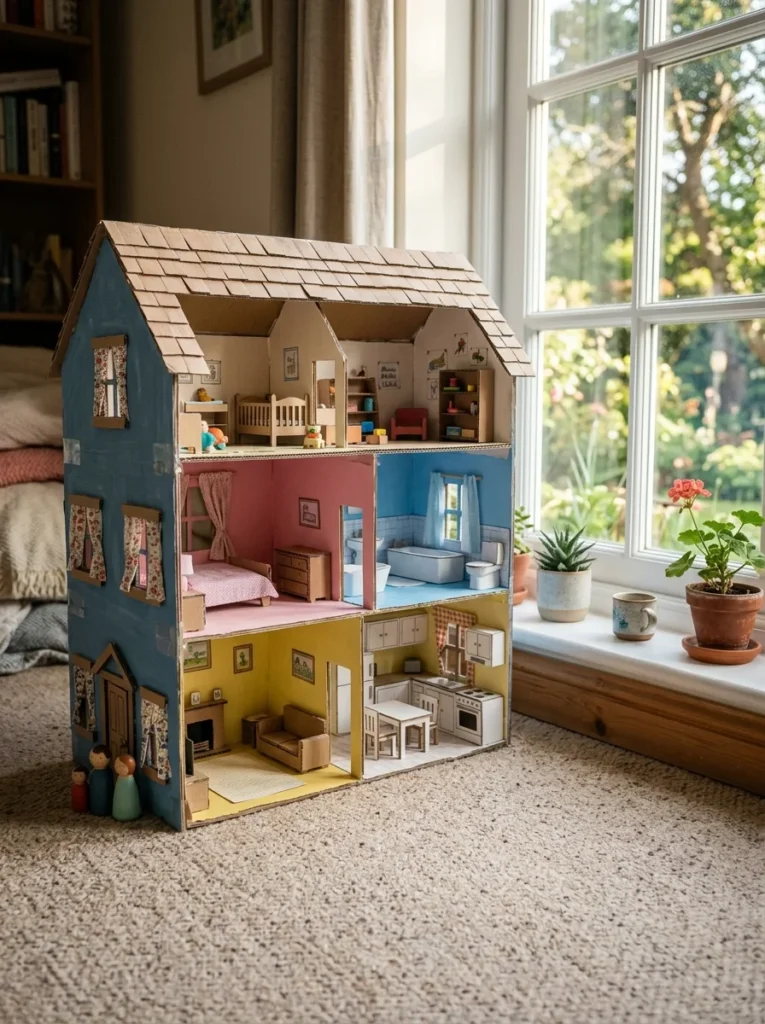
Turn a large flat box into a dollhouse with a few straight cuts. Lay the box on its side and cut out square windows and a front door. Use a marker or ruler to draw room dividers inside, then glue in smaller cardboard strips to separate the spaces. Paint each room a different color to mark the kitchen, bedroom, and living room. Fabric scraps make tiny curtains taped above the windows. Bottle caps glued in a row become a bookshelf. Cereal box cardboard, cut and folded, makes flat furniture like beds and tables.
Kids can decorate with markers, stickers, or leftover wallpaper samples. This project is a great weekend activity since it takes a few sessions to build and paint. Let the paint dry between coats so colors stay bright. A dollhouse like this costs a fraction of a plastic version and can be resized any time a bigger box shows up. Kids often keep adding to it over weeks, taping in new rooms or furniture. It gives dolls and small figures a home while keeping little hands busy without a single screen involved.
4. Craft a Robot Costume from Two Boxes
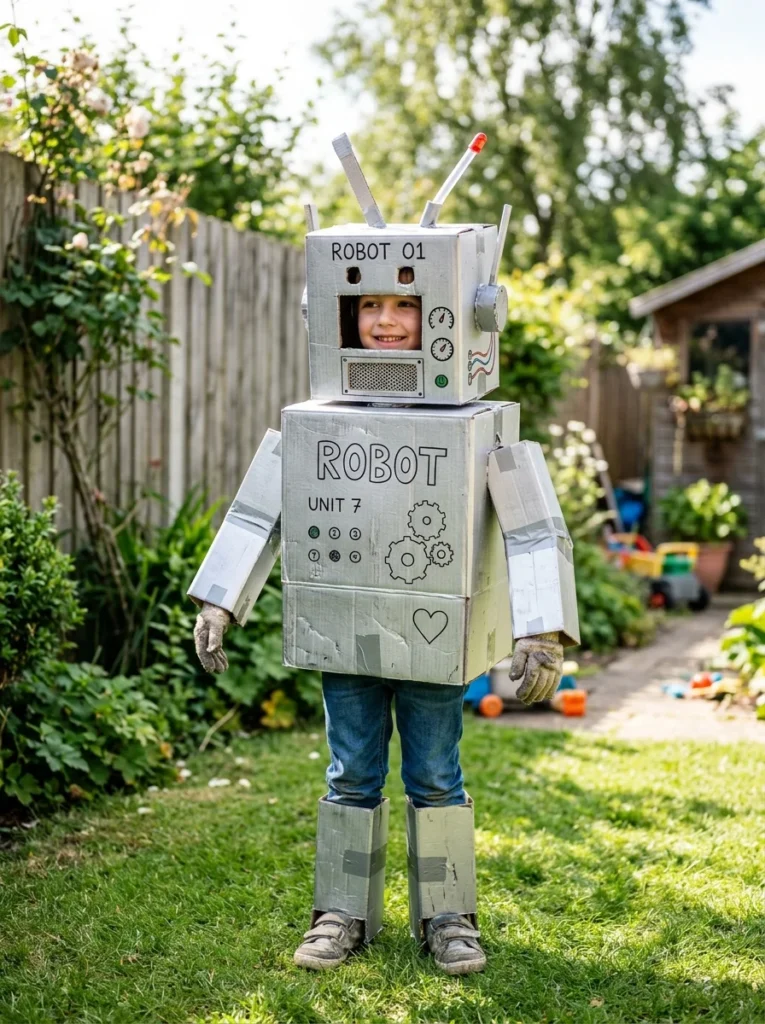
Two boxes make a full robot costume: one for the body, one for the head. Cut arm holes and a neck hole in the larger box, then cut a small viewing window in the smaller box for the head. Paint both silver or gray using leftover craft paint. Bottle caps and yogurt lid circles glued on the front become buttons and dials. Egg carton cups, painted and glued in rows, work as control panels. Dryer vent hose or wrapping paper tubes make bendable robot arms taped to the shoulders.
Kids love adding blinking LED tea lights if you have any spare ones at home, though it’s optional and not required for the costume to work. This costume is ready for Halloween, dress-up days, or just a random Tuesday afternoon. It costs next to nothing beyond a can of spray paint, which covers several costumes if made with friends or siblings. Let kids paint their own buttons and dials for a personal touch. Once it’s finished, kids often stay in character for hours, walking stiffly and talking in a robot voice, which keeps them entertained far longer than the thirty minutes it took to build.
5. Build a Mini Cardboard Castle
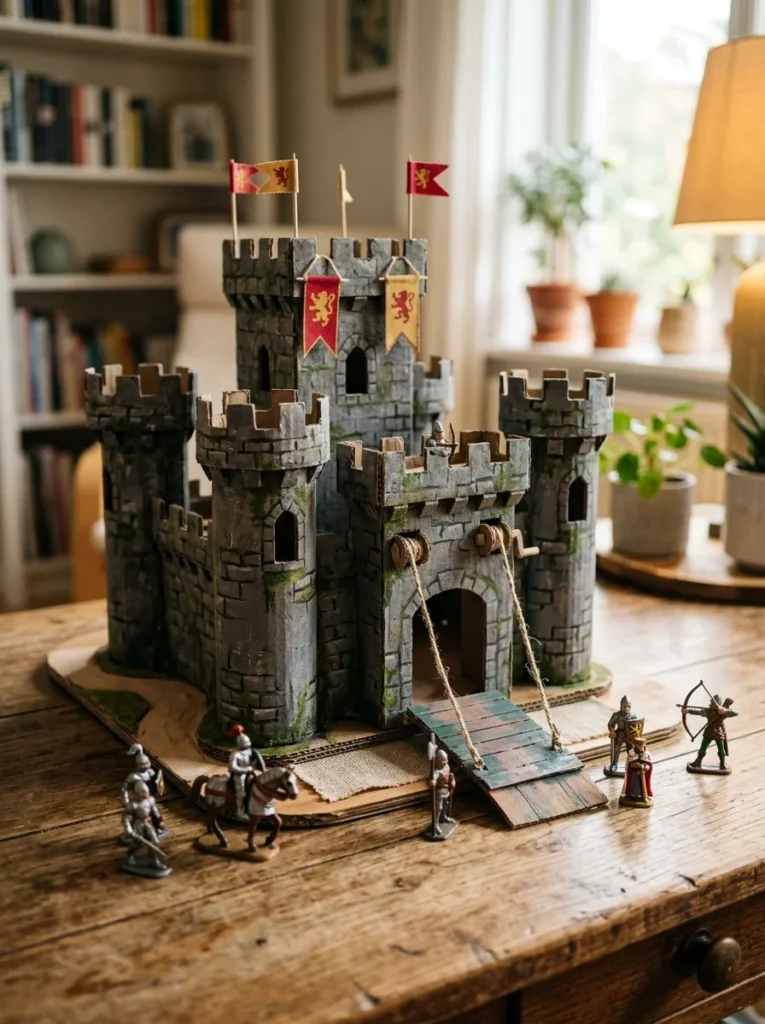
Cut a shoebox-sized box into a rectangle base, then cut zigzag edges along the top for a turret look. Toilet paper rolls taped to the corners add tall towers. Paint the whole thing gray or tan, then dab a sponge dipped in darker paint for a stone texture. Cut a small door and attach a flap of cardboard with tape so it swings down like a drawbridge. A piece of string tied through two holes lets kids pull the drawbridge up and down. Add small flags made from toothpicks and paper triangles on top of each tower.
This castle works well as a stage for toy knights, dragons, or small dolls. It’s small enough to fit on a table, so it doesn’t take over the living room like bigger builds. The whole project uses paint, glue, and cardboard tubes most families already have saved. Kids enjoy painting the stone texture themselves, dabbing the sponge in random patterns. Once finished, the castle becomes the backdrop for pretend battles and stories for weeks. It’s a quiet, focused project that works well for kids who like detail work more than big messy builds.
6. Set Up a Puppet Theater Stage
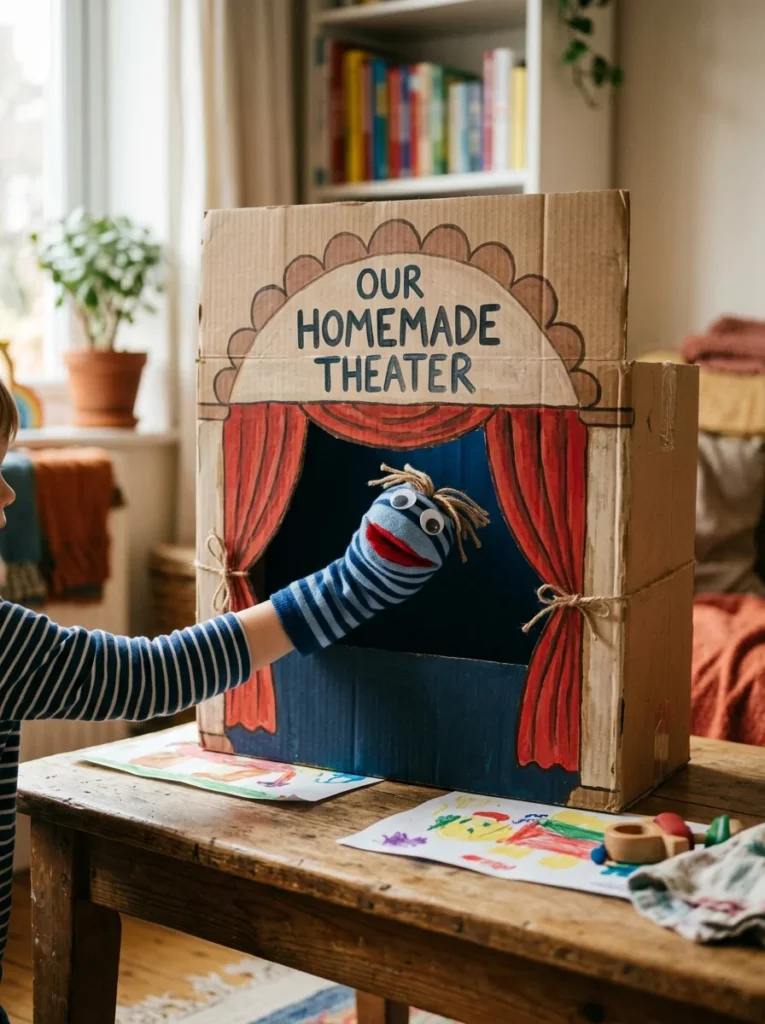
Stand a large box upright and cut a wide rectangle out of the front for the stage opening. Paint the frame around the opening like curtains, using red or gold paint for a theater look. Glue fabric scraps along the top edge to hang down like real curtain drapes. Cut the bottom flap off so kids can crouch behind the box out of sight. Kids kneel behind the stage and hold puppets up through the opening to perform. Sock puppets, paper bag puppets, or paper stick puppets all work well with this setup. Add a small marker board or cardboard sign on the side listing the “show name” for extra fun.
This theater turns into hours of pretend performances, especially with siblings or friends taking turns as the audience. It costs nothing beyond paint and fabric scraps, and both are optional if you skip straight to plain cardboard. Kids can rotate through different stories, retell favorite books, or make up their own plots on the spot. A puppet theater also builds confidence with public speaking in a low-pressure, silly setting, all without a single screen in sight.
7. Make a Cardboard Guitar That Actually Strums
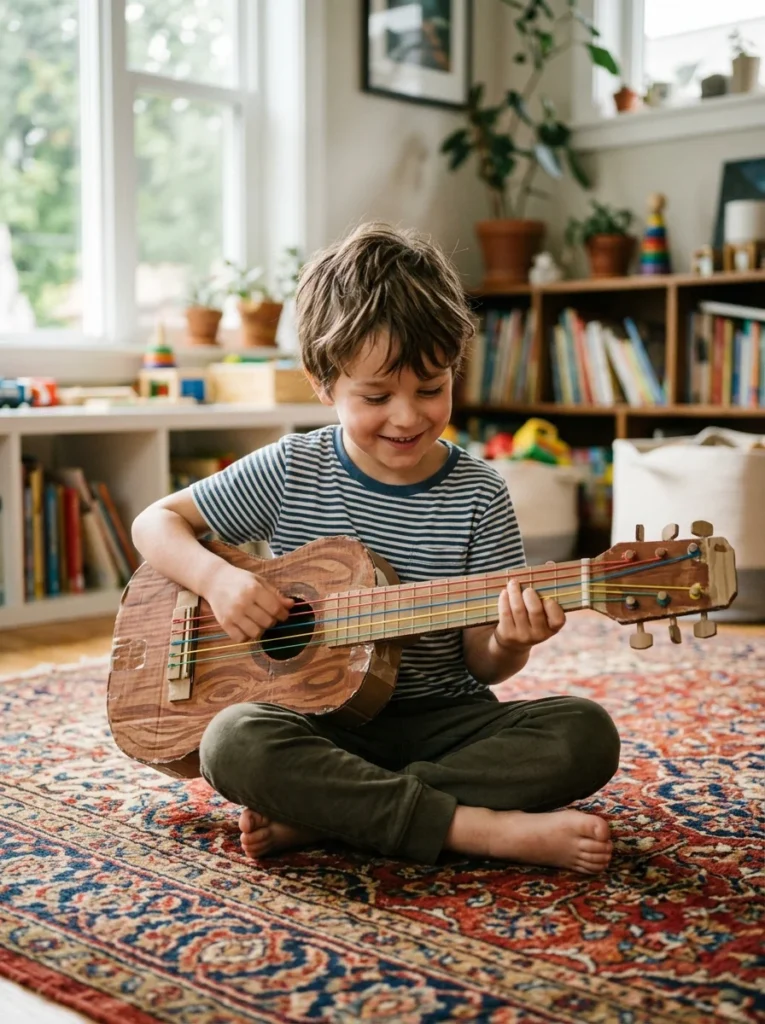
Cut a guitar shape out of a flat piece of cardboard, or trace a real guitar if you have one at home. Cut a round hole in the middle of the body. Stretch three or four rubber bands across the hole and secure them with tape on the back. A paper towel tube taped to the top becomes the neck. Paint the body brown or any color your child likes, and add a few marker lines for fret details. Kids strum the rubber bands for a real plucking sound, which makes the toy far more fun than a silent prop.
This craft costs almost nothing since cardboard, rubber bands, and tape are common household items. It works well as a group project if you’re hosting a few kids, since each guitar can look different once painted. Let the guitars dry fully before letting kids strum, since wet paint smudges easily. Pair the guitar with a cardboard stage from another project on this list for a full pretend concert. Kids often perform “shows” for parents afterward, singing along while strumming, which keeps the fun going well past the actual building time.
8. Launch a Cardboard Rocket Ship
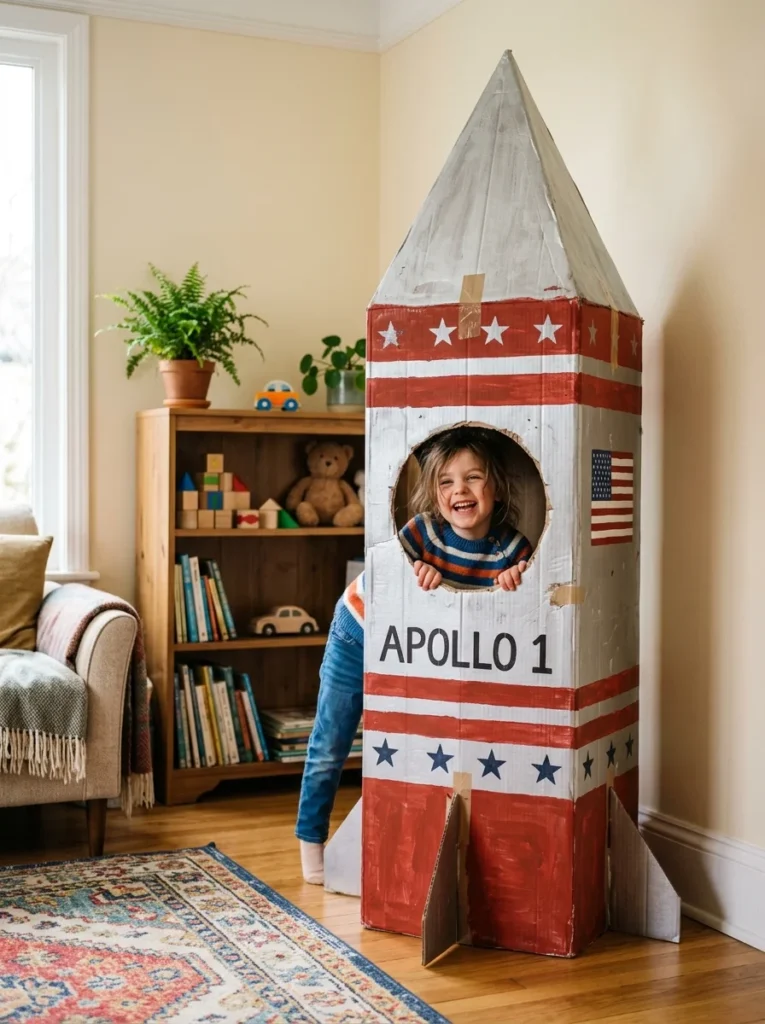
A tall box, stood upright, becomes a rocket ship with a few cuts. Cut a round window on one side and a door on another. Roll a large piece of cardboard into a cone shape and tape it to the top for the nose. Paint the body silver or white, then add red and blue stripes with tape or paint. Toilet paper rolls glued to the bottom work as rocket boosters. A paper plate with cut triangle flames taped underneath adds a launch effect when kids “blast off.” Kids climb inside and count down before pretending to fly to the moon or stars.
This craft pairs well with a simple space theme night, including glow stars taped to the ceiling above. It costs very little since paint, tape, and cardboard tubes are common supplies. Larger boxes from appliance deliveries work best if you can find one. Let kids decorate the control panel inside using markers and bottle caps as buttons. A rocket ship like this often becomes a reading nook or hideout even after the space theme wears off, giving it a longer life than most crafts.
9. Design a Cardboard Marble Maze
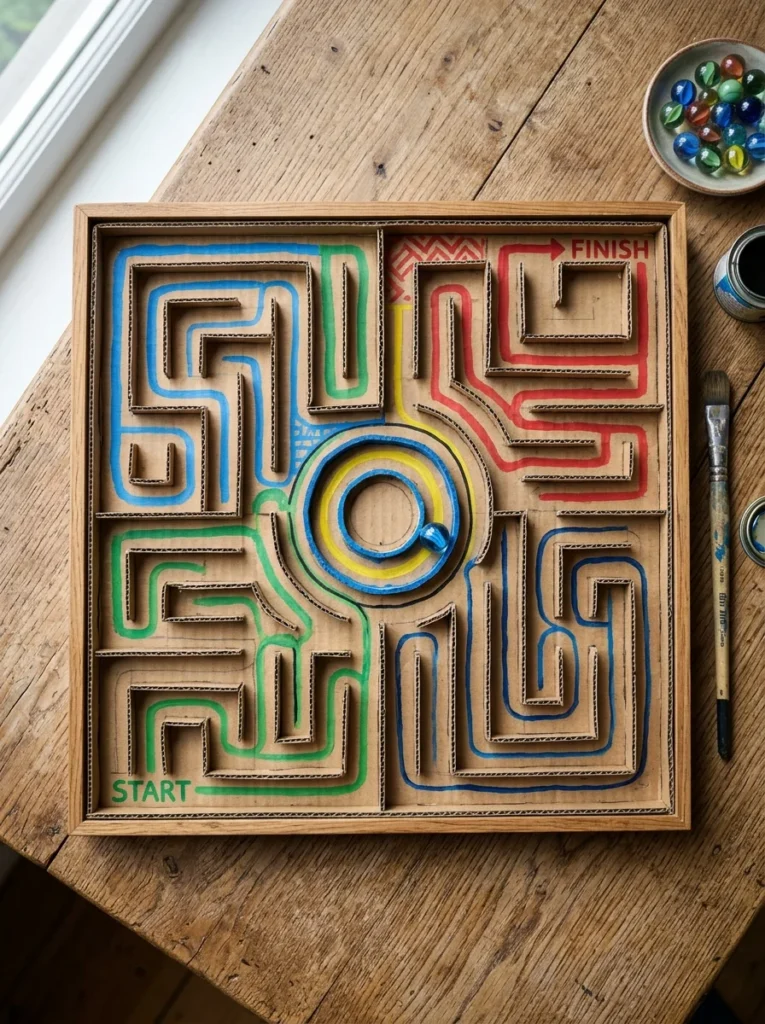
Flatten a cardboard box and cut it into a large square. Glue strips of cardboard on top in a maze pattern, leaving a clear path from start to finish. Paint the base one color and the maze walls another so the path stands out. Let everything dry fully before testing, since wet glue won’t hold a rolling marble in place. Kids tilt the board side to side, guiding a marble through the maze without letting it fall into dead ends. Add small cutout signs like “start” and “finish” for extra detail.
This project works well for kids who enjoy planning and problem-solving over messy painting. Younger kids can help glue the strips down while older kids design the maze path itself. It costs only glue and paint, since the cardboard and marble are likely already at home. Try building a second, harder maze once the first gets too easy, using tighter turns and narrower paths. This craft builds patience and steady hands, since kids need to move slowly to keep the marble on track. It’s a quiet activity that holds attention for a long stretch of time.
10. Build a Pirate Ship for Backyard Adventures
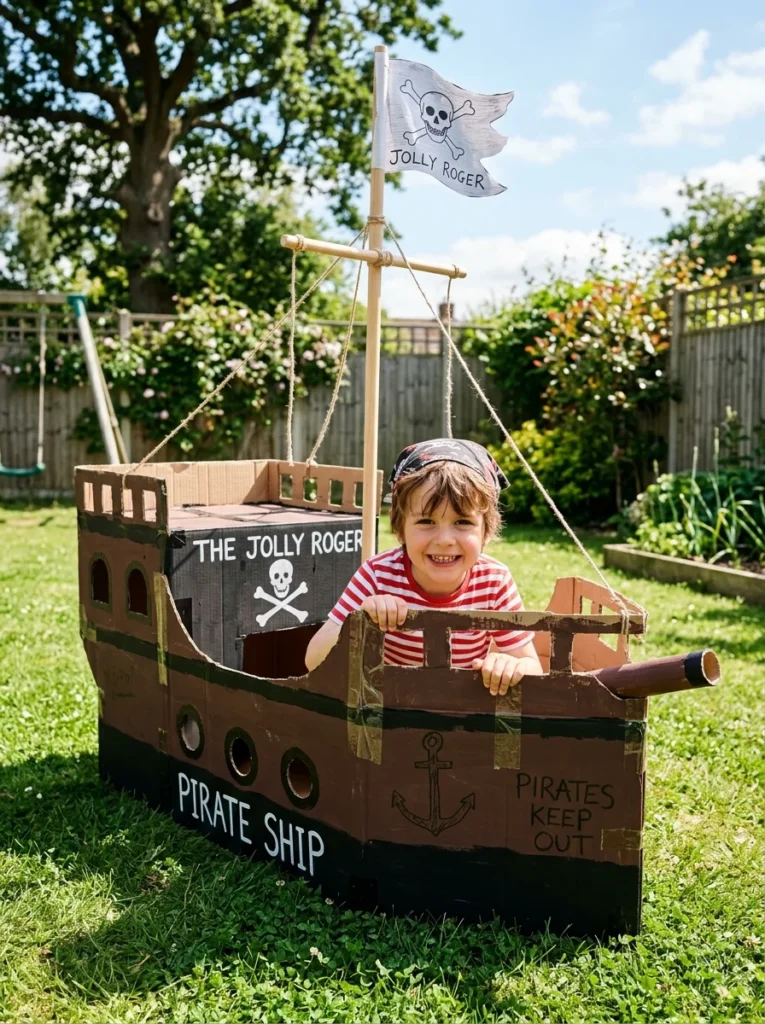
A large appliance box, cut open on top, makes a pirate ship kids can climb into and steer. Cut the front into a pointed bow shape. Paint the sides brown to look like wood planks, using a wide brush for quick, streaky coverage. A wrapping paper tube taped upright becomes the mast. Cut a triangle from black fabric or paper, draw a skull and crossbones, and tape it to the mast as the flag. A paper telescope made from a rolled cardboard tube helps kids spot “land” in the distance.
Cotton balls glued to a blue sheet nearby work as ocean waves if you want to build out the scene further. Kids climb aboard and steer with a paper plate wheel glued to the front. This craft works best outdoors on the grass, since it turns backyard play into a full pirate adventure for an afternoon. It costs little beyond paint, since most of the ship comes from a single large box. Add a rope handle on the side using leftover string so kids can “anchor” the ship to a tree or fence post.
11. Create a Cardboard Toy Town
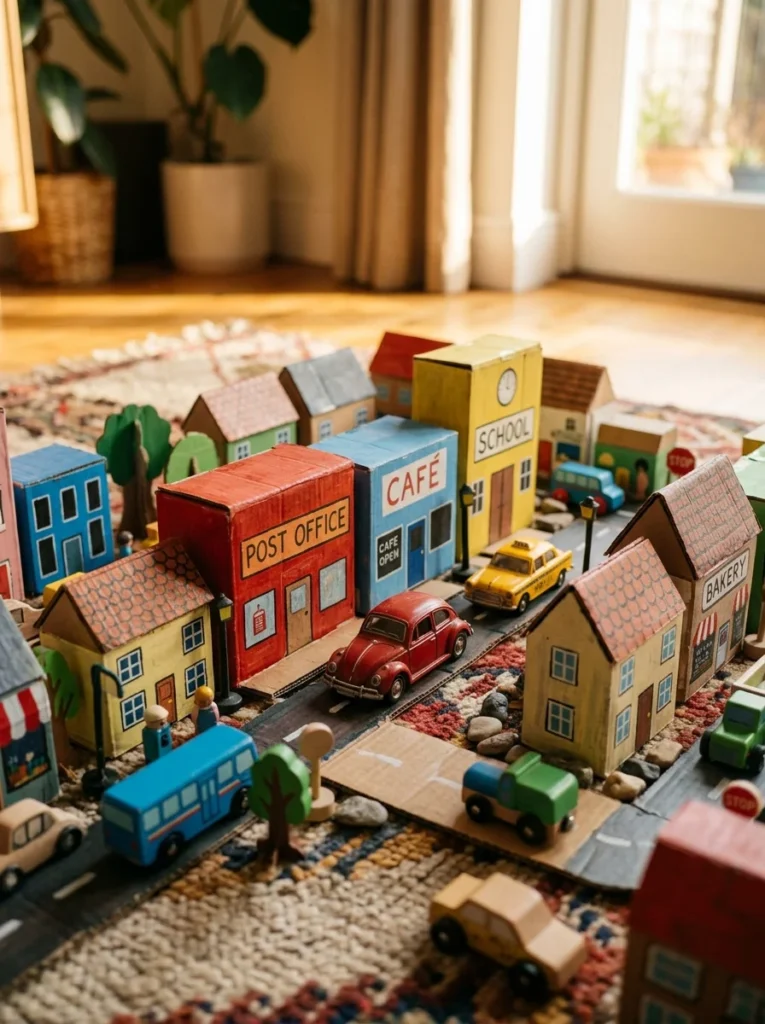
Save several small boxes, like cereal boxes or shoeboxes, and turn each one into a building. Cut door and window shapes out of each box, then paint them different colors: a red firehouse, a blue school, a yellow bakery. Draw brick or shingle patterns with a marker for extra detail. Arrange the buildings on the floor with painted cardboard strips as roads between them. Toy cars and figures can drive and walk through the town once everything is set up.
This craft works well as an ongoing project, since kids can add a new building any time a box becomes available. It costs nothing beyond paint and markers, and kids often enjoy assigning each building a purpose and a name. Younger kids can help paint the walls while older kids handle the window and door cutting with supervision. Store the whole town in a bin between play sessions so it’s ready to set up again quickly. A toy town like this holds interest for months since it keeps growing, unlike a finished toy that stays the same size forever.
12. Make Cardboard Binoculars for Backyard Exploring
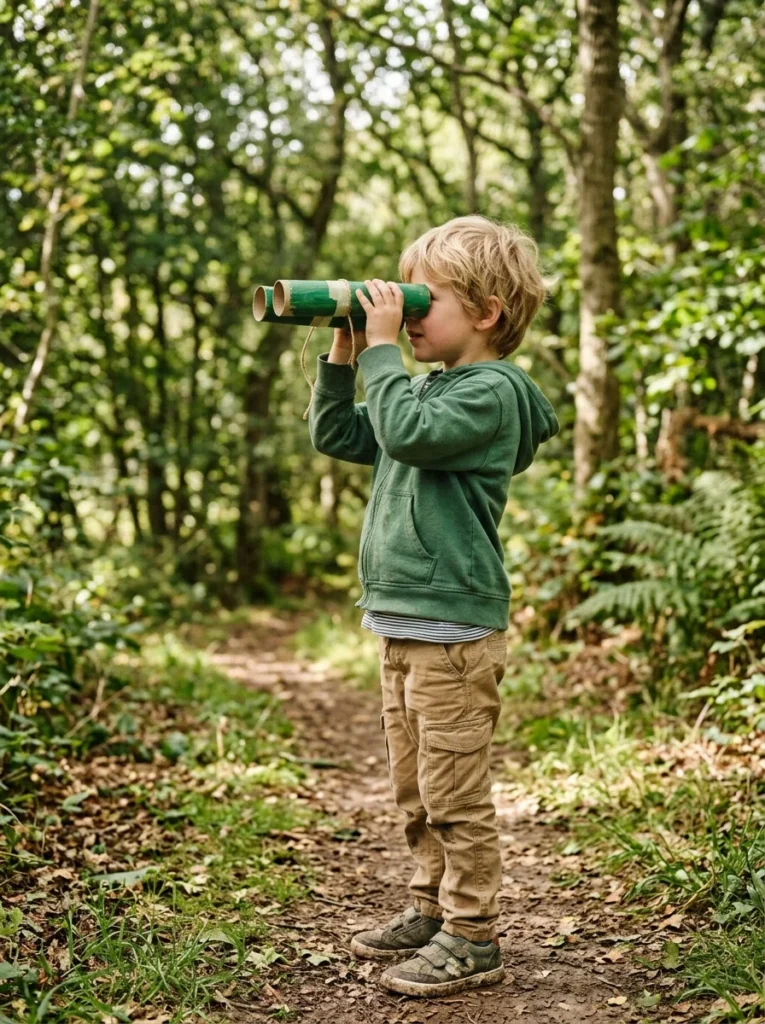
Tape two toilet paper rolls together side by side. Punch a small hole near the top of each tube and thread a piece of string or yarn through, tying it off so the binoculars hang around a child’s neck. Paint the tubes any color, though green or black gives a realistic look. Add a strip of black paper or tape around the front edges for a lens effect. These binoculars are ready for a backyard bird walk, a nature scavenger hunt, or simple pretend spy missions around the house.
This craft takes only a few minutes to build, making it a good rainy-day filler between bigger projects. It costs nothing since toilet paper rolls, string, and paint are common household items. Pair the binoculars with a simple checklist of things to spot outside, like a red bird, a squirrel, or a specific type of leaf. Kids stay engaged outdoors longer with a tool in hand, even a pretend one. This is also a good project for younger kids since it involves simple gluing and painting rather than detailed cutting.
13. Build an Indoor Cardboard Fort
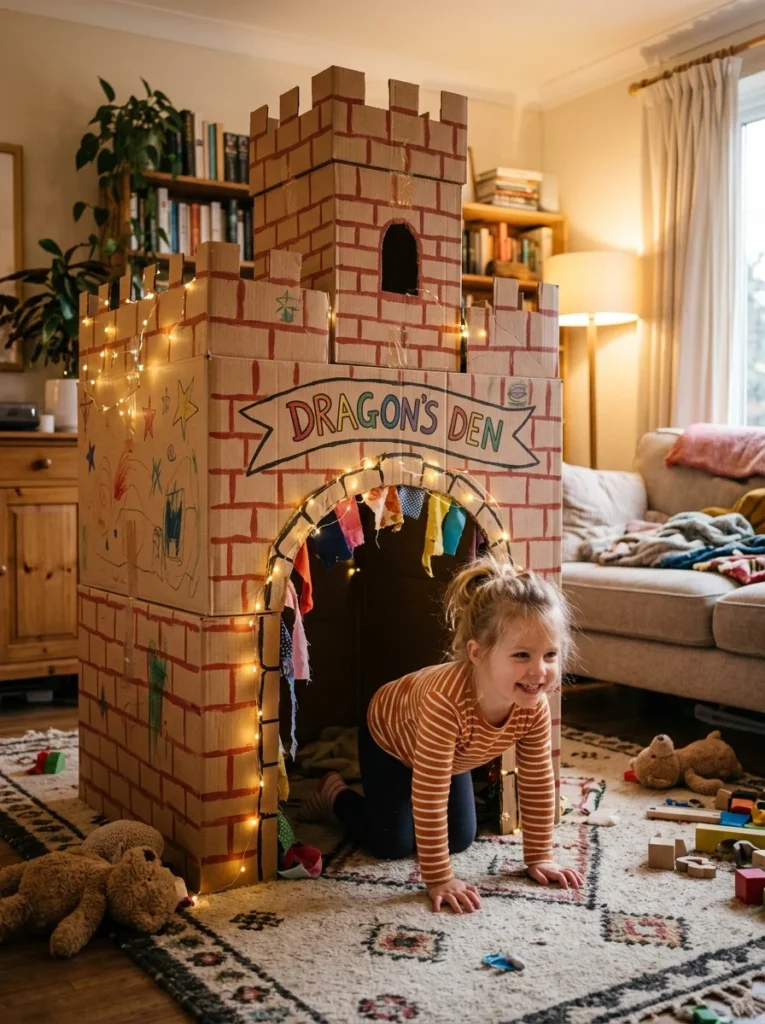
Combine two or three large boxes, taping them together at the seams, to build a fort big enough for a child to sit inside comfortably. Cut a door on one side and a small window on another. Paint brick or stone patterns on the outside using a sponge dipped in gray or red paint. Add a cardboard roof flap on top that can open and close like a real door. Kids can decorate the inside walls with drawings, string lights, or a small blanket for comfort.
This fort works well as a reading nook, a nap spot, or a hideout during pretend games. It costs little beyond paint and tape, especially if you already have a few large boxes saved up. Larger appliance boxes work best for a fort roomy enough for two kids at once. Let the fort stay up for a week or two rather than breaking it down right away, since kids often return to it daily. Add a small rug or pillow inside to make it a cozy spot for quiet time away from screens.
14. Fly a Cardboard Airplane
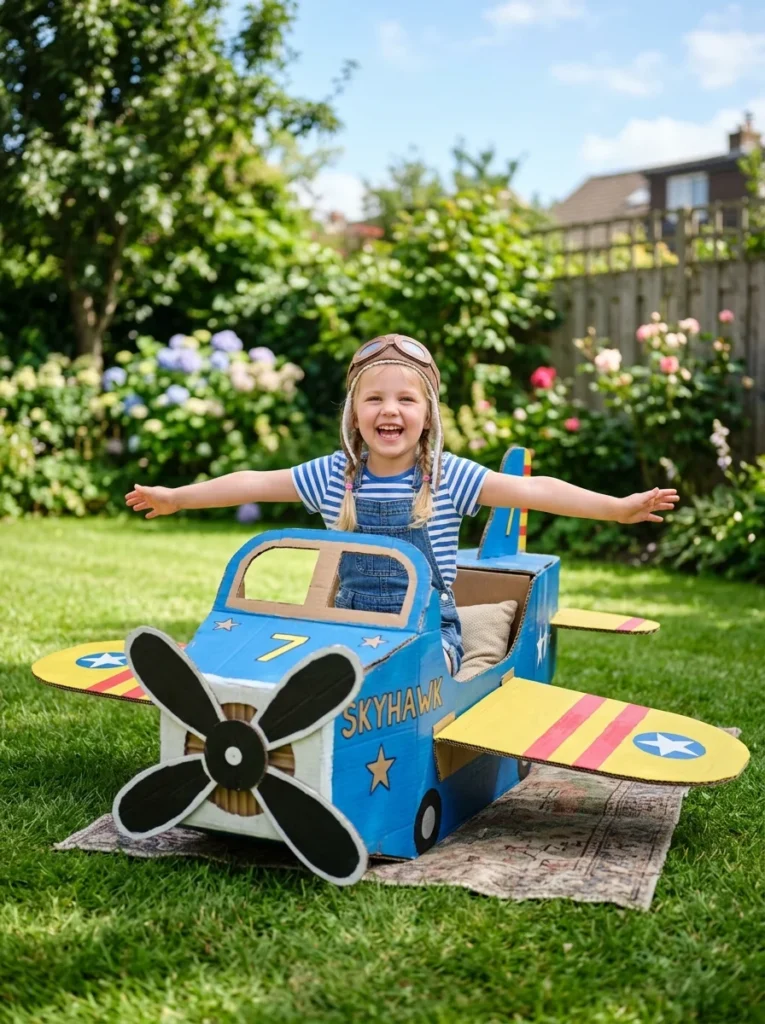
Cut a large box so a child can sit inside with their legs through a front opening. Cut two wing shapes from a flattened box and tape them to the sides. Paint the body white or blue, then add a painted stripe along the side for a classic airline look. A paper plate with triangle cutouts taped to the front becomes a spinning propeller. Add round stickers or painted circles for windows along the side.
Kids sit inside and “fly” around the living room or backyard, arms out for extra wing effect. This craft pairs well with a simple travel theme, like pretending to visit a specific country or planet. It costs very little since paint and tape cover most of the build. A second, smaller box taped to the front can act as a cockpit dashboard with drawn buttons and dials. Let kids paint their own logo or airline name on the side for a personal touch. This is a great craft for imaginative play since it opens the door to travel-themed stories and games for days afterward.
15. Build a Cardboard Boat for Water Play
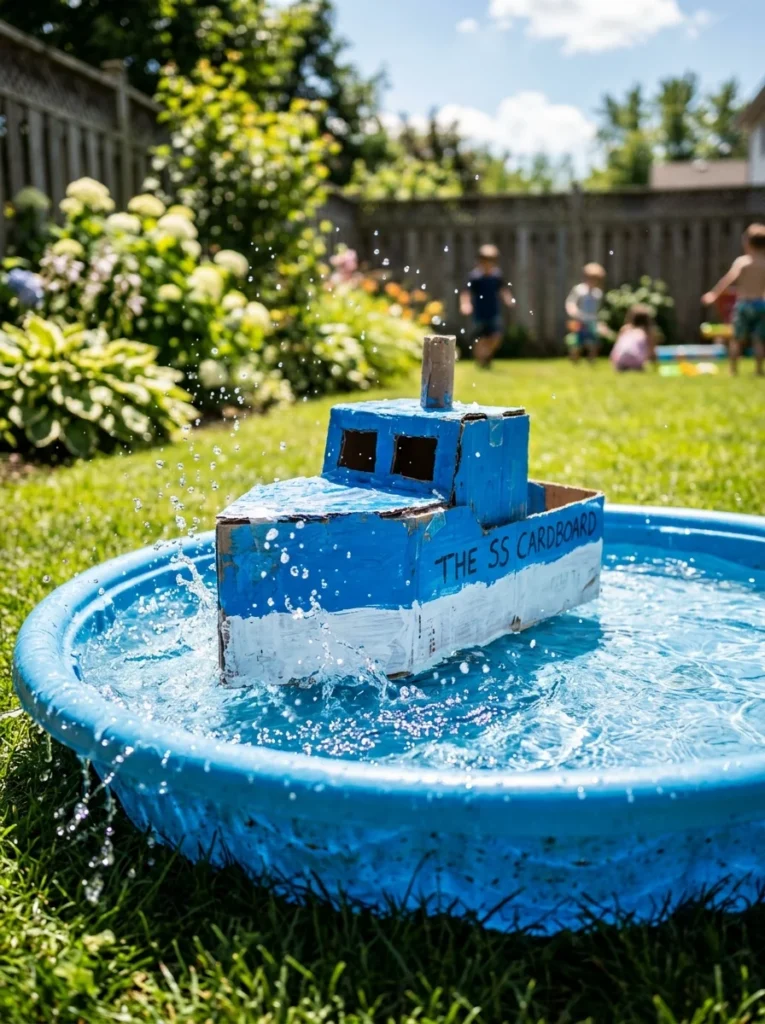
For a boat that floats briefly in a shallow kiddie pool or bathtub, cover a small cardboard box fully in packing tape or plastic wrap to keep water out. Paint the outside first, then let it dry completely before sealing it. Cut a small flag from paper and tape it to a straw or stick mast. This boat works best for float races, not for kids to sit inside, since cardboard weakens quickly once wet. Set up two boats side by side and blow on them through a straw to race across the pool.
Time how long each boat stays afloat before it starts to sink. This craft doubles as a simple science lesson on buoyancy and waterproofing, since kids can test different sealing methods and compare results. It costs little beyond tape or plastic wrap, and both are common household items. Try racing boats with different amounts of tape coverage to see which lasts longest in the water. This is a fun outdoor activity for hot days, combining a craft project with water play in a single afternoon.
16. Set Up a Cardboard Backyard Zoo
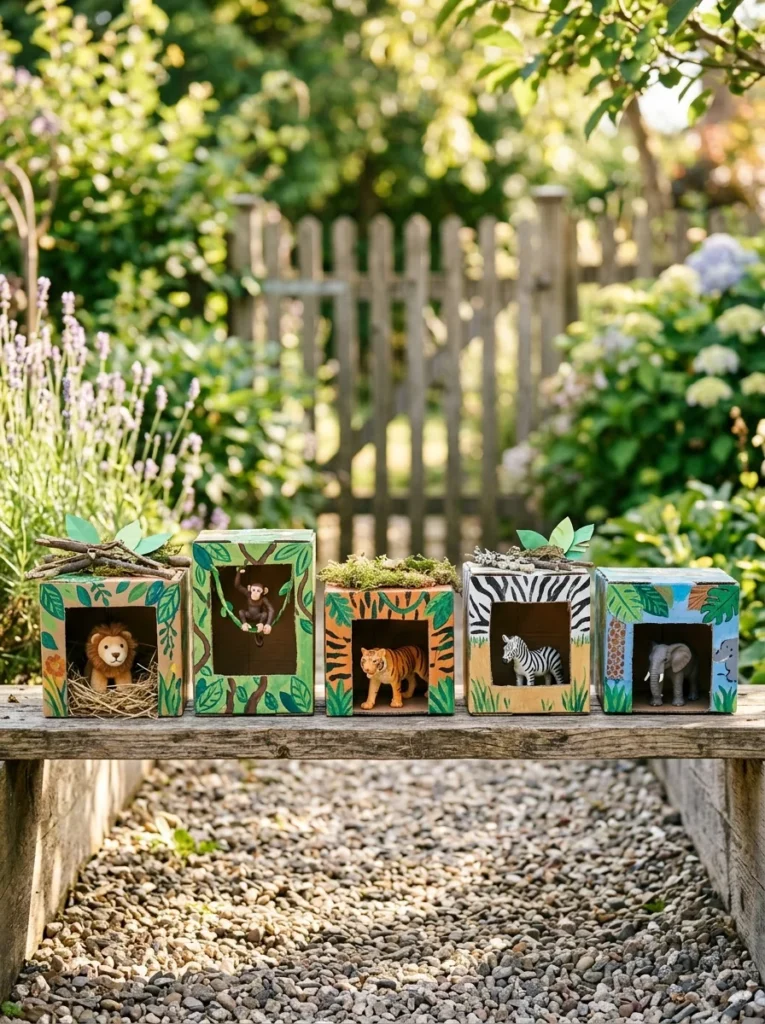
Turn a few small boxes into animal habitats for a pretend zoo. Cut one side open on each box so toy animals can be placed inside and viewed easily. Paint each habitat to match its animal: green and brown for a jungle cage, blue for an aquarium tank, tan for a desert enclosure. Add painted signs on each box naming the animal inside, like “Lion” or “Elephant.” Arrange the habitats in a row on a table or the floor to create a full zoo layout.
Kids can lead stuffed animals or plastic figures through the zoo, stopping at each habitat like a real visitor. This craft works well as a group activity for siblings, with each child building and painting a different habitat. It costs little since paint and small boxes are easy to gather. Add a cardboard ticket booth using a shoebox and a paper roll of “tickets” for extra pretend play. A backyard zoo like this can grow over time as more boxes and animals get added, keeping the project fresh for weeks without needing to start over.
17. Build a Cardboard Vending Machine
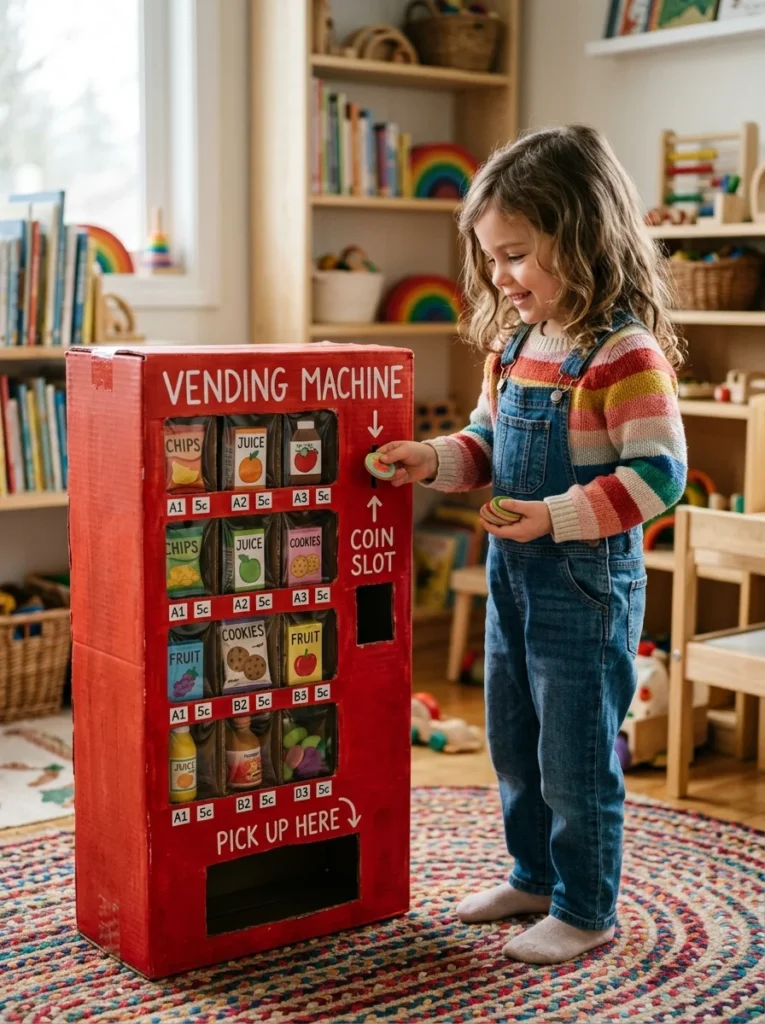
Stand a medium or large box upright and cut a rectangle window in the front. Cut small compartments from smaller boxes and glue them inside, stacked like real vending machine shelves. Paint the outside red or blue, then cut a coin slot and a small door at the bottom for items to “drop out.” Kids fill the compartments with snacks, small toys, or paper cutouts of treats. A sibling or parent inserts a pretend coin, pushes a painted button, and pulls the item from the bottom door.
This craft works well for teaching early math skills, since kids can assign prices and make change with play money. It costs very little beyond paint, since most of the machine comes from saved boxes. Add painted letters and numbers next to each compartment for a realistic look. This is a great project for kids who enjoy setting up a “store” and playing shopkeeper for hours. Pair it with a cardboard cash register from another project for a full pretend shop experience at home.
18. Make a Working Cardboard Camera
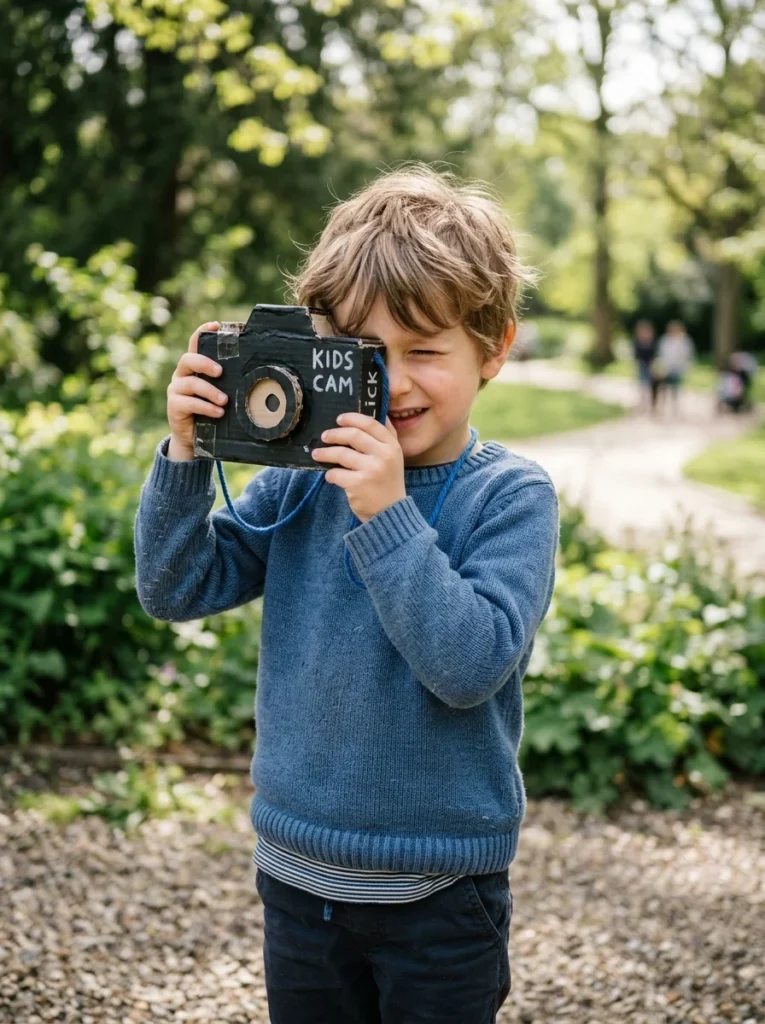
Cut a small box into a camera shape, roughly the size of a real point-and-shoot camera. Cut a round hole in the front and glue a toilet paper roll section around it for the lens. Paint the body black or silver, then add a small painted button on top for the shutter. Glue a strip of ribbon or yarn to the sides so kids can wear the camera around their neck like a photographer. Kids hold the camera up and pretend to snap photos of family, pets, or backyard scenes.
This craft pairs well with a pretend photography walk around the house or neighborhood, where kids “photograph” different things on a simple checklist. It costs almost nothing since paint and cardboard scraps cover the whole build. Add a small paper flash cutout on top for extra realism. This is a fun project for kids who enjoy dress-up and role play, especially paired with a reporter or photographer costume. It also opens the door to talking about real photography later, once the pretend version has been fully explored.
19. Build a Cardboard Piggy Bank
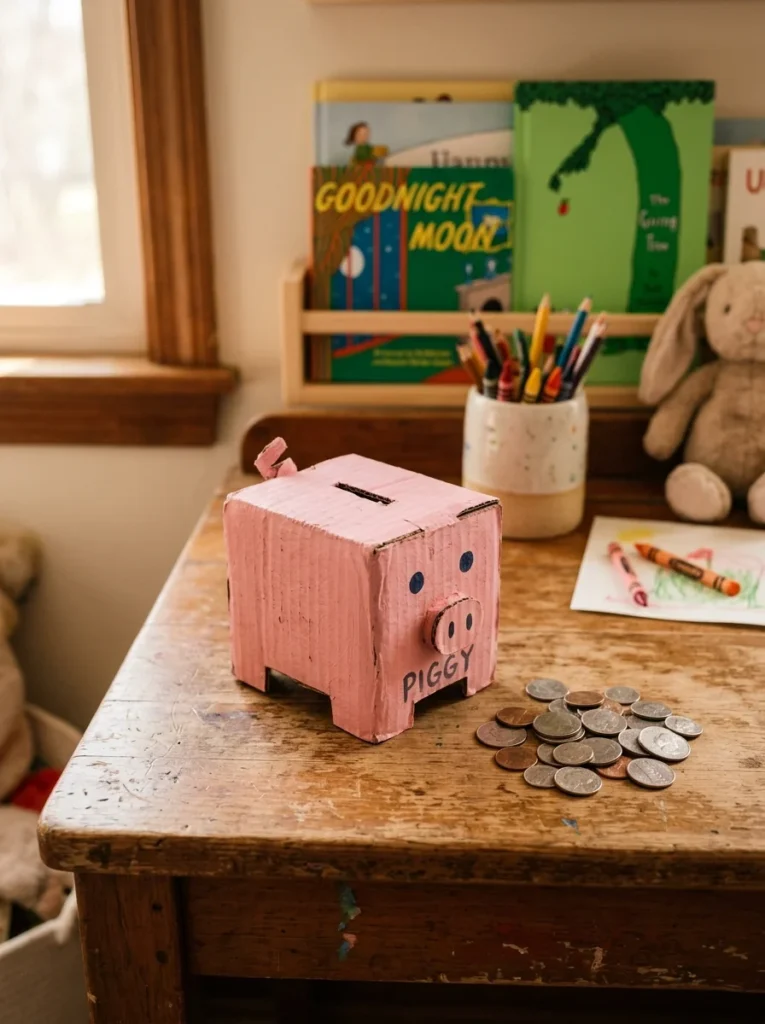
A small box, like a tissue box or shoebox, turns into a piggy bank in a short session. Cut a coin slot in the top and paint the whole box pink. Cut small triangle shapes from cardboard for ears and glue them to one end. Roll a strip of paper into a curl for the tail and tape it to the back. Add two black paper circles for eyes and a pink circle for the snout, glued near the front. Kids drop spare coins through the slot and shake the bank to hear them rattle inside.
This craft doubles as a simple lesson in saving money, since kids can track how full the bank gets over weeks. It costs almost nothing beyond paint and paper scraps. Cut a small flap in the bottom, secured with tape, so the bank can be opened and emptied without damaging it. This is a good project for younger kids since the shapes are simple and the painting is forgiving of mistakes. A homemade piggy bank often gets more use than a store-bought one since kids feel proud of something they built themselves.
20. Set Up a Cardboard Bowling Alley
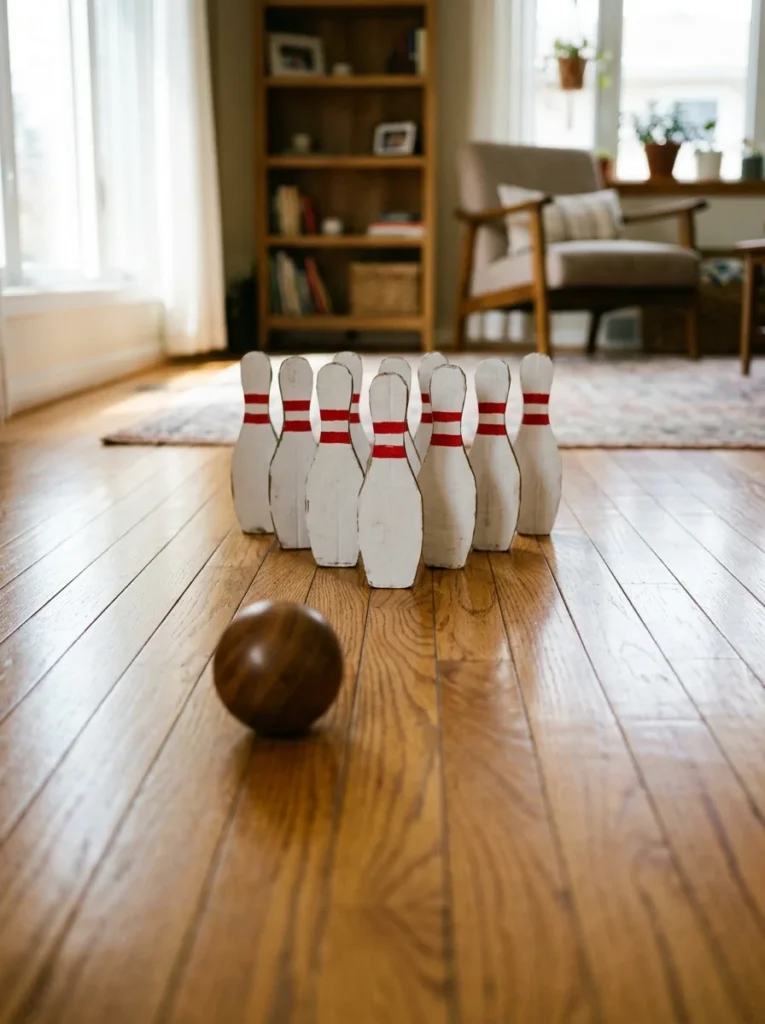
Save ten small boxes, like snack boxes or juice cartons, and stand them upright in a triangle formation like real bowling pins. Paint each one white, then add red stripes near the top once the base coat dries. A soft ball, like a rolled-up sock or a small rubber ball, works as the bowling ball. Kids roll the ball down a hallway or open floor space, trying to knock down as many pins as possible. Keep score on a small notepad for a bit of friendly competition between siblings or friends.
This craft costs almost nothing since small boxes are easy to save from snacks and drinks. It also doubles as an active indoor game for rainy days when outdoor play isn’t an option. Set the pins back up after each turn for round after round of play. This is a good group activity for a few kids at once, since everyone can take turns rolling and resetting the pins. It keeps kids moving and counting, all without needing a screen or a store-bought game set.
21. Build a Cardboard Mailbox for Pretend Letters
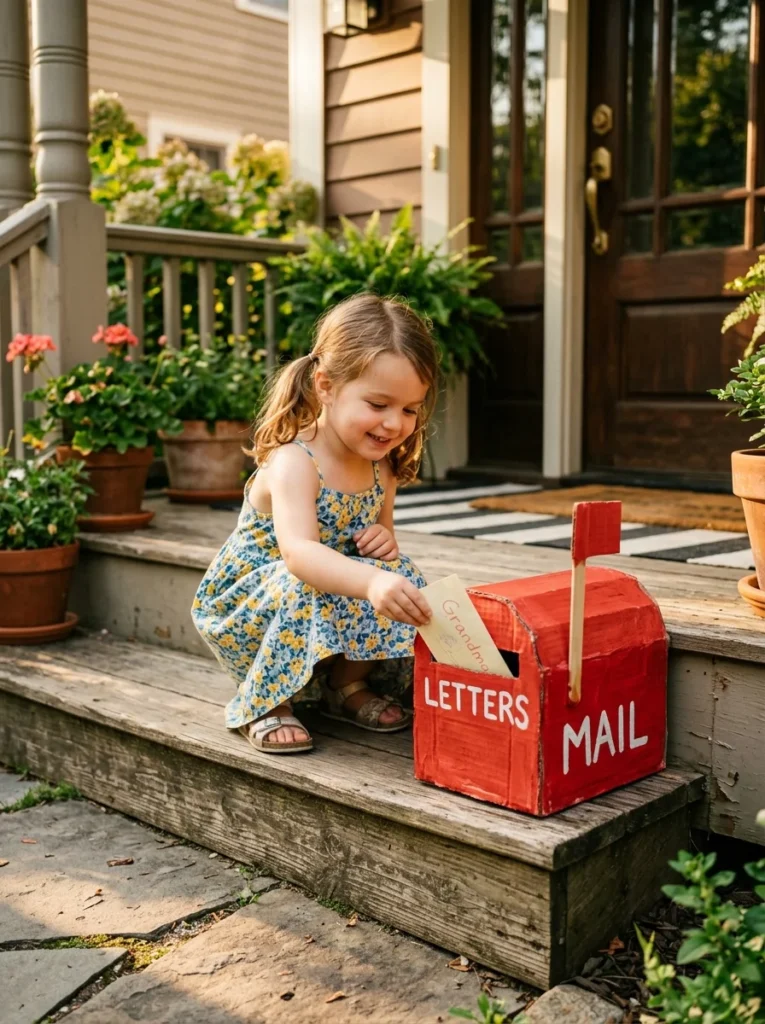
A shoebox stood on its side, with a lid cut to open and close, makes a simple pretend mailbox. Cut a small flag shape from cardboard and attach it to the side with a brass fastener so it flips up and down. Paint the box red or blue, then add a painted number or family name on the front. Kids write short notes or draw pictures on paper, fold them up, and deliver “mail” to the box for other family members to find.
This craft works well as a daily habit, encouraging kids to write a little each day, even if it’s just a few words or a drawing. It costs nothing beyond paint and paper, both common household items. Set the mailbox by a bedroom door or in a shared space so mail gets delivered and collected easily. This is a good project for kids working on early writing skills, since it gives real purpose to practicing letters. Rotate who “delivers” the mail each day to keep the game fair and fun for everyone involved in the house.
22. Create a Cardboard Treasure Chest
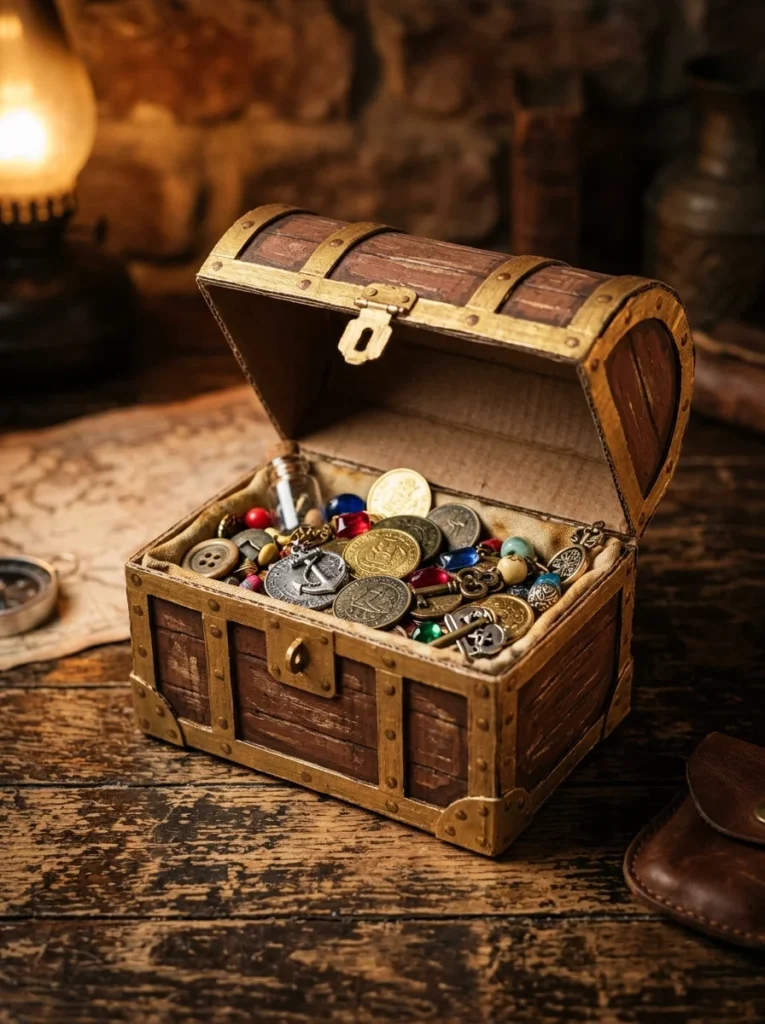
Cut a shoebox lid into a curved dome shape and tape it back onto the box so it looks like a rounded treasure chest lid. Paint the whole box brown, then add gold lines along the edges and corners once the base coat dries. Glue on small buttons or bottle caps in a row along the front for a studded, old-world look. Fill the chest with small trinkets, coins, or a handful of costume jewelry for kids to “discover.” Bury the chest in a sandbox or hide it in the backyard for a simple treasure hunt game.
This craft pairs well with a pirate or adventure theme, especially alongside the pirate ship project earlier on this list. It costs very little since paint and glue cover most of the build, and the “treasure” inside can be anything already found around the house. Kids enjoy designing a treasure map on paper to lead friends or siblings to the hidden chest. This is a great weekend project since the treasure hunt itself can stretch the fun out over several hours.
Conclusion
A pile of cardboard boxes holds more play potential than most people realize. From race cars and rocket ships to puppet theaters and pretend zoos, these 22 crafts turn empty boxes into hours of screen-free fun using paint, tape, and a bit of imagination.
Most projects cost little to nothing since the main material is already headed for recycling anyway. Start with one or two builds that match your child’s interests, then let the list grow as more boxes come through the door. The real value isn’t just the finished craft. It’s the time spent cutting, painting, and imagining together, away from screens and full of hands-on play.