
Scrapbooking does not have to be complicated to look beautiful. Simple layouts often feel the most timeless because they let your photos and memories shine. With just a few supplies like paper scraps, tape, and printed pictures, you can create pages that feel calm, balanced, and heartfelt. These ideas focus on easy structures, clean spacing, and small decorative touches that make a big visual impact. If you love the look of stunning scrapbook pages but want stress-free methods, these simple approaches will help you craft meaningful albums without clutter or overwhelm.
1. One Photo Center Stage
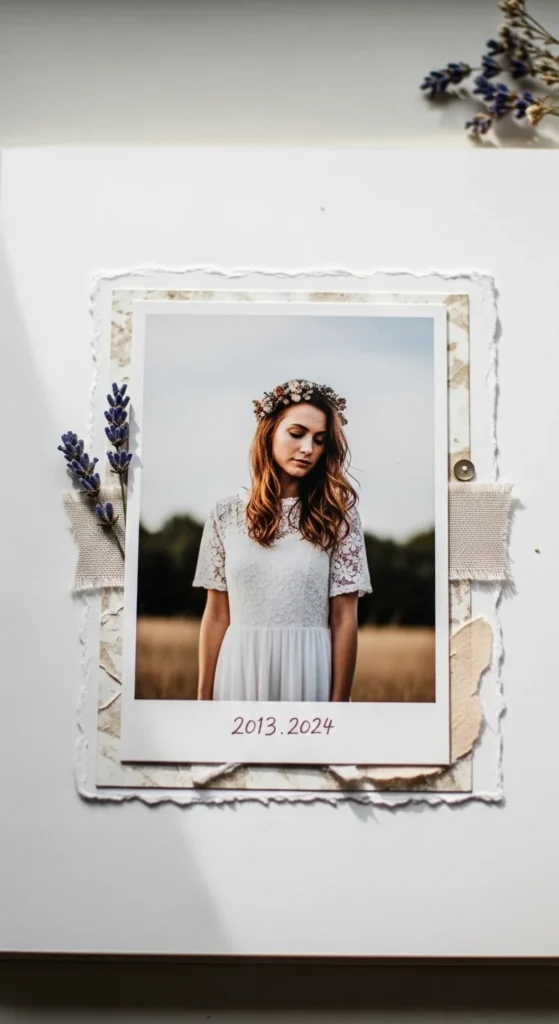
A single-photo layout is one of the easiest ways to make a page look polished. Choose one meaningful photo and place it in the center of the page. Add a slightly larger paper behind it as a mat to create a soft border. Keep decorations light, like a small sticker cluster in one corner and a short handwritten caption below. Leaving open space around the photo helps it stand out and gives the page a calm feel. Budget tip: Use scrap paper or the back of old wrapping paper as your photo mat. If you want extra detail, draw a thin border line around the photo with a pen. This layout works well for special portraits, milestone moments, or favorite snapshots. Simple placement makes the memory feel important without extra effort.
2. Pocket Mini Scrapbook Insert
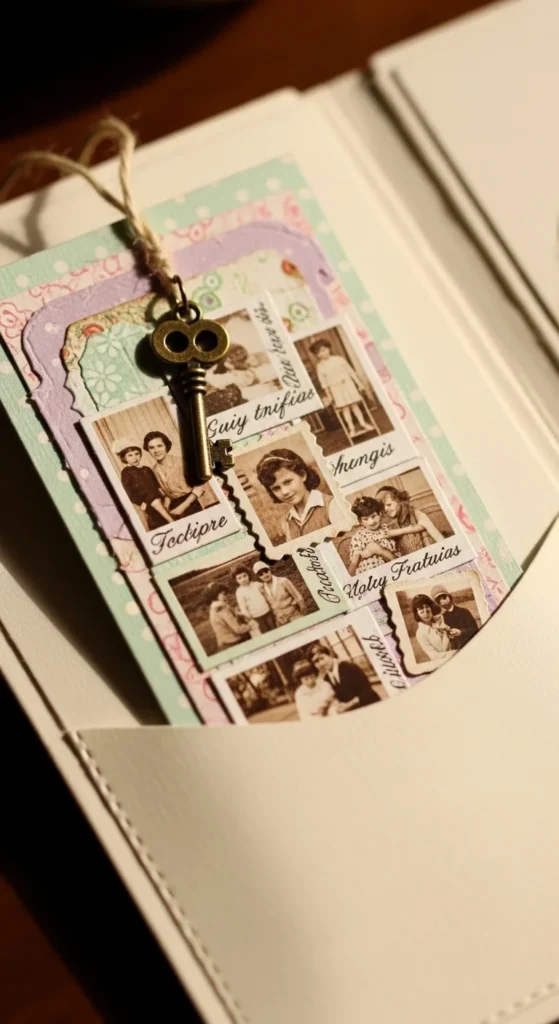
A mini pocket scrapbook adds extra photos without crowding your main pages. Fold a piece of cardstock accordion-style to create several small panels. Glue tiny photos and short notes on each fold. Slide this mini book into a pocket on a larger scrapbook page. This keeps the main layout clean while still holding more memories. Budget tip: Cut mini pages from cereal boxes covered with patterned paper. Tie a bit of string around the mini book for easy pulling. This is perfect for travel days or parties where you have lots of small photos you don’t want to leave out.
3. Paper Bag Keepsake Album
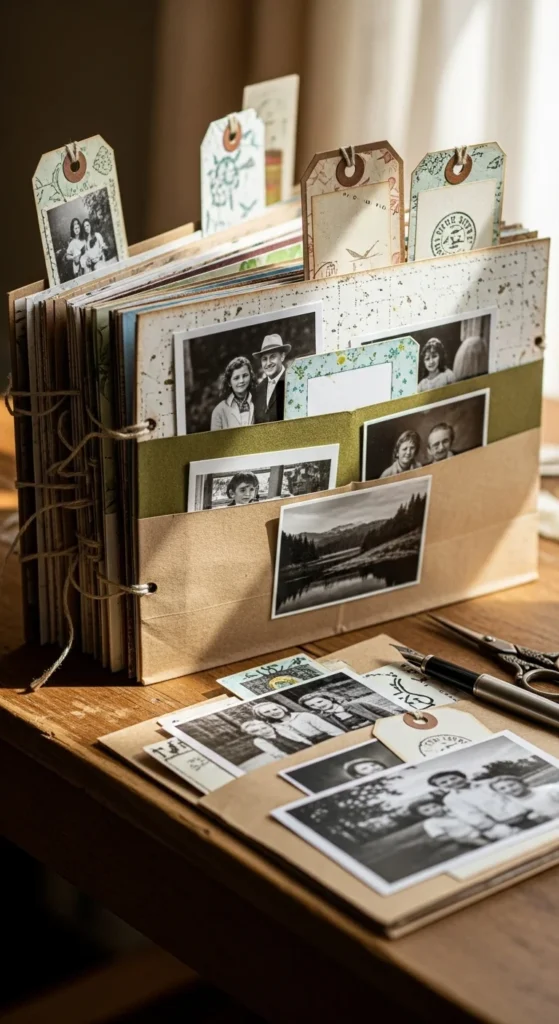
A paper bag album is simple, eco-friendly, and charming. Fold paper bags in half and stack them together. Staple along the fold to bind them. The open ends become pockets where you can slide in photos, notes, or small keepsakes. Decorate each bag page with light paper layers and short captions. Budget tip: Use grocery bags or old gift bags. This format is great for memory collections with tickets, drawings, or letters.
4. Binder Ring Page Set
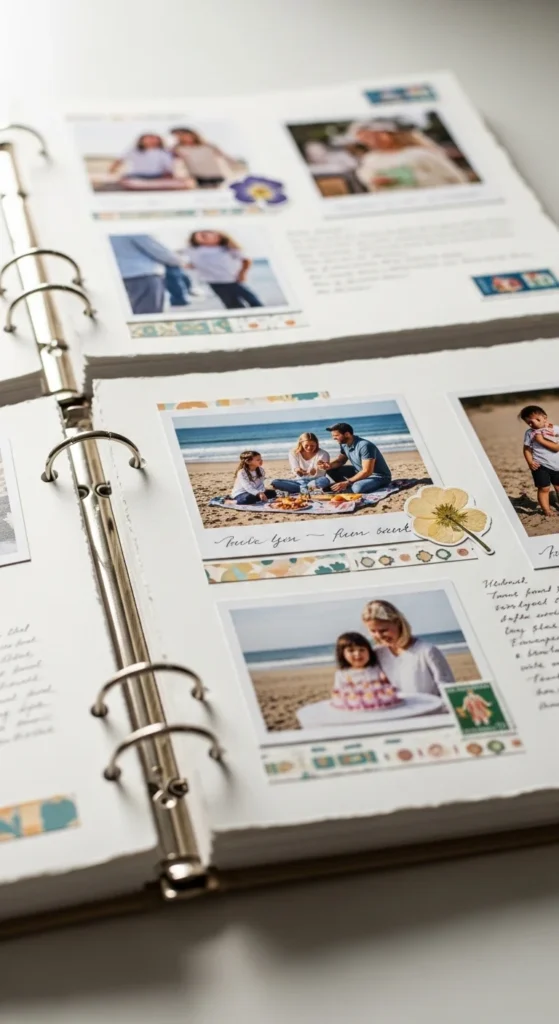
A binder ring scrapbook is flexible and easy to expand. Punch holes in your pages and connect them with binder rings. You can rearrange pages anytime. Use simple layouts with one or two photos per page to keep the album tidy. Budget tip: Cut pages from sturdy packaging cardboard covered in paper.
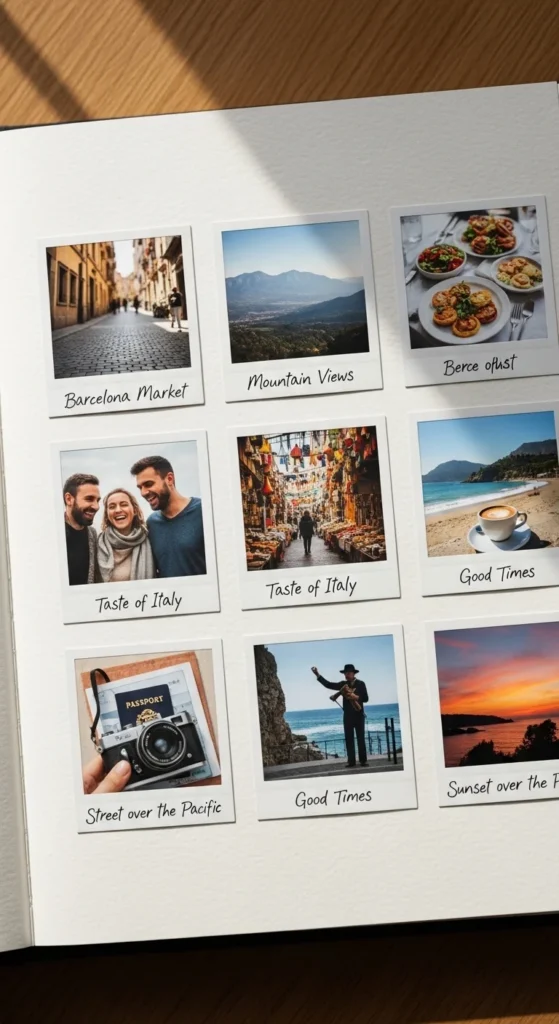
5. Timeline Two-Page Spread
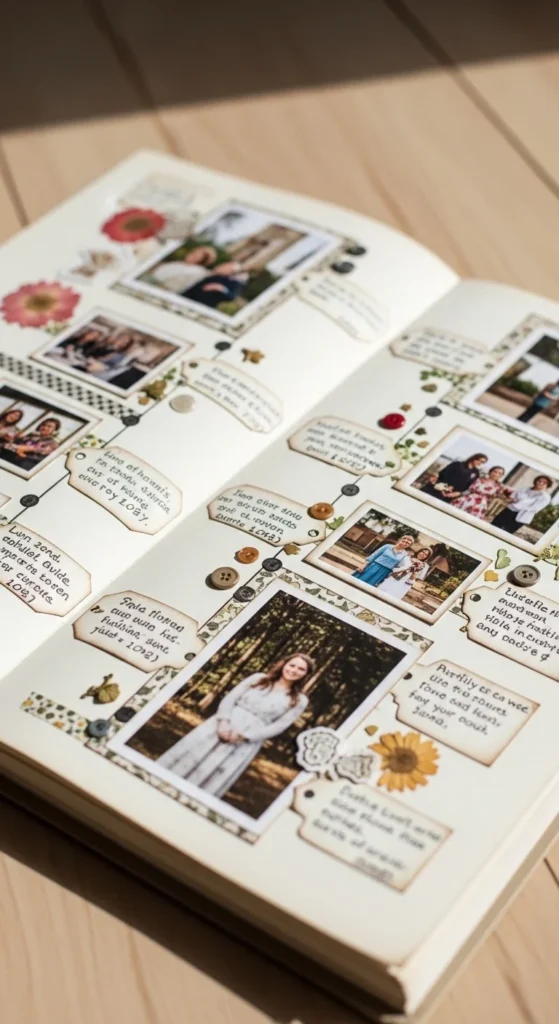
A timeline spread tells a story step by step. Arrange small photos in a line across two facing pages. Add short captions under each photo with dates or moments. Draw a thin line connecting them like a path. Budget tip: Use a ruler and pen for a clean guide line. This layout works beautifully for birthdays, trips, or school years.
6. Photobooth Strip Layout
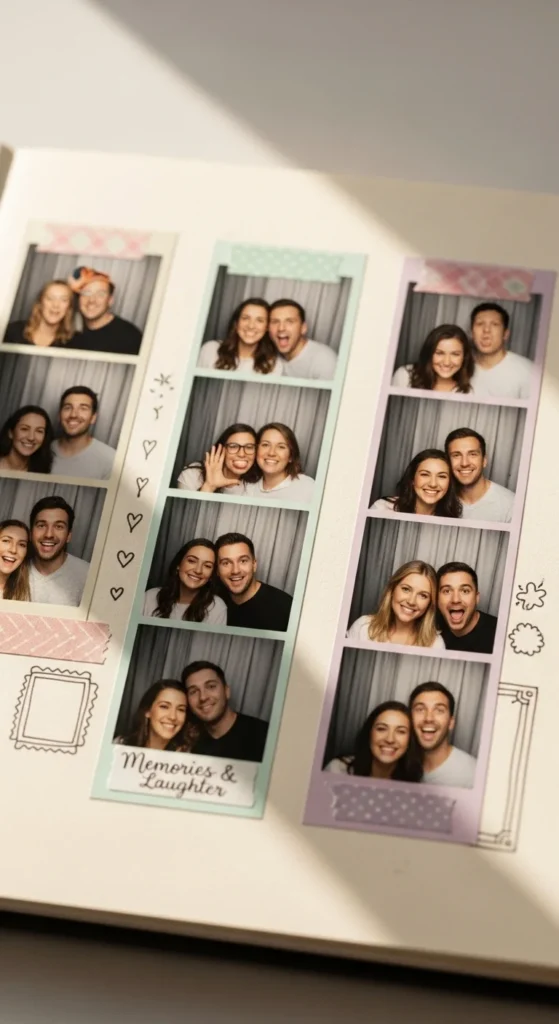
A photobooth strip page feels fun and nostalgic while staying very simple. Print photos in narrow vertical strips or cut regular prints into long pieces. Place one or two strips down the page. Secure them with small pieces of washi tape at the top and bottom, like they were casually pinned. Leave plenty of open space around the strips so the layout feels airy. Add a short handwritten note beside one strip with the date or a funny memory from that day. Budget tip: Draw a thin frame around each strip with a pen if your printer doesn’t add borders. This idea works well for party photos, friend hangouts, or silly selfie sessions. The clean vertical design keeps everything neat while still showing multiple expressions and moments.
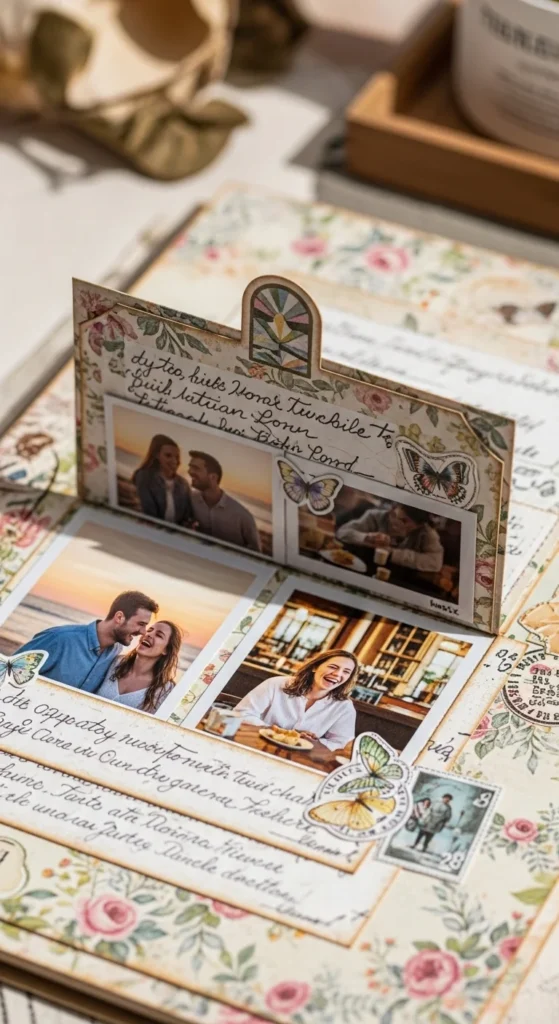
7. Mini Accordion Fold Insert
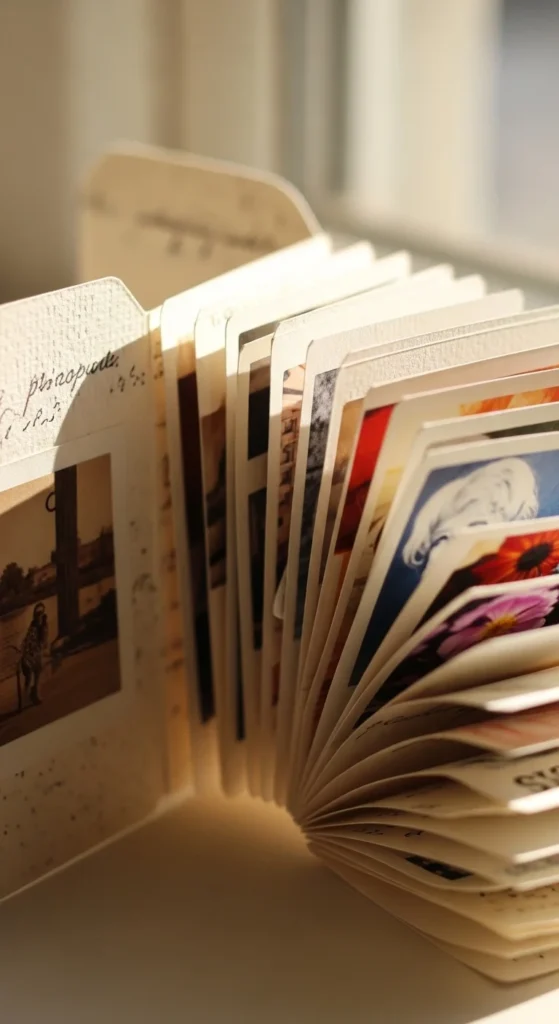
A mini accordion fold is a compact way to store several memories on one small insert. Fold a strip of paper back and forth like a fan. Glue a small photo or short note onto each panel. You can attach one end to a scrapbook page so it flips open, or tuck it into a pocket. Keep the decorations simple so the fold stays flat. Budget tip: Use leftover strips from trimmed papers instead of cutting into a new sheet. This format works beautifully for travel days, school events, or holiday snapshots where you want to keep moments grouped together. The fold-out feature adds gentle interaction without complicated construction.
8. Heart Envelope Memory Holder
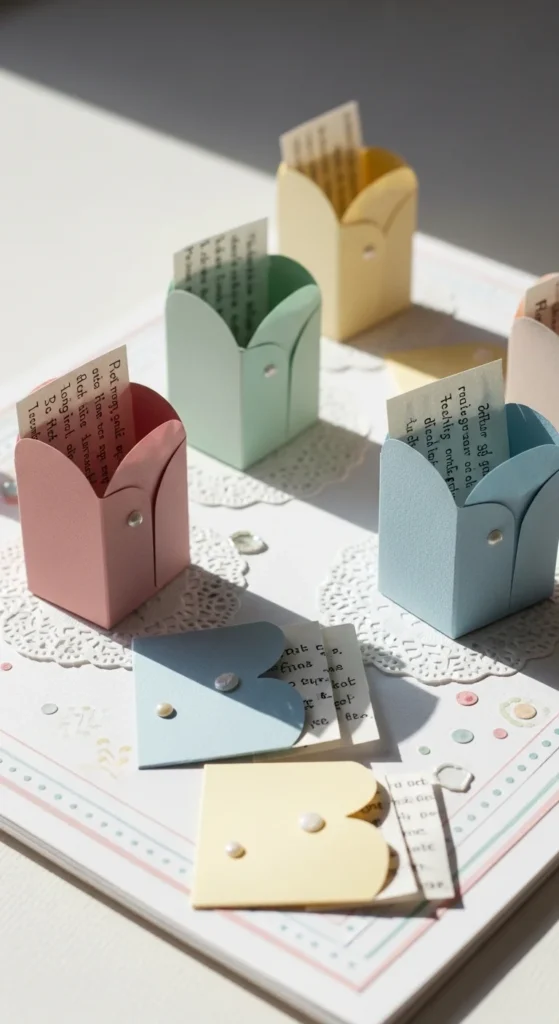
A heart envelope holder adds a sweet and personal touch to a simple page. Fold paper into a heart shape that opens like a small envelope. Glue it lightly along the back edge so the top can still open. Inside, tuck a short handwritten memory, a tiny drawing, or a date. Place just one or two hearts on the page to keep the layout clean. Budget tip: Use colored notebook paper or magazine pages for patterned hearts. This idea works beautifully for friendship pages, anniversary memories, or family milestones. The hidden note makes the page feel special and interactive without adding clutter.
9. Tab Flip Photo Section
A tab flip section lets you hide extra photos while keeping the page simple. Glue one edge of a photo or paper flap onto the page. Add a small tab made from a folded piece of paper at the edge so it can be lifted easily. Under the flap, place another photo or note. Keep the flap size small so it does not overpower the layout. Budget tip: Cut tabs from scrap cardstock and round the corners for a polished look. This structure adds a playful layer and works great for “before and after” pictures or two related moments.
10. Mood Tracker Memory Page
A mood tracker page mixes journaling with photos in a gentle, creative way. Draw a small grid of squares or circles on the page. Color each shape based on how you felt on different days. Add one photo from that period and a short note about why that memory matters. Keep decorations minimal so the focus stays on the color pattern and story. Budget tip: Use colored pencils or markers instead of special stickers. This layout turns emotions into a visual pattern and works well for monthly reflections or meaningful seasons of life.
11. Craft Project Planner Spread
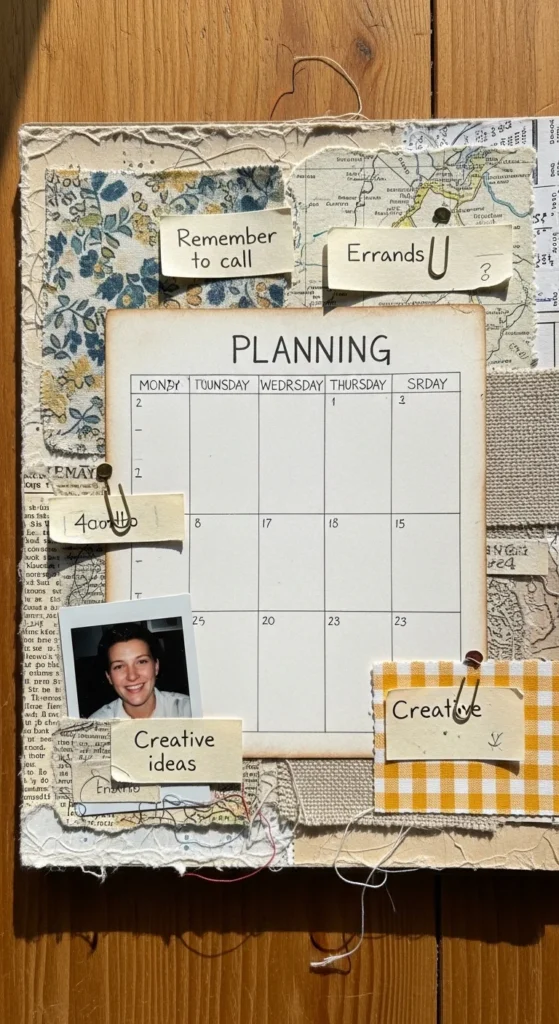
A craft planner spread keeps hobby memories organized in a simple, pretty way. Glue small fabric or paper swatches onto the page. Write short notes beside each one about what you made or planned. Keep the layout structured with neat rows or boxes. Budget tip: Use leftover scraps from sewing, knitting, or art projects. This page becomes both a memory and a useful reference for future ideas.
12. Soft Watercolor Background
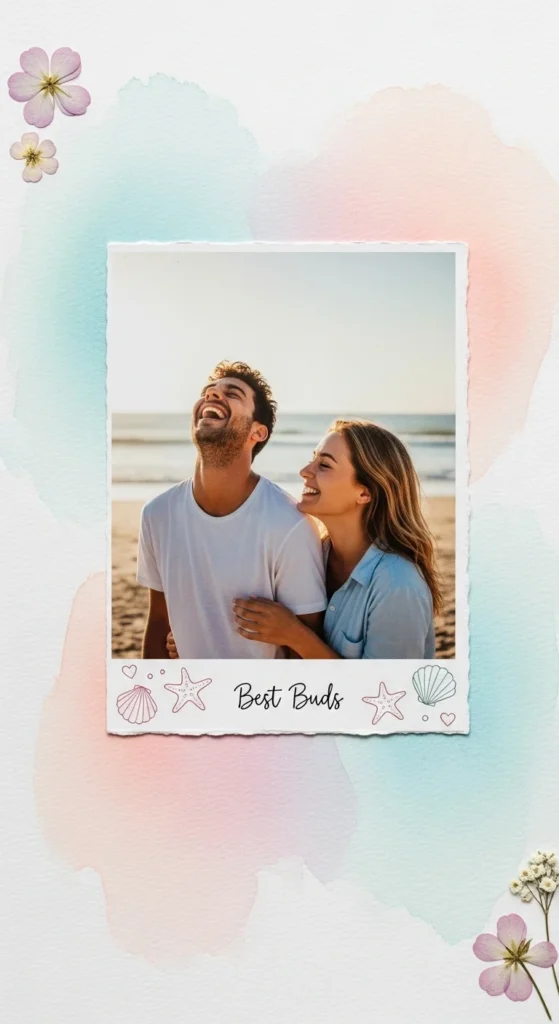
A watercolor background gives a gentle, artistic base without heavy decoration. Lightly brush diluted paint across the page and let it fade toward the edges. Let the paper dry completely before adding photos. Place one or two pictures on top with simple mats. Budget tip: Use children’s watercolor sets or even diluted markers. Soft color washes make simple pages feel dreamy and calm.
13. Clustered Photo Collage
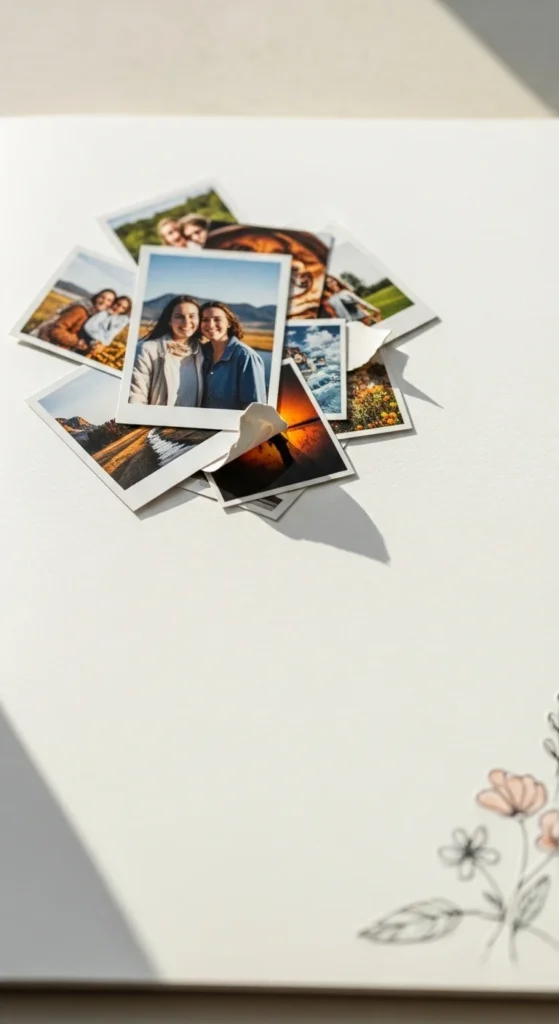
A clustered collage keeps multiple photos together while leaving the rest of the page open. Group three to five small photos in one corner or side. Let them overlap slightly. Add one small decorative element nearby, like a sticker or label. Budget tip: Print photos in smaller sizes at home. This layout feels balanced because the design stays in one area instead of spreading everywhere.
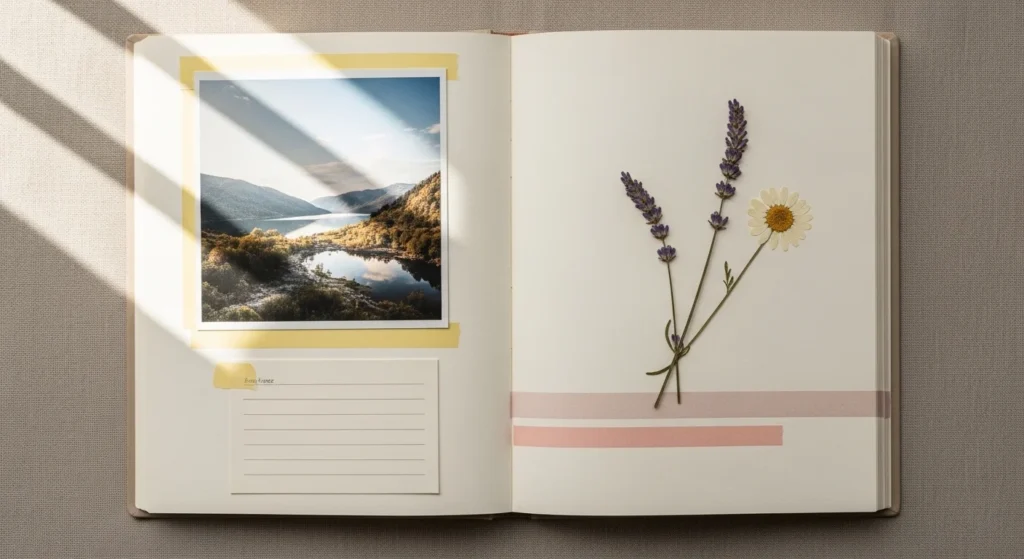
14. Pressed Flower Border Page
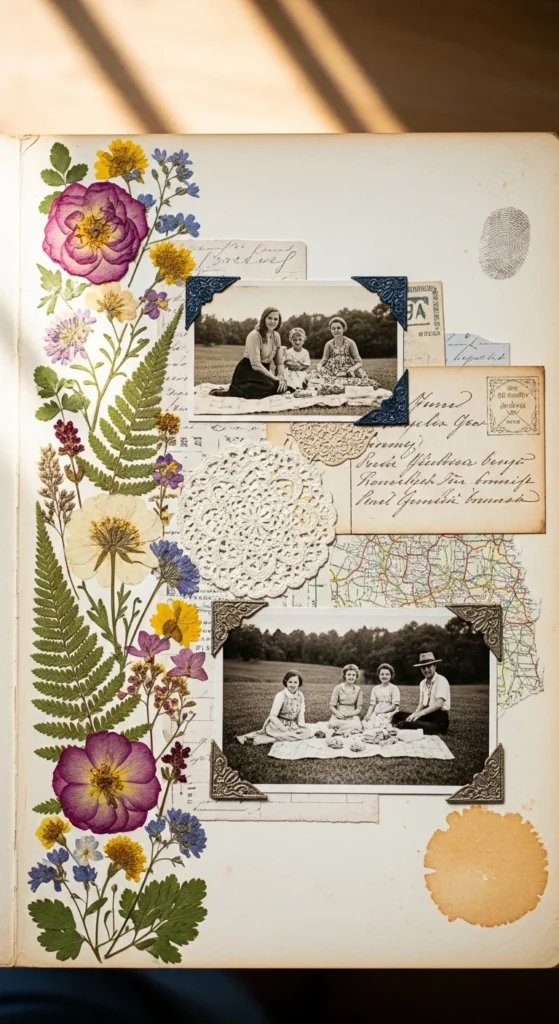
A pressed flower border adds natural beauty with very little effort. Glue small dried flowers or leaves along one side of the page to form a simple border. Place your photo on the opposite side for balance. Keep everything else minimal. Budget tip: Press flowers from your garden inside a heavy book for a week. Seal them with clear glue so they stay in place. This style works beautifully for spring, summer, or outdoor memories.
15. Simple Layout Sketch Guide
A layout sketch guide helps when you don’t know where to place things. Lightly draw boxes on your page with pencil to mark photo and journaling spots. Stick to the plan while decorating. Erase lines once finished. Budget tip: Reuse the same sketch design on multiple pages with different themes. This method keeps pages neat and reduces decision stress.
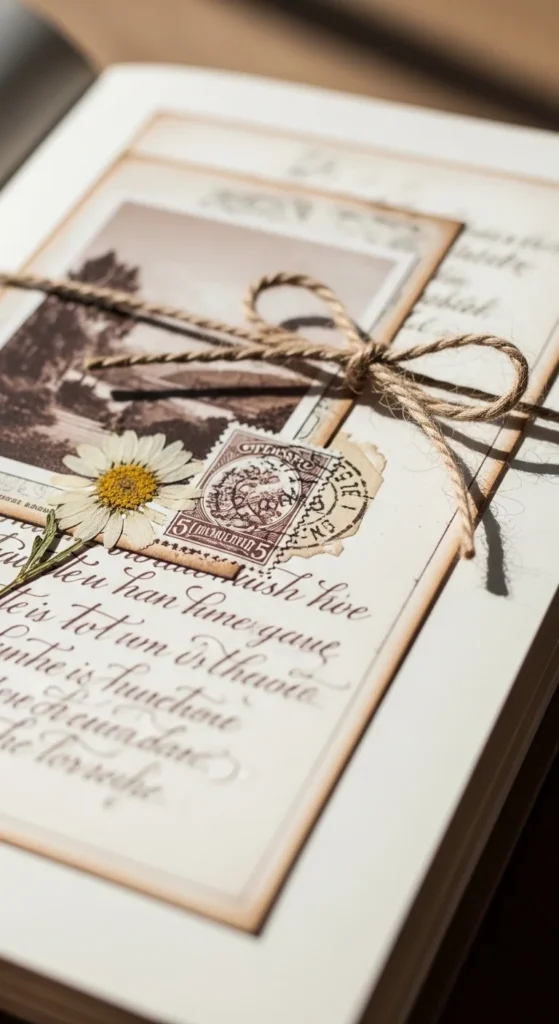
16. Vintage Distressed Memory Page
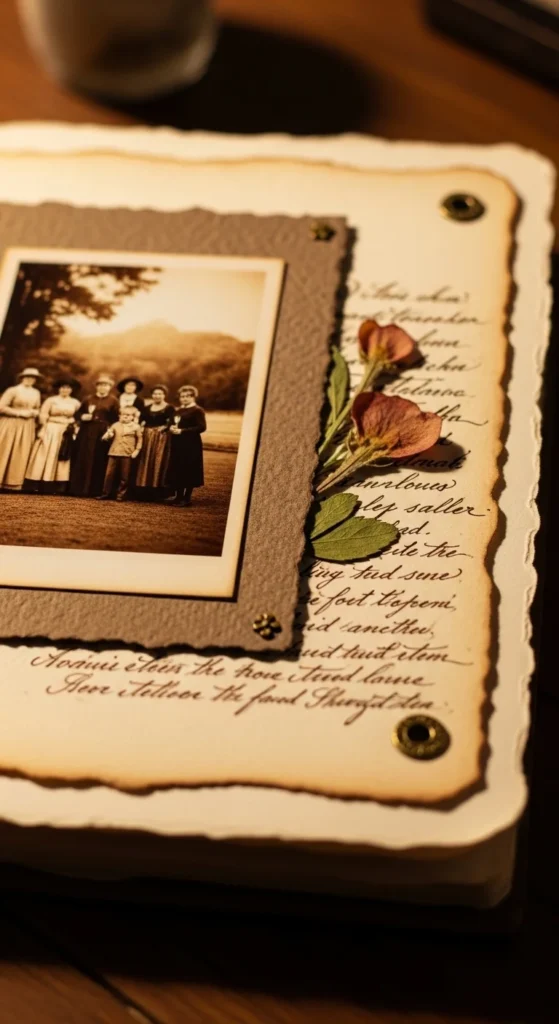
A vintage distressed page gives old memories a warm, storybook feel without complex decoration. Lightly tear the edges of your background paper for a soft, worn look. Rub brown ink, pencil, or even a bit of diluted coffee along the edges to create gentle shading. Use black-and-white or sepia-toned photos to match the style. Keep embellishments simple, like a small lace scrap or a thin twine bow in one corner. Budget tip: Dab a used tea bag along the paper edges and let it dry for a natural aged effect. This layout works beautifully for childhood memories, grandparents, or old family stories. The soft textures add character while the open space keeps the page calm and balanced.
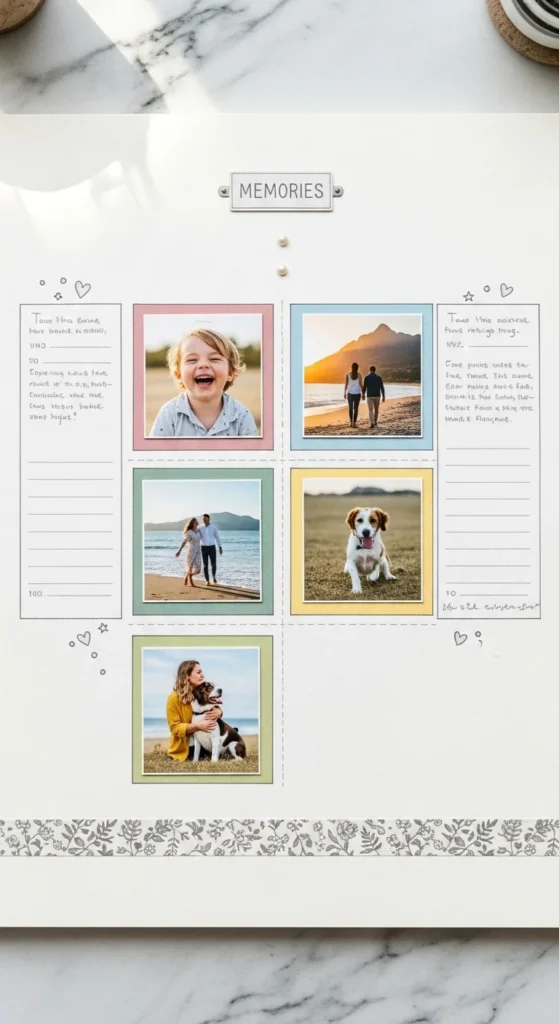
17. Polaroid Style Caption Grid
A Polaroid-style grid looks clean and modern with very little effort. Print square photos or trim regular photos into squares. Glue them in neat rows with even spacing between each one. Leave a small white space under each photo for a short handwritten caption. Keep decorations minimal so the grid remains the focus. Budget tip: Draw a white border around photos using a gel pen if you can’t print Polaroid-style pictures. This layout works well for everyday memories like family dinners, walks, or casual snapshots. The tidy grid makes even simple photos look thoughtfully arranged.
18. Foam Dot Pop Layer Page

A pop layer page uses foam adhesive to add gentle depth without clutter. Stick small foam dots or squares behind a photo or label before gluing it down. This raises the element slightly off the page, creating a soft shadow. Use this technique for just one or two pieces so the page stays simple. Budget tip: Cut tiny squares from thick cardboard if you don’t have foam dots. This small lift makes the layout look more interesting while still feeling clean and minimal.
19. Found Paper Ephemera Fill
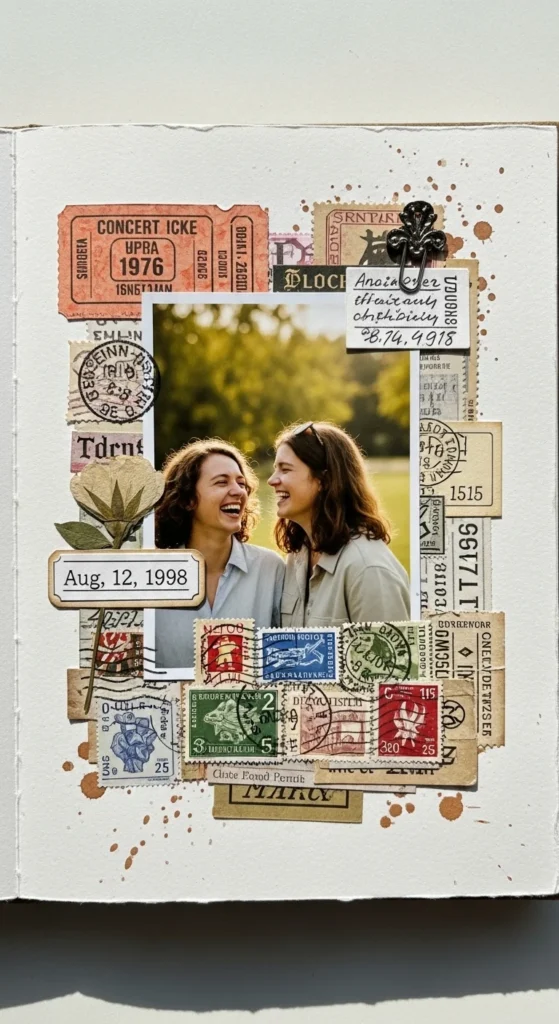
Found paper pieces help fill empty spots in a simple, charming way. Use small bits like ticket stubs, packaging labels, or patterned scraps. Tuck them slightly under photo corners or along page edges. Keep colors similar so the layout feels calm. Budget tip: Save interesting bits from mail, shopping bags, or magazines. These small details add personality without needing special supplies.
20. Washi Tape Frame Border
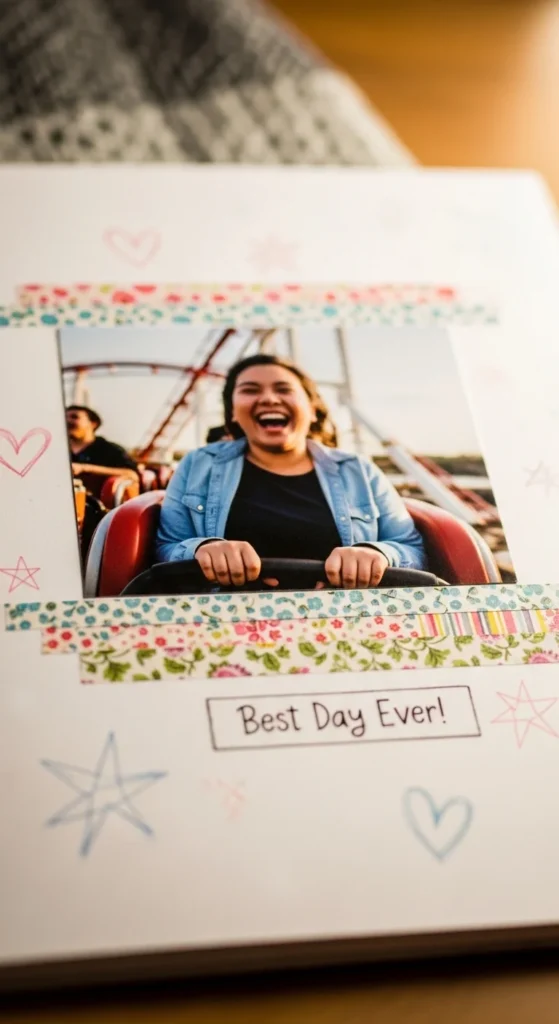
A washi tape frame gives the page a neat border in seconds. Run a strip of tape along the page edges to create a simple frame. Choose one or two colors only so the design stays clean. Budget tip: Use masking tape colored with markers if washi tape isn’t available. This border ties everything together without extra layers.
21. Minimal Journal Card Caption
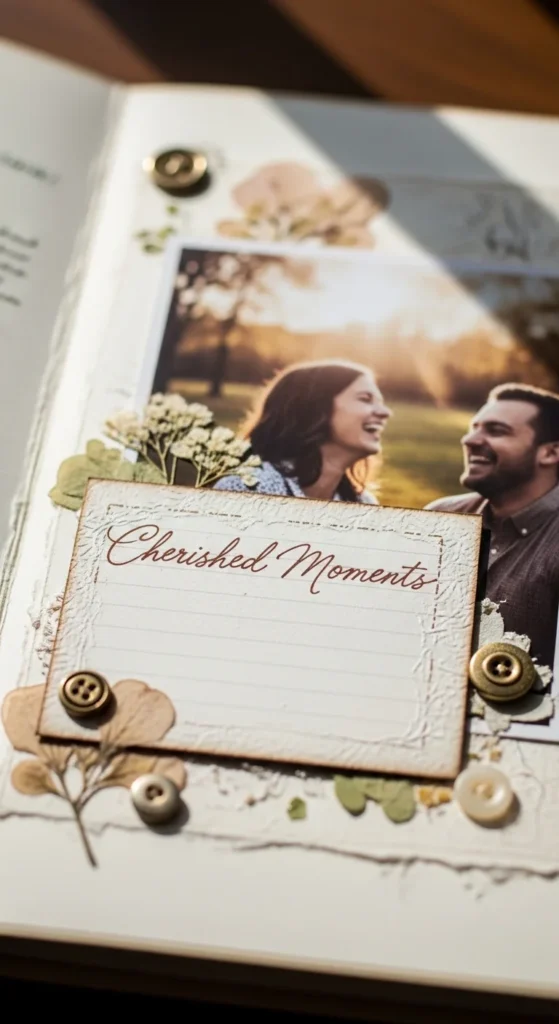
A journal card caption adds meaning with very little decoration. Cut a small rectangle from plain or lightly patterned paper. Write a short memory or date on it. Place it beside your photo with straight edges. Budget tip: Cut cards from old greeting cards or notebook covers. Keeping the note short makes the page feel tidy and heartfelt.
22. Soft Twine Corner Tie
A twine corner tie adds texture without clutter. Glue a short piece of twine in one corner and tie a tiny bow. Keep the rest of the page simple so the detail stands out. Budget tip: Use thread or yarn if you don’t have twine. This tiny touch makes a simple layout feel warm and handmade.
Conclusion
Simple scrapbook pages can still look beautiful when you focus on clean layouts, soft details, and meaningful photos. You don’t need piles of supplies or complicated techniques to create something special. A single photo, a small note, or a gentle border can make a page feel complete. Start with one easy idea, use what you already have, and let your scrapbook grow naturally. The charm comes from the memories you choose to keep.

Lily Summers is a digital artist and creative storyteller who loves bringing colorful characters to life. With a passion for cartoons, fan art, and playful sketches, she inspires others to explore their imagination through art. When she’s not sketching, you’ll find her dreaming up new ideas for CraftedWizard.com to spark creativity in every artist. 🌈✨


