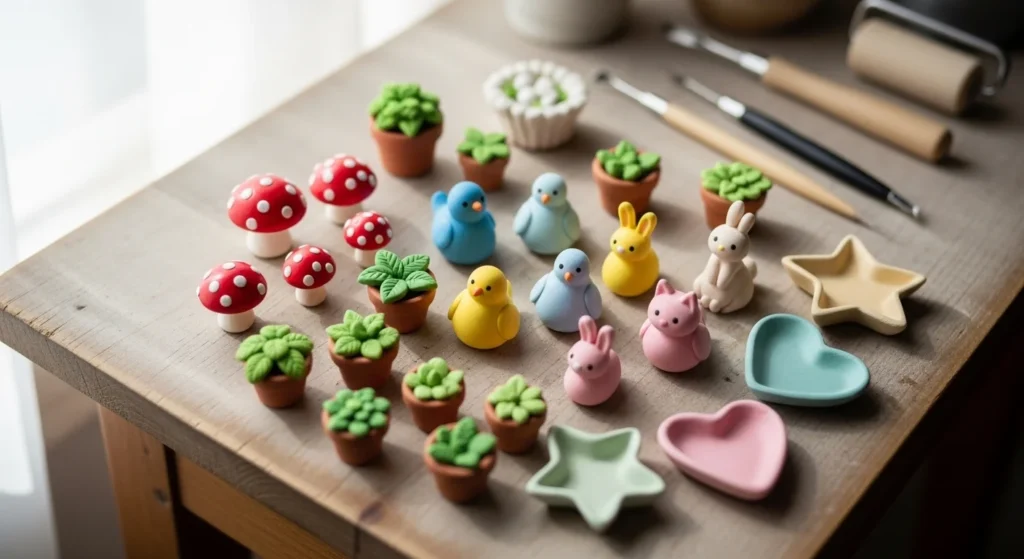
Mini clay projects are one of the easiest ways to start crafting without special tools or experience. Working small feels less intimidating and helps you learn shaping, smoothing, and detailing step by step. With air-dry or polymer clay, you can create cute, decorative, and useful items right at your desk. These beginner-friendly mini clay ideas focus on simple shapes, playful themes, and practical results so you can enjoy the process while making pieces you’ll actually want to keep or gift.
1. Tiny Mushroom Figurines

Tiny mushrooms are ideal for beginners because they use basic rounded forms that are easy to shape. Roll a small ball for the cap and a short cylinder for the stem, then gently press them together so they attach securely. Slightly uneven shapes make them look more natural and charming. Use a toothpick to add dots or subtle texture on the cap before drying. Once hardened, paint them in bright or pastel shades and add white dots for detail. These mini mushrooms look adorable in plant pots, fairy garden scenes, or on shelves, and they help you practice forming clean, simple shapes.
2. Mini Clay Cactus Pots
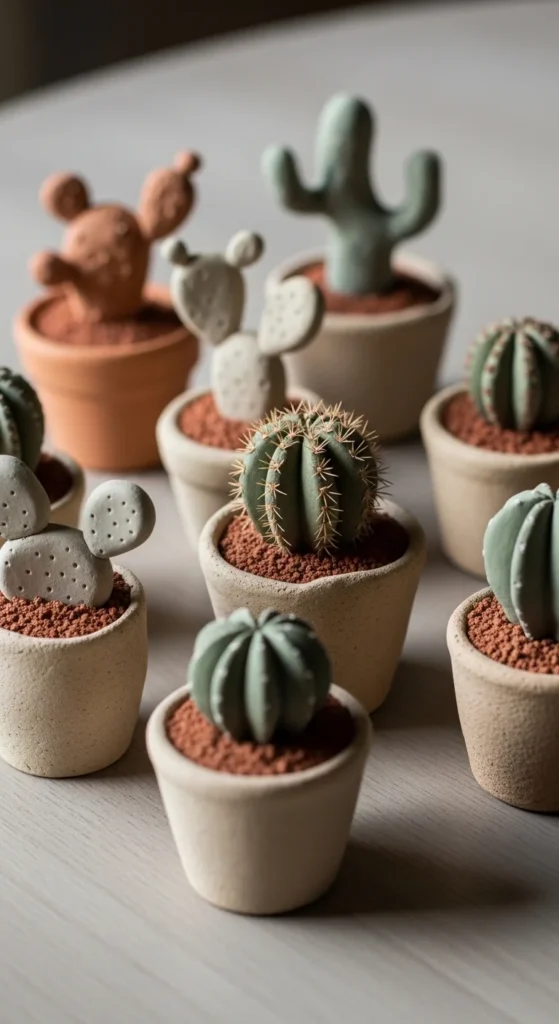
Mini cactus pots combine sculpting and simple assembly in one project. Form a tiny pot by rolling clay into a short cylinder and pressing your finger into the center to hollow it out. Shape a small oval or column for the cactus and attach it inside the pot. Add light line textures with a toothpick to mimic cactus ridges. After drying, paint the pot in earthy tones and the cactus in soft greens, adding tiny white dots as spines. These small clay plants brighten desks and shelves without any upkeep and help beginners practice attaching pieces and adding surface detail.
3. Little Heart Charms
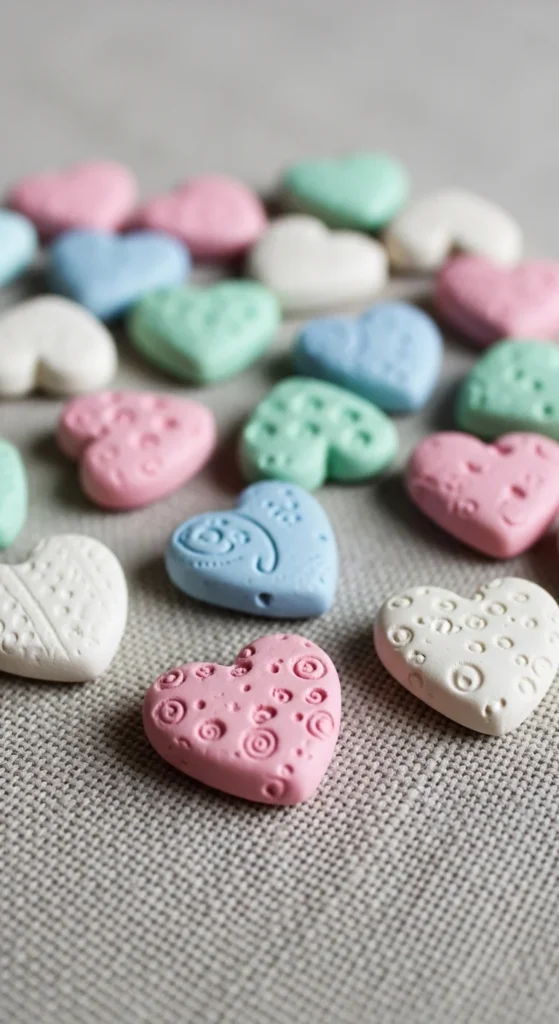
Heart charms are simple, quick, and perfect for jewelry or decorations. Roll a small clay ball, gently pinch one end to form the point, and press the top to create the two rounded lobes. Smooth the surface with your fingertips to remove cracks. Poke a small hole at the top before drying if you want to turn it into a charm. Once hardened, paint in solid colors or add tiny patterns like dots or stripes. These hearts help beginners practice symmetry and smoothing while making pieces that can become keychains, necklaces, or gift tags.
4. Mini Animal Faces
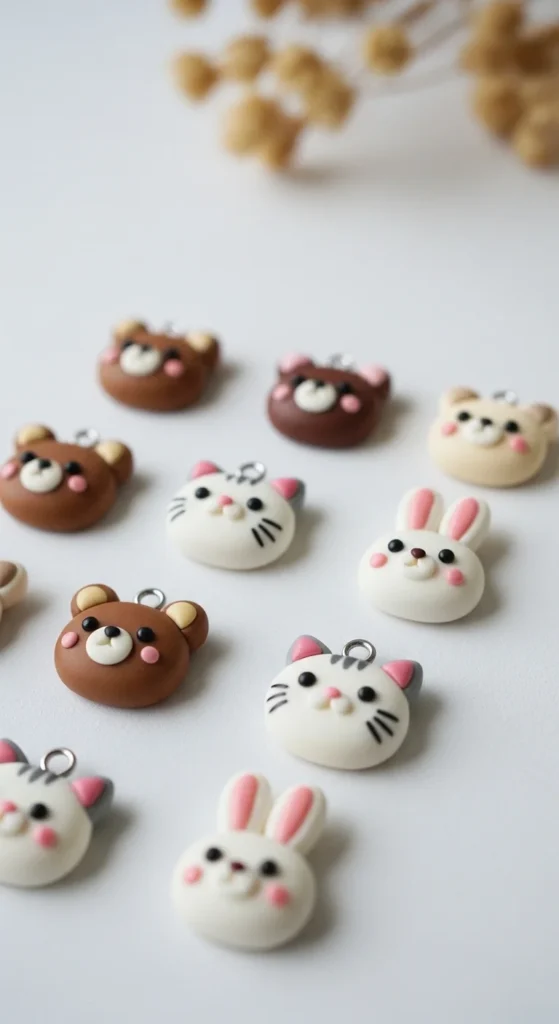
Mini animal faces are fun and expressive while still being easy to make. Start with a small round base and add tiny clay pieces for ears and a nose. Use a toothpick to gently press in eyes and a mouth, keeping features simple and cute. Smooth the joins with your finger so everything looks connected. After drying, paint in soft colors and add small details with a fine brush. These little faces can become magnets, pins, or charms and are great for practicing small attachments and facial expressions.
5. Cute Cloud Trinkets
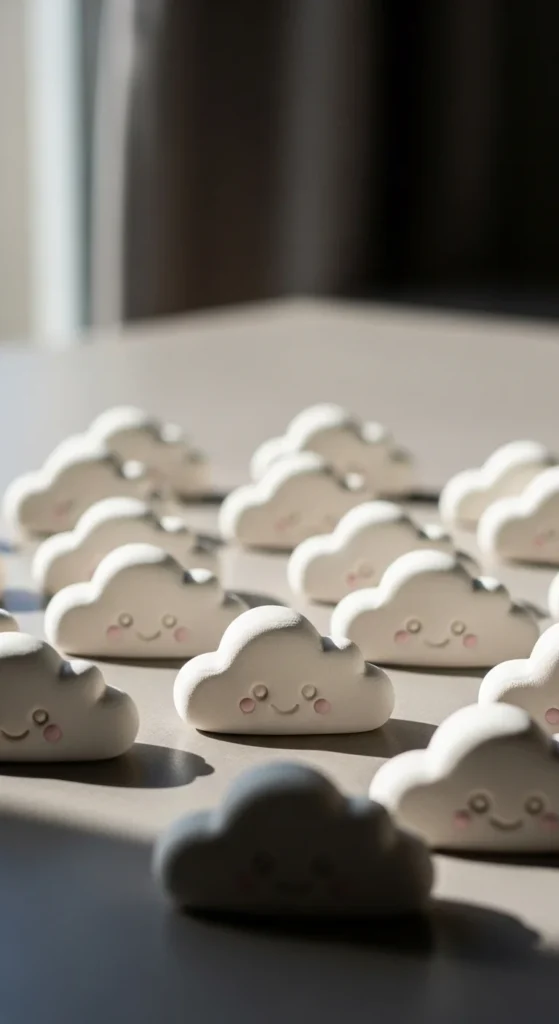
Cloud trinkets use soft rounded bumps pressed together to form a fluffy outline, which makes them very forgiving for beginners. Roll several tiny clay balls and gently join them into a cloud shape, smoothing lightly so the pieces blend. Keep the edges uneven for a playful look. After drying, paint the cloud white or pastel and add a tiny smiling face. These clouds look sweet as shelf decor or glued onto magnets. This project helps you practice shaping and blending clay without worrying about sharp lines.
6. Mini Donut Charms
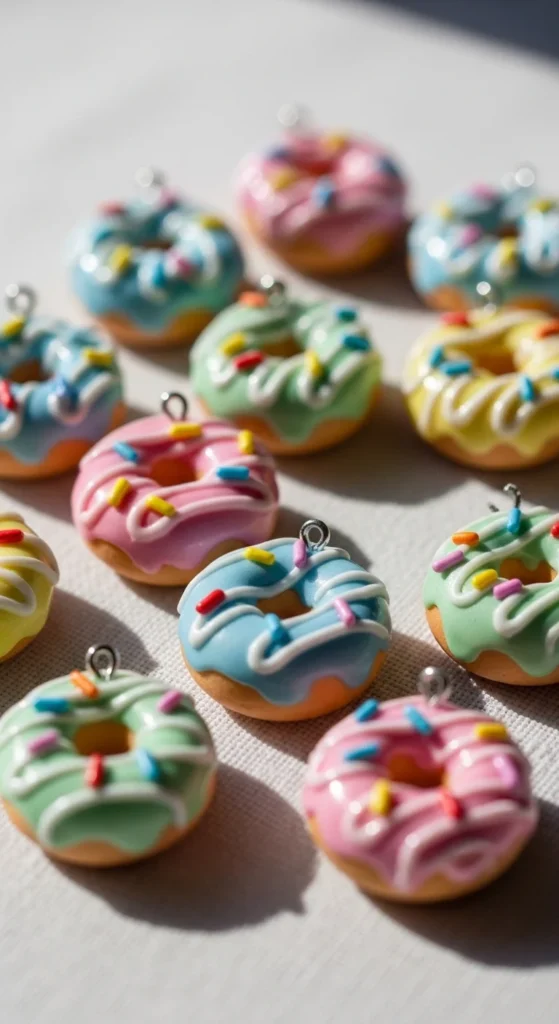
Mini donuts are perfect for learning small details and surface decoration. Roll a tiny ball, flatten it slightly, and poke a hole through the center with a toothpick. Smooth the edges so the donut shape looks rounded. After drying, paint the top half as icing in pink, mint, or chocolate tones, then add sprinkle dots with a fine brush. Add a small hole before drying if you want a charm. These donuts make cute keychains or earrings and help you practice shaping even circles and painting tiny patterns.
7. Tiny Leaf Dishes
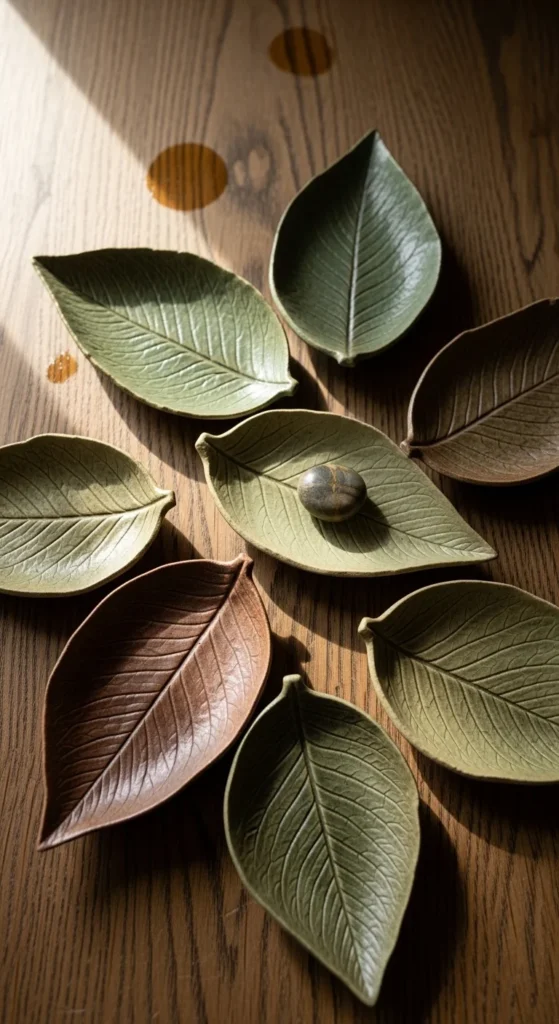
Leaf dishes are decorative and useful at the same time. Flatten a small piece of clay and shape it into a leaf using your fingers or a small tool. Draw vein lines with a toothpick for texture, then gently curve the clay over a spoon so it dries into a shallow bowl shape. Once hardened, paint in greens, browns, or metallic shades. These mini dishes are perfect for holding rings or earrings and help beginners practice flattening clay and adding surface texture.
8. Mini Star Charms
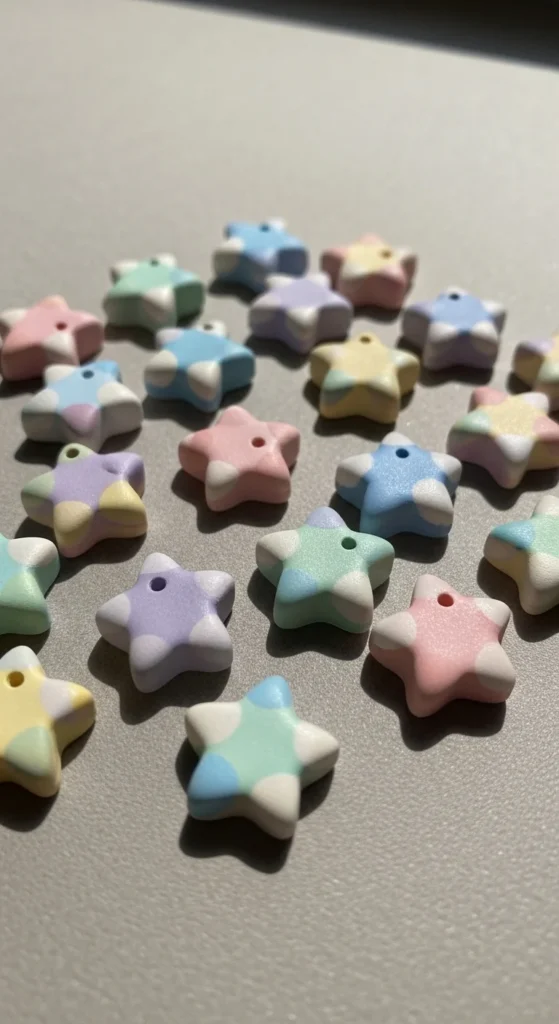
Mini stars are easy to cut and decorate. Roll clay flat and cut star shapes with a small cutter or carefully shape them with a tool. Smooth the edges with your fingertip. Poke a small hole if you want to hang them. After drying, paint in pastels or metallic shades and add tiny dots or lines for detail. These stars make lovely charms or ornaments and help beginners practice cutting clean shapes.
9. Little Bunny Figurines
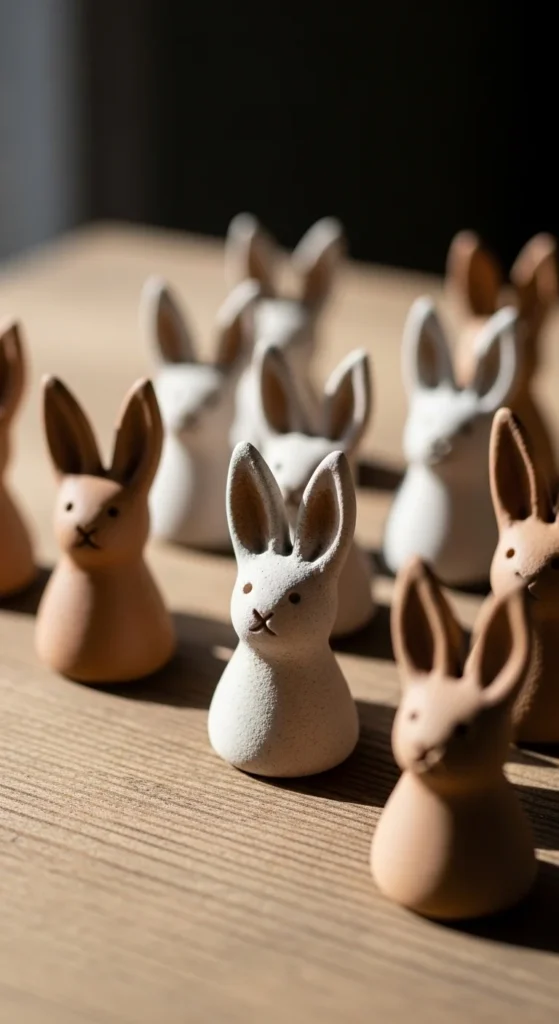
Little bunnies use simple rounded forms that are easy to assemble. Shape a small oval for the body and add two thin pieces for the ears. Smooth where they join so they stay secure. Press tiny indents for eyes and a nose with a toothpick. After drying, paint in white or soft pastel tones. These mini bunnies look adorable as seasonal decor and help beginners practice attaching small parts.
10. Mini Flower Studs

Mini flowers are great for practicing thin clay work. Roll clay flat and cut small circles, then pinch edges to form petals or press petal lines with a tool. Add a tiny center dot. After drying, paint in bright or pastel colors. Glue onto stud backs for earrings or use as embellishments. This project builds control when shaping small, delicate pieces.
11. Mini Rainbow Arches
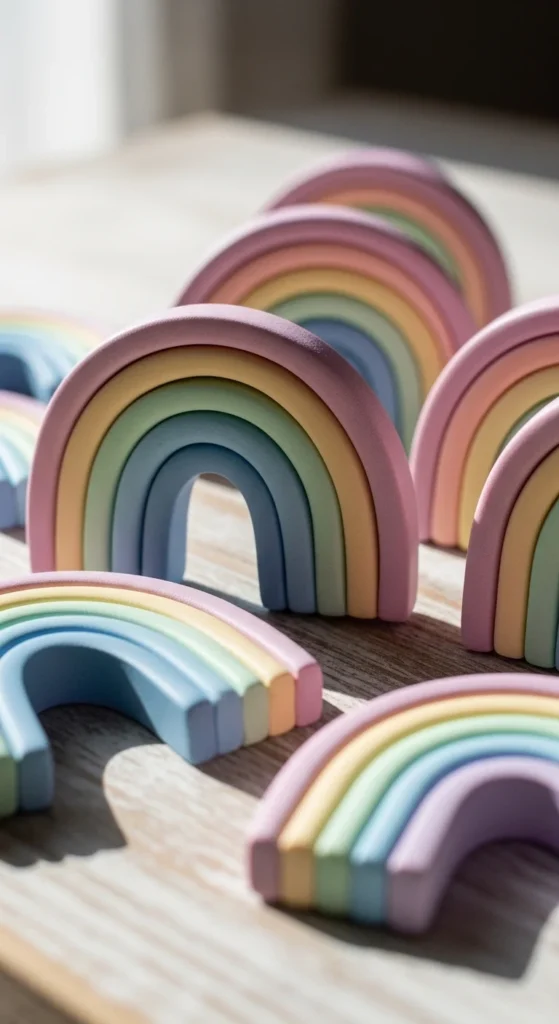
Mini rainbow arches are cheerful and simple to build. Roll thin clay strands in different colors and curve them into arches. Stack from largest to smallest and press gently so they stick. Smooth the sides lightly. Once dry, seal if desired. These rainbows brighten desks or nurseries and help beginners practice rolling even coils.
12. Tiny Cat Figurines
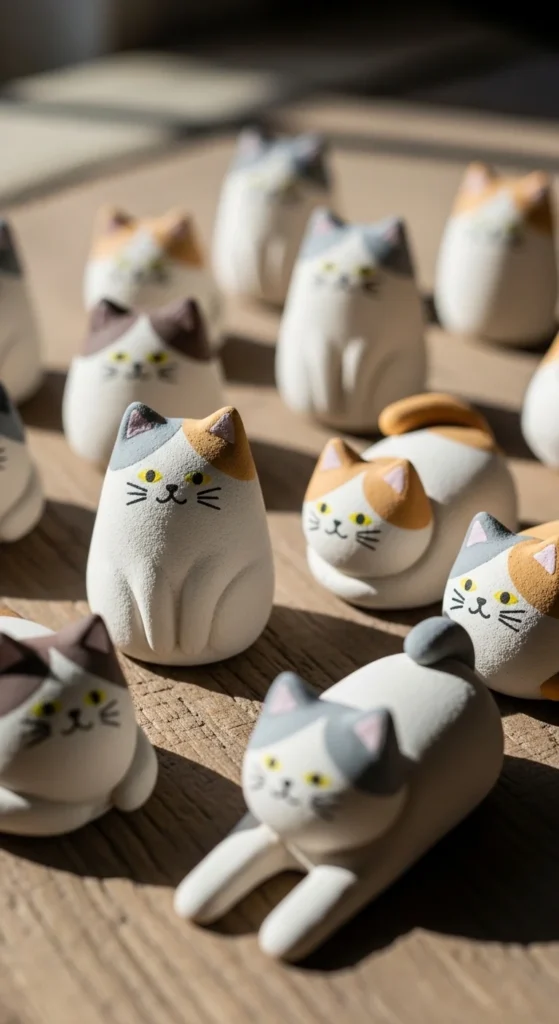
Tiny cats start with an oval body and round head. Add small triangle ears and a thin tail. Smooth the joints and press tiny marks for eyes. Paint in simple colors after drying. These cats make cute decorations and help beginners practice forming smooth rounded shapes.
13. Mini Ice Cream Cones
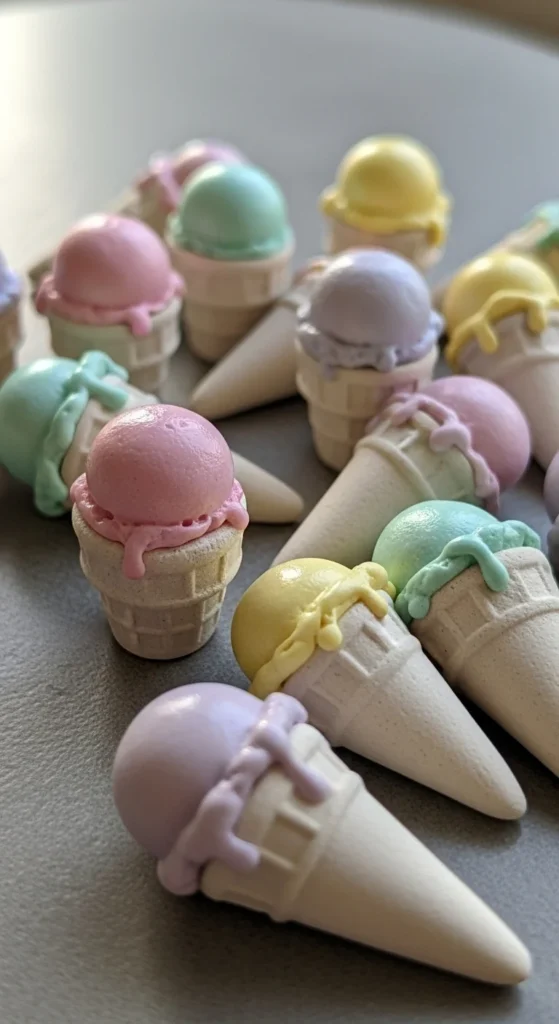
Mini ice cream cones combine texture and stacking. Shape a small cone and add cross lines for detail. Roll a ball for the scoop and attach it on top. Add sprinkles before drying. Paint in pastel shades afterward. These are fun charms that help beginners practice adding texture and layering shapes.
14. Little Planet Charms
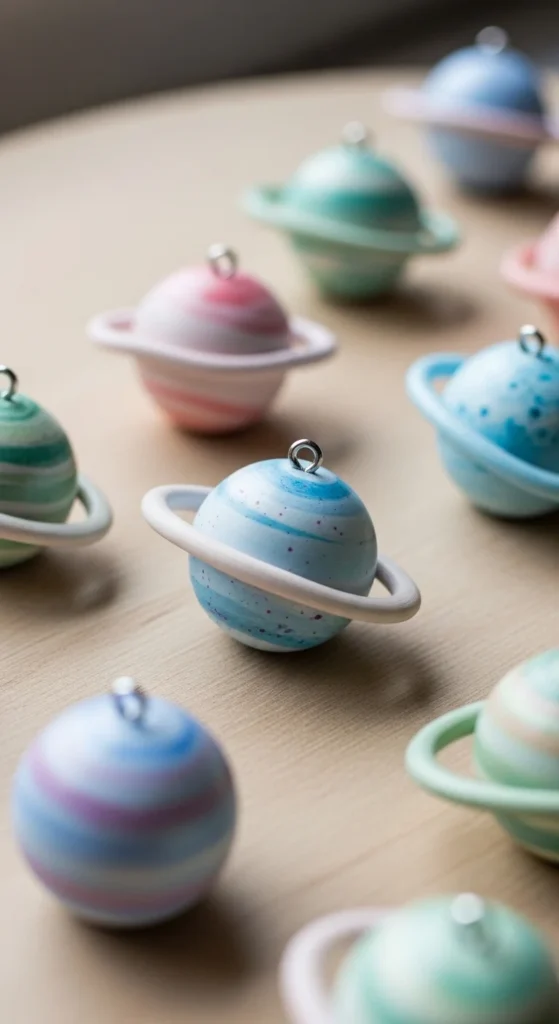
Little planets are smooth and round, making them great for practicing spheres. Roll a ball and add a thin ring around the middle. After drying, paint in blues or purples and add dots or swirls. These mini planets work well as charms and help beginners refine smooth surfaces.
15. Mini Penguin Figures
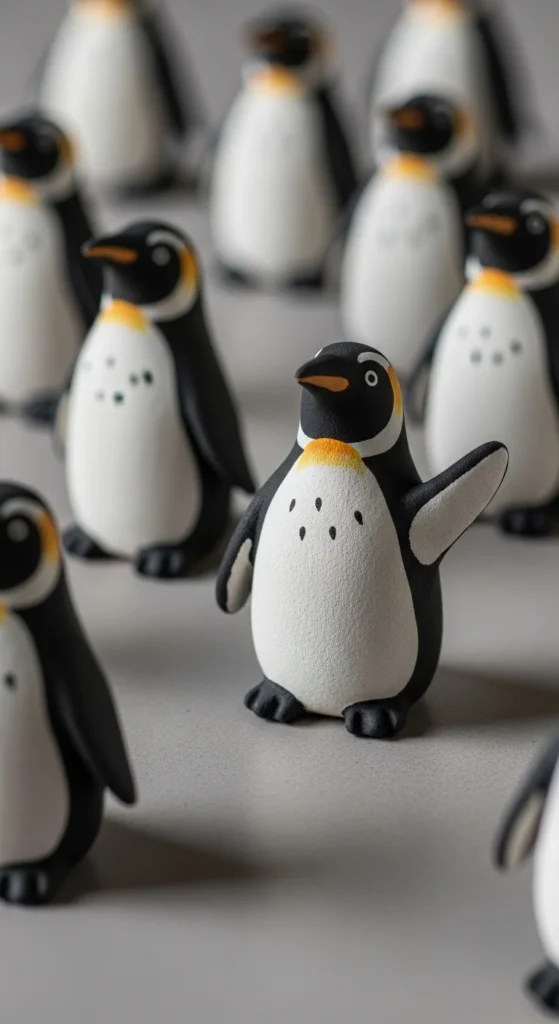
Mini penguins are great for practicing clean color sections and smooth shapes. Start with a small oval for the body and gently flatten the base so it stands upright without wobbling. Add two tiny side flippers using small teardrop pieces and smooth the joins with your fingertip. Form a small rounded head on top and press lightly to secure it in place. Use a toothpick to mark tiny eye spots and a small triangle beak area before drying. Once hardened, paint the body black and the belly white, keeping edges simple and bold. Add a small orange beak and feet for contrast. These penguins look adorable in winter displays or as shelf decor and help beginners practice stacking basic shapes and neat paint placement without complicated tools.
16. Tiny Strawberry Charms
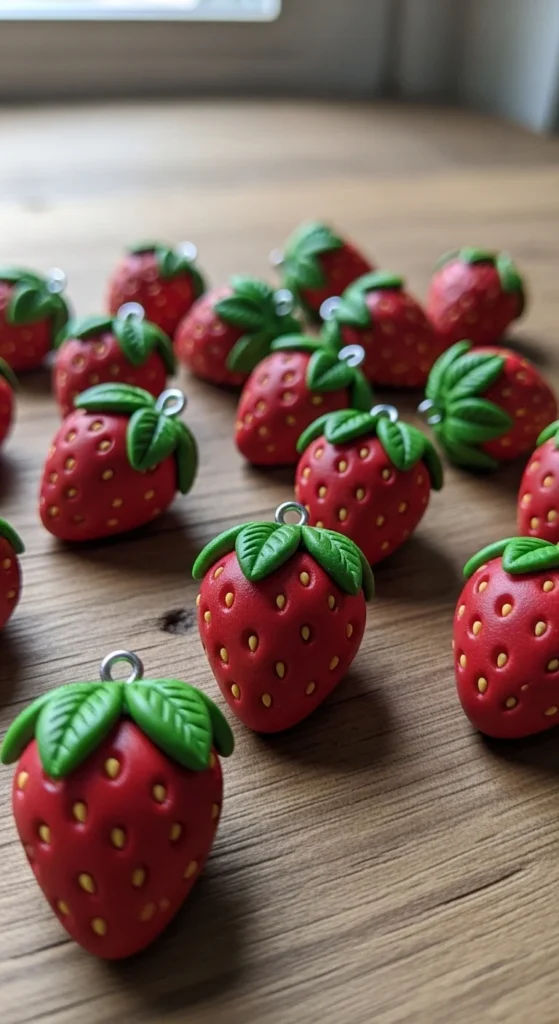
Tiny strawberries are perfect for learning surface texture in a simple way. Roll a small teardrop shape and gently flatten the top where the leaves will sit. Use a toothpick to press tiny dot indents across the surface to create the seed pattern. Keep the spacing uneven for a more natural look. Add a small star-shaped leaf cap on top using a thin flattened piece of clay. Make a tiny hole near the stem if you want to turn it into a charm. After drying, paint the berry red and the leaves green, then add tiny yellow dots for seeds. These strawberries work well as keychains or jewelry pieces and help beginners practice shaping small forms and repeating details.
17. Mini Toast Faces
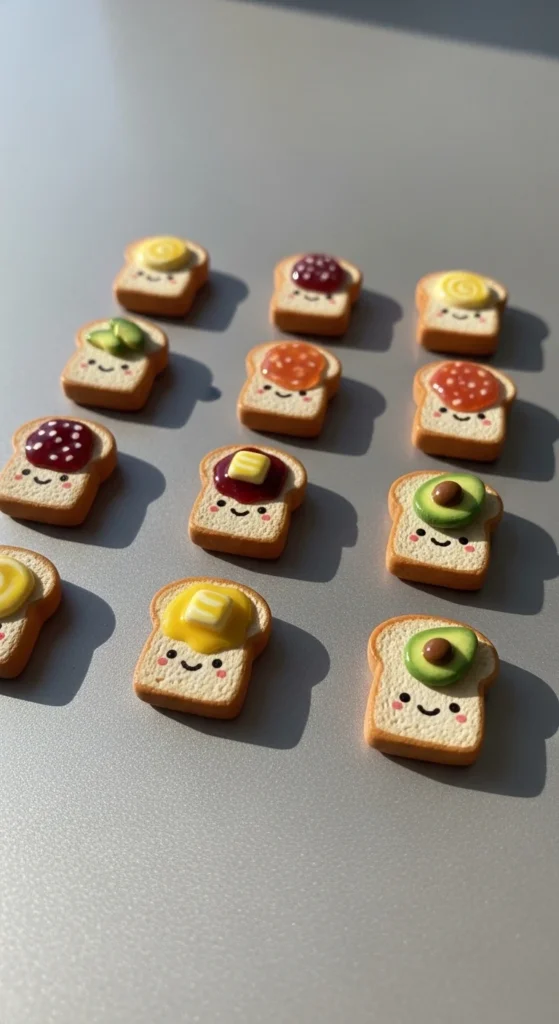
Mini toast faces are fun and easy because they rely on simple rounded square shapes. Roll clay flat and cut or shape a small rectangle with softly rounded corners. Press a thin border line near the edge to create the crust detail. Add tiny raised shapes on top to represent butter, jam, or fruit slices. Use a toothpick to mark a small smiling face before drying. Once hardened, paint the toast a warm golden brown and color the toppings in bright shades. Keep facial details minimal so they stay cute and clear. These mini toasts can become magnets, charms, or playful desk decorations and help beginners practice flattening clay evenly and adding small raised decorations.
18. Little Snail Figures
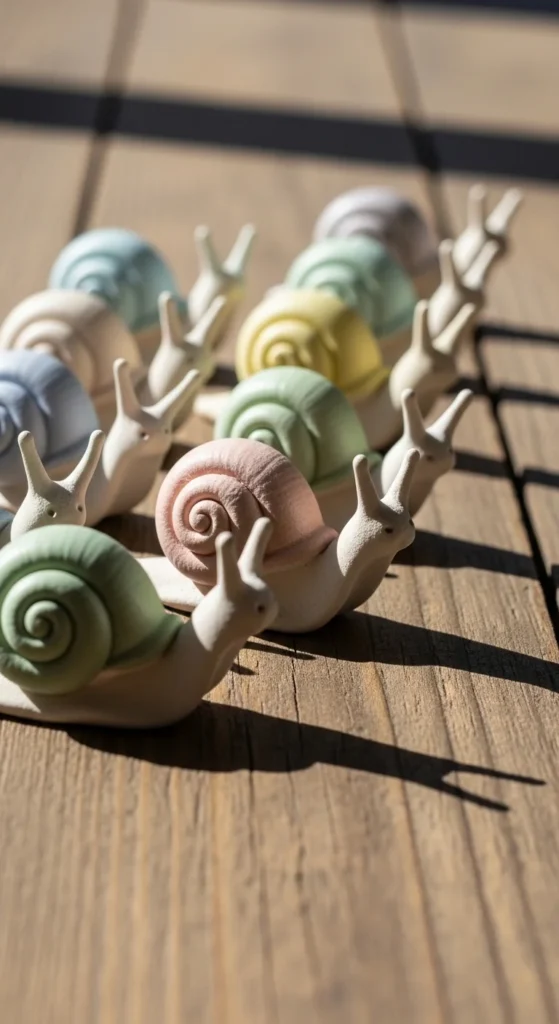
Little snails are charming and built from very basic forms. Roll a thin clay strand and coil it tightly to form the shell spiral. Press gently so the layers stick together without losing the spiral shape. Shape a small oval for the body and attach the shell on top. Add two tiny antennae using very thin clay pieces or mark them lightly with a tool. Smooth the join where the shell meets the body so it looks secure. After drying, paint the shell in soft pastel tones and the body in a neutral color. These snails make sweet decorations for plant pots or shelves and help beginners practice coiling techniques and gentle assembly of separate parts.
19. Mini Moon Charms
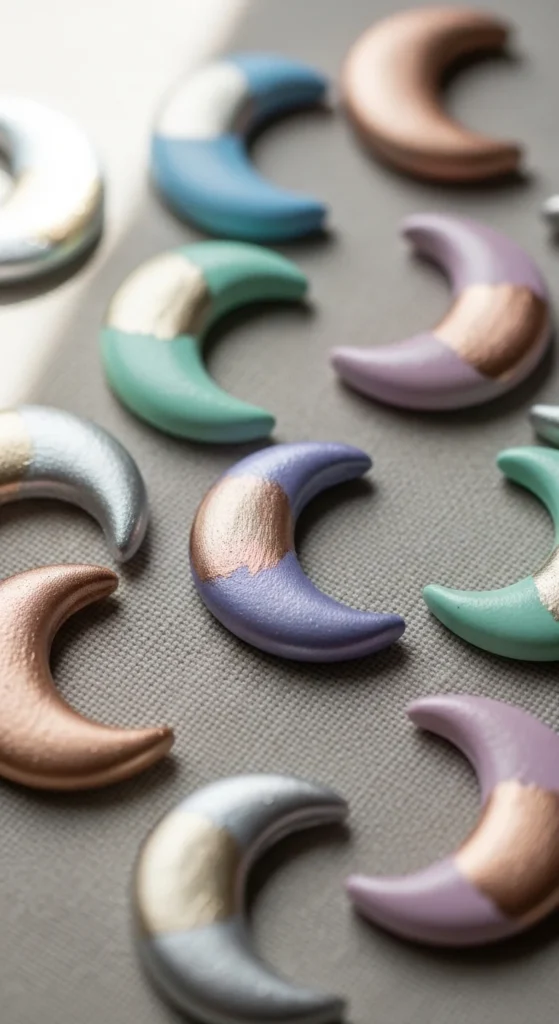
Mini moon charms focus on shaping smooth curves, which is a useful beginner skill. Start by rolling a small ball and flattening it slightly into a thick circle. Use your fingers or a small tool to pinch one side inward, forming a crescent shape. Smooth the edges so the curve looks soft and even. Add a tiny hole at one end if you want to hang it later. Once dry, paint the moon in silver, gold, or pastel shades for a dreamy look. You can add tiny dots or lines for texture if you like. These crescent moons make lovely charms or ornaments and help beginners gain control when shaping curved forms.
20. Tiny Succulent Sculptures
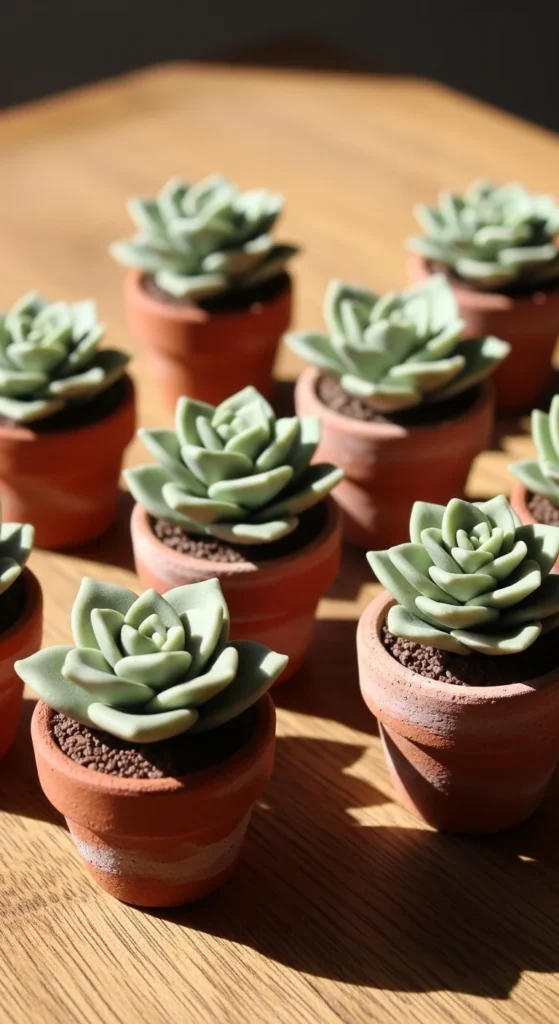
Tiny succulents look detailed but are made from simple repeated shapes. Roll several small teardrop pieces and flatten them slightly to form leaves. Arrange the leaves in a circle, pointing outward, then build another layer on top, slightly overlapping the first. Press gently so the layers hold together. Add more layers until you get a small rosette shape. After drying, paint in soft green shades with a bit of darker color near the edges. Place the finished succulent into a small clay pot if you like. These mini plants are perfect for desks and help beginners practice repetition, layering, and gentle shaping.
21. Mini Fox Figurines
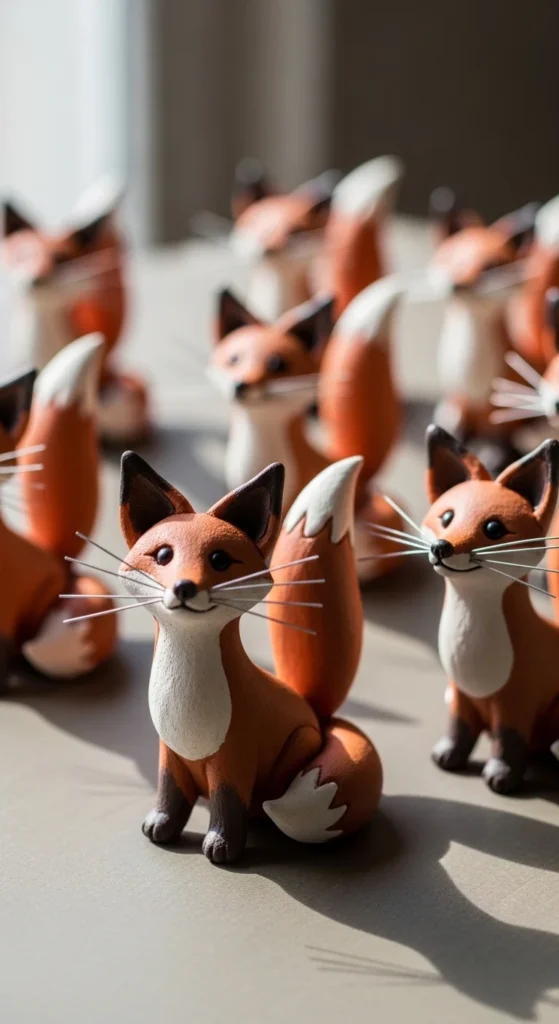
Mini foxes are great for learning pointed shapes along with rounded forms. Start with a small oval body and a slightly smaller oval head. Attach them firmly and smooth the seam. Add two small pointed ears and a curled tail made from a thin clay strand. Press lightly to secure each part. Mark simple eye indents and a small nose before drying. Once hardened, paint the body orange, the tail tip white, and add tiny black eye dots. These foxes make adorable decorations and help beginners practice shaping pointed details while keeping the overall figure simple.
22. Little Cupcake Charms

Mini cupcakes are playful and perfect for learning texture. Form a tiny cylinder for the cupcake base and press vertical lines around it using a toothpick to mimic the paper wrapper. Roll a small clay coil and swirl it on top to create frosting. Keep the swirl tight so it doesn’t collapse. Add tiny dot sprinkles or a small heart on top. After drying, paint the base in soft browns and the frosting in pastel colors. These cupcakes make sweet charms or decorations and help beginners practice adding surface texture and shaping spirals.
23. Mini Sun Faces
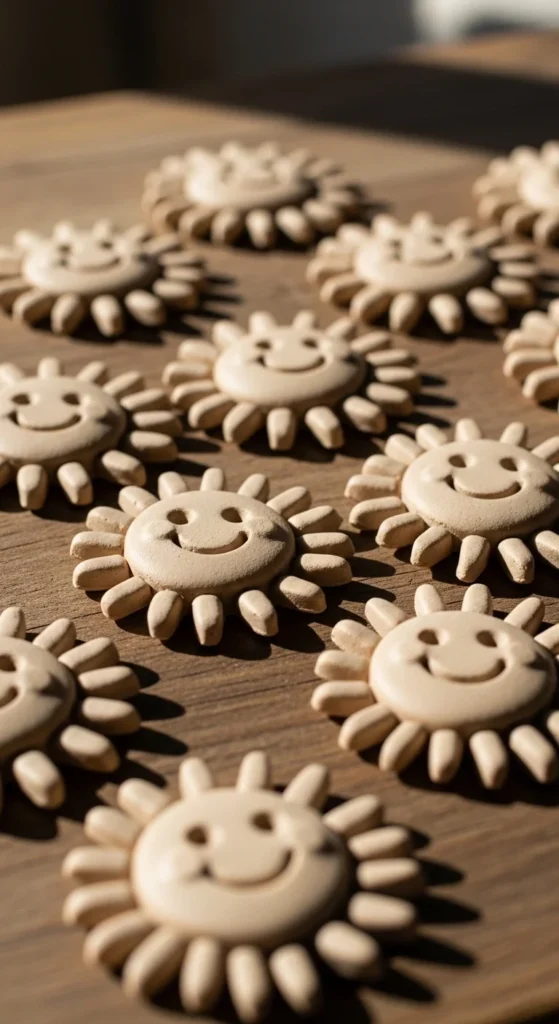
Mini suns are cheerful and easy to shape. Start with a small round disc and pinch tiny points around the edge to form short rays. Keep the rays uneven for a cute handmade look. Use a toothpick to mark a simple smiling face in the center. After drying, paint the sun bright yellow or orange and add tiny facial details with a fine brush. These little suns brighten shelves and help beginners practice shaping edges and adding simple expressions.
24. Tiny Book Charms
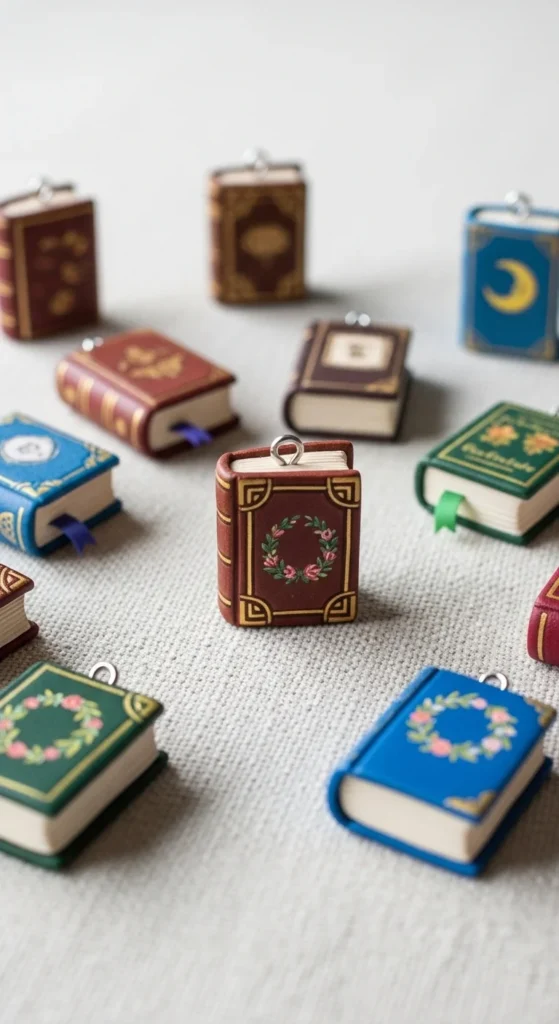
Tiny book charms are perfect for practicing straight edges. Shape a small rectangle and gently press a line along one side to suggest pages. Smooth the corners slightly so they don’t crack. Add a tiny hole at the top if you want to hang it. After drying, paint the cover in bright or pastel colors and add simple line details. These mini books are great gifts for readers and help beginners practice shaping flat surfaces and neat edges.
25. Mini Bear Figures
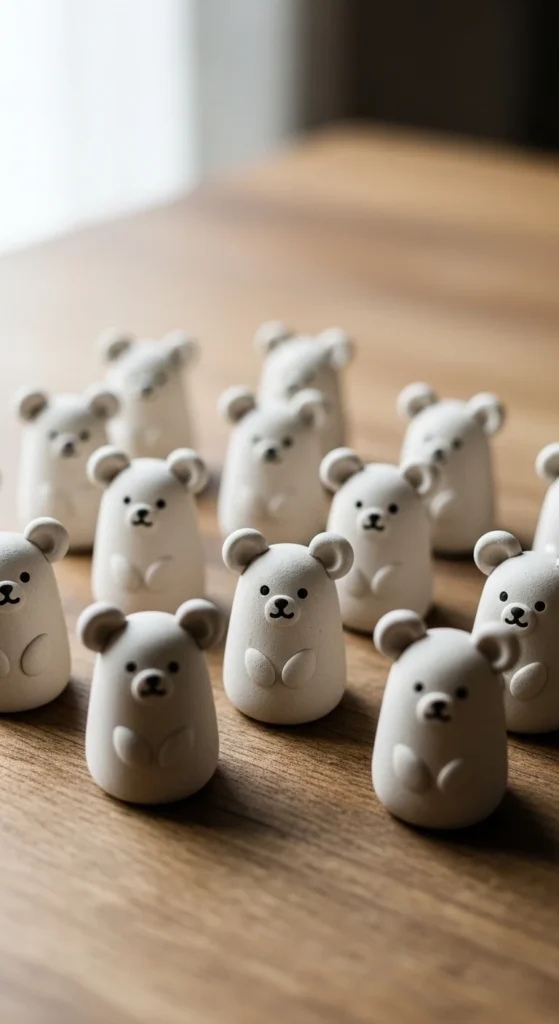
Mini bears rely on soft rounded shapes, making them beginner-friendly. Form a small oval for the body and a round head. Add two tiny round ears and a small snout piece. Smooth all joins so the figure looks unified. Mark small eye and nose spots with a tool. After drying, paint in brown or pastel tones and add darker dots for features. These bears make cute shelf decorations and help beginners gain confidence with simple sculpted animals.
26. Tiny Trinket Bowls
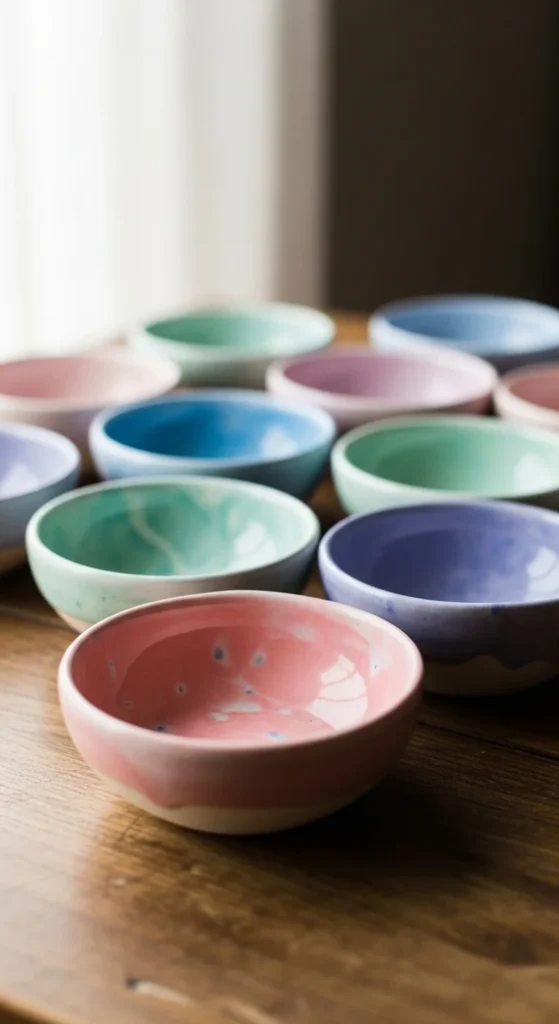
Tiny trinket bowls combine shaping and smoothing in one useful project. Roll clay into a small ball and gently press your thumb into the center to form a shallow bowl. Rotate as you press so the walls stay even. Smooth cracks with a damp finger. Shape the rim slightly for character. After drying, paint in soft colors or add simple dots or lines. These bowls hold rings, beads, or coins and are a great final beginner project that feels both creative and practical.
Conclusion
Mini clay crafts make it easy to learn sculpting without pressure. Small projects let you practice shaping, attaching, and painting in manageable steps. From cute animals to tiny functional bowls, each idea builds skill while creating something fun to keep or gift. With basic clay and simple tools, you can turn small pieces into charming handmade creations that show real progress over time.

Lily Summers is a digital artist and creative storyteller who loves bringing colorful characters to life. With a passion for cartoons, fan art, and playful sketches, she inspires others to explore their imagination through art. When she’s not sketching, you’ll find her dreaming up new ideas for CraftedWizard.com to spark creativity in every artist. 🌈✨