
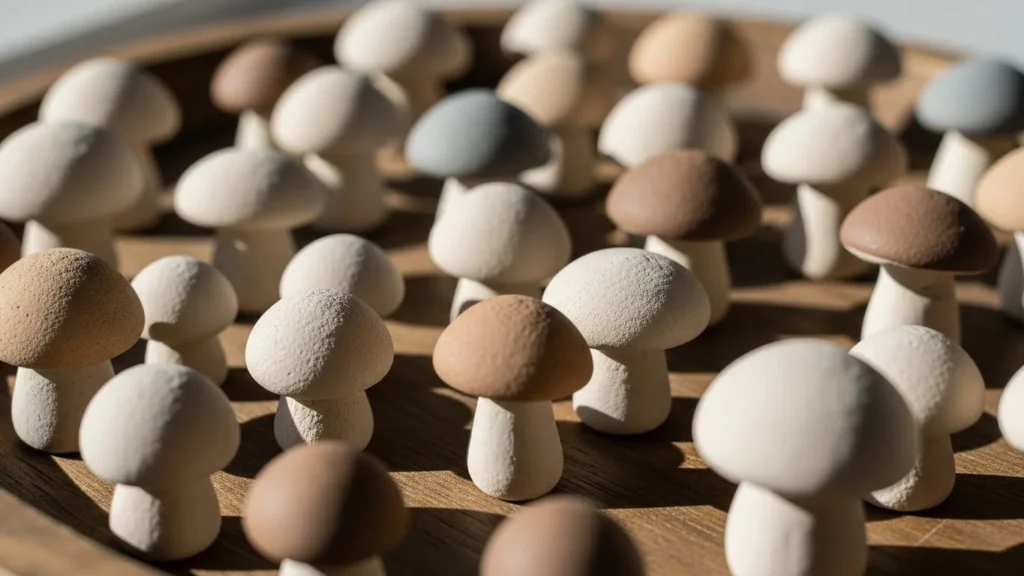
1. Mini Clay Mushrooms

Mini mushrooms are simple and charming. Start with small balls of clay. Shape one into a stem. Flatten another into a cap. Press them together gently.
Use neutral colors like beige, brown, or muted red.
Budget tip: air-dry clay works fine.
Paint small dots or lines once dry.
These look great grouped in threes on shelves or plant pots.
2. Tiny Clay Houses

Tiny houses add warmth to displays. Shape a small cube. Add a triangle roof.
Use toothpicks for door lines.
Stick to simple shapes to save time.
Paint in soft tones or leave natural.
Display them in a row for a cozy look.
3. Mini Clay Planters

Mini planters are practical and cute. Shape small bowls.
Add texture with a sponge.
Use faux plants or dried moss.
Great for desks and shelves.
Air-dry clay keeps costs low.
4. Clay Fruit Minis
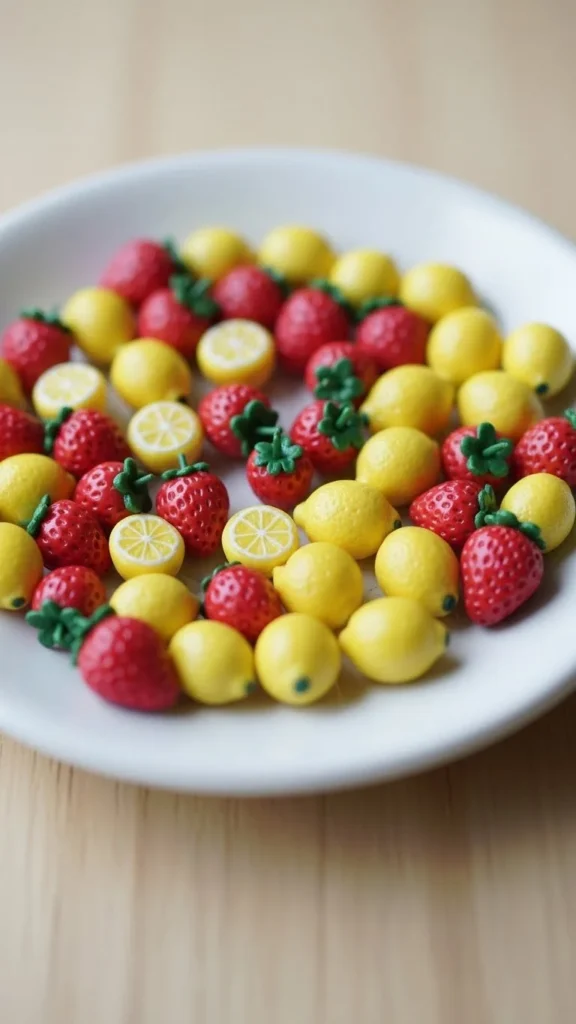
Clay fruit looks playful. Start with strawberries, lemons, or oranges.
Use simple oval shapes.
Add dots or lines with a pin.
Paint lightly after drying.
Group them in small bowls.
5. Mini Clay Candles

These are safe and decorative. Roll clay into short cylinders.
Add a small wick shape on top.
Paint in cream or soft colors.
They suit bathroom shelves well.
6. Tiny Clay Books

Mini books feel cozy. Stack thin clay rectangles.
Press lines for pages.
Paint muted tones.
Tie with twine for detail.
Great for reading corners.
7. Clay Animal Faces

Animal faces are beginner-friendly.
Use round bases. Add ears and noses.
Keep details minimal.
Display on trays or frames.
8. Mini Clay Clouds

Clouds feel calm. Roll small balls. Press together softly.
Leave white or add light blue shading.
Nice for kids’ rooms.
9. Clay Trinket Dishes

Flatten clay into shallow bowls.
Smooth edges with water.
Paint after drying.
Useful and decorative.
10. Mini Clay Stars

Stars are quick to make.
Cut shapes with a knife.
Use gold or white paint.
Scatter them on shelves.
11. Clay Leaf Shapes
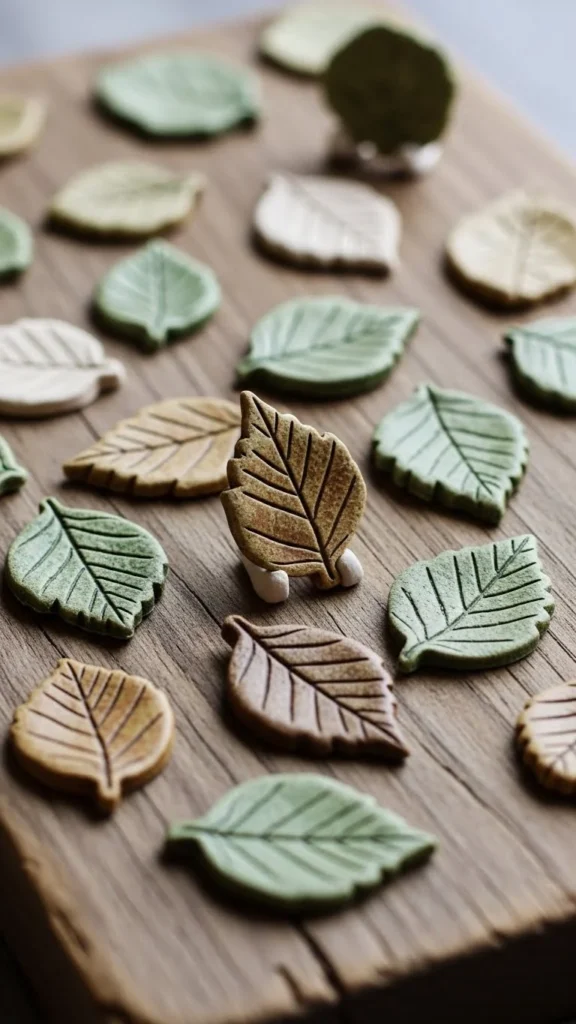
Press real leaves into clay.
Let veins show.
Earthy colors work best.
Nice for fall displays.
12. Mini Clay Bowls

These are simple and useful.
Shape gently with fingers.
Leave imperfections for charm.
Great for coins or beads.
13. Clay Heart Minis

Hearts suit gifts.
Roll clay and shape by hand.
Paint softly.
Group in jars.
14. Mini Clay Cups

Tiny cups feel cozy.
Add handles carefully.
Paint in warm tones.
Display on trays.
15. Clay Button Art

Flatten clay into discs.
Poke holes with a pin.
Let dry fully.
Frame or jar them.
16. Mini Clay Animals
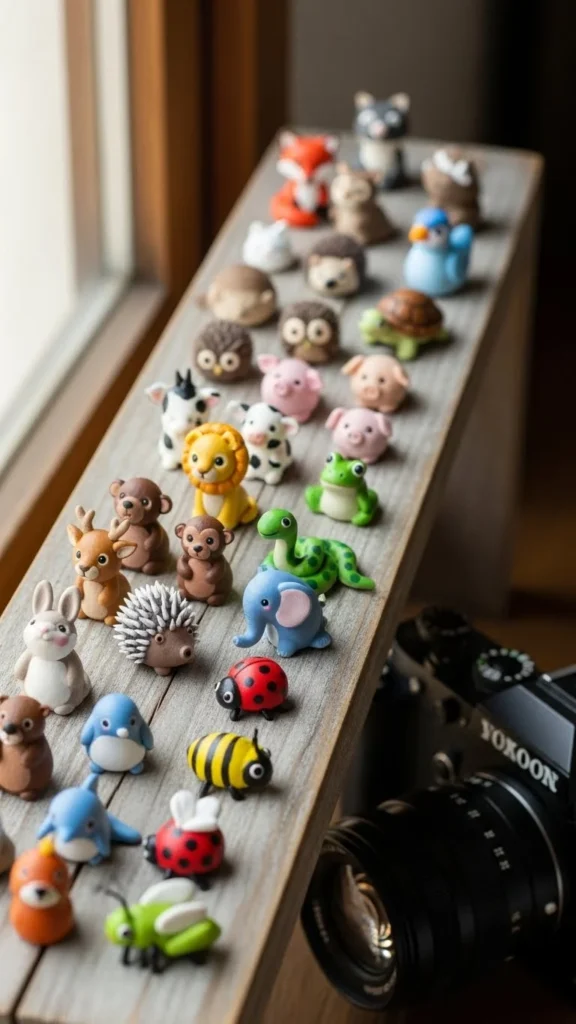
Keep shapes simple.
Use round forms.
Paint lightly.
Great for shelves.
17. Clay Key Bowls

Flatten and shape.
Smooth edges.
Useful near entryways.
18. Mini Clay Lanterns

Cut small holes before drying.
Paint neutral shades.
Use with faux lights.
19. Clay Tile Squares

Flatten clay evenly.
Add simple lines.
Arrange as wall art.
20. Mini Clay Vases

Shape small cylinders.
Hollow gently.
Use dried stems.
21. Clay Letter Minis
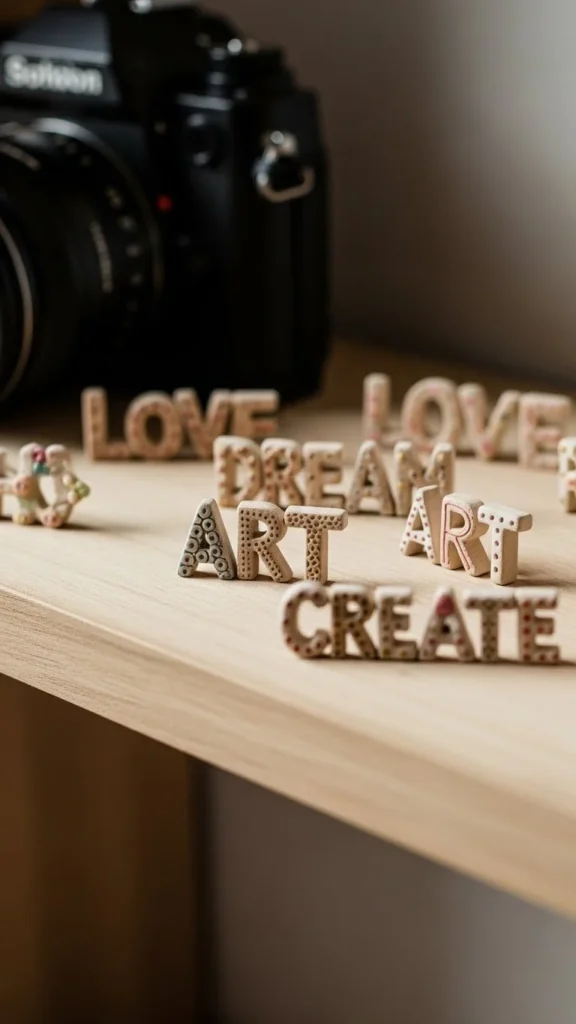
Form initials by hand.
Keep thickness even.
Paint once dry.
22. Mini Clay Frames

Roll clay strips.
Join into rectangles.
Add tiny prints.
23. Clay Shell Shapes
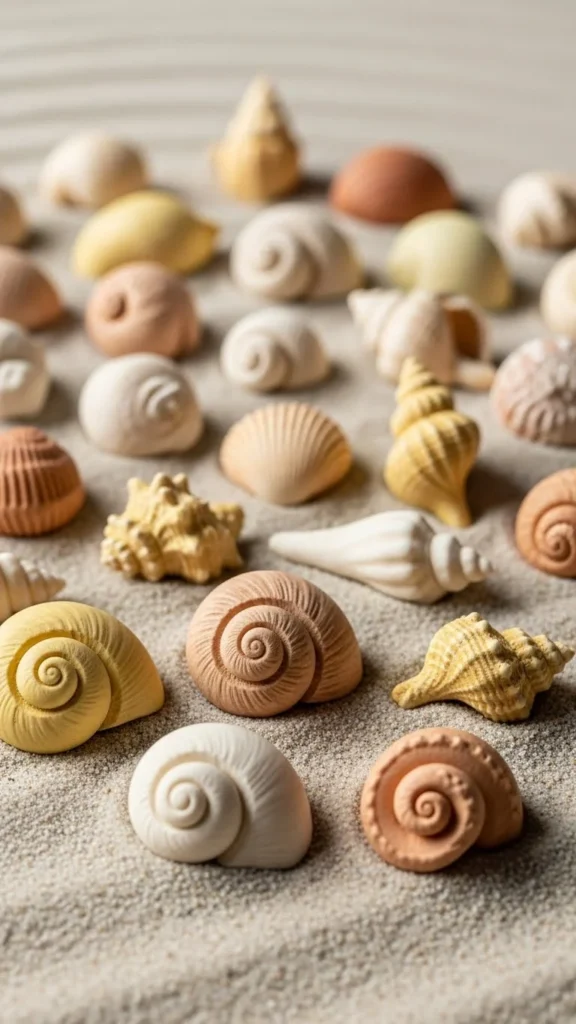
Press grooves gently.
Use beige tones.
Nice for coastal displays.
24. Mini Clay Eggs

Oval shapes are easy.
Paint speckles.
Display in bowls.
25. Clay Abstract Forms

Freeform shapes feel modern.
Twist and curve clay.
Leave unpainted or lightly tinted.
Group for impact.
Conclusion
Mini clay art offers a calm and creative way to decorate small spaces without spending much. These 25 ideas work well for shelves, desks, gifts, and craft corners. Each project stays simple, affordable, and beginner-friendly. Pick one idea to try or make a small collection over time. A few handmade clay pieces can add warmth and personality to any display.

Lily Summers is a digital artist and creative storyteller who loves bringing colorful characters to life. With a passion for cartoons, fan art, and playful sketches, she inspires others to explore their imagination through art. When she’s not sketching, you’ll find her dreaming up new ideas for CraftedWizard.com to spark creativity in every artist. 🌈✨


