Air dry clay looks simple, but in the right hands, it can turn into stunning home décor, cute miniatures, and realistic sculptures. The best part? No kiln. No baking. Just your hands, a few tools, and a little patience.
If you’ve ever wondered how artists get such smooth finishes and clean details with air dry clay, this guide breaks it all down in an easy, beginner-friendly way.
Understanding Air Dry Clay Before You Start
Air dry clay behaves differently from ceramic or polymer clay. Knowing what you’re working with makes everything easier.
What Makes Air Dry Clay Unique
- Hardens naturally when exposed to air
- Lightweight once dry
- Easy to shape with water
- Can crack if handled incorrectly
Because it dries faster than other clays, timing and moisture control matter a lot.
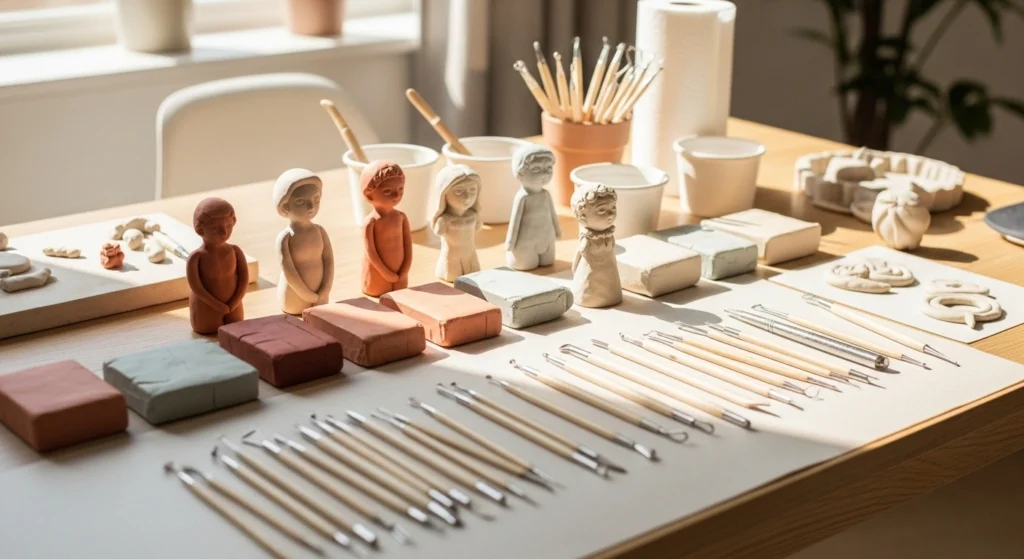
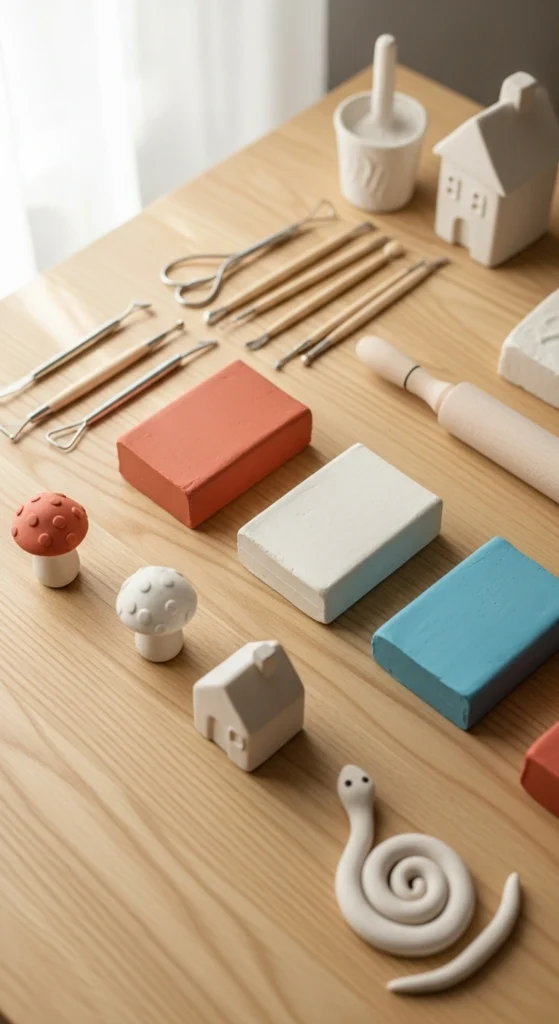
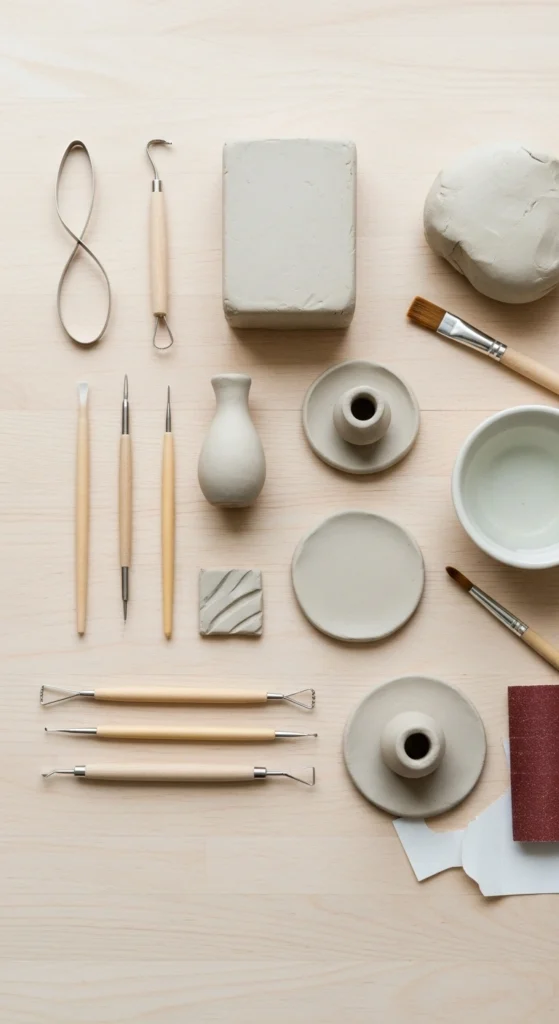
Tools and Materials You’ll Need
You don’t need a studio full of supplies. Simple tools work just fine.
Basic Supplies
- Air dry clay
- Small bowl of water
- Sculpting tools or toothpicks
- Soft paintbrush
- Smooth work surface
Optional but helpful:
- Sandpaper (fine grit)
- Acrylic paint
- Clear sealant
Preparing the Clay the Right Way
Good sculptures start before shaping even begins.
How to Condition Air Dry Clay
- Knead the clay for 2–3 minutes
- Add a tiny bit of water if it feels stiff
- Keep unused clay wrapped tightly
Warm, flexible clay is easier to shape and less likely to crack.
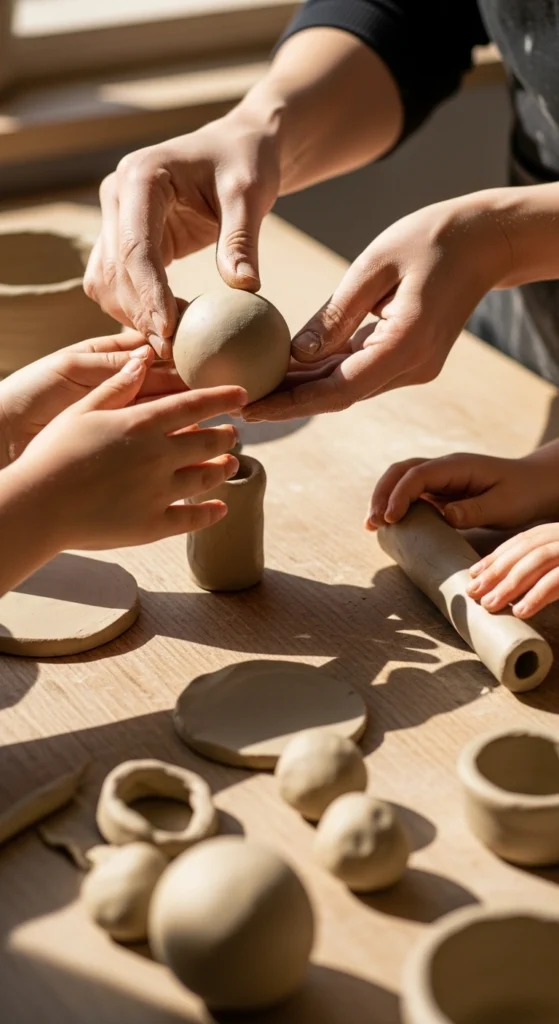
Shaping Basic Forms First
Professional-looking sculptures always begin with simple shapes.
Start With Core Shapes
Break your design into:
- Balls
- Cylinders
- Cones
Build your sculpture step by step instead of forming everything at once. This keeps proportions clean and controlled.
Joining Pieces Without Cracks
This is where many beginners struggle.
Proper Joining Method
- Scratch both surfaces lightly
- Add a thin layer of water or clay slip
- Press together gently
- Smooth the seam with a brush
This technique helps pieces stay attached while drying.
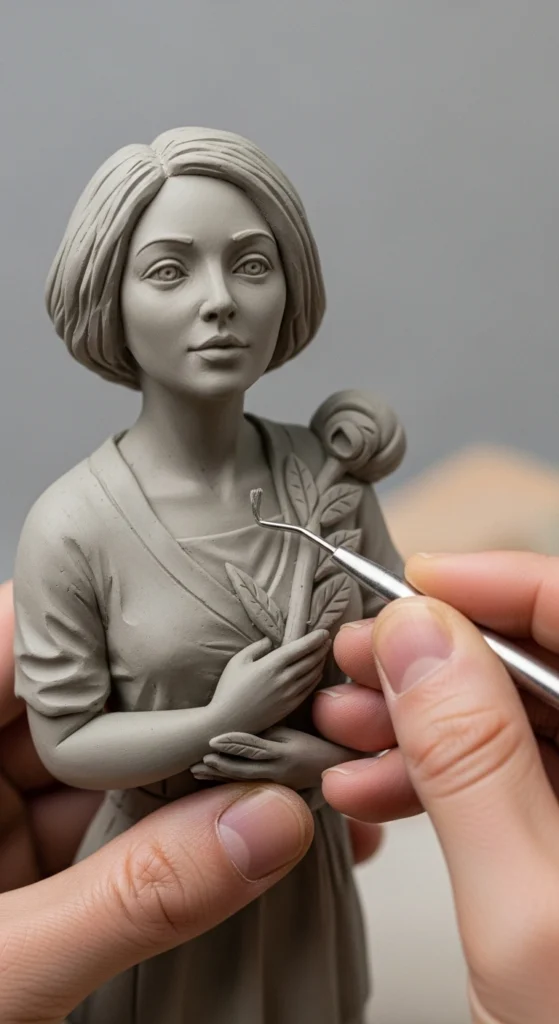
Adding Details Like a Pro
Details bring your sculpture to life, but timing matters.
When to Add Fine Details
- Let the clay firm up slightly
- Avoid working on very soft clay
- Use light pressure
For textures:
- Toothpicks for lines
- Brushes for smoothing
- Fabric or sponges for patterns
Drying Without Warping or Cracking
Drying can make or break your project.
Safe Drying Tips
- Let the piece dry slowly
- Turn it every few hours
- Avoid direct sunlight or heat
For larger pieces:
- Dry in stages
- Cover loosely with plastic at first
Slow drying helps the clay harden evenly.
Smoothing and Fixing Imperfections
Once dry, small flaws are normal.
How to Smooth a Dry Piece
- Use fine-grit sandpaper
- Wipe dust with a dry cloth
- Fill tiny cracks with clay paste
Take your time here—this step makes a big visual difference.
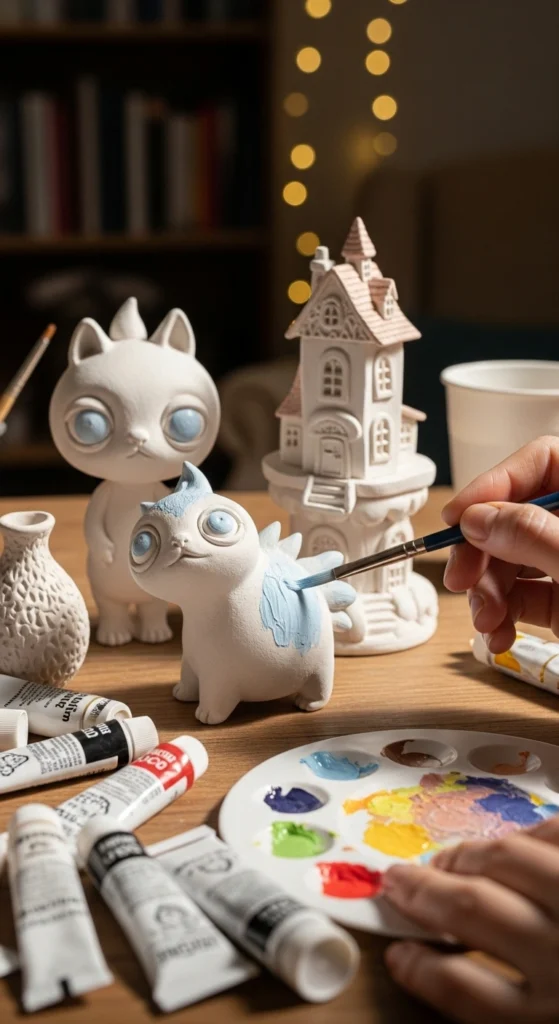
Painting and Sealing Your Sculpture
Color brings everything together.
Painting Tips
- Use acrylic paint
- Apply thin layers
- Let each layer dry fully
After painting:
- Seal with clear varnish or sealant
- Choose matte or glossy based on style
Common Mistakes to Avoid
Learning what not to do saves time and frustration.
Mistakes to Watch Out For
- Using too much water
- Rushing the drying process
- Skipping seams when joining pieces
- Handling the sculpture too often while drying
Patience makes a visible difference.
Practice Projects for Skill Building
If you’re new, start small.
Easy Practice Ideas
- Mini plant pots
- Trinket trays
- Simple animal figures
- Jewelry dishes
Each project builds control and confidence.
Final Takeaway
Sculpting with air dry clay isn’t about talent—it’s about technique, timing, and practice. Start with simple shapes, work in stages, and let the clay do its thing. Over time, your pieces will look cleaner, smoother, and more polished.
Save this guide for later, grab some clay, and start sculpting today. Your next project might surprise you.

Lily Summers is a digital artist and creative storyteller who loves bringing colorful characters to life. With a passion for cartoons, fan art, and playful sketches, she inspires others to explore their imagination through art. When she’s not sketching, you’ll find her dreaming up new ideas for CraftedWizard.com to spark creativity in every artist. 🌈✨