
I ruined my first "aesthetic" page by slapping every sticker on without a plan. Photos looked crowded. Stickers peeled at the corners after a week. I learned to plan the layout, use the right papers, and seal edges. That week of trial-and-error is why my pages now last and photograph cleanly.
This guide is for hobby crafters comfortable with scissors and a basic trimmer. Expect to spend $20–$150 depending on whether you buy an electronic cutter. A single page takes 30–90 minutes. These techniques work for pocket pages, mini albums, and memory-keeping trends like film-frame layouts.
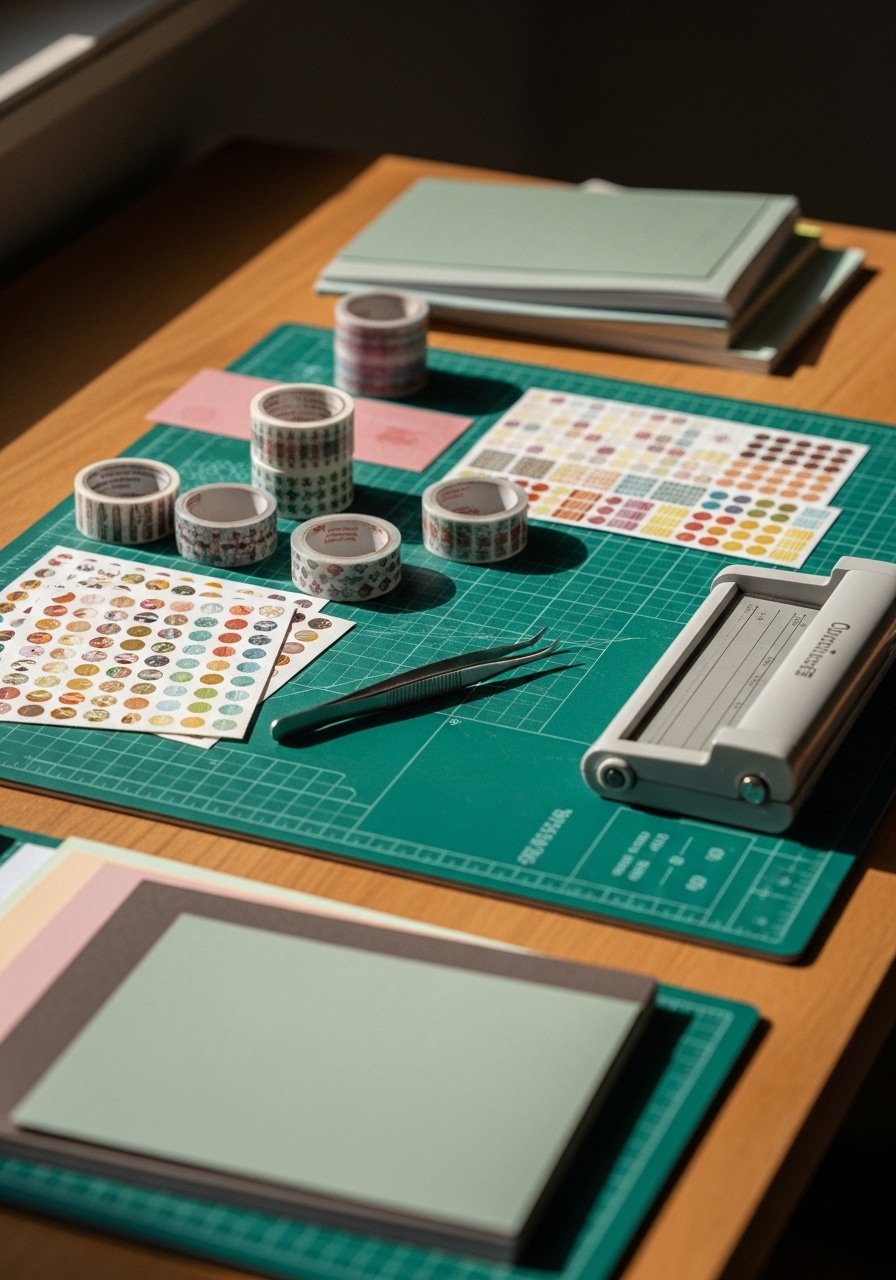
What You'll Need for This Project
Printing & cutting:
- Cricut Explore Air 2 (~$180-220)
- Silhouette Cameo 4 (~$250-350)
- 8.5×11 matte inkjet sticker paper, 50-pack (~$12-18)
- Clear glossy sticker paper, 8.5×11, 10 sheets (~$10-15)
Hand tools & adhesives:
- Self-healing cutting mat 12×18 (~$15-25)
- Fiskars 12-inch paper trimmer (~$20-30)
- Precision craft knife (X-ACTO style) (~$8-12)
- Tacky glue precision tip pen, 2-pack (~$6-10)
- Stainless steel bone folder (~$8-12)
- Angled craft tweezers set, stainless steel (~$7-12)
Papers & embellishments:
- 110 lb cardstock, 8.5×11, 50-pack (~$12-18)
- Washi tape variety pack, 30 rolls (~$10-15)
Lay out your page: map the visual flow
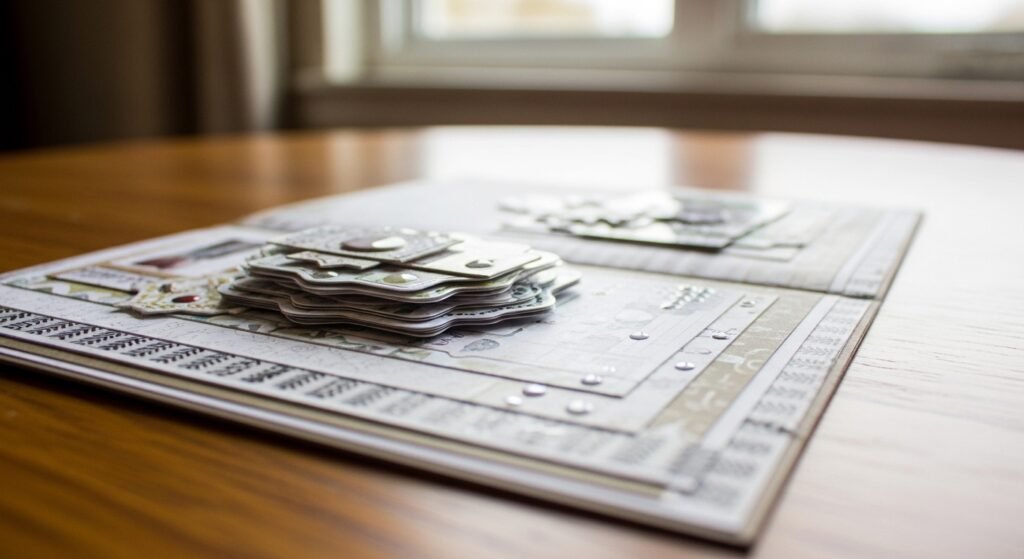
I start by blocking where photos and a title will sit. I use a 6×4 photo as my focal point. Then I pencil a light guide: margin, photo placement, and two sticker clusters. That map prevents over-sticking.
Cut base papers first. I use Fiskars 12-inch trimmer for straight, repeatable edges. If you print sticker sheets, cut them to 8.5×11 first and test a single sticker on scrap paper. For balance, follow odd-number grouping—three small stickers, not four. I lay washi as a frame before applying stickers. The 110 lb cardstock gives structure. Use a bone folder to crisp folds and burnish paper layers. One mistake I made was placing stickers over bumpy, printed paper; they didn't sit flat. Now I always smooth the base with the bone folder before sticking.
Apply stickers cleanly: alignment and adhesion that lasts
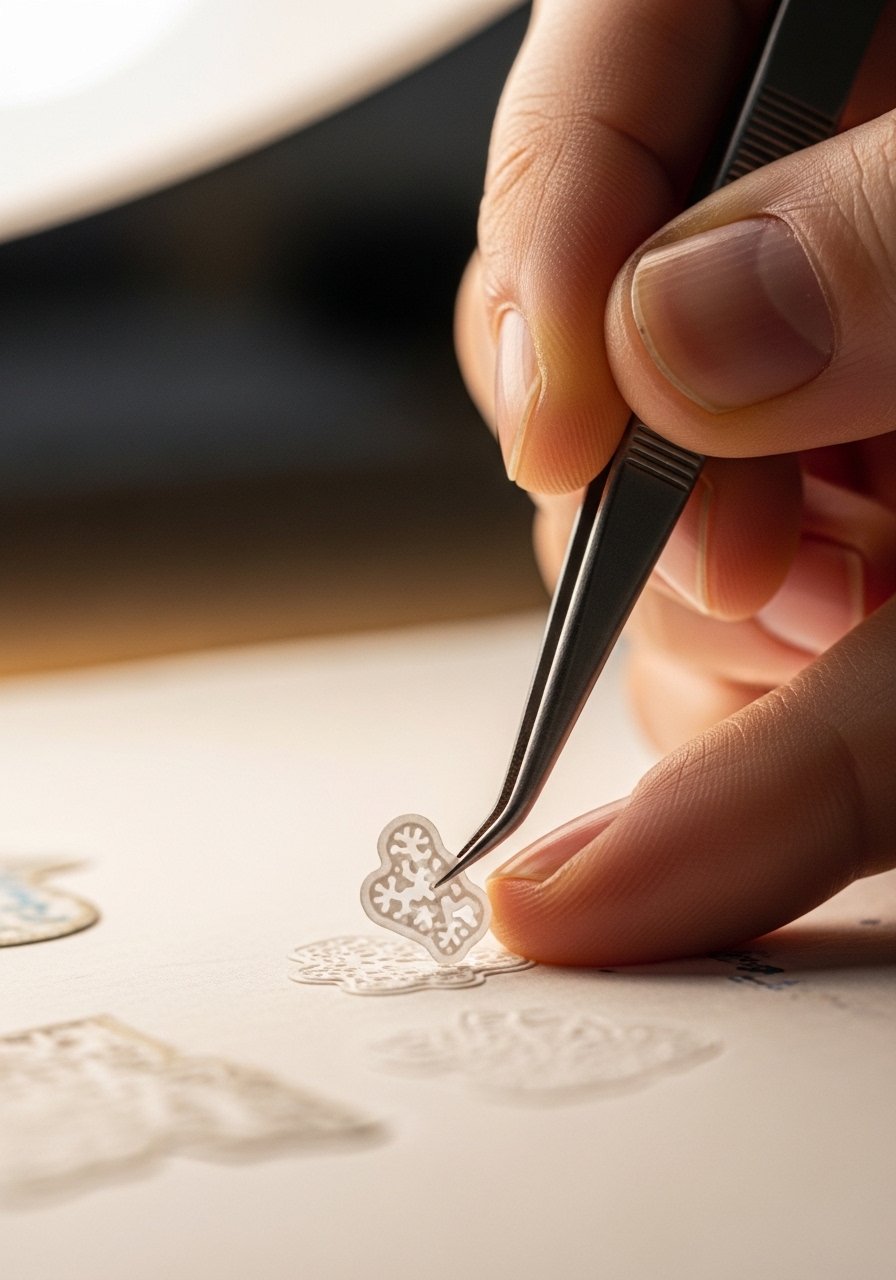
Peel-and-stick sheets are convenient. But for irregular or delicate pieces I use tweezers and a glue pen. Tweezers let me position tiny die-cuts without touching adhesive surface. For kiss-cut sticker sheets, score the backing lightly with an X-Acto blade for controlled lift.
When aligning, use a straightedge or the grid on your cutting mat as a visual guide. Press from the center of a sticker outward to avoid air pockets. I run the stainless bone folder over the sticker edge for a secure bond. For clear glossy stickers, wait 24 hours after printing to let ink set, or your inkjet inks may smear. I once tried sealing glossy stickers immediately and got cloudy spots. I fixed it by reprinting on matte sticker paper and sealing with a light pass of Krylon Matte Finish spray on a scrap first to test.
Tools I use in this phase: precision tweezers, tacky glue pen, and the self-healing cutting mat for alignment.
Finish and protect: seal, layer, and photograph-ready pages
Finish by adding final accents and protecting fragile bits. For raised stickers, I add a small dot of glue under corners to prevent lifting. For flat pages, a light spray of clear matte sealer on the back of the top layer or on the sticker backing helps reduce edge curl. Test any sealer on a printed sticker scrap first.
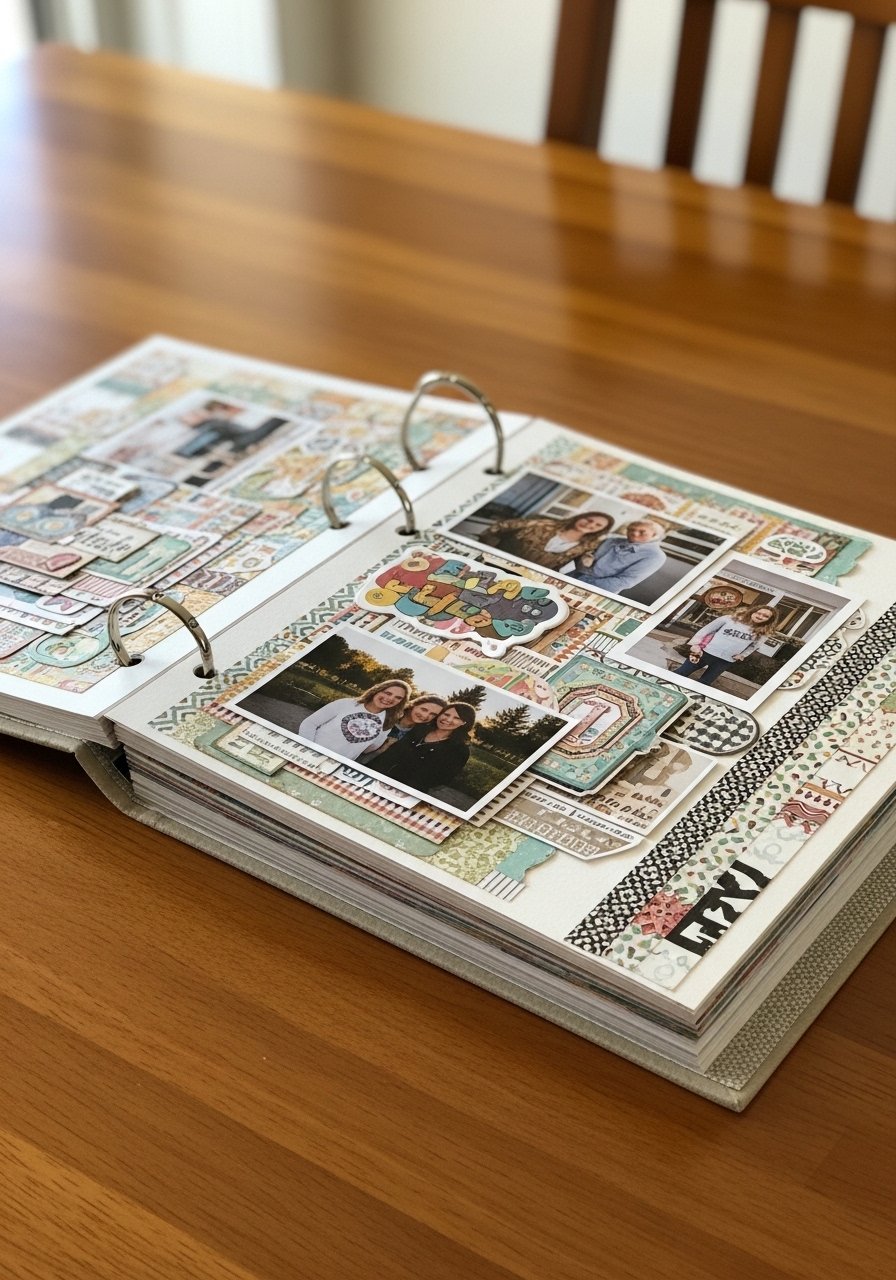
If you want a glossy, laminated look without a machine, use clear sticker paper as a top layer and trim precisely with an X-Acto knife on the cutting mat. Round corners with scissors or a corner punch for a polished edge. Store finished pages flat in archival sleeves or a 6×8 album so stickers don't pick up dust. The difference between good and professional is small: clean edges, even adhesive, and a single protective layer.
Common DIY Mistakes to Avoid
Mistake: Using the wrong sticker paper for your printer
Why it fails: Inkjet on glossy paper can smear; laser on uncoated paper flakes.
Do this instead: Use 8.5×11 matte inkjet sticker paper for inkjet prints.
Mistake: Applying stickers without smoothing
Why it fails: Air pockets and lifted corners later.
Do this instead: Press from center outward and burnish with a bone folder.
Mistake: Cutting sticker sheets freehand
Why it fails: Jagged edges and alignment errors.
Do this instead: Use a Fiskars 12-inch trimmer or an electronic cutter like a Cricut Explore Air 2.
Shopping Guide: Where to Find These Materials
- Buy basics on Amazon: matte sticker paper, tweezers, and glue pens are inexpensive and fast.
- Local craft stores for tactile choice: Michaels and Joann let you feel washi, test cardstock weight, and use coupons.
- Small runs at a local print shop: For glossy, color-stable stickers, ask a printer to use laser print and cut services.
- Unique stickers on Etsy: For one-off ephemera packs and artist stickers. Search local sellers first to reduce shipping time.
Start with one page. Use a single photo, three stickers, and a strip of washi. Pick one tool—my Fiskars trimmer—and learn to cut straight. If you try this weekend, what photo will you build a page around?

Lily Summers is a digital artist and creative storyteller who loves bringing colorful characters to life. With a passion for cartoons, fan art, and playful sketches, she inspires others to explore their imagination through art. When she’s not sketching, you’ll find her dreaming up new ideas for CraftedWizard.com to spark creativity in every artist. 🌈✨


