
If your closet is full of faded tees, plain hoodies, or tired sweats, tie-dye is the perfect way to bring them back to life. It’s colorful, creative, and surprisingly easy to do at home—with results that look totally store-bought. Whether you want dreamy pastels, bold spirals, or trendy crumple patterns, tie-dye gives old clothes a fresh new vibe.
Best part? You can experiment on pieces you already own. No waste, no guilt—just fun, crafty magic.
Choose the Right Clothing to Tie-Dye
Not every fabric absorbs dye well. To get those vibrant, eye-catching designs, stick to natural fibers.
Best fabric choices:
- 100% cotton
- Cotton-blend fleece
- Linen and rayon
- Bamboo fiber
Avoid:
- Polyester
- Silk blends (they behave differently)
- Nylon
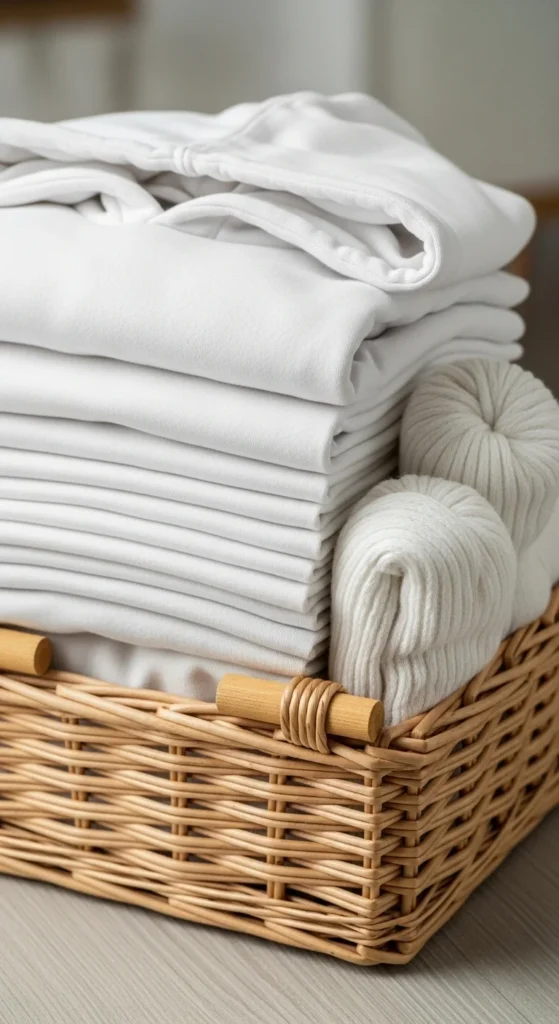
Before you begin, wash items without fabric softener. Softener coats the fibers, and the dye won’t penetrate as deeply.
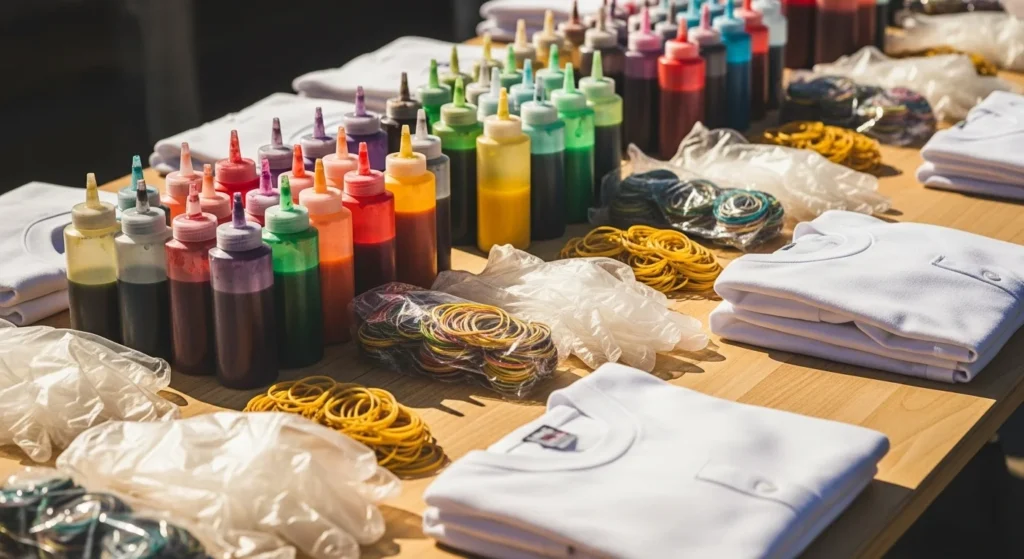
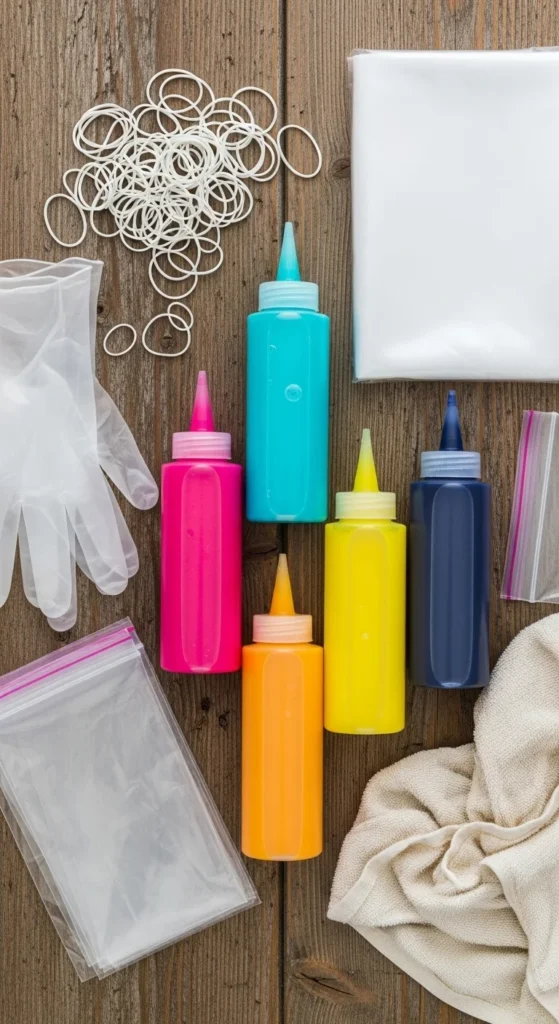
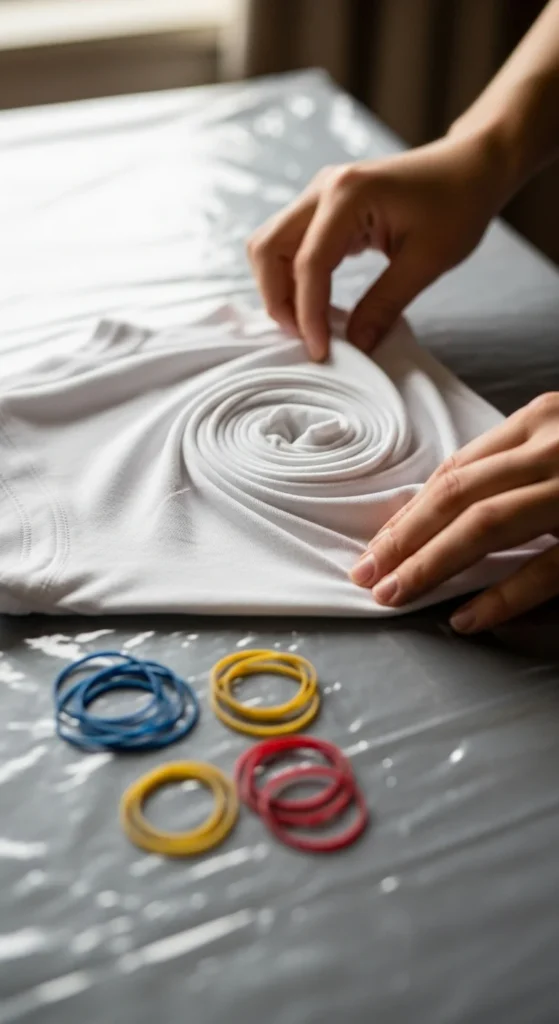
Gather Your Tie-Dye Essentials
You don’t need expensive equipment. A basic tie-dye kit can take you surprisingly far.
You’ll need:
- Squeeze bottle dyes (or powdered dye mixed with water)
- Rubber bands
- Plastic gloves (or disposable ones)
- Plastic sheet or trash bags to protect your surface
- Zip-top bags for setting the dye
- Old towels for spills
Pro tip: Wear clothes you don’t mind staining. Dye is committed.
Prep Your Workspace Like a Pro
Tie-dye is fun, but it can get messy fast. A clean setup saves headaches.
Try this:
- Work outdoors or in a garage
- Lay down plastic drop cloths
- Keep paper towels within reach
- Fill dye bottles before you start
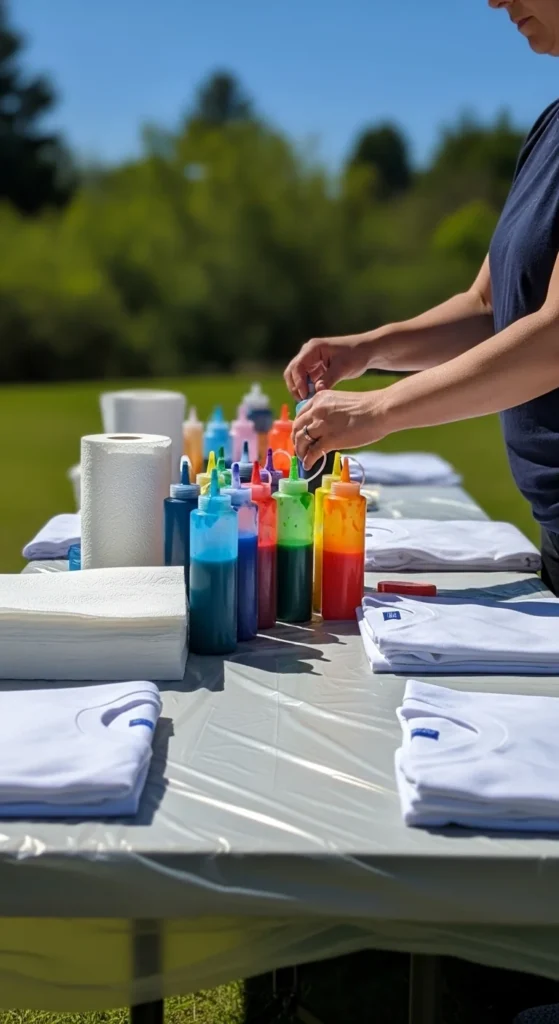
If you’re working inside, protect floors and countertops. Dye can permanently stain porous surfaces.
Master the Most Popular Folding Techniques
How you fold directly affects the design. Play with these patterns:
Spiral
Lay the shirt flat. Pinch the center and twist until it forms a flat disc. Secure with rubber bands into even slices. Apply different colors to each wedge.
Crumple (the TikTok favorite)
Scrunch the shirt randomly, like a messy cloud. Tighten with rubber bands, then add multiple colors for unpredictable magic.
Bullseye
Pinch the fabric where you want the center. Pull upward into a long tube and rubber-band segments. Alternate colors down the line.
Stripes
Accordion-fold the shirt side-to-side, then band sections horizontally for cool stripe effects.
Don’t worry if it looks chaotic—the magic happens after rinsing.
Apply Your Dye Like an Artist
Time for the color explosion!
Tips for best results:
- Apply lighter colors first
- Flip the shirt and dye both sides
- Saturate deeply for bold color
- Leave a little white space for contrast
Go bold with:
- Rainbow spirals
- Sunset pinks + yellows
- Pastel gradients
- Dark ombré blues

If colors muddy together (like opposite colors), you might get brown. Keep neighbors intentional.
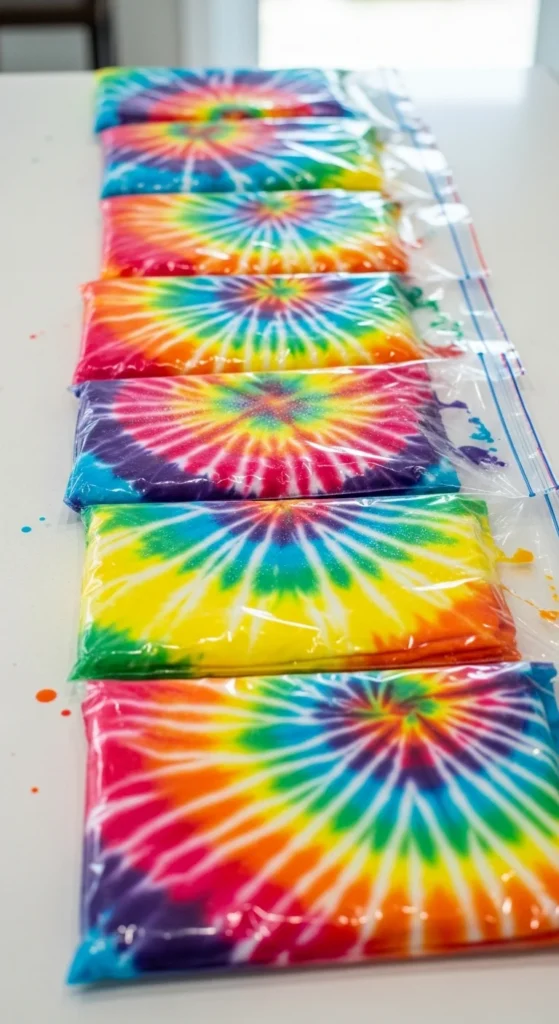
Let the Dye Set (This Part Matters!)
Resist the temptation to rinse right away. Dye needs time to bond.
To set:
- Place each item in a zip-top bag
- Let sit 6–8 hours minimum
- For deeper hues, wait 12–24 hours
Temperature helps—warm rooms bond better.
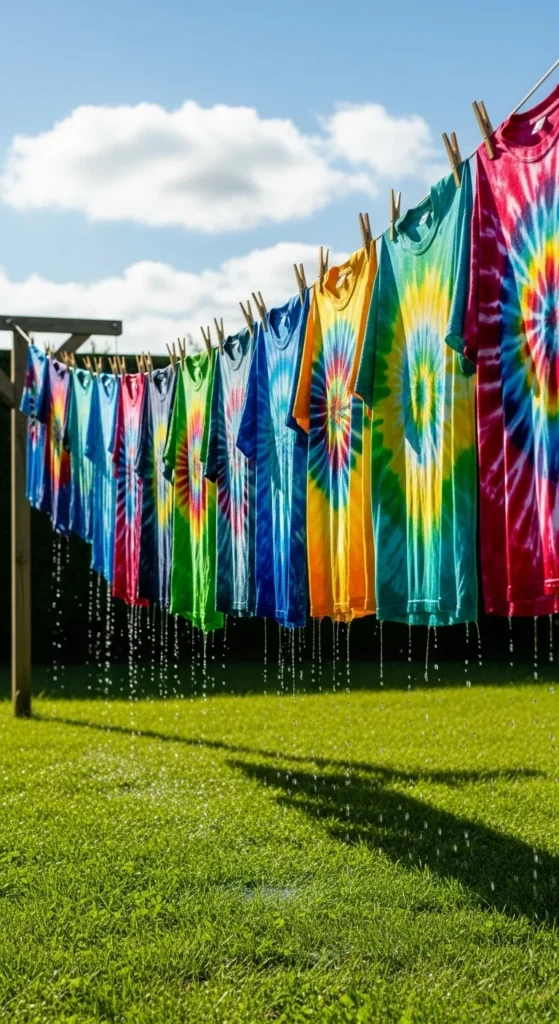
Rinse, Wash & Reveal Your Colors
The reveal is the BEST part.
How to rinse:
- Leave rubber bands on at first.
- Rinse under cool water until runoff is pale.
- Remove bands carefully.
- Keep rinsing until mostly clear.
Wash items alone with cold water and mild detergent. Dry on low heat.
Colors may lighten slightly—that’s normal.
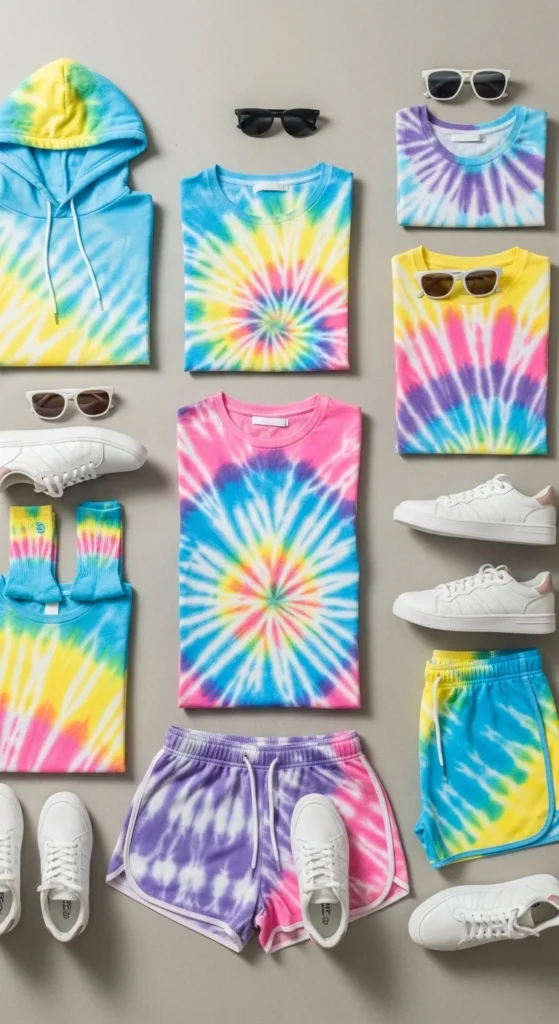
Style and Care for Long-Lasting Color
Tie-dye works with so many looks:
- Oversized tees with shorts
- Cropped hoodies for cozy streetwear
- Tie-dyed socks with sneakers
- DIY matching sets
Care tips:
- Wash inside out
- Avoid bleach
- Air-dry when possible
Your colors will stay bright much longer this way.
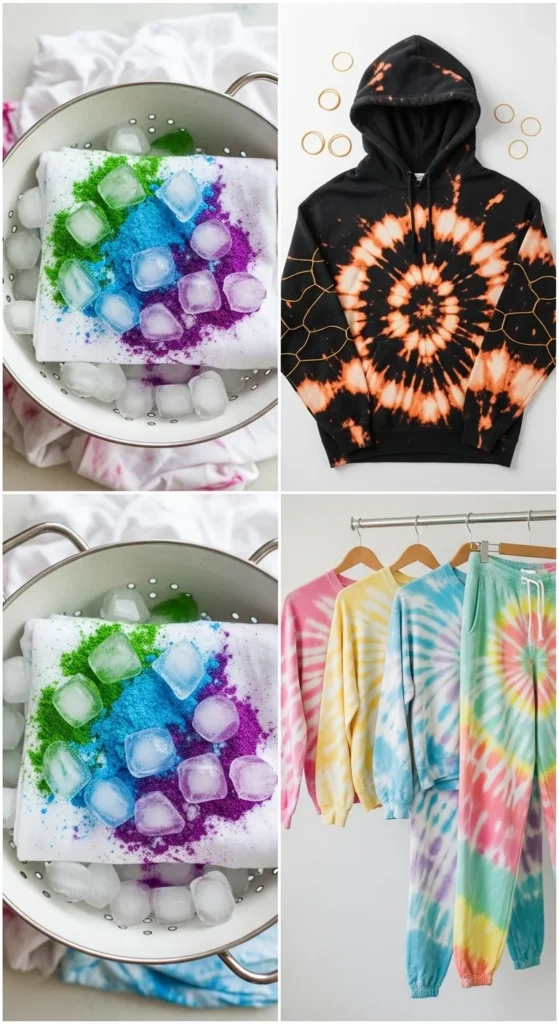
Try Trendy Tie-Dye Variations
Want to elevate your designs?
Experiment with:
- Ice dye (melty watercolor effect)
- Bleach dye on black shirts
- Reverse tie-dye with navy or forest green
- Tie-dyed loungewear sets
TikTok and Pinterest are full of ideas!
Give Old Clothes a New Life
Tie-dye is the perfect blend of creativity, sustainability, and style. With a little color and a few rubber bands, you can turn forgotten clothing into pieces you’ll love to wear again.
Save this guide for your next craft night—and get ready for compliments!

Lily Summers is a digital artist and creative storyteller who loves bringing colorful characters to life. With a passion for cartoons, fan art, and playful sketches, she inspires others to explore their imagination through art. When she’s not sketching, you’ll find her dreaming up new ideas for CraftedWizard.com to spark creativity in every artist. 🌈✨


