
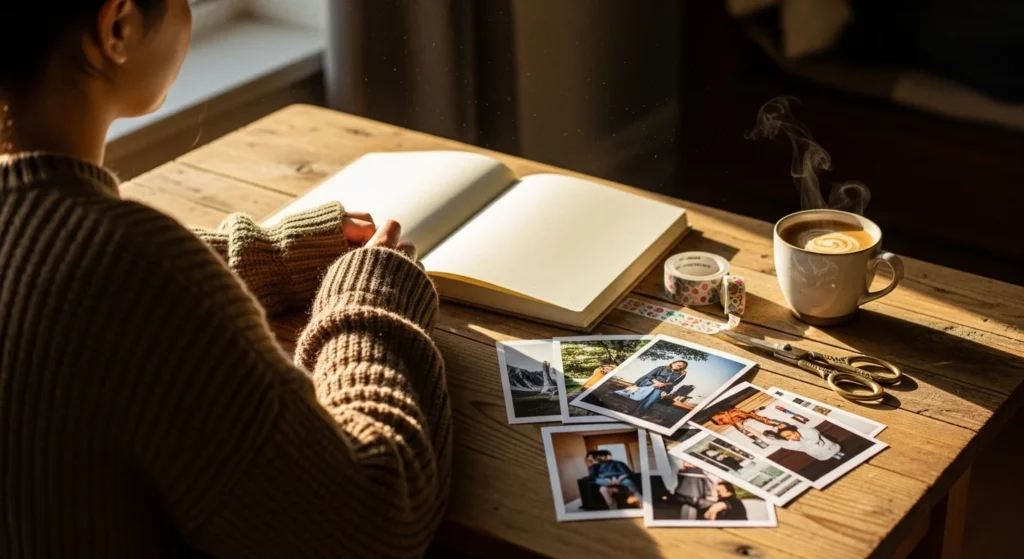
Scrapbooking doesn’t need to be expensive, overwhelming, or filled with fancy tools. In fact, some of the most heartfelt and aesthetic scrapbooks are made with just a few simple supplies and a lot of creativity. If you’ve always wanted to preserve your memories in a beautiful, hands-on way—but didn’t know where to start—this beginner-friendly guide will show you how to create meaningful scrapbook pages with minimal supplies.
Let’s turn your favorite photos, tickets, notes, and tiny treasured items into a keepsake you’ll love flipping through for years.
Why Scrapbooking Is Worth Trying
Scrapbooking is more than just sticking photos on paper. It’s a creative way to capture your memories, reflect on life, and express your personal style. Even a simple scrapbook can:
- Help you document milestones, travels, and everyday joy
- Boost creativity and reduce stress
- Become a meaningful keepsake for yourself or loved ones
- Use up small memorabilia you’ve saved
From old movie tickets to polaroids, every page tells a piece of your story.
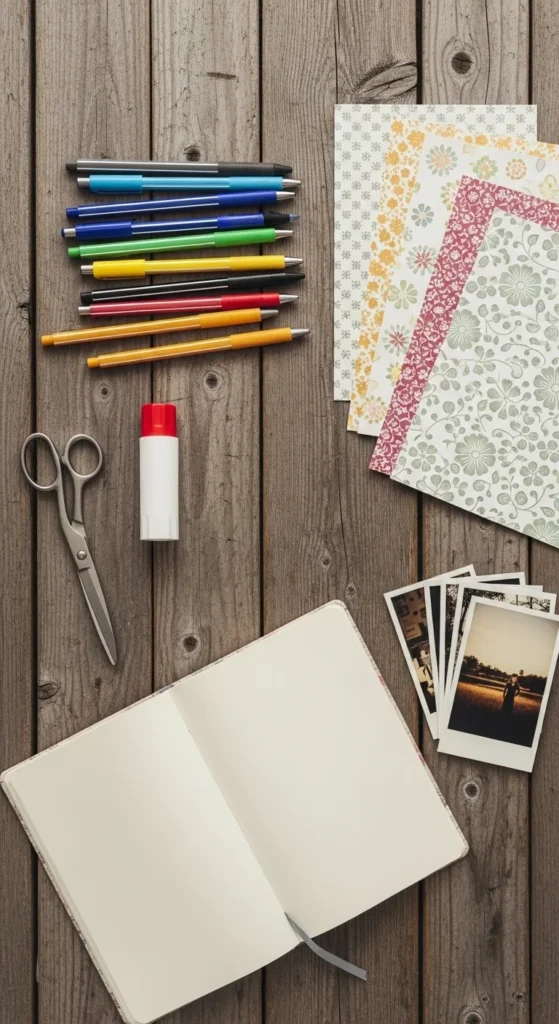
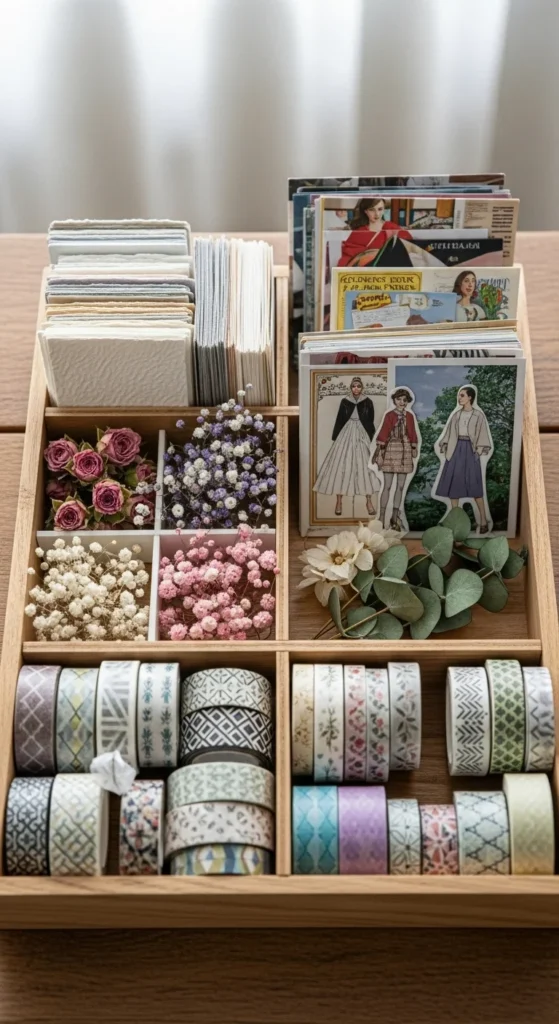
Gather Your Minimal Must-Have Supplies
You don’t need a craft room to begin! Start with the basics you likely already have.
- A notebook, journal, scrapbook, or plain craft paper
- Printed photos (polaroids, photo strips, or home-printed images)
- Scissors
- Glue stick or double-sided tape
- Pens or markers (black, pastel, or colored)
Optional—but helpful if you have them:
- Washi tape
- Stickers
- Scrap paper or gift wrap for backgrounds
.
Tip: Work with what you have—for example, cut shapes from old magazines instead of buying decorative papers.
Step-by-Step: Start Your First Scrapbook Page
Step 1: Choose a Theme
You don’t need to plan the entire scrapbook in advance—just start with one page and one theme.
Some easy beginner themes:
- A day trip or travel memory
- A friendship or family collage
- Your favorite quotes or affirmations
- A “month in review” highlight page
Step 2: Select Photos & Memorabilia
Pick 2–4 photos for your first page. Too many photos can overcrowd your layout. Pair them with small keepsakes like:
- Movie tickets
- Receipts from a special day
- A pressed flower
- A handwritten note
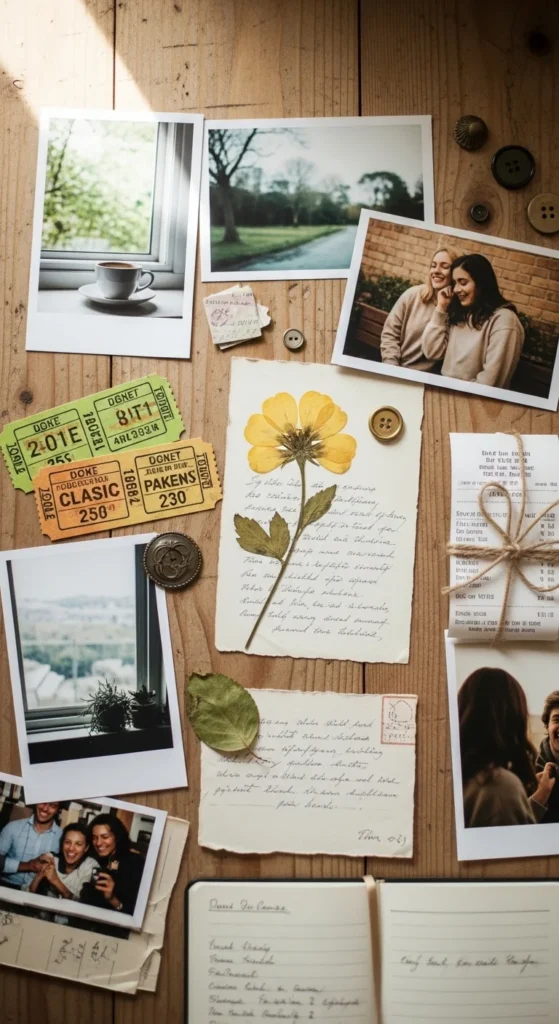
The goal isn’t perfection—it’s storytelling.
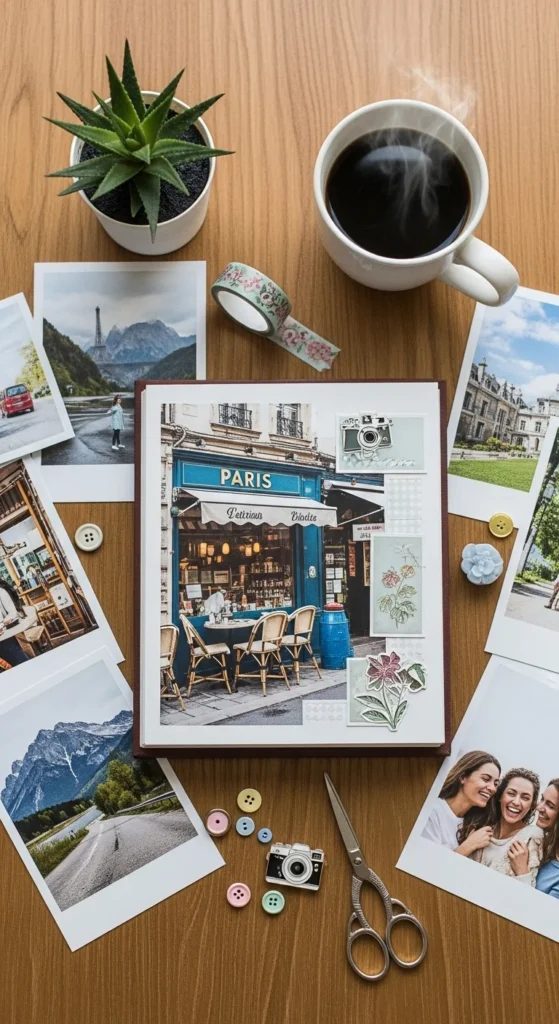
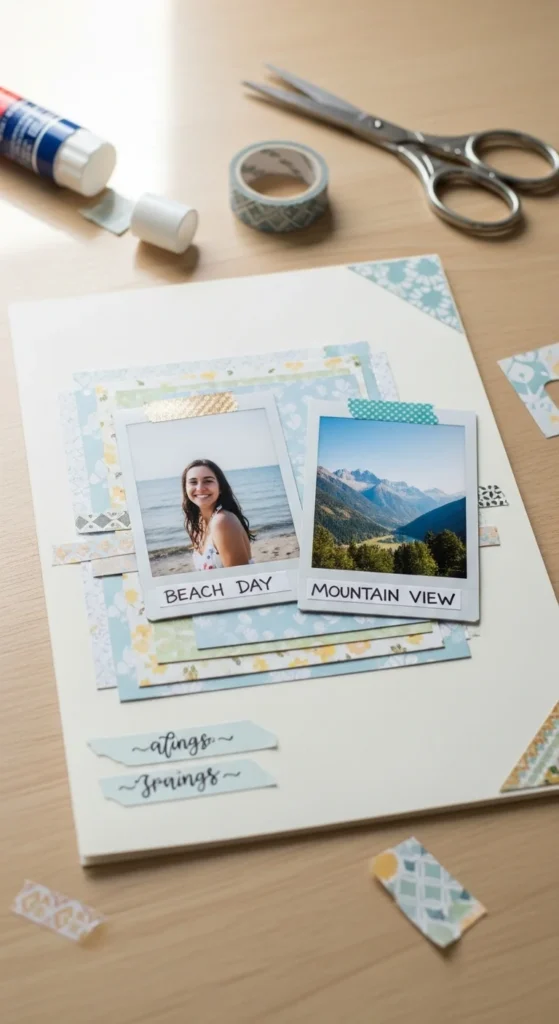
Step 3: Create a Simple Layout
Before gluing anything down, arrange your pieces on the page.
Try one of these easy layouts:
- Center Focus: One main photo in the center with smaller elements around it
- Grid Layout: Four equal squares with photos, notes, and small décor
- Layered Collage: Stack papers and photos for a cozy scrapbook aesthetic
Move items around until the page feels balanced and visually pleasing.
Step 4: Add Captions & Little Details
This is where your page becomes personal and meaningful.
You can include:
- Short captions under photos
- Dates and locations
- A mini story or memory in 2–3 sentences
- Stickers, doodles, arrows, or borders for extra charm
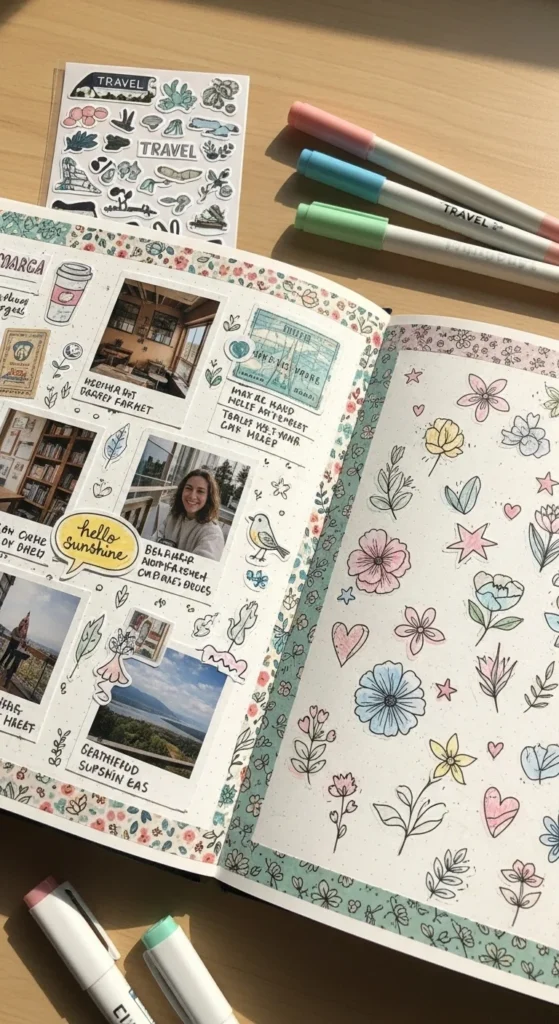
If you don’t have stickers, draw simple icons like stars, hearts, frames, or flowers.
Step 5: Glue & Finalize
Once you’re happy with the layout, glue everything down. Leave a little space around the edges to avoid clutter.
If you used washi tape or paper layers, press gently to secure. Add any finishing touches like:
- Highlights with a white gel pen
- Small doodles around edges
- A themed title for the page
Celebrate — you’ve completed your first scrapbook page!
Creative Ideas for Simple Scrapbook Pages
When you’re ready to continue, here are more easy and minimal-page concepts to try:
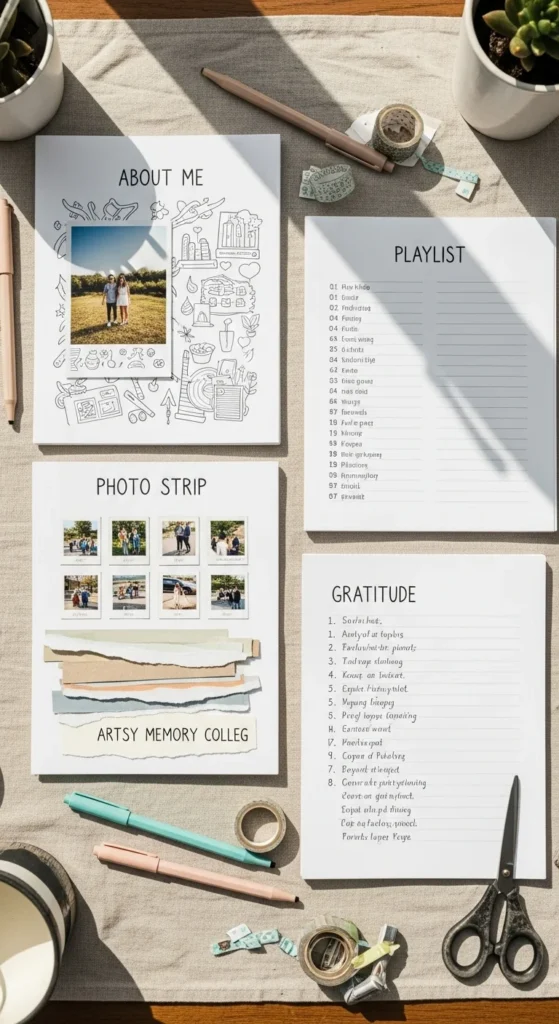
- “About Me” Page: Add a photo, hobbies, and your current favorites.
- Playlist Page: Write your top 10 songs of the month with mini doodles.
- Photo Strip Pages: Print mini square photos in a row for a clean look.
- Memory Collage: A messy, artsy spread with ripped paper layers.
- Gratitude Page: List 5–10 things that made you smile this week.
You’ll be surprised how quickly your scrapbook grows!
Budget-Friendly Scrapbooking Tips
- Use leftover wrapping paper as background décor.
- Cut out words or pictures from magazines for accents.
- Reuse paper bags with texture for a rustic look.
- Print photos at a smaller size to fit more on a page.
- Save used gift cards or tags to add character.
Remember: The charm of scrapbooking often comes from imperfections and homemade elements.
Ready to Start Scrapbooking?
Scrapbooking with minimal supplies is not only easy but incredibly rewarding. You don’t need fancy tools or expensive materials to create pages that hold meaning, joy, and memories. Start with what you have, let your creativity flow, and enjoy the process of capturing your life on paper.
Save this guide for inspiration when you’re ready to craft your first scrapbook page — your memories deserve a beautiful home!

Lily Summers is a digital artist and creative storyteller who loves bringing colorful characters to life. With a passion for cartoons, fan art, and playful sketches, she inspires others to explore their imagination through art. When she’s not sketching, you’ll find her dreaming up new ideas for CraftedWizard.com to spark creativity in every artist. 🌈✨


