

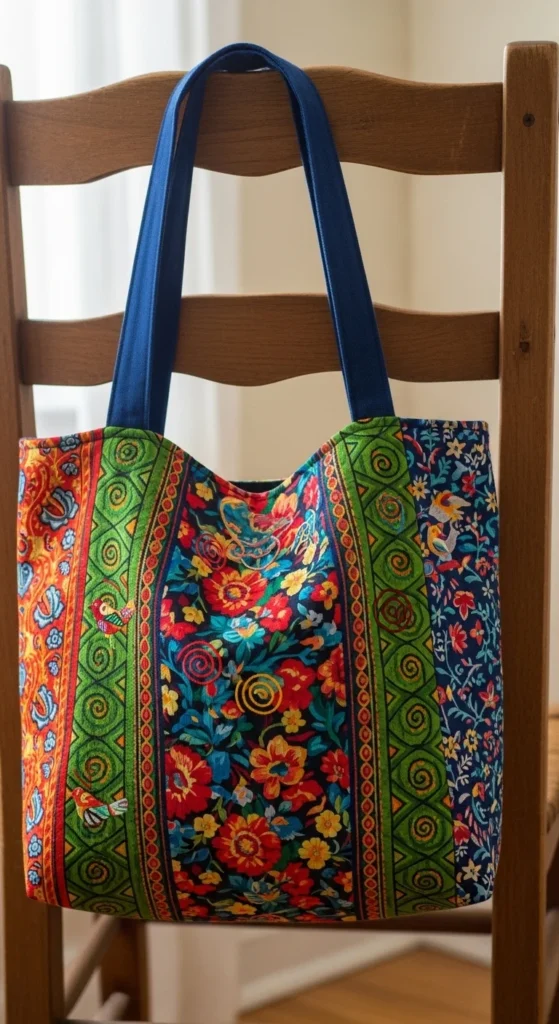
If you’ve ever wished for a sturdy, stylish tote bag that’s actually your style, this quick sewing project is for you. Whether you want to replace plastic bags, carry groceries, or create a personalized gift, a DIY tote bag is the perfect beginner-friendly sewing project. And yes—you can finish it in under an hour!
Let’s get started with simple materials, easy steps, and tips to make your tote look store-bought (without spending store-bought money).
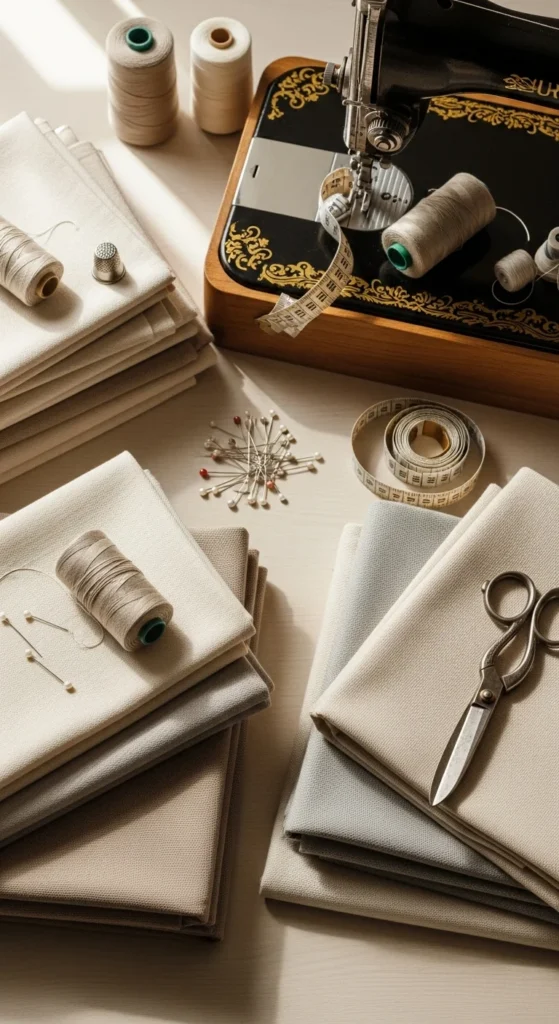
Gather Your Materials
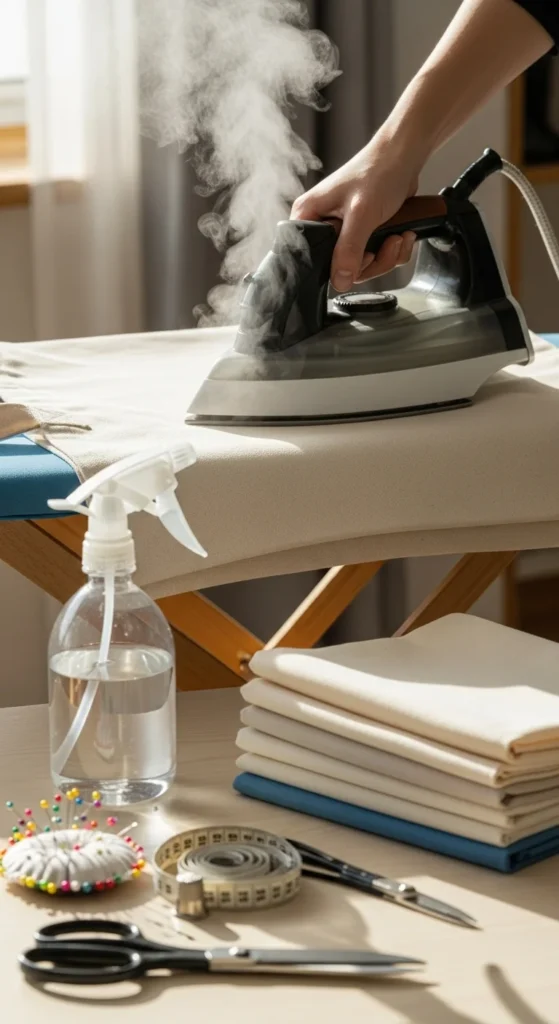
Before sewing, lay out your tools and fabric. Having everything nearby makes the process faster and smoother.
Here’s what you’ll need:
- Fabric: ½ yard of sturdy cotton, canvas, or denim.
- Thread: matching or contrasting color.
- Scissors or rotary cutter.
- Pins or clips.
- Iron and ironing board.
- Measuring tape or ruler.
- Sewing machine (or needle if sewing by hand).
Pro tip: Use cotton canvas for your first try—it’s durable but easy to work with.
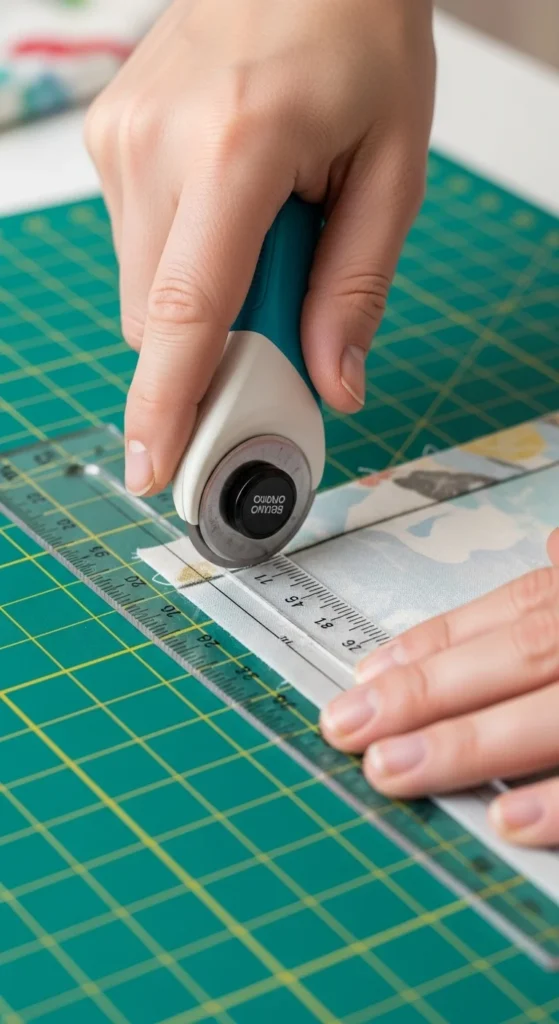
Cut the Fabric Pieces
You’ll need two rectangles for the body and two long strips for the handles.
- Cut two 15” x 16” rectangles (front and back).
- Cut two 4” x 22” strips (for handles).
If you want a larger tote, just add an inch or two to each measurement. For a smaller, lunch-sized version, scale down by about 20%.
Press the fabric with an iron to remove wrinkles before sewing—creases can shift measurements slightly.
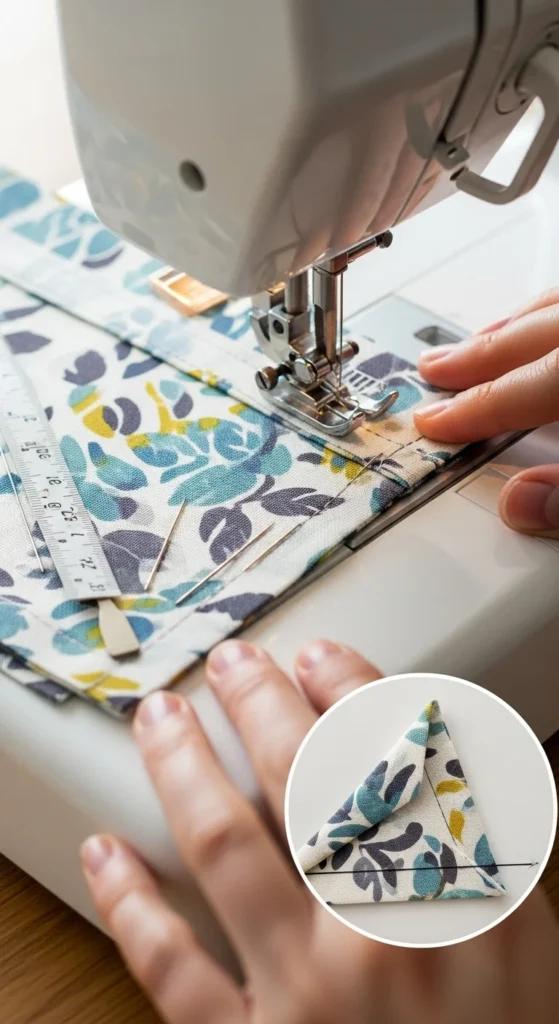
Sew the Bag Body
Place your two large rectangles right sides together (the patterned sides facing inward). Pin along the sides and bottom.
Using a straight stitch, sew around the two sides and bottom with a ½-inch seam allowance. Backstitch at each end for strength.
Trim any excess thread and turn the bag right side out. Press the seams flat for a crisp look.
Optional upgrade: To make your tote stand up better, sew box corners by pinching each corner flat, marking a 2-inch triangle, and sewing across it. Cut off the triangle tip, and your bag will have a structured bottom.
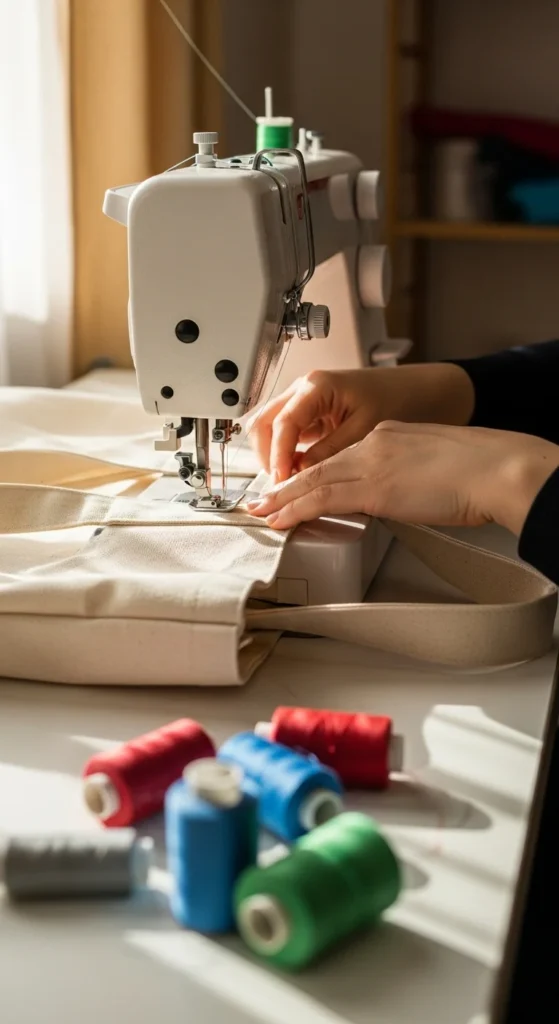
Make and Attach the Handles
Fold each fabric strip lengthwise, right sides together, and sew along the open edge with a ¼-inch seam. Turn them right side out using a pencil or chopstick, then press flat with an iron.
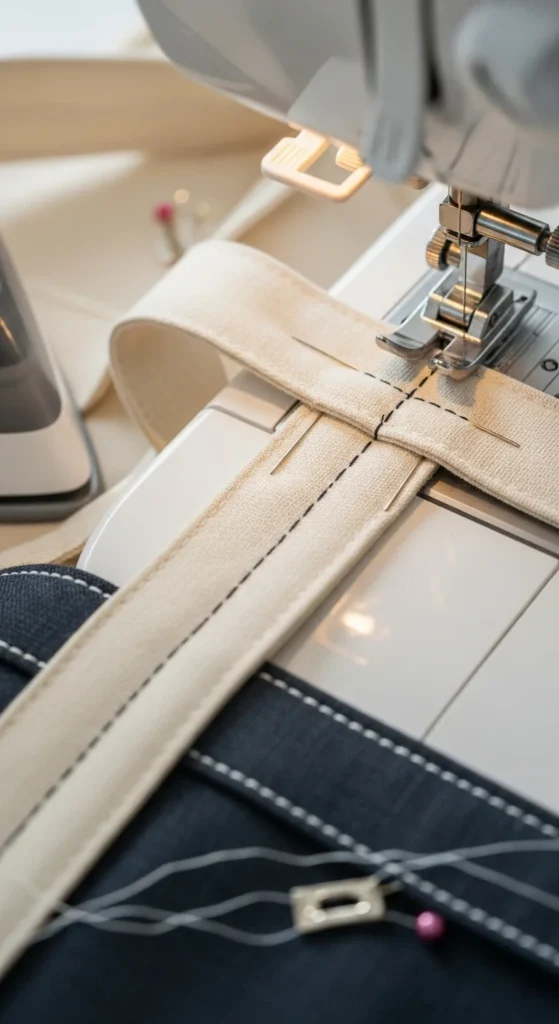
For extra durability, topstitch along both long edges—it not only looks neat but also strengthens the handles.
Pin the handles to the inside top edge of your bag, about 3 inches from each side seam. Make sure they’re even and not twisted.
Sew the handles securely with a square or X-shaped stitch pattern for reinforcement.
Hem the Top Edge
Fold the top edge of the bag over ½ inch, press, then fold again another ½ inch to hide the raw edge. Pin in place.
Sew around the entire top edge with a straight stitch. This gives your tote a clean, finished look and adds strength to the opening
.
If you’re feeling creative, use contrasting thread or a decorative stitch for flair.
Add Personal Touches
Here’s where your creativity shines. You can:
- Add a pocket on the front or inside.
- Sew on a fabric patch or label.
- Use iron-on designs or embroidery for decoration.
- Add a magnetic snap or button for closure.
Even simple bags can feel unique when you play with colors and textures.
Finishing and Care
Give your bag a final press with the iron to smooth seams and creases. You’ll be surprised how polished it looks after that one last step.
To keep it fresh:
- Wash on a gentle cycle and air dry.
- Iron if needed after washing.
- Store flat or hang it on a hook for easy grab-and-go use.
Your tote is now ready to carry groceries, books, or beach gear—without the guilt of using disposable bags.
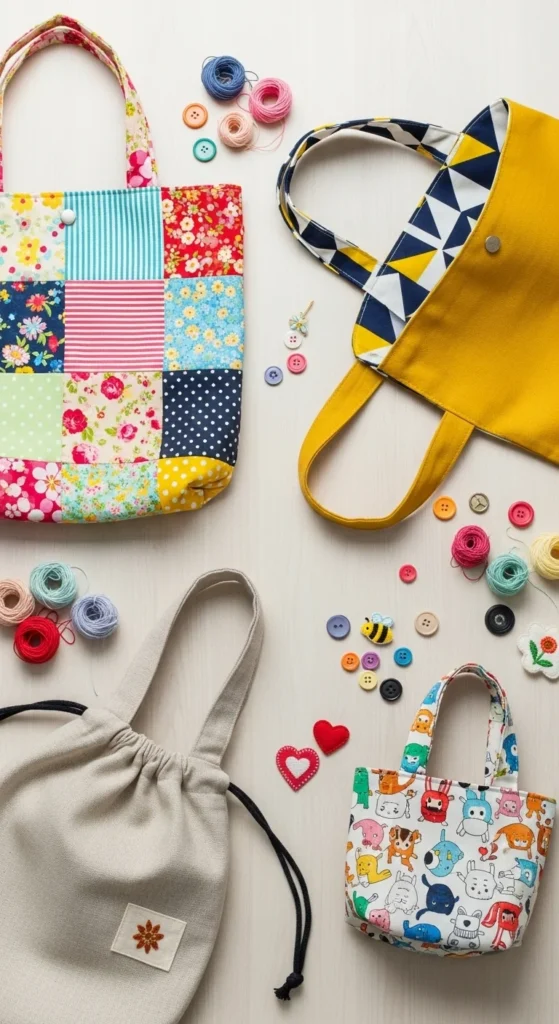
Quick Customization Ideas
Once you’ve made your first tote, it’s easy to experiment:
- Patchwork: Combine fabric scraps for a unique design.
- Reversible tote: Use two fabrics and sew them together inside out.
- Drawstring variation: Add a casing and cord for a closure.
- Mini version: Perfect for kids or small accessories.
Each variation follows the same core steps—cut, sew, press, and personalize.
Wrap-Up
Making a DIY tote bag in under an hour is easier than it sounds. With basic materials and a few simple stitches, you can create a functional, stylish, and eco-friendly accessory that fits your life perfectly.
Whether you keep it plain and classic or decorate it with flair, this project is a great confidence booster for beginner sewists. Once you make one, you’ll want to make more for every outfit, errand, or friend.
🧵 Save this tutorial for later—your next favorite bag is just an hour away!

Lily Summers is a digital artist and creative storyteller who loves bringing colorful characters to life. With a passion for cartoons, fan art, and playful sketches, she inspires others to explore their imagination through art. When she’s not sketching, you’ll find her dreaming up new ideas for CraftedWizard.com to spark creativity in every artist. 🌈✨


