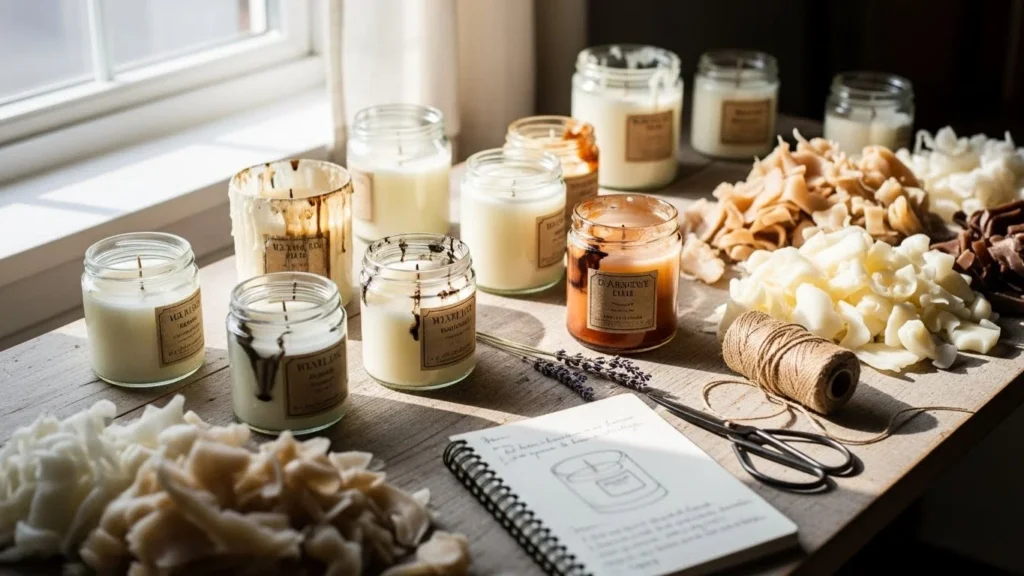
There’s something oddly satisfying about lighting a candle down to its very last flicker—until you’re left with a jar full of hardened wax and a lonely wick stub. Instead of tossing those remnants into the trash, what if you could turn them into brand-new candles that look intentional, smell amazing, and cost almost nothing?
Reusing candle wax isn’t just eco-friendly it’s creative, practical, and perfect for cozy DIY days. With a safe double boiler method and a little scent blending, you can transform old jars, leftover wax, and salvaged wicks into custom candles ideal for gifts or home decor.
Why Reusing Candle Wax Is Worth It
If you burn candles regularly, you already have the raw materials for new ones. Reusing wax means:
- Less waste going into landfills
- Saving money on new candles
- Creating custom scents you won’t find in stores
- Giving old jars and containers a second life
It’s also beginner-friendly. You don’t need fancy equipment—just patience, heat control, and a bit of creativity.
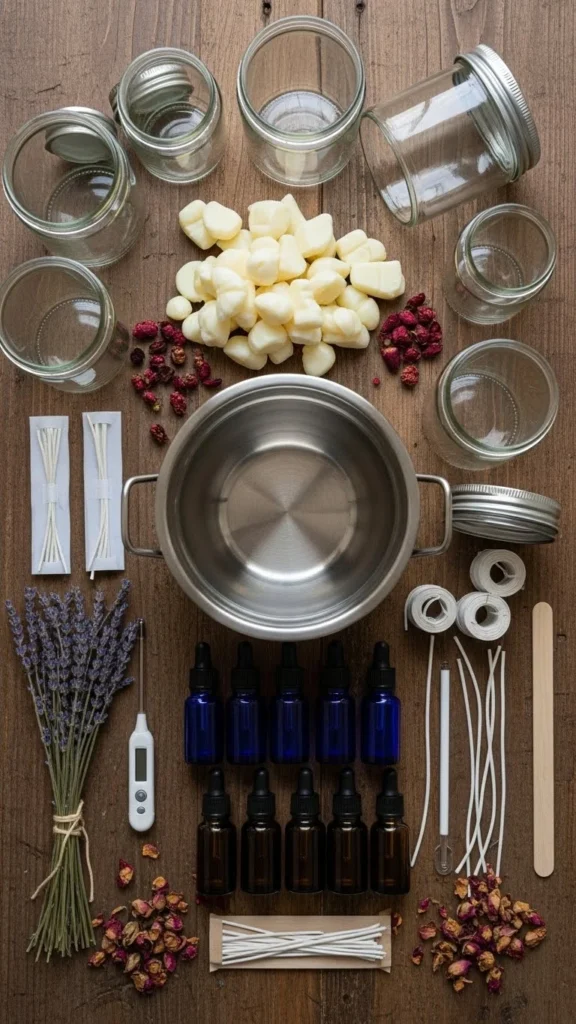
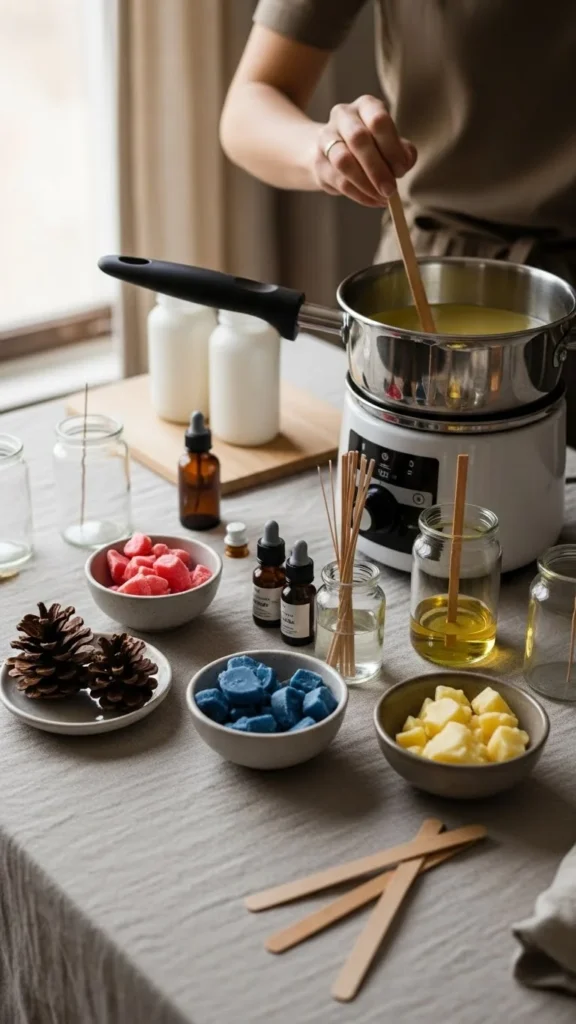
Materials You’ll Need Before You Start
Gather everything first so the process feels calm and organized.
You’ll need:
- Old candle jars or loose wax scraps
- New candle wicks with metal clips
- Heat-safe glass jars or candle molds
- A double boiler setup (a pot + metal bowl or old cans)
- Tongs, tweezers, or pliers
- Wooden skewers or pencils (for centering wicks)
- Thermometer (optional, ideal temp around 185°F / 85°C)
- Essential oils or fragrance oils (optional, for fresh scent)
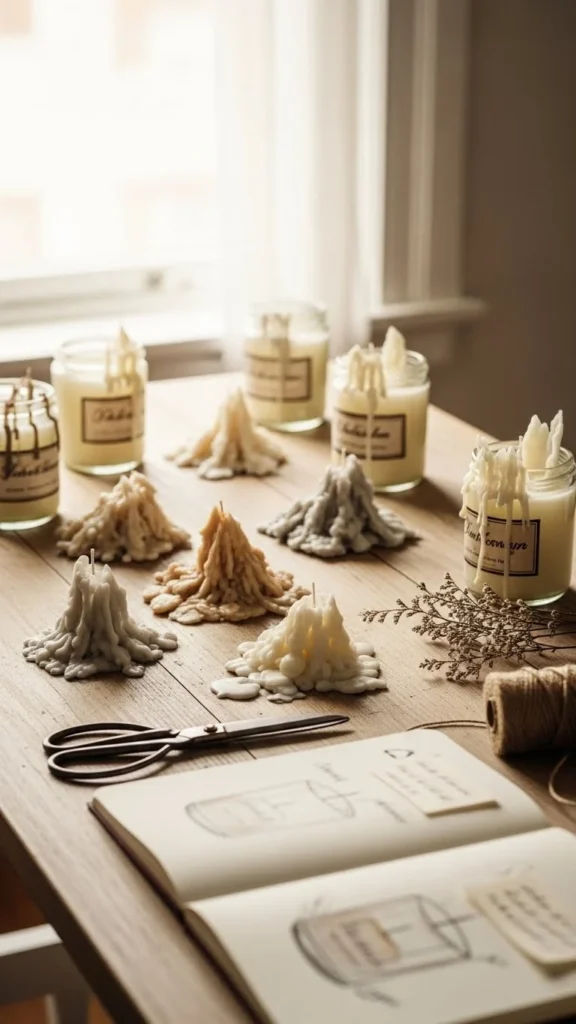
Step 1: Prep and Sort Your Old Wax
Start by removing wax from old jars.
Two easy methods:
- Freeze method: Place jars in the freezer for 2–4 hours. The wax shrinks and pops out easily.
- Water bath method: Place jars in a pot of simmering water until wax loosens, then lift it out carefully.
Once removed:
- Pull out old wick clips using tweezers
- Discard burnt debris or matches
- Sort wax by scent family (floral, fruity, woody, clean)
This makes blending scents later much more pleasant.
Step 2: Clean and Prep Your Containers
Clean jars help candles burn evenly and look polished.
To clean:
- Pour boiling water into old jars
- Let sit for 5 minutes to melt leftover residue
- Pour waxy water into a foil-lined tray (never down the drain)
- Wash jars with hot soapy water and dry completely
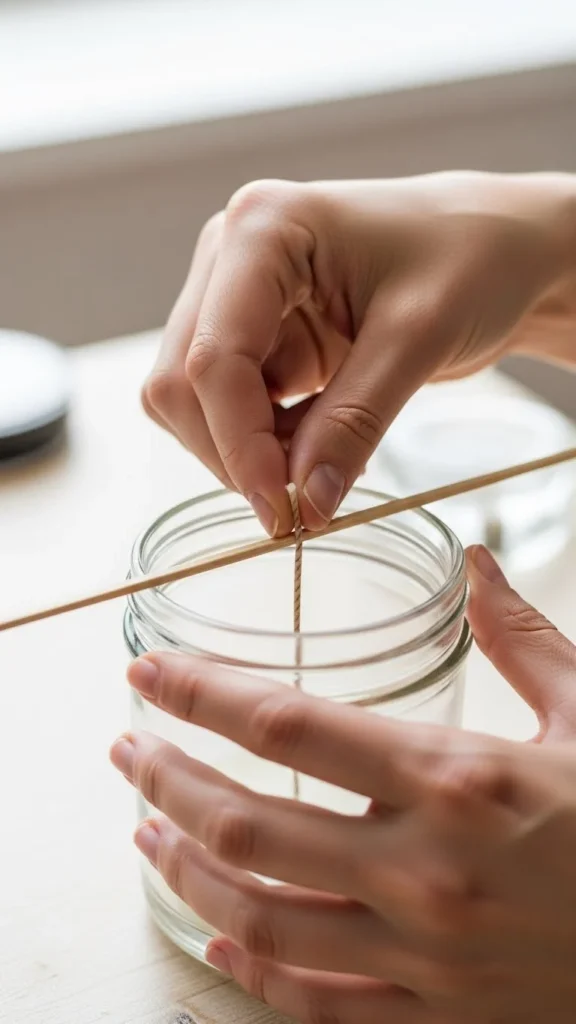
Next, prep your wick:
- Glue the metal wick clip to the center of the jar bottom using hot glue or a dab of melted wax
- Wrap the top of the wick around a skewer or pencil
- Rest it across the jar opening to keep the wick centered
This small step prevents crooked burns later.
Step 3: Melt Wax Safely Using a Double Boiler
Safety matters when working with wax. Always use indirect heat.
How to do it:
- Fill a pot with about 2 inches of water and bring to a gentle simmer
- Place wax chunks into a metal bowl or old can
- Set it over the pot (not touching the water directly)
- Stir occasionally until fully melted
Ideal wax temperature is around 185°F (85°C). Avoid overheating wax becomes flammable above 200°F.
If your wax looks smoky or contains debris, carefully strain it through cheesecloth for a smoother finish.
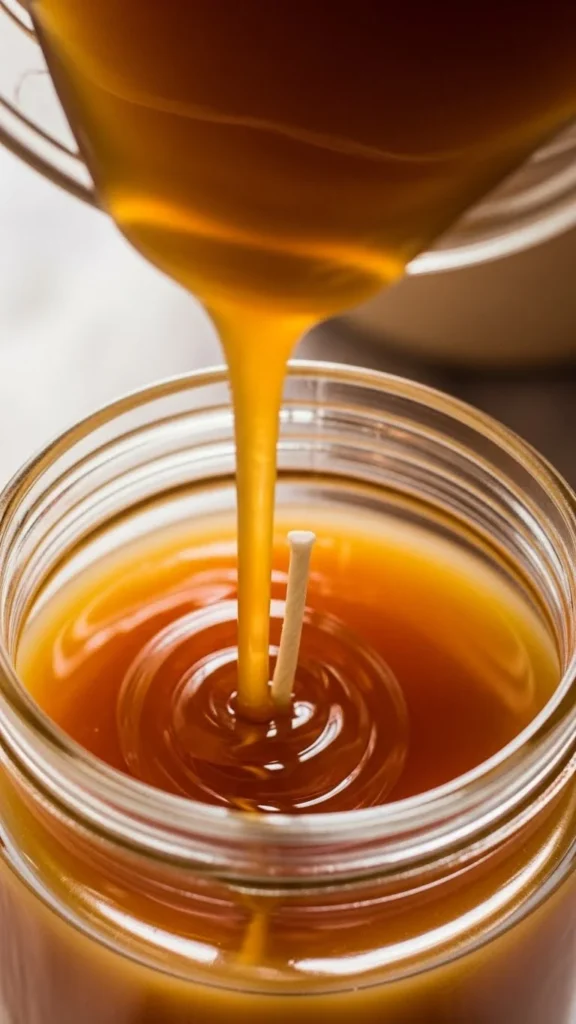
Step 4: Add Scent and Pour
Once melted, remove wax from heat.
- Add 5–10 drops of essential or fragrance oil per cup of wax
- Stir gently to avoid air bubbles
- Slowly pour wax into your prepared jars, keeping the wick centered
Pouring slowly helps prevent cracks and sinkholes.
Step 5: Let Candles Cool and Cure
Cooling takes patience but it’s worth it.
- Let candles cool at room temperature for 4–24 hours
- Loosely cover jars to prevent dust while cooling
- If sinkholes appear, reheat leftover wax and add a thin second layer
After fully set:
- Trim wick to about 1/4 inch
- Let candles cure for 48 hours before burning
This improves scent throw and burn quality.
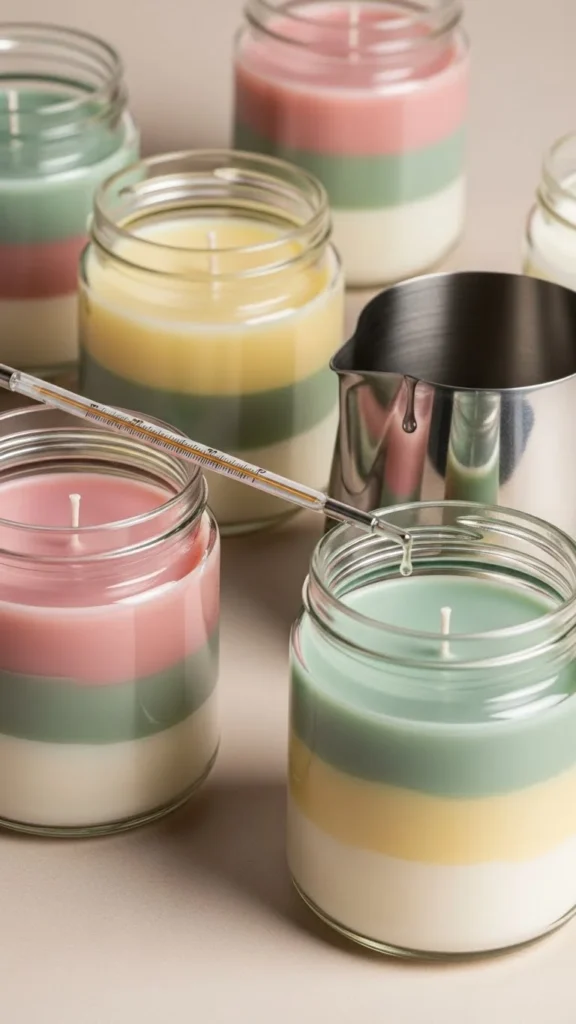
Trending Techniques and Creative Variations
Once you’re comfortable, try these ideas:
- Blend scent families for unique custom fragrances
- Layer different colored wax by pouring every 30 minutes
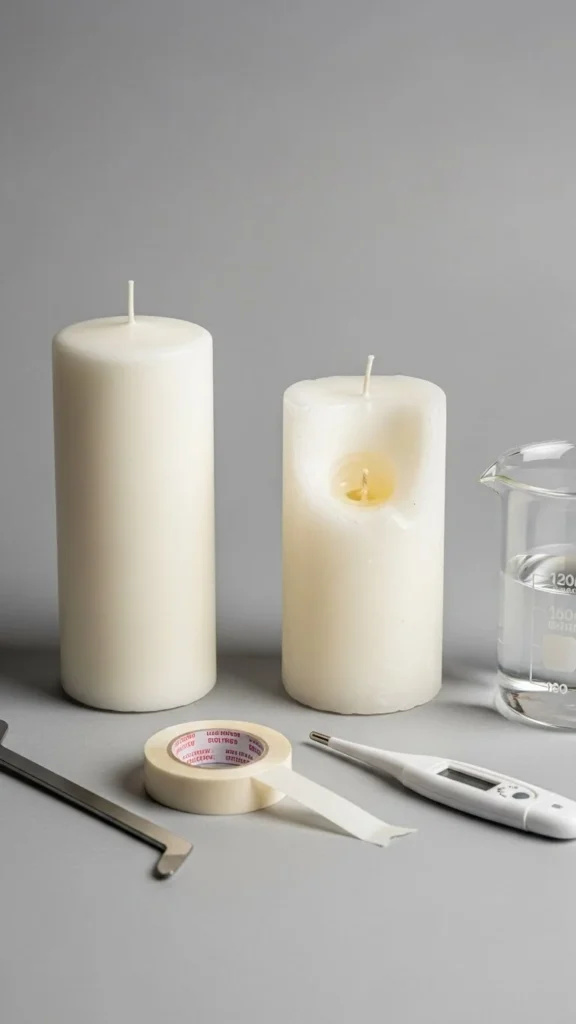
- Use leftover wax to make outdoor pillar candles
- Turn scraps into wax fire starters with pinecones
Reused wax doesn’t mean boring it means flexible.
Common Problems (and Easy Fixes)
- Sinkholes or cracks: Pour slightly hotter or add a second thin layer
- Wick drifting: Secure tightly with tape or wick bars
- Weak scent: Add fragrance closer to 185°F and don’t overheat
- Overheated glass: Never microwave jars use a water bath only
Final Takeaway
Reusing candle wax is one of those rare DIY projects that’s simple, sustainable, and genuinely satisfying. With a safe double boiler method and thoughtful scent blending, you can turn forgotten wax scraps into beautiful, functional candles that feel completely new.
Whether you’re decorating your home, making handmade gifts, or just reducing waste, this is a craft worth repeating.

Lily Summers is a digital artist and creative storyteller who loves bringing colorful characters to life. With a passion for cartoons, fan art, and playful sketches, she inspires others to explore their imagination through art. When she’s not sketching, you’ll find her dreaming up new ideas for CraftedWizard.com to spark creativity in every artist. 🌈✨