Printing on fabric doesn’t have to be intimidating or expensive! Whether you want to personalize tote bags, T-shirts, pillowcases, or even curtains, you can achieve beautiful results with tools you probably already have at home. In this guide, I’ll walk you through simple techniques to print on fabric, no fancy machines required. By the end, you’ll be creating custom fabric designs that look like a professional made them.
Gather Your Materials
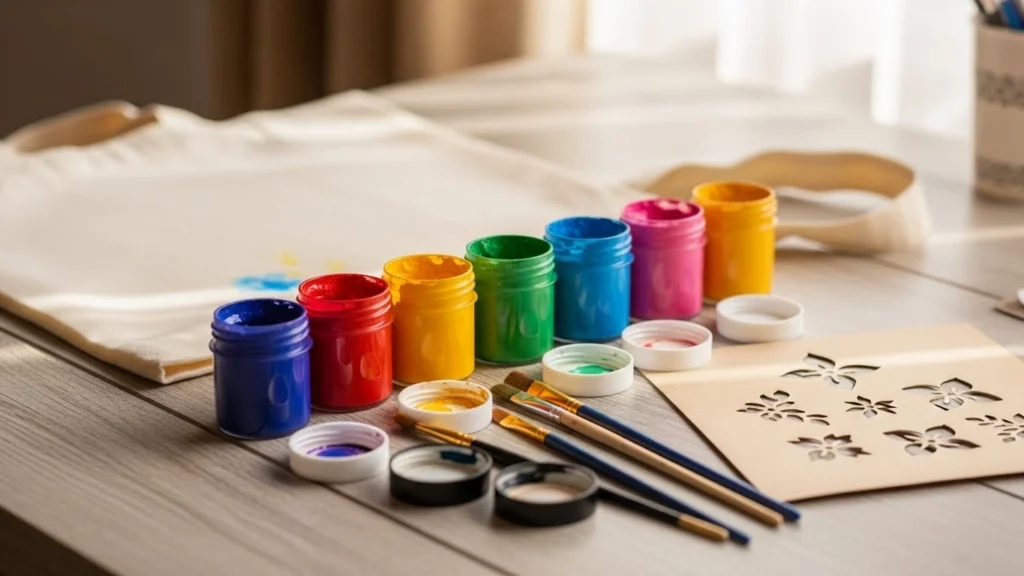
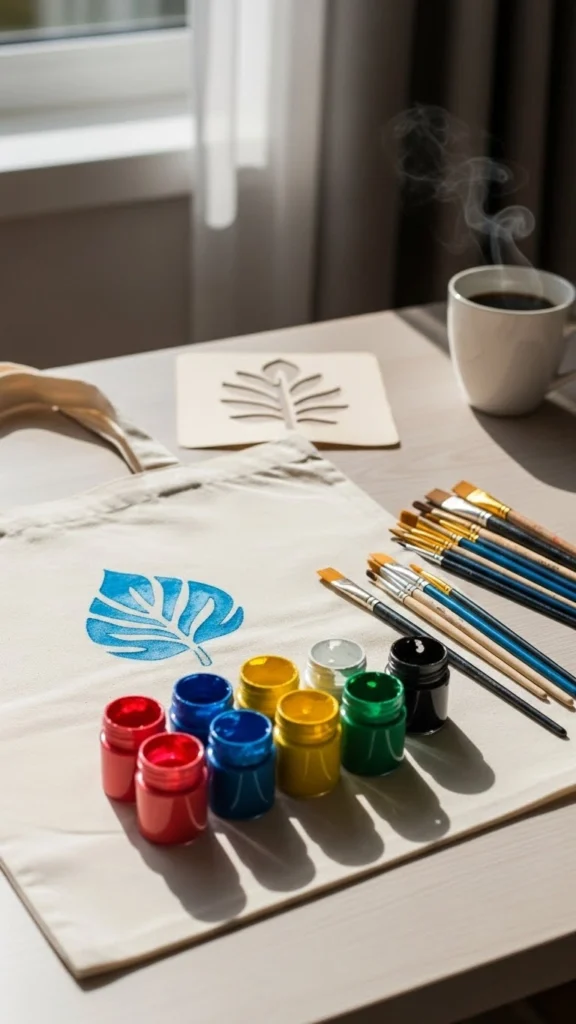
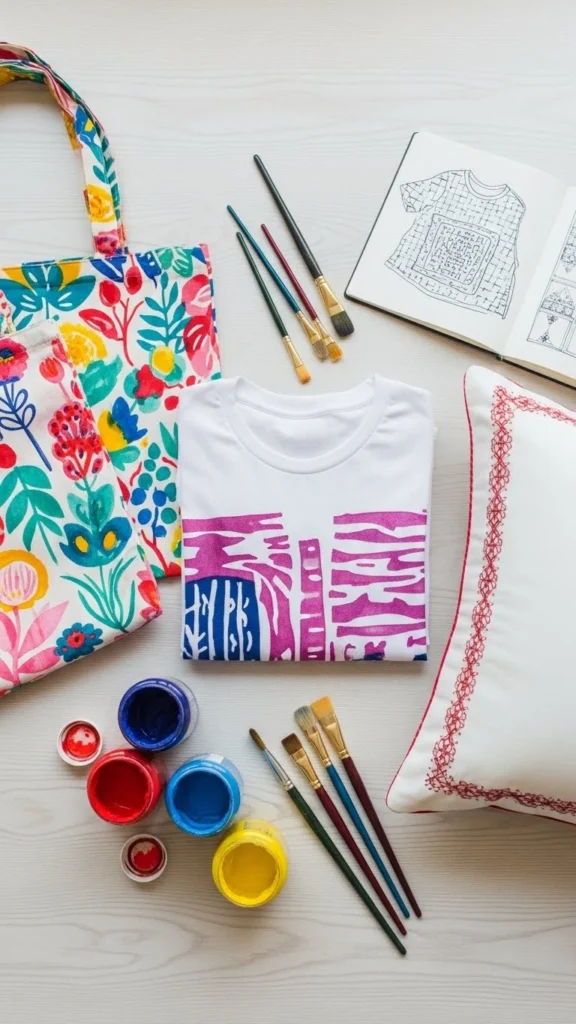
Before you start, it’s important to have everything ready. This keeps your project smooth and stress-free. Here’s what you’ll need:
- Fabric – Cotton works best for beginners. T-shirts, tote bags, or fabric scraps all work.
- Fabric paint or acrylic paint mixed with textile medium – These paints stick to fibers and stay vibrant after washing.
- Brushes or sponges – Different sizes create different effects.
- Stencils – You can buy them or make your own from cardboard, freezer paper, or acetate sheets.
- Masking tape – Helps keep your stencil in place.
- Palette or plate – For mixing paints.
- Iron – To heat-set your design after it dries.

Choose Your Design
Picking the right design is crucial. Keep these tips in mind:
- Start simple – Geometric shapes, polka dots, or hearts are perfect for beginners.
- Scale appropriately – Make sure your design fits your fabric area.
- Test your stencil – Use paper or scrap fabric first to make sure the paint doesn’t bleed.
Tip: If you’re feeling bold, you can create layered designs by printing one color at a time and letting it dry in between.
Prepare Your Fabric
A smooth, clean surface ensures your design comes out crisp.
- Wash and iron your fabric – Removes sizing or chemicals and prevents shrinkage later.
- Place cardboard or wax paper underneath – Prevents paint from bleeding through to the other side.
- Position your stencil – Use masking tape to hold it steady.

Printing Techniques
Now comes the fun part adding paint! Here are a few beginner-friendly methods:
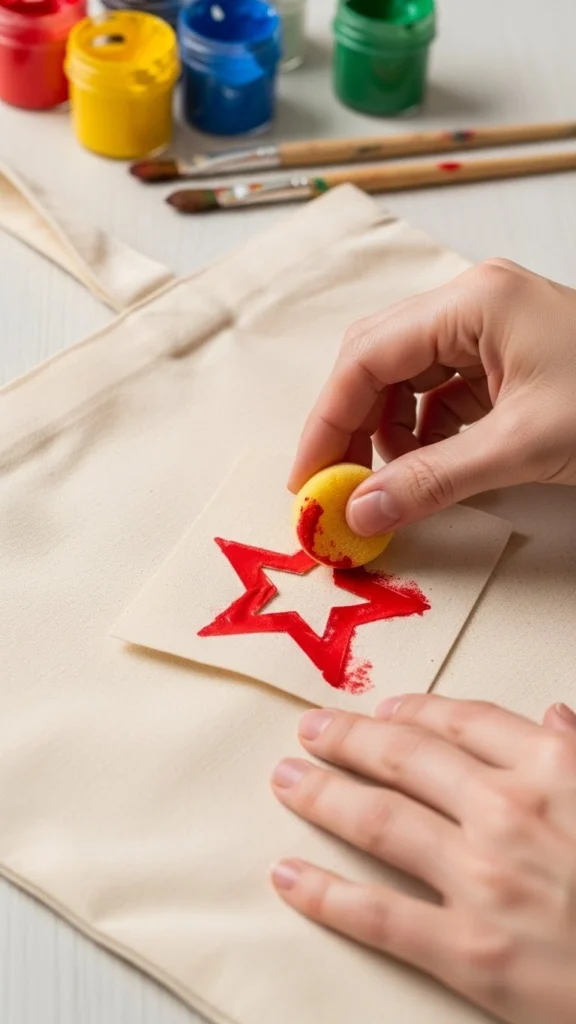
Sponge Printing
- Dab a sponge into paint.
- Gently press it onto the stencil.
- Lift straight up to avoid smudging.
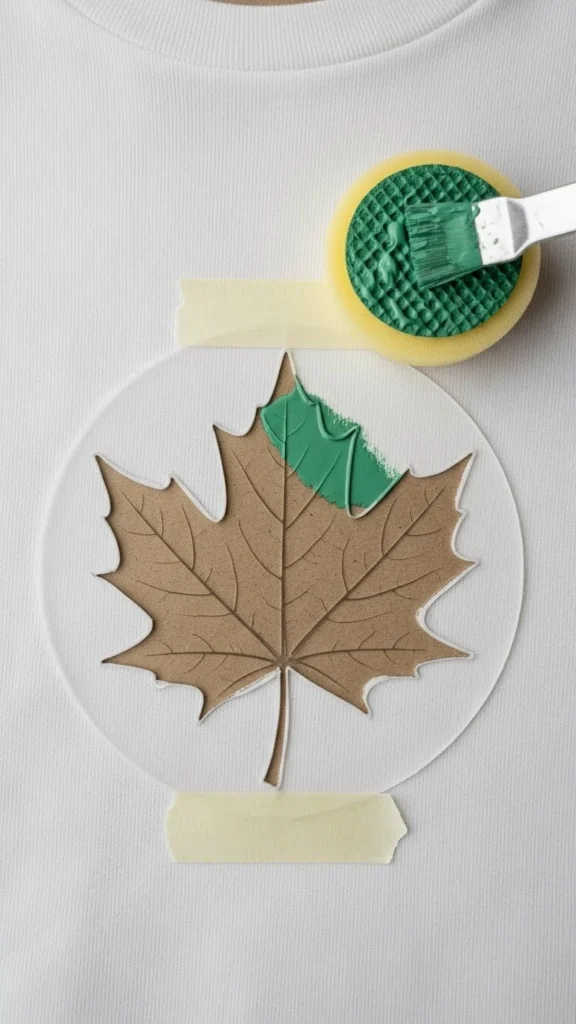
Brush Printing
- Use a flat brush for solid areas.
- Apply light, even strokes to avoid paint pooling.
Freehand Touch-Ups
- Once the main design is printed, add small details with a fine brush.
Tip: Less is more start with thin layers and build up color gradually.
Drying and Heat-Setting
Patience pays off!
- Let the paint dry completely—usually 24 hours.
- Cover with a thin cloth and iron on medium heat to set the paint.
- Follow your paint’s washing instructions to keep your design vibrant.
Display or Gift Your Creation
Now that your design is finished, the possibilities are endless:
- Tote bags – Perfect for daily use or gifting.
- T-shirts – Show off your one-of-a-kind style.
- Pillowcases – Add a personal touch to your living space.
- Scarves or napkins – Small projects are fun and quick.
Tips for Success
- Wash fabric before printing to avoid shrinking.
- Work in layers for multi-color designs.
- Clean stencils and brushes immediately after use.
- Don’t overload paint—it can bleed under the stencil.
Printing on fabric is easier than it looks, and with these simple tools, anyone can start creating personalized designs. Whether it’s for gifts, home décor, or your own wardrobe, your handmade fabric prints are sure to impress.
Takeaway: Save this guide for your next craft day and start printing your own one-of-a-kind fabric creations today!

Lily Summers is a digital artist and creative storyteller who loves bringing colorful characters to life. With a passion for cartoons, fan art, and playful sketches, she inspires others to explore their imagination through art. When she’s not sketching, you’ll find her dreaming up new ideas for CraftedWizard.com to spark creativity in every artist. 🌈✨