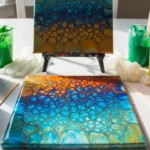
Ever scroll through Pinterest and think, “I wish I could make stickers like that”? Good news you absolutely can. You don’t need a fancy studio or expensive equipment. With a few simple tools and a little creativity, you can turn your favorite designs into beautiful, aesthetic stickers right from your desk.
Whether you want cute journaling stickers, pastel laptop decals, or trendy planner icons, this guide will walk you through everything step by step.
Step 1: Gather Your Supplies
Before you start printing, let’s make sure you have the right materials. Quality supplies make a huge difference in how your stickers look and last.
You’ll need:
- A color printer (inkjet works best for vibrant colors)
- Sticker paper
- Matte for a soft aesthetic look
- Glossy for bright, shiny designs
- Waterproof vinyl for durability
- Scissors or a craft knife
- Optional: Cutting machine (like Cricut or Silhouette Cameo)
- Clear laminate sheets (for extra protection)
Pro Tip: If your stickers are going on water bottles or laptops, waterproof vinyl + laminate is the dream team.
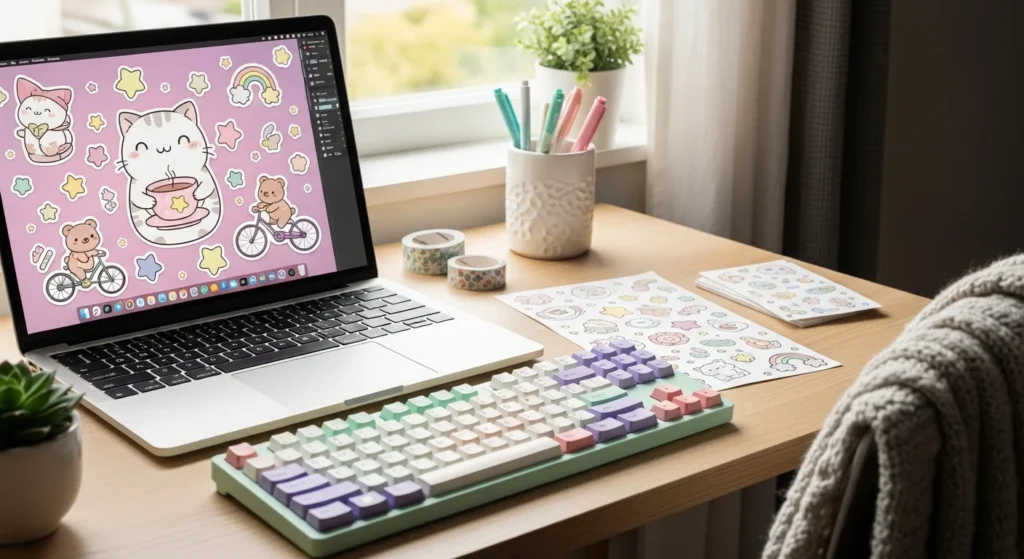
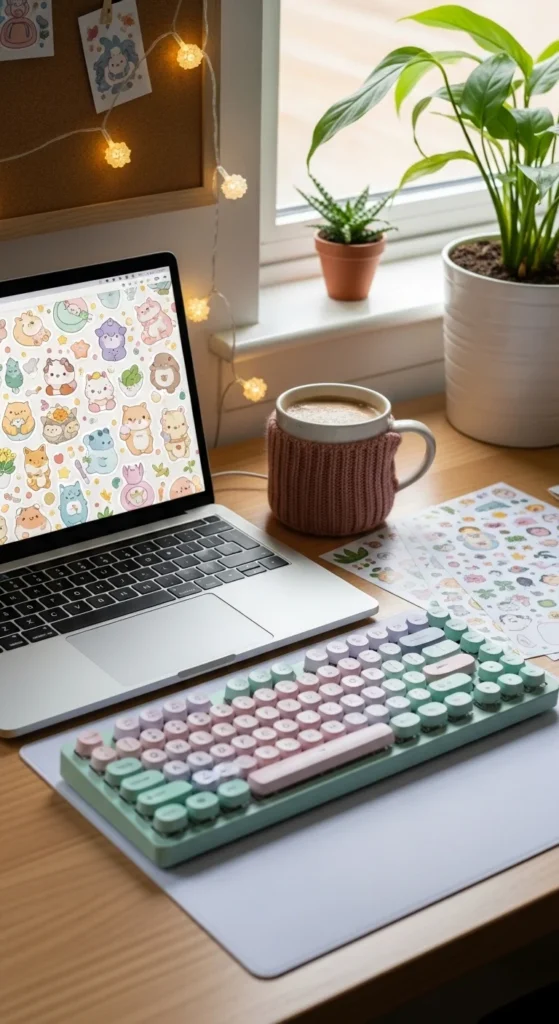
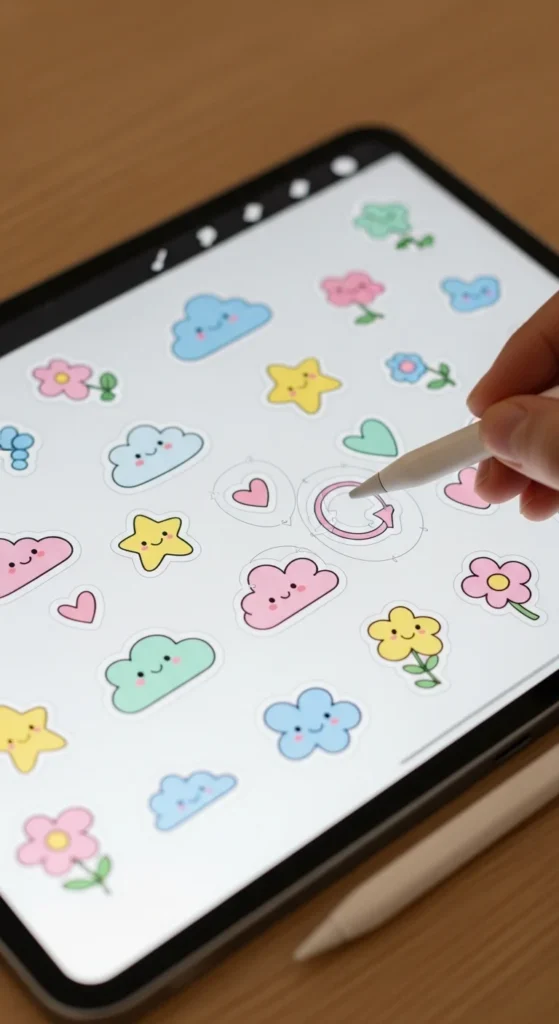
Step 2: Choose or Create Your Designs
Now for the fun part — the art! You can either download ready-made designs or create your own.
Design ideas that always look aesthetic:
- Soft pastel illustrations
- Minimalist line art
- Retro smiley faces
- Floral doodles
- Cute quotes in handwritten fonts
You can design stickers using apps like Procreate, Canva, or Adobe Illustrator.
Important settings for printing:
- Use 300 DPI resolution for sharp prints
- Keep a white border around each sticker (makes cutting easier)
- Arrange multiple stickers on one page to save paper
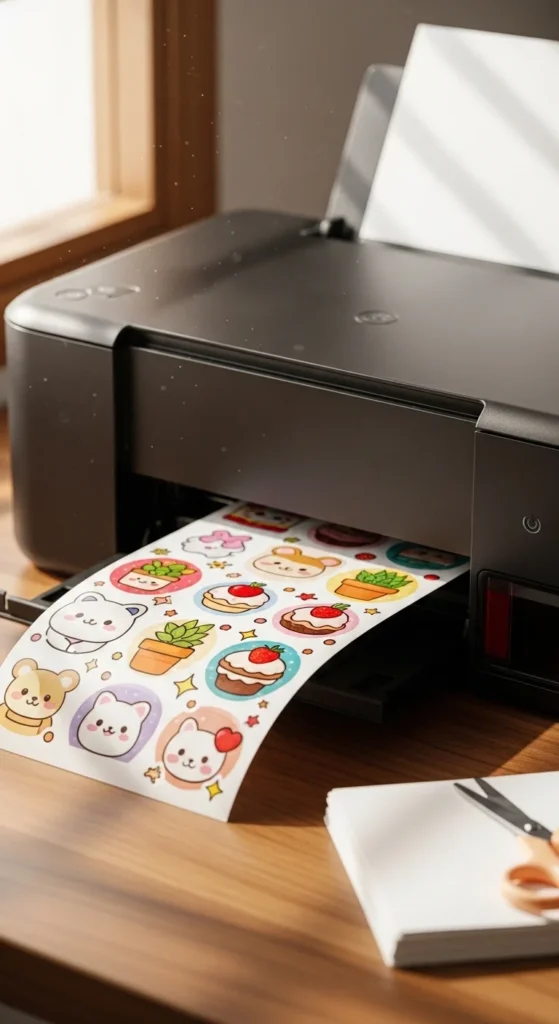
Step 3: Print Like a Pro
Printing settings can make or break your sticker quality.
Here’s how to get the best results:
- Load one sheet of sticker paper into your printer.
- Open your design file.
- Go to Print Settings and choose:
- Paper type: Photo Paper or Specialty Paper
- Quality: High or Best
- Print a test page on regular paper first to check alignment.
Let the printed sheet sit for 5–10 minutes so the ink fully dries. Touching it too soon can cause smudging — and nobody wants blurry stickers.
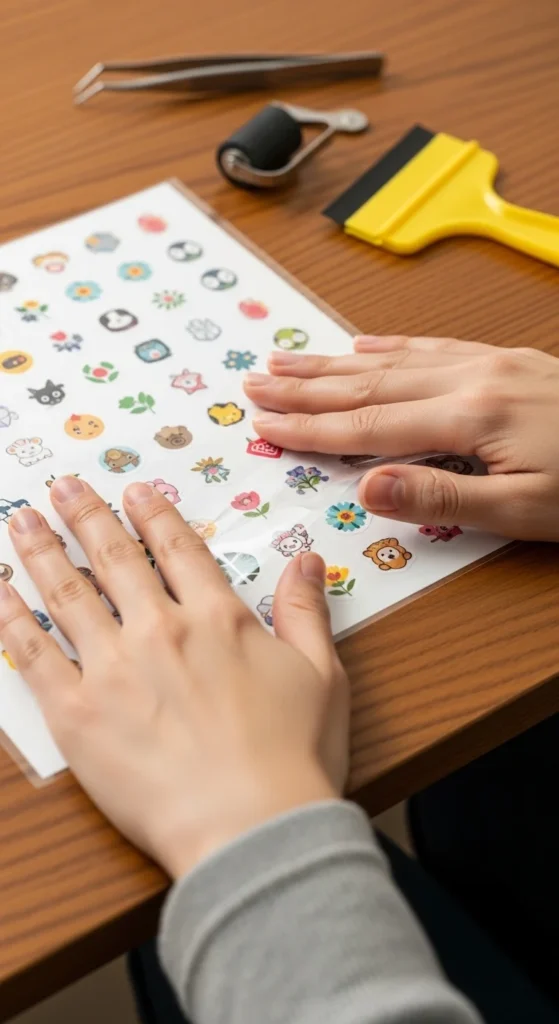
Step 4: Add Laminate (Optional but Recommended)
If you want your stickers to last longer and look extra polished, laminate them.
Why laminate?
- Protects from scratches
- Adds water resistance
- Makes colors pop
- Gives a professional finish
Carefully place a clear laminate sheet over your printed page. Smooth it out slowly to avoid bubbles. A credit card works great for pressing it down evenly.
Step 5: Cut Your Stickers
Now it’s time to turn that printed sheet into actual stickers!
Option 1: Hand Cutting
Perfect for beginners.
- Use sharp scissors for simple shapes
- Use a craft knife for detailed edges
- Leave a small white border for that classic sticker look
Option 2: Cutting Machine
If you have a Cricut or Silhouette Cameo:
- Upload your design
- Set cut lines
- Let the machine do the magic
This gives super clean, professional edges.
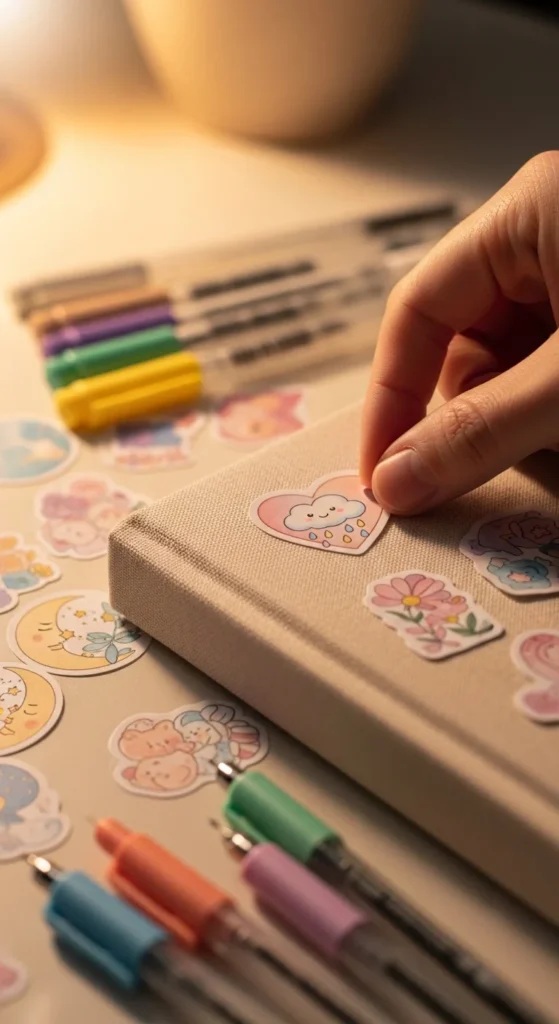
Step 6: Test and Enjoy
Before decorating everything you own, do a quick test.
Stick one on:
- A notebook
- A water bottle
- Your laptop case
Check if:
- Colors stay vibrant
- Edges don’t peel
- Laminate stays sealed
If everything looks good congrats! You just made your own aesthetic stickers 🎉
Extra Tips for Even Better Stickers
Want next-level results? Try these:
- Use soft, muted color palettes for a trendy aesthetic vibe
- Print multiple sizes of the same design
- Store unused stickers in a small binder or pouch
- Experiment with transparent sticker paper for a modern look
The more you experiment, the more your personal style will shine through.
Final Thoughts
Printing aesthetic stickers at home is easier than it sounds and honestly, kind of addictive. Once you start, you’ll want to make stickers for your planner, gifts, journals, and everything in between.
So grab your favorite designs, fire up your printer, and start creating ✂️💖
Save this guide for later and share it with your crafty friends!

Lily Summers is a digital artist and creative storyteller who loves bringing colorful characters to life. With a passion for cartoons, fan art, and playful sketches, she inspires others to explore their imagination through art. When she’s not sketching, you’ll find her dreaming up new ideas for CraftedWizard.com to spark creativity in every artist. 🌈✨