
Rustic wood signs instantly make a space feel warm and personal—whether it’s a cozy farmhouse kitchen or a modern entryway. The best part? You can create stylish, store-bought-quality signs right at home without spending a fortune.
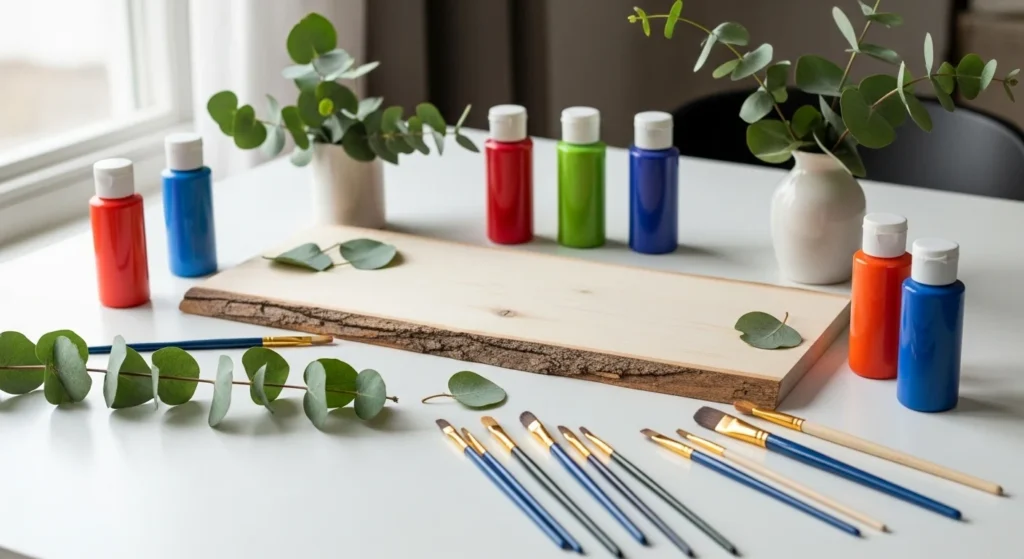
This guide walks you through everything—prepping the wood, painting clean lettering, adding rustic charm, and finishing for a professional look. Grab your brushes and let’s start crafting!
1.Choose the Right Wood and Prep It Properly
The secret to a flawless sign starts before the first coat of paint.
Best wood choices:
- Pine boards (affordable and easy to sand)
- Pallet wood (adds authentic rustic texture)
- Poplar or birch plywood (smooth surface for crisp lettering)
Prep steps:
- Sand the wood for a smooth surface—start with 120 grit, finish with 220 grit.
- Wipe away excess dust with a tack cloth.
- Apply a base coat of primer if you want cleaner, brighter designs.
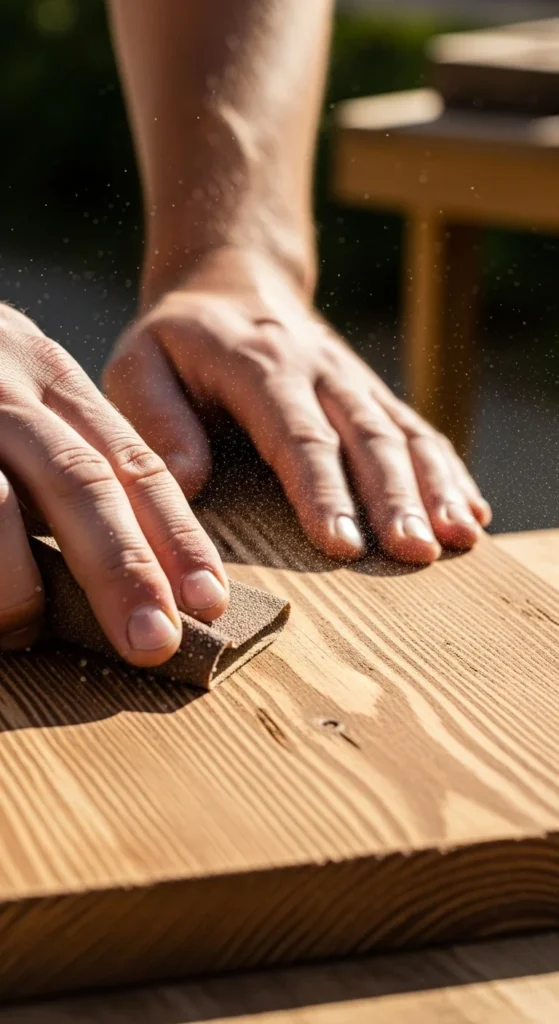
A well-prepped surface prevents peeling paint and gives your design longevity.
2.Pick a Design and Transfer It Like a Pro
Rustic doesn’t mean messy. Even hand-painted pieces can look perfectly polished with a solid design plan.
Popular sign ideas:
- Quotes: “Home Sweet Home” or “Fresh Coffee Daily”
- Seasonal décor: pumpkins, snowflakes, florals
- Personalized last names or coordinates
Easy ways to transfer your lettering:
- Print your design and use graphite paper to trace
- Rub pencil across the back of a printed stencil and trace the outlines
- Use masking tape to section off stripes and geometric shapes
Having clear guidelines keeps everything looking crisp and professional.
3.Painting Techniques That Look Store-Bought
This is where the magic happens—and where the right brushes matter.
For bold lettering:
- Use a flat or small round brush
- Paint slowly along the traced lines
- Apply two thin coats instead of one thick coat
For rustic, farmhouse-style backgrounds:
- Dry-brush technique: load paint, then wipe most off before brushing lightly
- Distressed edges: sand corners after the paint dries
- Layer neutrals like white, cream, gray, or charcoal
Add pops of detail:
- Leaves, small florals, arrows, or stars
- Thin-line accents for dimension
Take your time. This step is what elevates your sign from DIY to boutique.
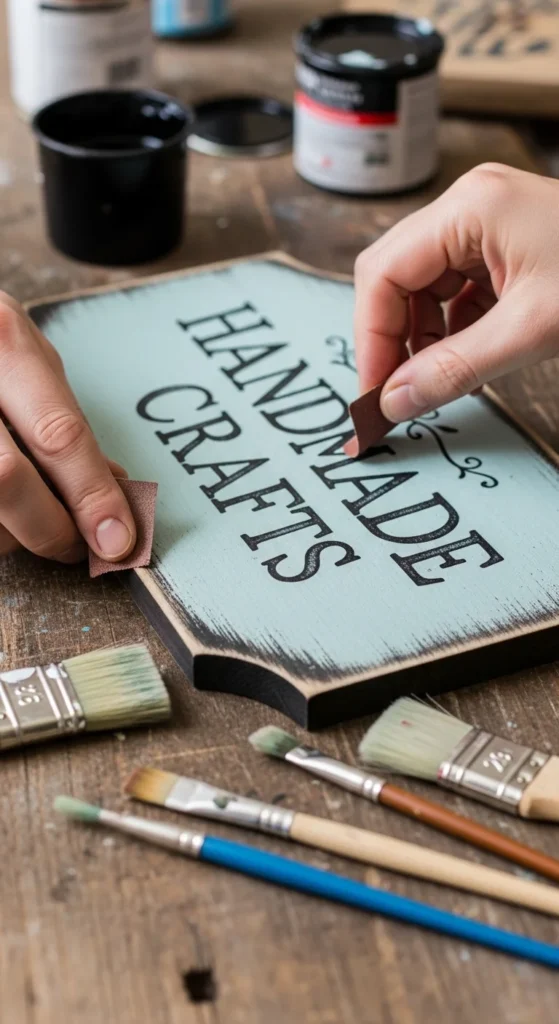
4. Give Your Sign a Rustic, Aged Finish
You know that charming, vintage vibe in store-bought pieces? It’s easier than you think.
Try these techniques:
- Stain first, paint second, then gently sand edges for a worn look.
- Use brown antiquing wax to soften bright colors and create depth.
- Press a crumpled plastic bag into tacky paint for subtle texture.
Optional extras for farmhouse flair:
- Add faux nail holes using a detail brush
- Lightly streak boards with gray paint for a weathered appearance
Rustic doesn’t mean sloppy—it’s controlled imperfection.
5. Protect Your Hard Work With the Right Seal
A protective finish keeps your artwork looking fresh, especially if it hangs outdoors.
Top coat options:
- Matte clear coat for a natural, farmhouse finish
- Polycrylic for indoor signs with darker colors (won’t yellow)
- Exterior polyurethane for weather-proofing outdoor décor
Spray sealers are quick and prevent brush strokes.
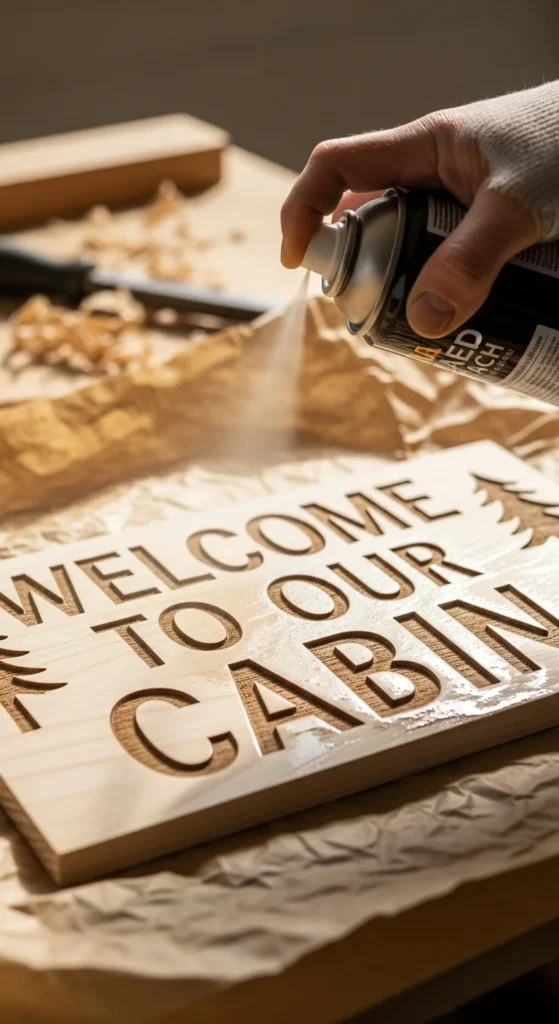
Let the piece dry completely before handling or hanging.
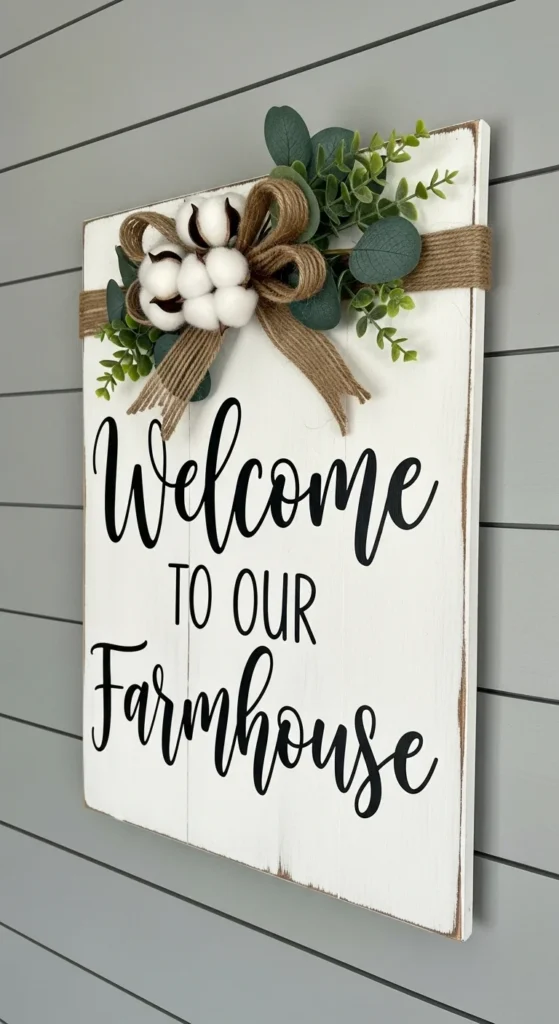
Display and Style Your Finished Rustic Sign
You did it—now show it off! Rustic signs are super versatile in home décor.
Fun display ideas:
- Layer multiple signs on floating shelves
- Hang near a coffee bar or entryway table
- Create a seasonal sign you can rotate each holiday
- Lean smaller signs against books or cutting boards
If you want to go the extra mile, add:
- Jute rope for hanging
- Metal hardware for a polished look
- Greenery or bows for seasonal charm
Ready to Create Your Own Rustic Art?
Hand-painted wood signs are such a rewarding DIY—affordable, stylish, and personal. Once you nail the basic techniques, you can make endless designs for gifts, holidays, farm-style kitchen corners… anything you dream up.
Pin this guide for later and start your first sign this weekend! Happy crafting! 🎨✨

Lily Summers is a digital artist and creative storyteller who loves bringing colorful characters to life. With a passion for cartoons, fan art, and playful sketches, she inspires others to explore their imagination through art. When she’s not sketching, you’ll find her dreaming up new ideas for CraftedWizard.com to spark creativity in every artist. 🌈✨


