
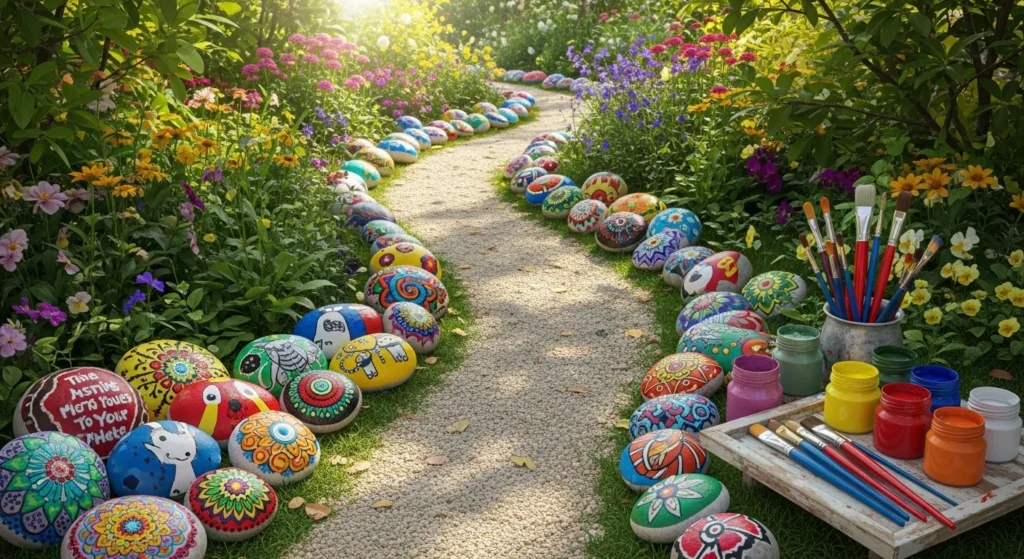
Painting rocks might sound simple, but it’s one of the most satisfying DIY crafts you can do. From brightening your garden paths to creating whimsical décor for your living room, painted rocks bring color, personality, and charm wherever they go. The best part? You don’t need fancy tools or artistic experience—just a few supplies and a little creativity.
Gather Your Materials
Before you start painting, it’s important to have everything ready. A well-prepared workspace ensures smooth crafting and beautiful results.
You’ll need:
- Smooth, flat rocks (cleaned and dried)
- Acrylic paints in various colors
- Paintbrushes of different sizes (fine tips for details, larger brushes for base layers)
- Paint pens or markers for intricate designs
- Pencil for sketching outlines (optional)
- Sealant spray to protect your finished designs
Tips:
- Choose rocks with flat surfaces for easier painting.
- Acrylic paints work best because they’re vibrant and durable.
- Seal finished rocks to prevent fading outdoors.

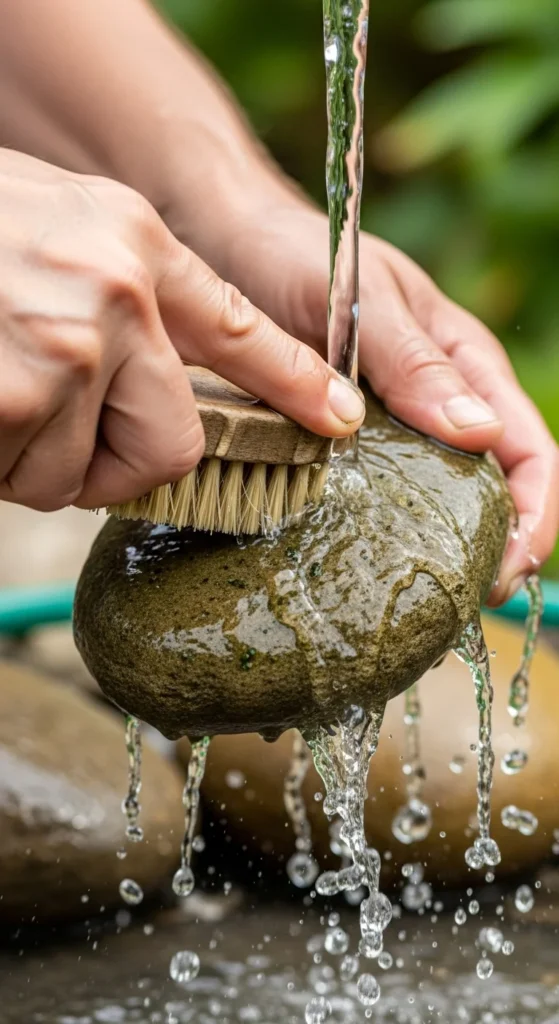
Step 1: Clean and Prep Your Rocks
Clean rocks are the perfect canvas for your designs.
- Wash rocks with soap and water to remove dirt and debris.
- Dry thoroughly before painting to ensure paint adheres properly.
- Optional: Lightly sand rough surfaces for a smoother finish.
Pro Tip: White acrylic paint can be used as a base coat to make colors pop, especially on darker rocks.
Step 2: Sketch Your Design
Planning your design first makes painting easier and more precise.
- Use a pencil to lightly sketch patterns, shapes, or words on the rock.
- Popular designs include flowers, animals, geometric patterns, and inspirational quotes.
- Keep designs simple if you’re a beginner—bold, bright shapes stand out beautifully.
Tip: Use stencils for repeated patterns or intricate designs to save time.

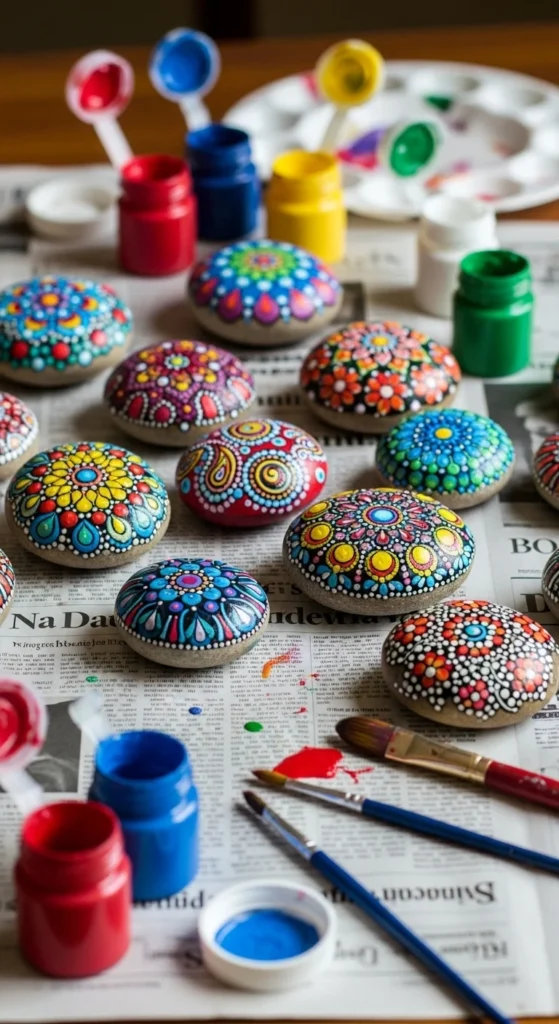
Step 3: Paint Your Rocks
Now it’s time to bring your rocks to life with color!
- Apply a base coat if needed, letting it dry completely.
- Use small brushes or paint pens for detailed designs.
- Layer colors as needed, letting each layer dry to prevent smudging.
- Experiment with patterns like dots, stripes, or mandalas for creative flair.
Tips for Beautiful Results:
- Work in thin layers for smooth, even coverage.
- Mix colors to create gradients or unique shades.
- For fine details, a toothpick or the tip of a brush can be handy.
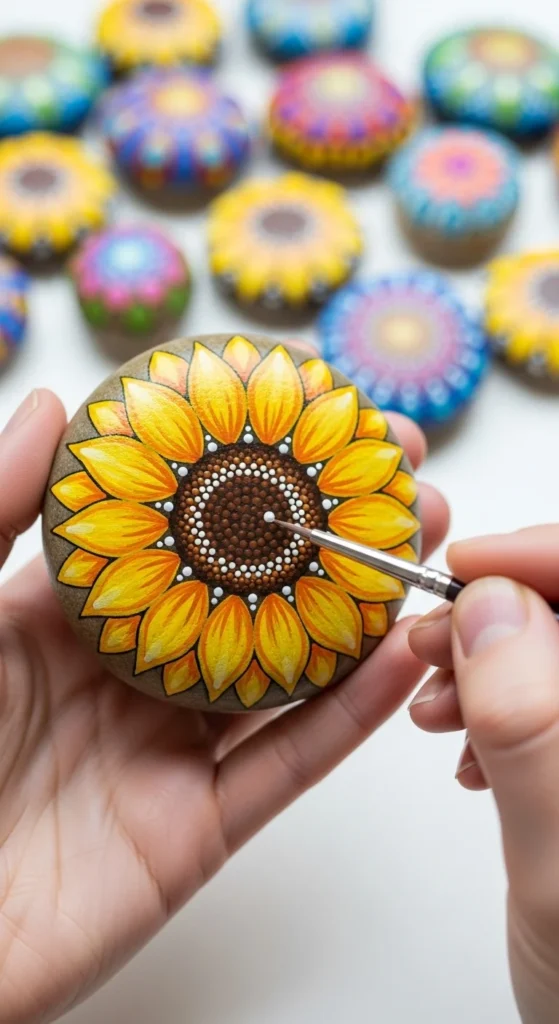
Step 4: Add Details and Highlights
Small details make your painted rocks stand out.
- Outline shapes with black or white paint for contrast.
- Add highlights, dots, or tiny stars for extra sparkle.
- Use metallic or glitter paints for a whimsical touch.
Pro Tip: Keep a damp cloth nearby to correct small mistakes before the paint dries.
Step 5: Seal and Protect Your Rocks
To keep your artwork looking fresh outdoors or indoors, sealing is essential.
- Spray a thin, even layer of clear acrylic sealant over each rock.
- Let it dry completely before handling.
- Seal both sides for outdoor rocks to protect against rain and sun.
Tip: Reapply sealant every few months for long-lasting vibrancy in garden rocks.

Painting rocks is a fun, creative way to add personality to your garden or home décor. With just a few supplies and some imagination, you can transform ordinary stones into colorful, charming works of art.
Save this guide and start painting your own rocks today—your garden paths and living spaces will thank you!

Lily Summers is a digital artist and creative storyteller who loves bringing colorful characters to life. With a passion for cartoons, fan art, and playful sketches, she inspires others to explore their imagination through art. When she’s not sketching, you’ll find her dreaming up new ideas for CraftedWizard.com to spark creativity in every artist. 🌈✨


