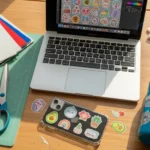
You know that feeling when you put a cute sticker on your water bottle… and a week later it’s scratched, peeling, or bubbling at the edges? Painful. The good news: you can make waterproof, aesthetic stickers at home that look professional and actually survive daily use—dishwashing splashes, condensation, backpack friction, all of it.
This guide walks you through the simplest setup, the best materials, and the small details that make your stickers last.
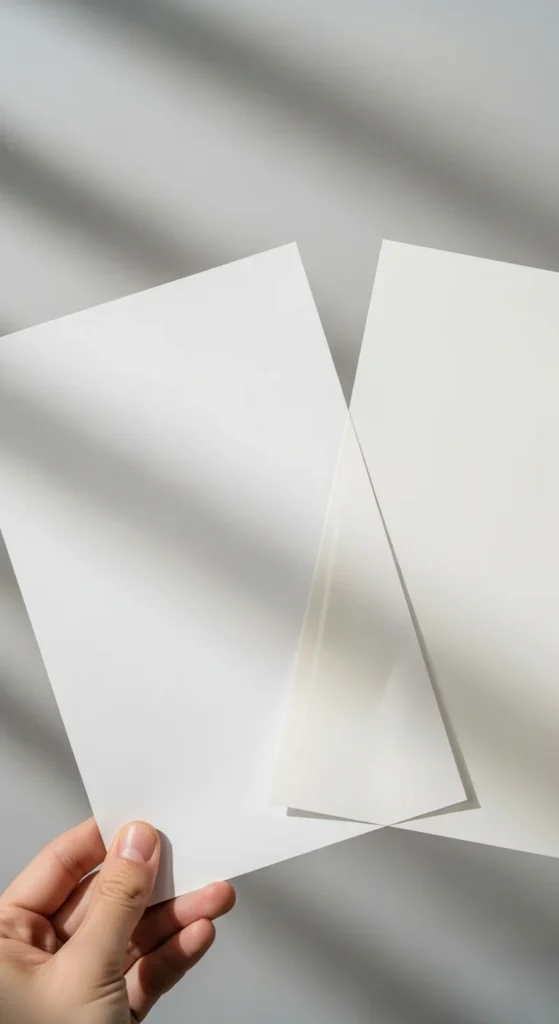
Choose the Right Sticker “Base” (This Matters Most)
If you want waterproof stickers, start with the right printable material. Regular printer paper + clear tape won’t hold up long-term.
Here are your best options:
- Printable vinyl sticker paper (best all-around)
- Great for water bottles, laptops, phone cases
- Comes in matte or glossy finishes
- Printable waterproof vinyl (premium option)
- Usually thicker and more durable
- Sticker paper + laminate (budget-friendly)
- Works well if laminated properly, but not as strong as vinyl
Quick rule:
- If you want cute and durable, use printable vinyl + laminate.
- If you want max durability, use waterproof vinyl + laminate.
Pick Your Printer Settings for Crisp, Long-Lasting Color
Your designs can be perfect, but if you print with weak settings, stickers fade faster and look dull.
Do this instead:
- Set paper type to “Glossy Photo Paper” (even if you’re using vinyl)
- Select High Quality or Best Quality print mode
- Use borderless printing only if your sheet supports it
- Let the ink dry at least 15–30 minutes before touching the surface
Extra tip:
If you have an inkjet printer, waterproofing is even more important because ink can smudge without sealing.
Seal the Sticker to Make It Waterproof
This is the step that turns “pretty sticker” into “waterproof sticker that survives life.”
You have two popular sealing options:
Option A: Self-Adhesive Laminate Sheets (Easy + Strong)
These are clear sheets you apply on top of your printed sticker sheet.
Why people love them:
- No extra machines
- Smooth finish
- Great durability
Option B: Thermal Lamination (Extra Durable)
If you own a laminator, this can be very strong—but you must use the right type of laminate and test it first (some vinyl sheets don’t like heat).
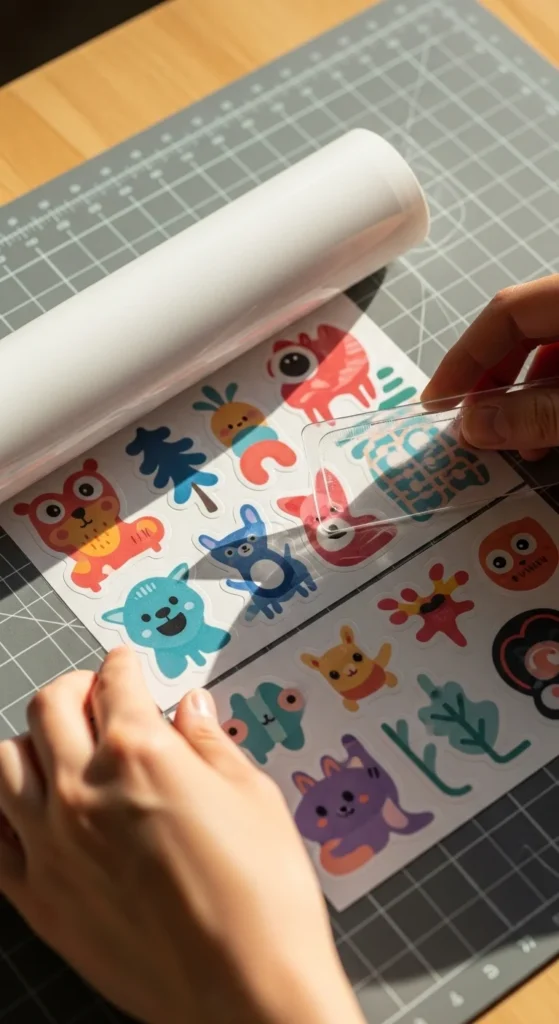
How to apply laminate without bubbles:
- Lay the sticker sheet flat on a clean surface
- Peel back just 1 inch of laminate backing
- Stick that edge down first
- Slowly pull the backing while smoothing forward with a card
- Press firmly around edges and corners
Bubble fix:
- Tiny bubbles can be popped with a pin and flattened gently.
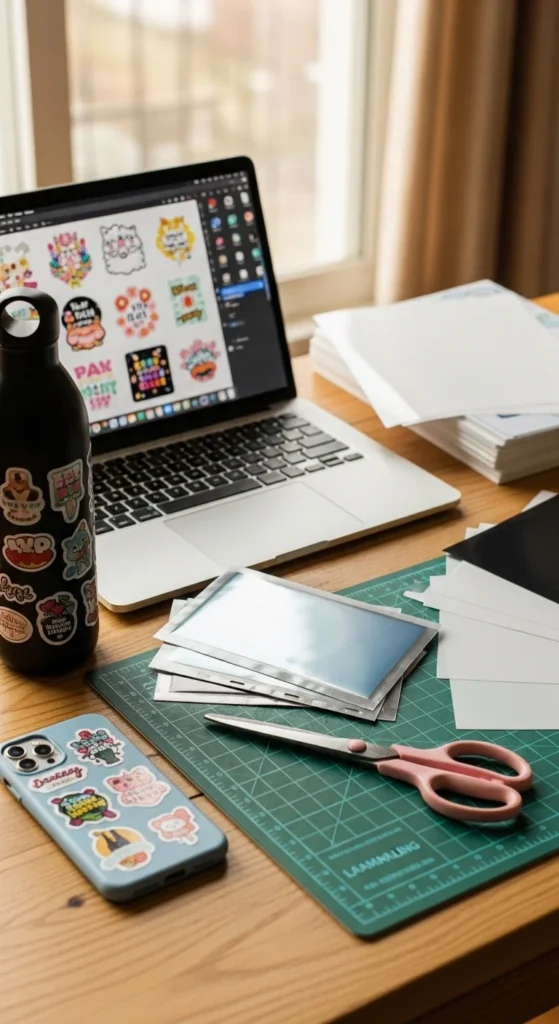
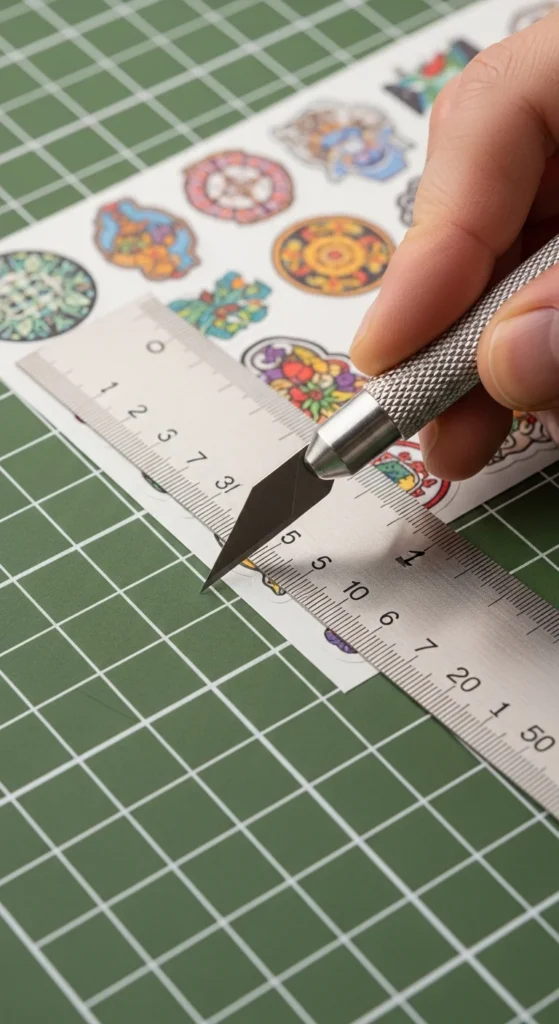
Cut Your Stickers Cleanly (Without Ragged Edges)
Cutting is where DIY stickers often look… DIY. Clean edges make them look store-bought.
You can cut stickers using:
- Scissors (slow but simple)
- Craft knife + metal ruler (sharp, clean lines)
- Cutting machine (Cricut/Silhouette style) for perfect shapes
For the cleanest look:
- Use a fresh blade if using a craft knife
- Cut on a mat so your edges stay smooth
- Leave a consistent white border (or no border, but keep it consistent)
Make Them Truly Water-Resistant: Edge Sealing + Cure Time
A lot of stickers fail because water sneaks in from the edges. This is the secret step that increases lifespan.
Do this:
- After cutting, press the edges down firmly
- Let stickers cure for 24 hours before using them on bottles
- If you want extra protection, add a thin edge seal using:
- Clear outdoor Mod Podge (very light coat), or
- A thin clear acrylic sealant spray (quick, strong)
Important note:
If you spray sealant, do it in a well-ventilated area and test first on one sticker. Some finishes slightly change color or shine.
Common mistakes to avoid:
- Applying laminate before ink dries
- Skipping edge pressure
- Using cheap tape as “laminate” for long-term use
- Putting stickers on a damp surface
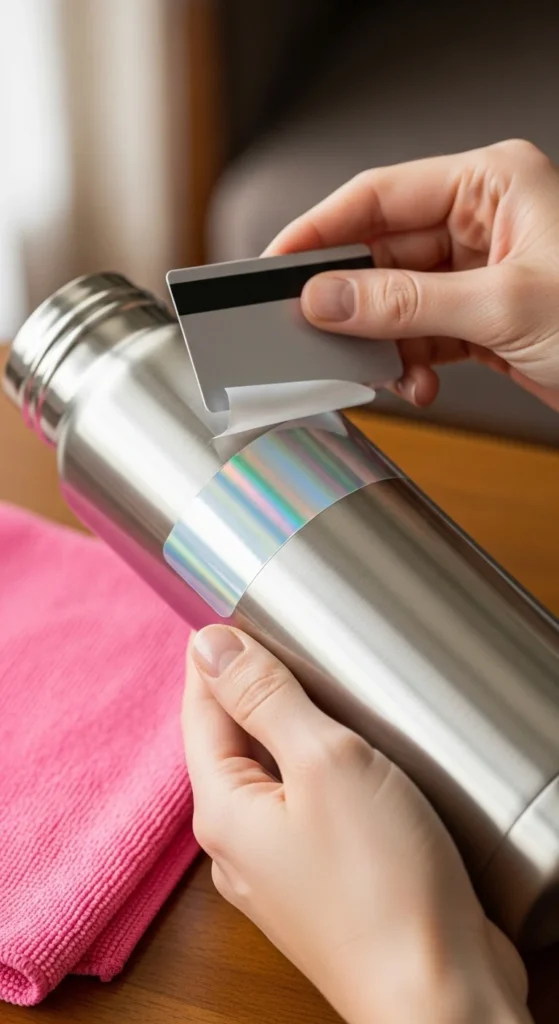
Apply Stickers Like a Pro (So They Don’t Peel)
Even perfect stickers can peel if applied badly.
For best results:
- Clean the surface with rubbing alcohol
- Dry fully
- Avoid touching the sticky side
- Press from the center outward
- Rub firmly for 20–30 seconds
Best surfaces:
- Smooth metal bottles
- Plastic phone cases (smooth, not rubbery)
- Laptops
- Notebooks with coated covers
Avoid:
- Powdery or textured surfaces
- Silicone or very rubbery cases
- Surfaces that constantly flex
Quick Durability Test (So You Know They’ll Last)
Before making a full batch, test one sticker.
Try this mini test:
- Stick one on a bottle or jar
- Wait 24 hours
- Splash water on it and wipe
- Rub the edge with your thumb
- Check if the laminate lifts or corners curl
If corners curl:
- Press laminate edges harder next time
- Cut with smoother curves (sharp corners lift first)
- Consider thicker laminate sheets
Final Thoughts: Make a Sticker “Recipe” You Can Repeat
Once you get your perfect combo (vinyl + print settings + laminate), you can repeat it every time and your stickers will look consistent.
Your simple formula:
- Printable vinyl + high-quality print settings
- Self-adhesive laminate sheet
- Clean cut + 24-hour cure
- Alcohol-cleaned surface for application
If you want, I can also give you:
- a “beginner budget supply list,”
- a “best settings checklist” for your exact printer, or
- a mini workflow for selling sticker packs on Pinterest/Etsy.
Save this guide for later and make your next sticker batch the one that actually lasts.

Lily Summers is a digital artist and creative storyteller who loves bringing colorful characters to life. With a passion for cartoons, fan art, and playful sketches, she inspires others to explore their imagination through art. When she’s not sketching, you’ll find her dreaming up new ideas for CraftedWizard.com to spark creativity in every artist. 🌈✨