Removable wall stickers are the cheat code for a “new room” feeling without paint, without nails, and without committing to a look you might hate in two months. They’re perfect for renters, kids’ rooms, dorms, or anyone who loves switching aesthetics with the seasons.
And yes… you can make them at home. The trick is choosing the right material, sealing it properly, and testing your wall first so it peels off clean.
Choose the Right Sticker Style (So It Looks Intentional)
Before you print anything, decide the vibe. This makes your sticker set look “designed,” not random.
Easy room-friendly sticker themes
- Minimal abstract shapes (arches, blobs, lines)
- Cute icons (stars, moons, hearts, clouds)
- Botanical leaves (monstera, vines, small branches)
- Kids room sets (animals, cars, rainbows)
- Gallery-style quotes on paper (but keep photos text-free if you’re making Pinterest images)
Pro tip: Pick one style + 2–3 colors and repeat them. Matching is what makes stickers look expensive.
Materials You’ll Need (Simple DIY Options)
There are a few ways to make removable stickers, depending on what tools you have. Here are the most beginner-friendly options.
Option A: Printable vinyl sticker paper (cleanest result)
Best if you have an inkjet printer.
- Printable vinyl sticker paper (removable if possible)
- Printer (inkjet is most common)
- Clear laminate sheet (optional, for durability)
Option B: Contact paper + printed designs (budget-friendly)
Great if you don’t have sticker paper.
- Clear or matte contact paper
- Printed designs on regular paper
- Double-sided tape or light spray adhesive (optional)
Option C: Painter’s tape + paper method (true removable, very renter-safe)
Perfect for delicate paint walls.
- Painter’s tape
- Printed designs
- Scissors + craft knife
- Glue stick
Design Your Stickers (Keep It Simple and Cute)
You don’t need complex art. In fact, simple shapes look best on walls.
Design rules that make stickers look good
- Use bold silhouettes (no tiny details that tear)
- Keep edges clean and smooth
- Make multiple sizes of the same shape (small/medium/large)
- Avoid super thin lines unless using quality vinyl
Easy size guide
- Small fillers: 2–4 inches
- Main pieces: 6–12 inches
- Statement sticker: 14–20 inches (one only)
If you’re printing at home, do a small test print first to check color.
Print + Protect (So They Don’t Smudge or Scratch)
If your stickers will go in high-touch areas (kids’ rooms, hallways), add protection.
For printable vinyl
- Print with “best quality” settings.
- Let ink dry fully (at least 15–30 minutes).
- Add a clear laminate sheet on top for durability.
For paper-based stickers (contact paper method)
- Print designs on paper.
- Cover the front with clear contact paper before cutting.
- This makes them wipeable and more “sticker-like.”
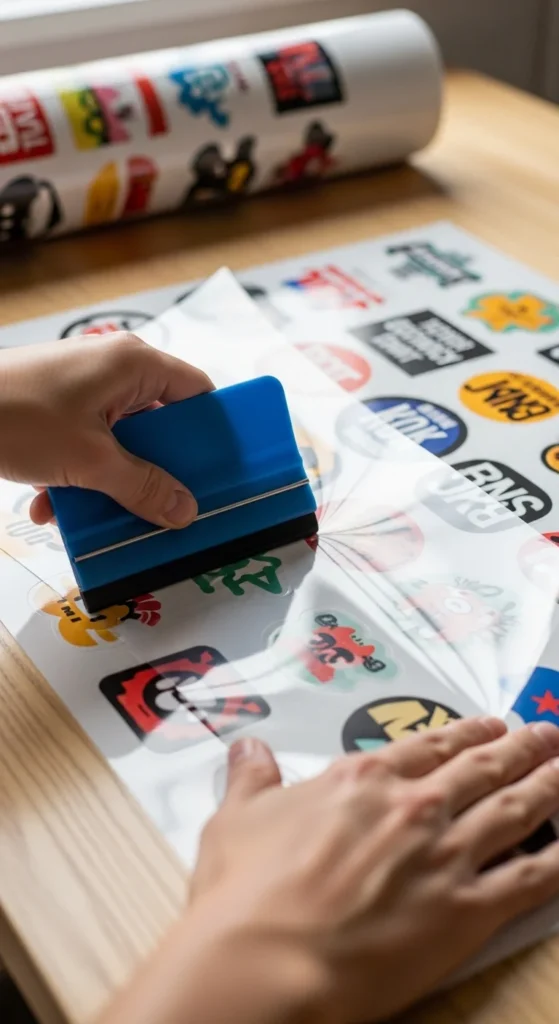
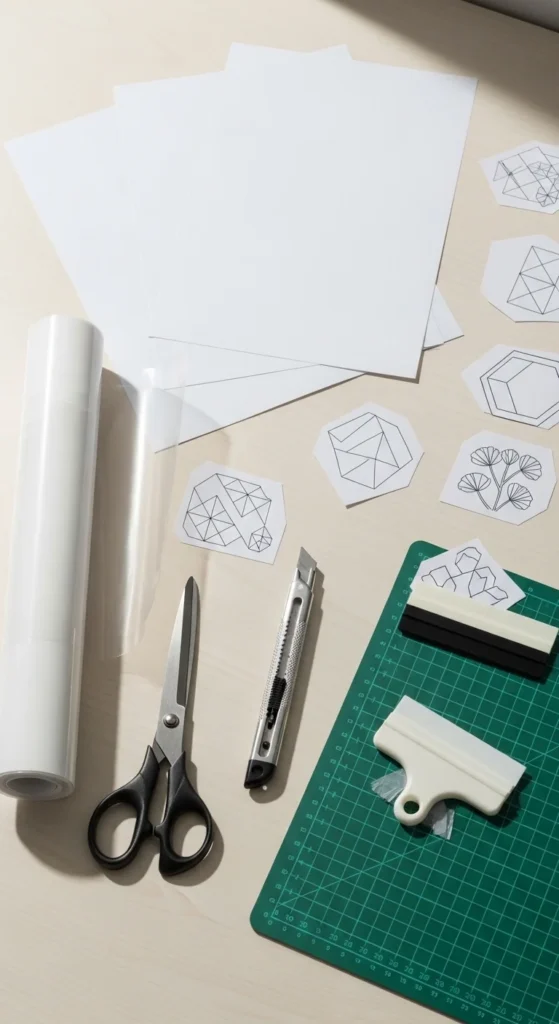
Cut Your Stickers Neatly (This Makes Them Look Pro)
Cutting is where DIY projects usually start looking “homemade.” But a few tricks fix that.
Clean cutting tips
- Use sharp scissors for big shapes.
- Use a craft knife for curves and details.
- Cut slowly and rotate the paper, not your hand.
- Leave a tiny border if your designs are complex (it hides small wobbles).
If you’re making a sticker set
- Keep 10–20 pieces in one theme.
- Add 3–5 “filler” pieces (tiny stars/dots/leaves).
Make Them Truly Removable (The Wall-Safe Method)
This is the most important part. Not all walls are the same. Some paint peels easily, especially if it’s older or matte.
Step 1: Do a wall test first
- Apply one small sticker behind furniture or near a corner.
- Leave it for 24 hours.
- Peel slowly.
Step 2: Use “gentle” adhesive choices
Best for removability
- Removable vinyl sticker paper
- Low-tack contact paper
- Painter’s tape backing (super renter-safe)
Painter’s tape backing method (easy + safe)
- Put painter’s tape strips on the back of your sticker (overlapping slightly).
- Trim edges so the tape matches the sticker shape.
- Apply to the wall and press lightly.
This reduces the risk of peeling paint.

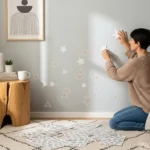
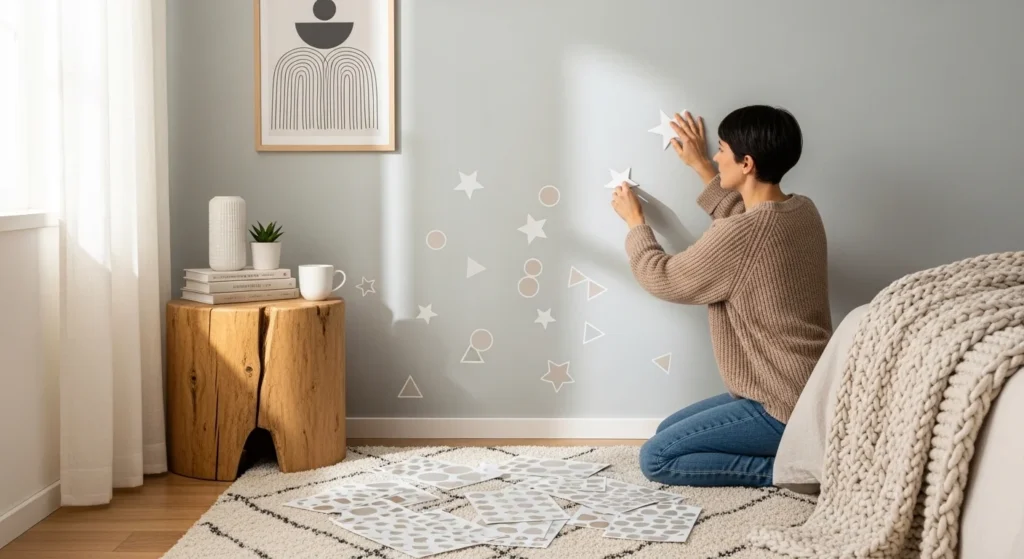
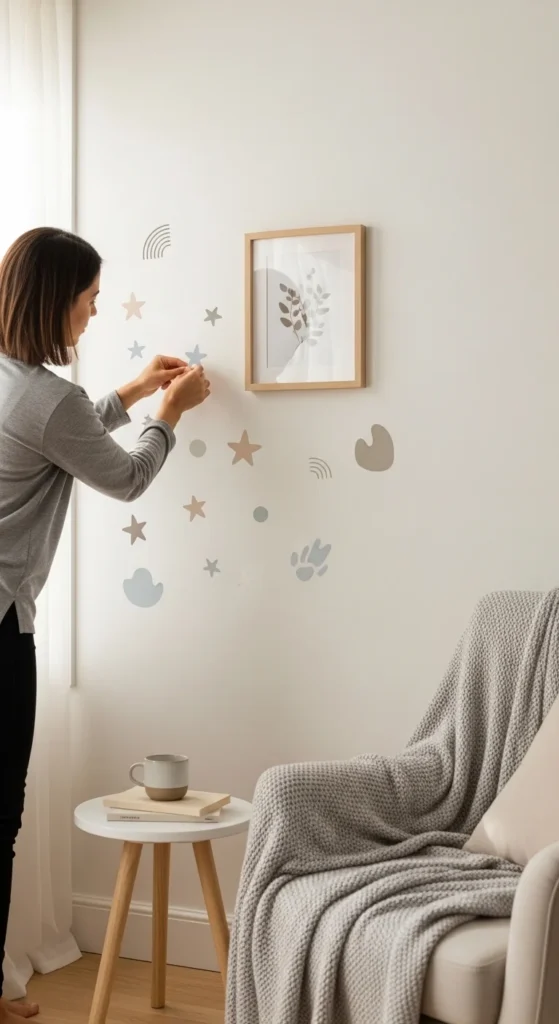
Apply Stickers Like a Designer (So the Wall Looks Styled)
Random placement can look messy. A little layout planning makes it look intentional.
Easy layout ideas
- Cluster layout: one main sticker with smaller ones around it
- Floating scatter: evenly spaced shapes across a section of wall
- Corner framing: stickers rising from one corner upward
- Headboard accent: a subtle arch or botanical set behind a bed
Spacing trick
- Step back every 2–3 stickers.
- Keep equal “breathing space” between pieces.
- Use a light pencil dot guide if you want symmetry (erase later).
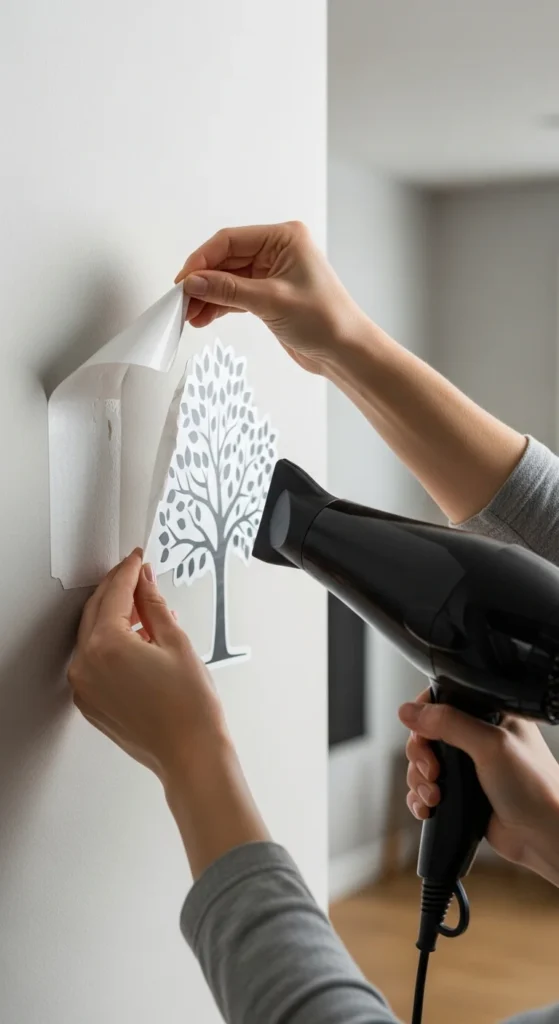
Removal Tips (So You Don’t Damage Paint)
When it’s time to remove, do it gently.
Best removal method
- Warm the sticker slightly with a hairdryer (low heat).
- Peel slowly at a 45-degree angle.
- If it resists, warm again and keep going slowly.
If residue remains
- Use a damp cloth with mild soap.
- Avoid harsh chemicals on painted walls.
Final Takeaway
Removable wall stickers are one of the easiest ways to transform a room fast especially if you’re renting or love changing styles. Start with simple shapes, use removable materials, test your wall first, and apply them with a layout in mind.

Lily Summers is a digital artist and creative storyteller who loves bringing colorful characters to life. With a passion for cartoons, fan art, and playful sketches, she inspires others to explore their imagination through art. When she’s not sketching, you’ll find her dreaming up new ideas for CraftedWizard.com to spark creativity in every artist. 🌈✨