If you’ve ever bought a sticker pack from a small creator and thought, “How do these look so clean?”, the secret is usually vinyl + a polished workflow. Vinyl stickers have that smooth, shop-quality feel. Colors pop. Lines look sharper. And when you add the right finish, your stickers stop looking like a craft experiment and start looking like a real product.
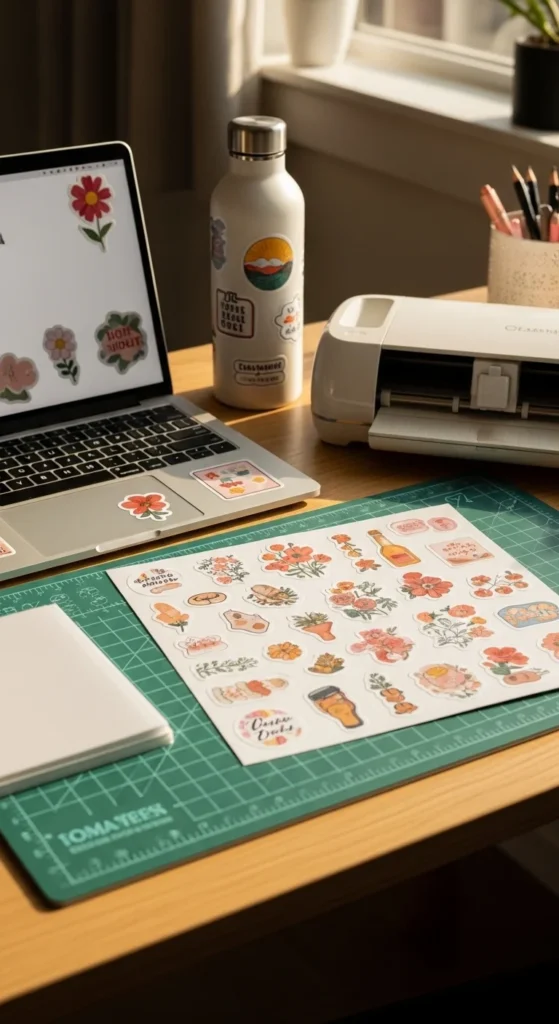
Below is a simple, repeatable process you can use for personal sticker packs, gifts, or even products you plan to sell.
Choose Vinyl Materials That Look and Feel Premium
A professional look starts with materials that print smoothly and cut cleanly. Regular sticker paper can work, but vinyl is what gives that “store-bought” finish.
Best vinyl choices for aesthetic stickers:
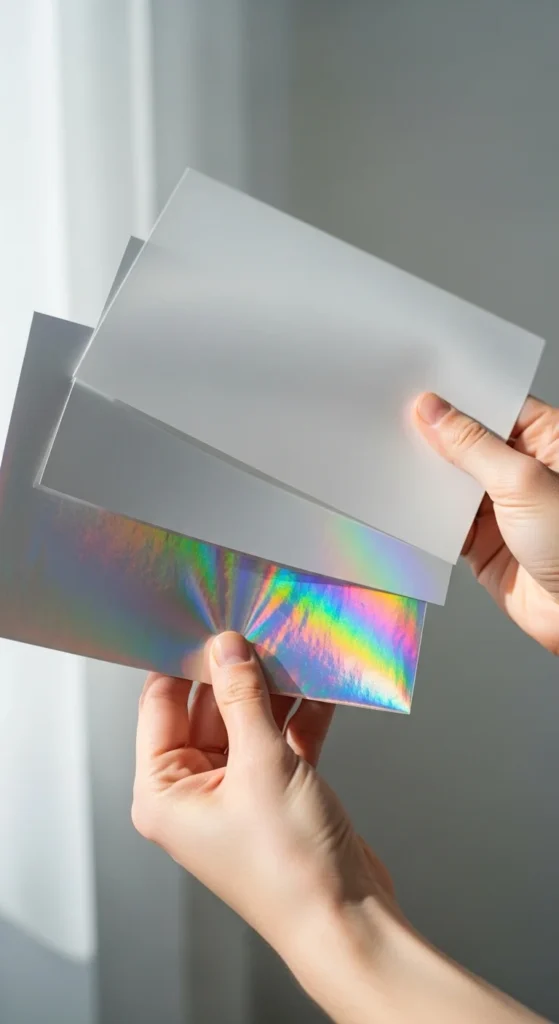
- Printable vinyl (matte): soft, modern, great for minimal palettes and pastels
- Printable vinyl (glossy): vibrant, shiny, very “sticker shop”
- Specialty printable vinyl (holo/iridescent): trendy accent option for select designs
Quick pick guide:
- Want cozy, muted vibes? Go matte.
- Want bold color and shine? Go glossy.
- Want a limited “special drop” feel? Use holo for a few hero stickers.
Try to keep one sticker sheet to one finish (all matte or all glossy). That consistency makes the whole pack feel intentional.
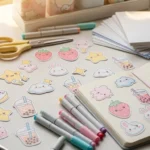
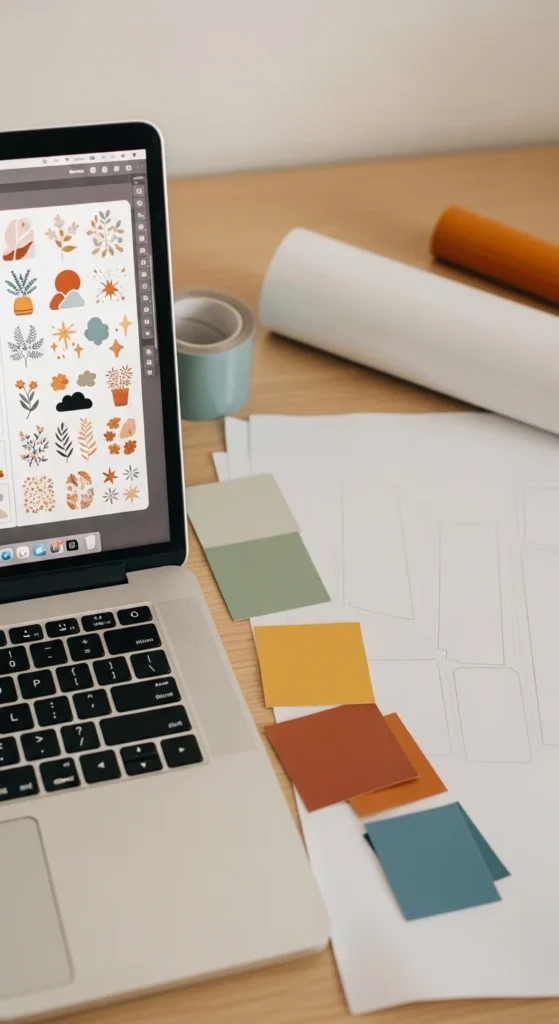
Design for Clean Cuts and a Cohesive Aesthetic
Vinyl prints details really well, which is amazing… and also unforgiving. A few small design choices will instantly make your stickers look more professional.
Design habits that look polished:
- Use a consistent outline/border around each sticker (white border is classic)
- Keep very thin lines slightly thicker than you think (they print cleaner)
- Stick to a tight color palette (2–6 main colors)
- If you use text, choose bold, readable fonts and avoid super-thin scripts
Layout tips for sticker sheets:
- Keep spacing even between stickers
- Align elements to a simple grid (your eye notices messy spacing fast)
- Make “sets” by repeating the same outline thickness and shading style
If you want the “professional pack” vibe, aim for designs that feel like they belong together—same mood, same finish, same visual rules.
Print Settings + Laminate for a Smooth, Shop-Quality Finish
Printing is where sticker quality can jump up fast with the right settings. Do one test print before you commit to a full sheet.
Before printing:
- Export at 300 DPI
- Use PNG for transparent backgrounds (or high-quality PDF if needed)
- Print a small corner test to check color and sharpness
Recommended printer settings:
- Quality: High / Best
- Paper type: Glossy Photo Paper (often prints richer, even on matte vinyl)
- Turn off draft/eco modes
- Let ink dry 20–30 minutes before touching (especially inkjet)
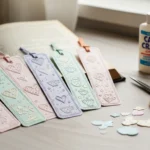
Now the finish: if you want that clean, professional surface, add laminate.
Laminate options:
- Self-adhesive laminate sheets (easiest and looks great)
- Thermal laminate (works if your vinyl handles heat—test first)
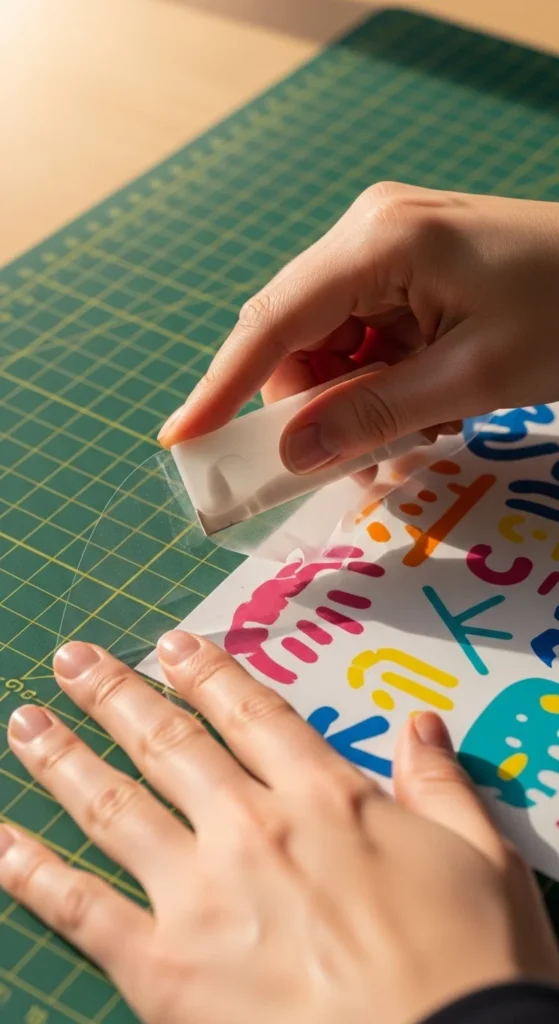
To apply self-adhesive laminate neatly:
- Stick one edge first
- Slowly peel backing while smoothing forward with a card
- Press corners firmly so they don’t lift later
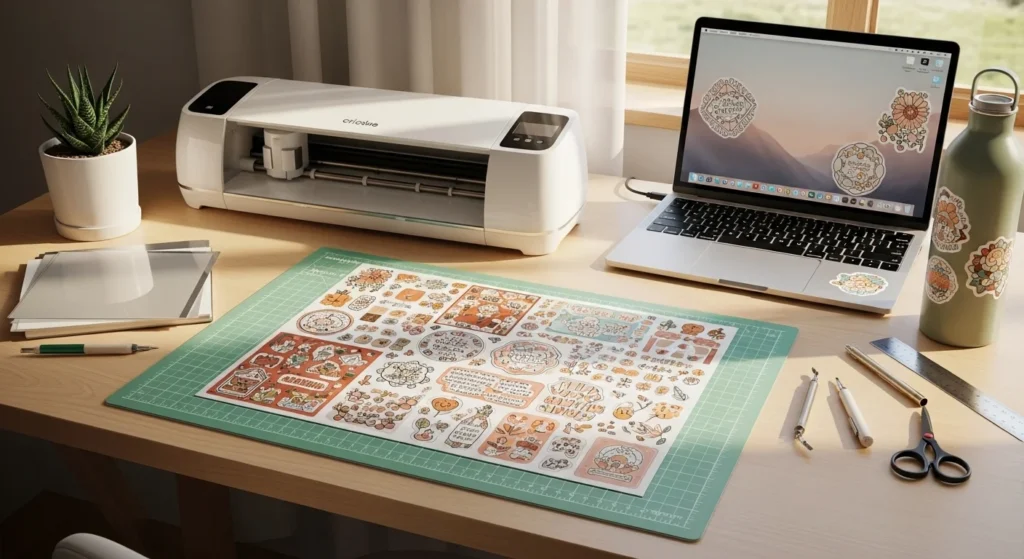
Cut Cleanly and Finish Like a Sticker Shop
Cutting is where stickers either look “pro” or instantly look homemade. Clean edges + consistent borders make a huge difference.
If you use a cutting machine:
- Select the right material setting (vinyl sticker paper varies by brand)
- Do a small test cut
- Use a clean mat so the sheet doesn’t shift mid-cut
If you cut by hand:
- Use a craft knife + metal ruler for straight cuts
- Use sharp scissors for curves
- Keep borders consistent
- Round corners when possible (they peel less than sharp corners)
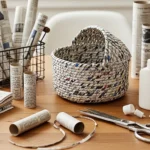
Finishing touches that make stickers feel like a product:
- Wipe the surface gently to remove dust
- Stack by theme (same palette + same finish)
- Package in a simple clear sleeve or envelope for a clean presentation
Even if you’re not selling, packaging your set makes it feel special and gift-ready.

Final Takeaway
For a professional look, vinyl stickers come down to a repeatable formula:
- Good vinyl (matte or glossy)
- High-quality printing
- Laminate for a smooth, durable finish
- Clean cuts and consistent borders
Once you lock in your workflow, every sticker sheet will look more consistent and more “store-ready.”
Save this guide for later—and if you tell me whether you’re using inkjet or laser, plus whether you’re cutting by hand or machine, I can tailor the best settings and materials for your setup.

Lily Summers is a digital artist and creative storyteller who loves bringing colorful characters to life. With a passion for cartoons, fan art, and playful sketches, she inspires others to explore their imagination through art. When she’s not sketching, you’ll find her dreaming up new ideas for CraftedWizard.com to spark creativity in every artist. 🌈✨