
There’s something magical about lighting a candle that fills your home with warmth, glow, and a calming scent. But here’s the best part you don’t have to spend a fortune on luxury candles when you can make your own right at home. Creating scented candles is easier than it looks, incredibly fun, and lets you customize every detail from fragrance and color to container style.
Ready to make your home smell divine and your décor shine? Let’s dive into how to make scented candles at home like a pro.
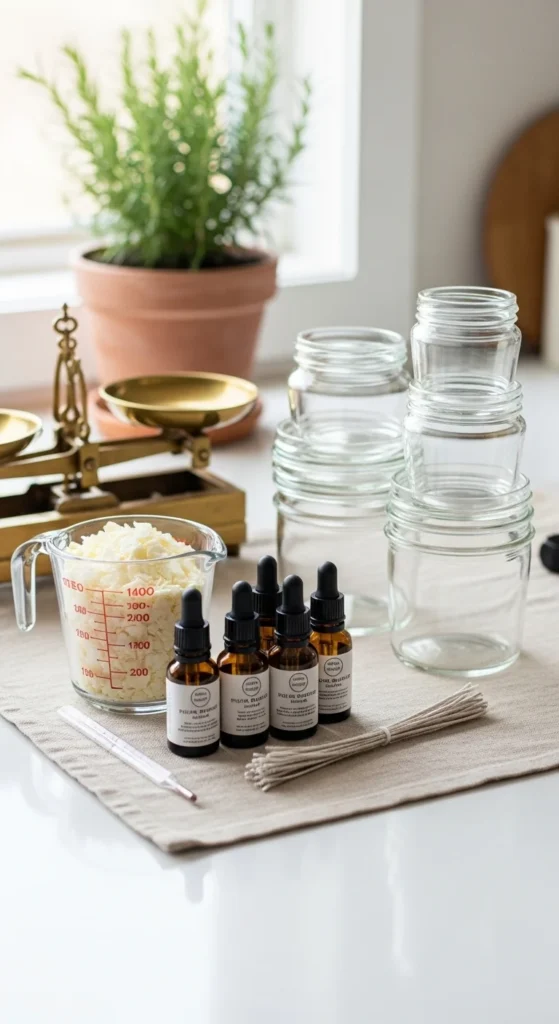
Step 1: Gather Your Candle-Making Supplies
Before you start, get all your materials together. The setup might look like a mini DIY lab but it’s totally beginner-friendly.
Here’s what you’ll need:
- Wax: Soy wax is the most beginner-friendly and eco-conscious option.
- Wicks: Choose cotton or wood wicks depending on your style preference.
- Fragrance oils: Pick your favorite scents lavender, vanilla, citrus, or sandalwood are great starters.
- Containers: Mason jars, ceramic bowls, or recycled glass jars work perfectly.
- Double boiler: To melt the wax evenly.
- Thermometer and stirrer: For precise heating and mixing.
Pro tip: Make sure your containers are heat-safe and clean before starting.
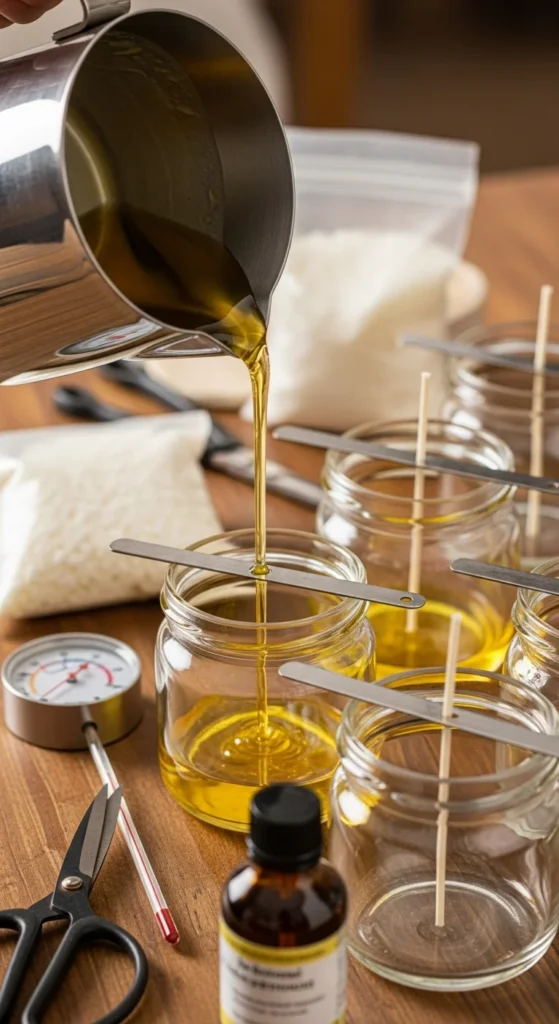
Step 2: Melt the Wax the Right Way
Melting wax is where the real magic begins. The key is patience — heating it slowly ensures smooth, even candles.
- Fill your double boiler with water and place your wax flakes in the top pot.
- Stir gently as the wax melts, keeping the temperature between 170°F and 180°F (77°C–82°C).
- Once fully melted, remove it from heat and let it cool slightly.
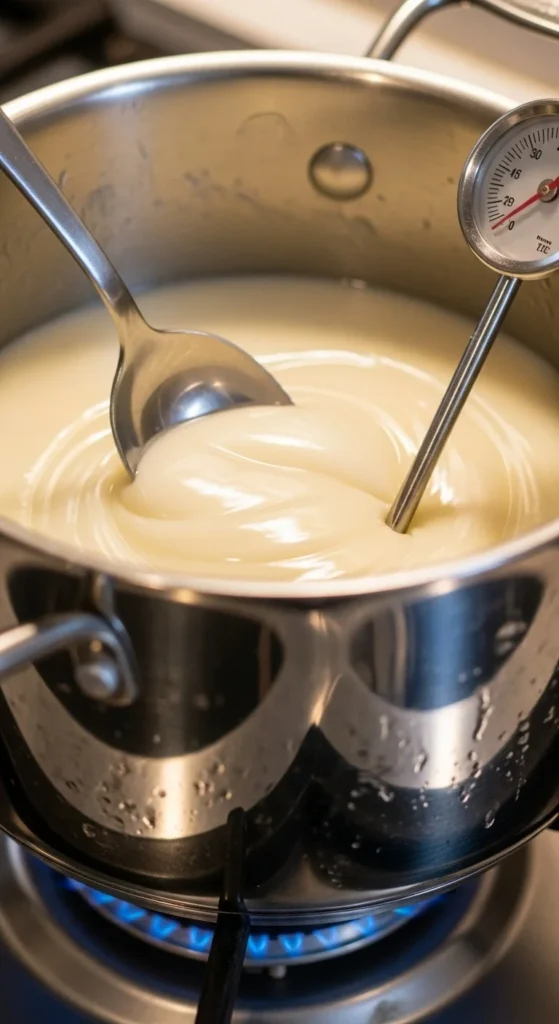
Quick tip: Avoid overheating — if the wax gets too hot, it can affect the fragrance throw later.
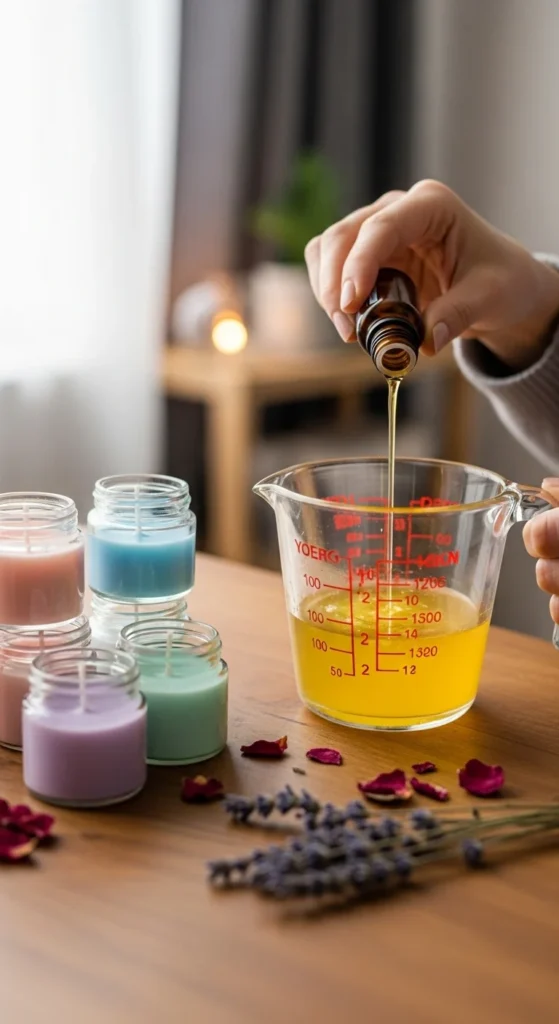
Step 3: Add Your Favorite Fragrance and Color
This is where your creativity takes over! When the wax cools to about 150°F (65°C), it’s time to mix in your chosen scent.
- Add 1 ounce of fragrance oil per pound of wax for a balanced aroma.
- Stir for a full two minutes to evenly distribute the scent.
- If you want to color your candles, add a few drops of candle dye or natural mica powder at this stage.
Scent combo ideas:
- Lavender + Vanilla for relaxation
- Citrus + Mint for freshness
- Rose + Sandalwood for romance
Pro tip: Stick to one or two complementary scents — too many can overwhelm the candle’s aroma.
Step 4: Set the Wick and Pour the Wax
Now, it’s time to bring your candle to life.
- Place the wick in the center of your jar using a wick holder or chopstick to keep it steady.
- Slowly pour the melted wax into the container, leaving about half an inch of space from the top.
- Let it cool for a few hours at room temperature without moving the jar.
Troubleshooting tip: If your candle sinks slightly in the center after cooling, just reheat a little wax and pour a thin layer on top to smooth it out.
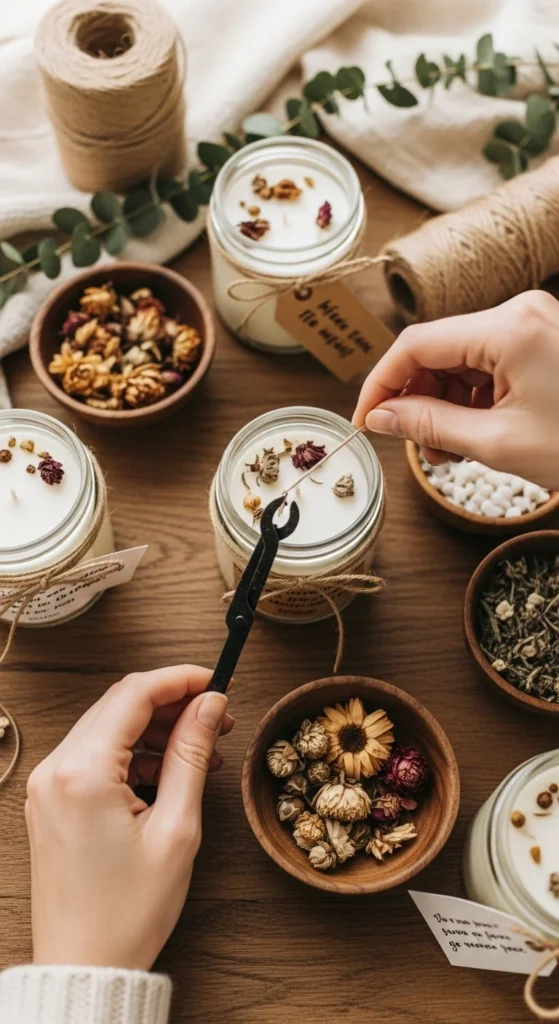
Step 5: Trim, Decorate, and Let It Cure
Once your candle has hardened (usually after 24 hours), trim the wick to about ¼ inch before lighting.
Now comes the fun part — decorating! You can:
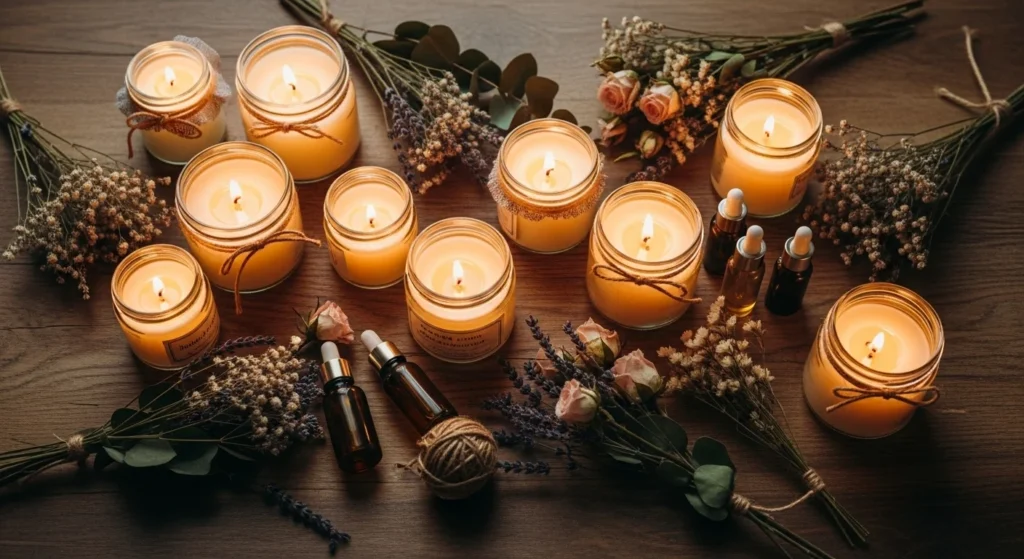
- Sprinkle dried flowers or herbs on top for a boho vibe.
- Add labels with names or quotes for gifting.
- Wrap twine around the jar for a rustic look.
Pro tip: Let your candles cure for at least 48–72 hours before lighting for the best scent throw.
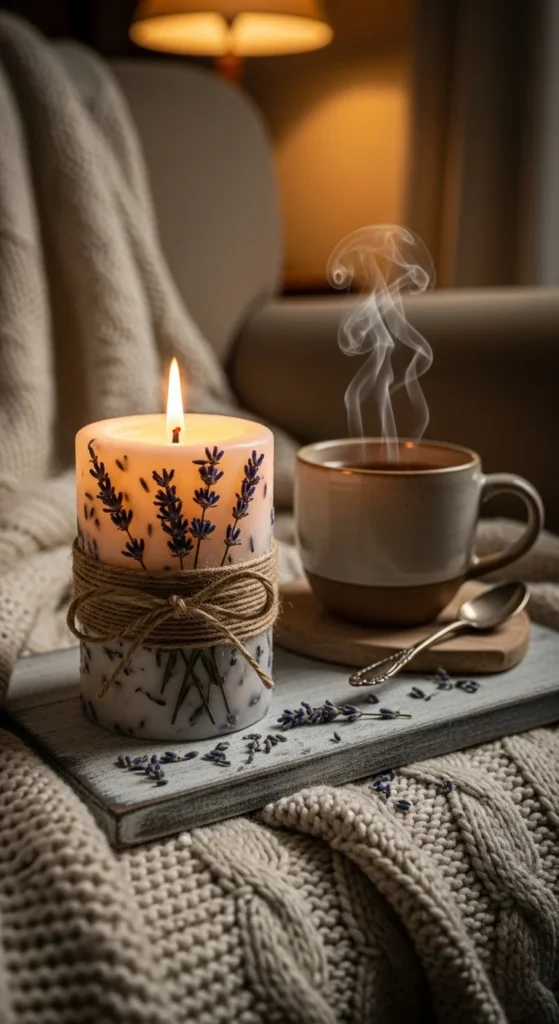
Step 6: Light It Up and Enjoy the Glow
Once your candles are cured, it’s time to enjoy your creation. Light one during a relaxing bath, while journaling, or simply to make your home smell luxurious.
You can even turn this into a small business or gift idea handmade candles always make thoughtful presents.
Bonus Tips for Pro-Level Candles
- Measure your fragrance precisely: Too little will fade, too much can cause the candle to smoke.
- Test burn each batch: Every wax and wick combo burns differently.
- Store candles properly: Keep them in a cool, dry place to preserve the scent.
Save This DIY for Your Next Cozy Weekend
Making scented candles at home is more than just a craft — it’s an experience. From the soothing scent of melted wax to the soft flicker of the final glow, each candle you create adds a personal touch to your space.
So grab your wax and wicks, pick your favorite scent, and start your DIY candle journey today.
✨ Save this candle-making guide for your next cozy weekend project! ✨

Lily Summers is a digital artist and creative storyteller who loves bringing colorful characters to life. With a passion for cartoons, fan art, and playful sketches, she inspires others to explore their imagination through art. When she’s not sketching, you’ll find her dreaming up new ideas for CraftedWizard.com to spark creativity in every artist. 🌈✨


