
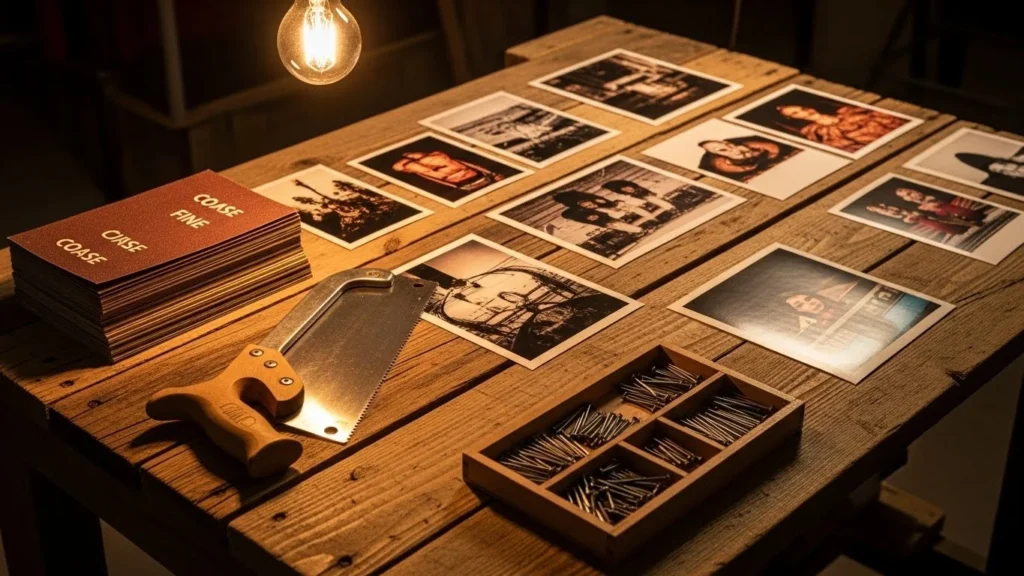
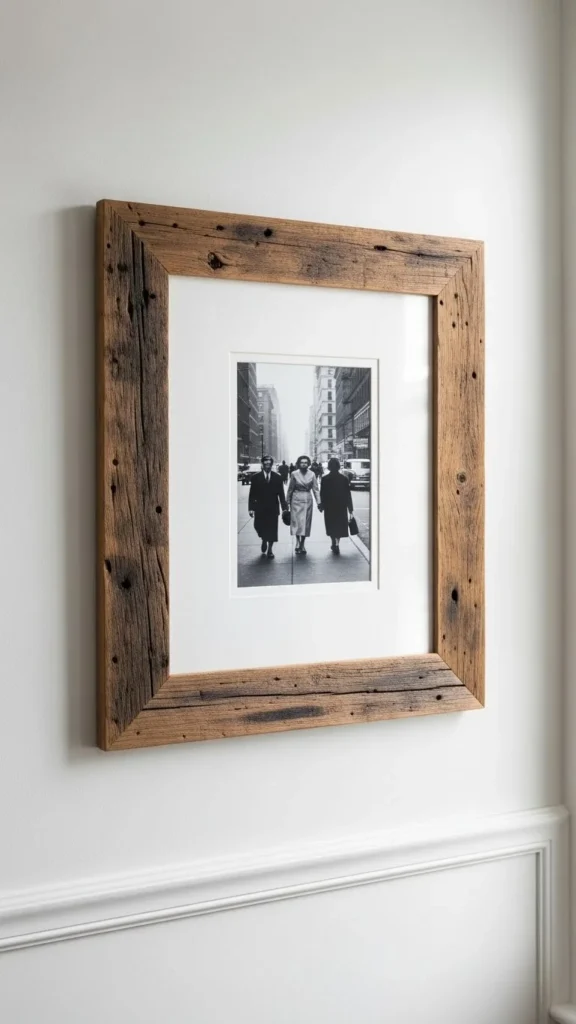
Ever notice how the most beautiful home decor pieces are the ones with a story behind them? Reclaimed wood photo frames don’t just hold your favorite memories — they are a memory in themselves. Each knot, crack, and worn edge tells a little tale of where the wood has been… and now it gets a second life on your wall.
The best part? You don’t have to be a carpenter to make them. With some basic tools and a creative heart, you can craft stunning rustic frames that look straight out of a boutique — for a fraction of the cost.
Find the Perfect Reclaimed Wood
The magic starts with the wood itself. Look for pieces with character — weathered, textured, and full of personality.
Great places to source reclaimed wood:
- Old pallets
- Barn boards
- Wooden crates
- Fence planks
- Discarded furniture
- Construction leftovers
What to look for:
- Solid, dry boards
- Interesting grain patterns
- Natural imperfections
- No heavy rot or insect damage
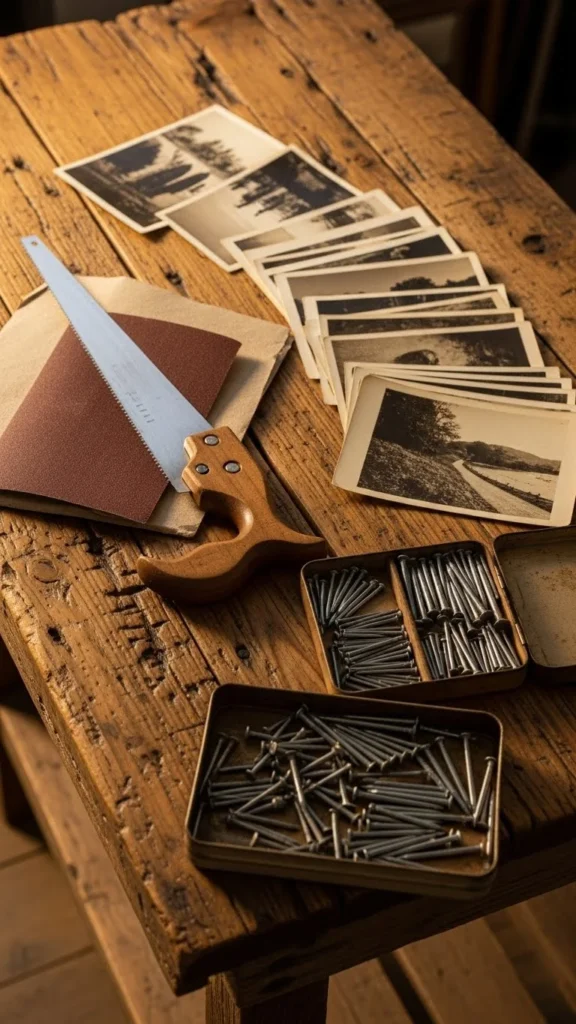
Tip: Clean your wood first! Use a wire brush and mild soap, then let it dry completely before working with it.
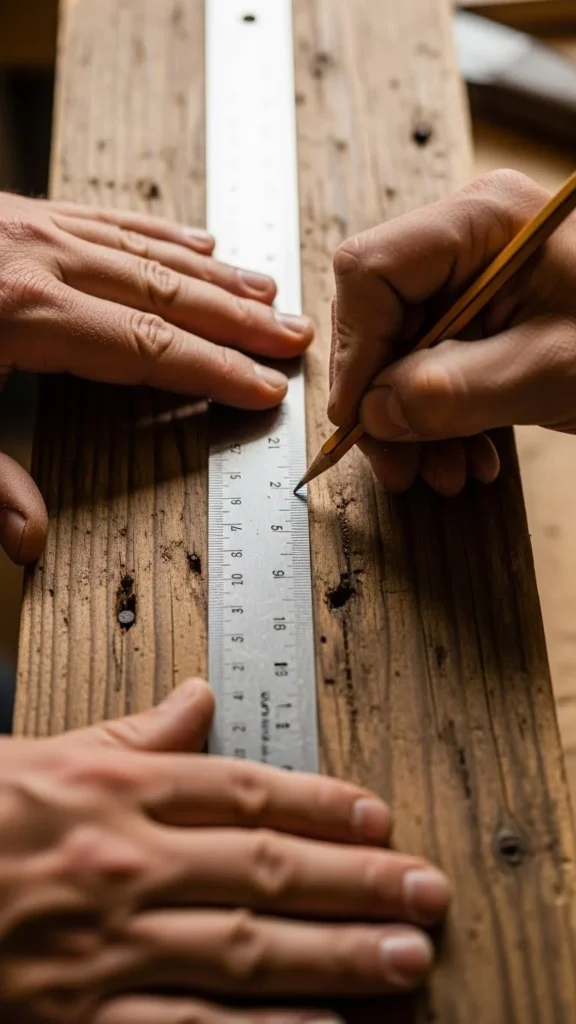
Measure & Cut Your Frame Pieces
Decide the photo size you want to frame, then measure your wood accordingly.
Basic frame formula:
- Two long sides
- Two short sides
- Angled corners (optional but fancy)
If you don’t have tools for angled cuts, straight edges work just as well for a clean, modern look.
Tools you might need:
- Handsaw or miter saw
- Measuring tape
- Square or ruler
- Pencil
Mark your cuts clearly before sawing. Measure twice — cut once!
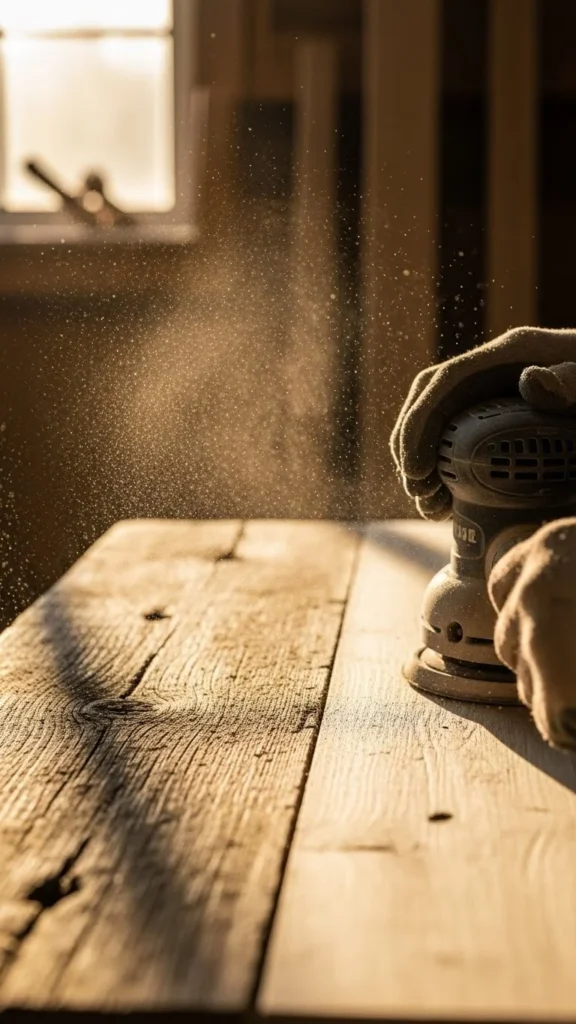
Sand, Smooth & Style the Wood
This is the step where your frame transforms from scrap to showpiece.
Use medium-grit sandpaper to smooth rough surfaces, then switch to fine-grit for a polished feel — but keep some texture for that rustic charm.
Optional styling techniques:
- Staining for color depth
- White washing for a farmhouse look
- Torch burning (for bold character)
- Light paint for a shabby chic effect
Always test on a hidden section first!
Assemble the Frame
Once your pieces are cut and styled, it’s time to bring everything together.
Assembly options:
- Wood glue + clamps
- Small nails or brads
- Corner brackets on the back
Hold each corner firmly while securing, making sure edges are straight. A square tool helps keep everything aligned.
Inside support ideas:
- Thin wood strips
- Cardboard backing
- Foam board
Secure your photo with clips or small brackets once the frame is dry.
Add Finishing Touches for a Boutique Look
Details make all the difference.
Upgrade your frame with:
- Sawtooth hangers
- Twine or wire for hanging
- Metal corner accents
- Burned initials or dates
- Engraved names
Turn it into a gift by:
- Adding a label on the back
- Writing a message
- Including a printed photo
- Wrapping in kraft paper and string
Why Reclaimed Frames Are Worth It
Making your own frames isn’t just about saving money — it’s about meaning.
You get:
- Eco-friendly decor
- Custom size and style
- Handmade quality
- One-of-a-kind beauty
- A relaxing creative experience
Plus, every time you look at that frame, you’ll know you built it with your own hands.
Final Takeaway
Reclaimed wood photo frames bring warmth, texture, and history into your home. They’re easy to make, incredibly personal, and endlessly unique. Once you make one, you’ll probably never go back to store-bought frames again.
So grab some old wood and turn it into something beautiful today.
Save this project and start building your handmade frames now!

Lily Summers is a digital artist and creative storyteller who loves bringing colorful characters to life. With a passion for cartoons, fan art, and playful sketches, she inspires others to explore their imagination through art. When she’s not sketching, you’ll find her dreaming up new ideas for CraftedWizard.com to spark creativity in every artist. 🌈✨


