
Polymer clay earrings have taken over Pinterest, Etsy, and Instagram—and for good reason. They’re lightweight, endlessly customizable, and surprisingly easy to make at home. But here’s the catch: a lot of DIY clay earrings end up too chunky, too fragile, or just not wearable. This guide shows you how to design stylish, professional-looking earrings you’ll actually want to show off.
With just a few smart tips, you can create earrings that look boutique-quality without spending boutique prices.
Choose the Right Polymer Clay
Not all clay brands are equal. The texture and durability depend heavily on what you choose, so set yourself up for success.
Look for:
- Premo Sculpey: flexible, strong, great for beginners
- Fimo Professional: ideal for crisp cuts and details
- Cernit: slightly translucent, luxe finish
Avoid children’s crafting clay (too brittle after baking).
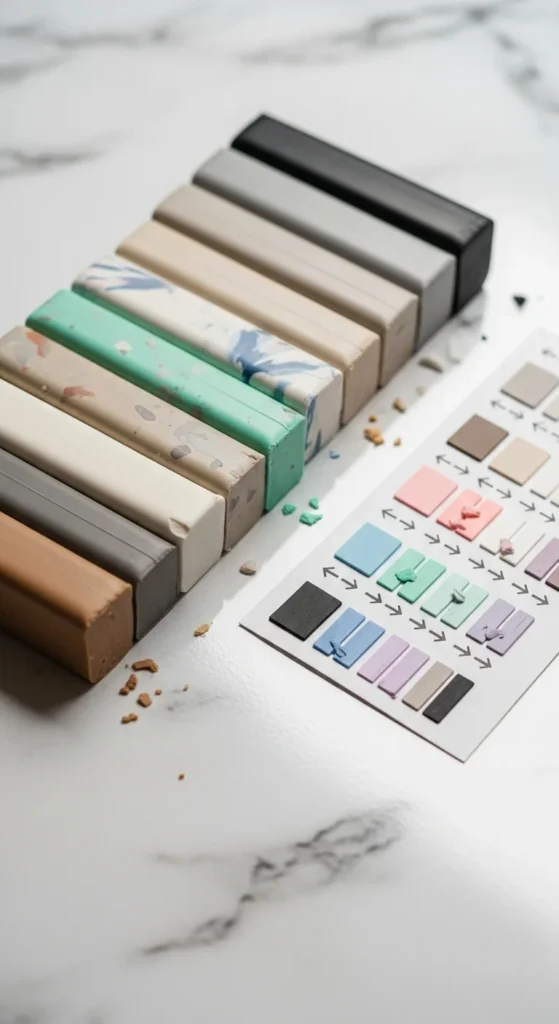
Color tips:
- Pick a cohesive palette
- Mix similar tones for depth
- Add white to soften vibrant hues
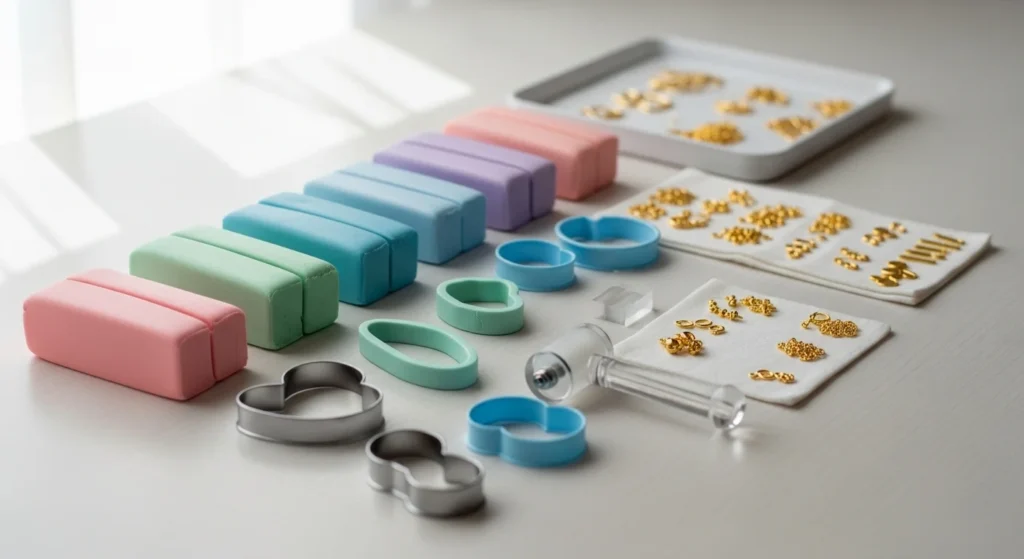
Gather Your Tools (No Fancy Setup Needed)
You might already own most of what you need. A few simple tools can elevate your designs and make them look professionally crafted.
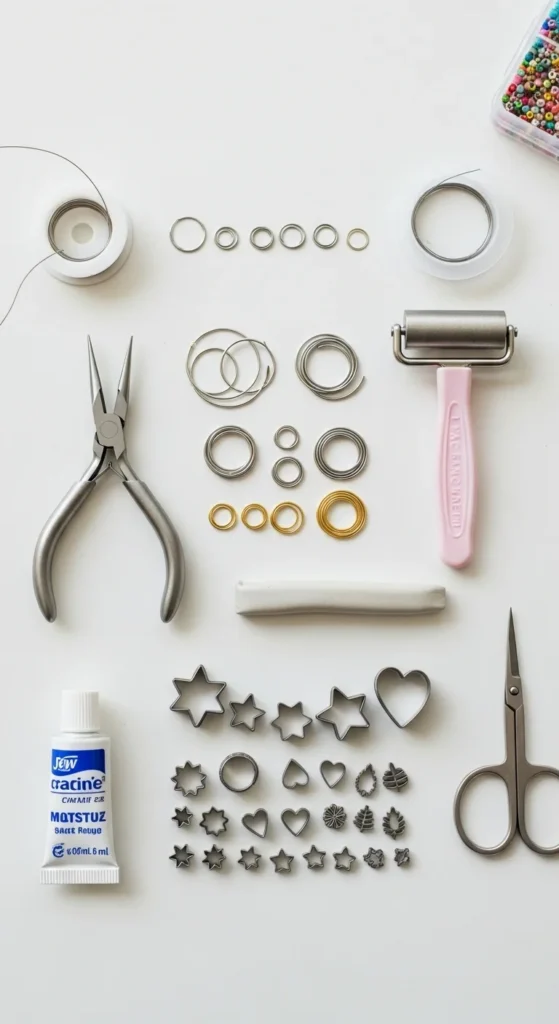
You’ll need:
- A smooth rolling surface (like ceramic tile or acrylic sheet)
- Clay roller or acrylic rolling pin
- Craft knife or clay cutters
- Jump rings and earring posts
- Small drill bit or toothpick for holes
- Oven tray lined with parchment
- Sanding sponges (400–2000 grit)
Optional for extra glam:
- Metallic leaf
- Texture stamps
- Resin glaze for shine
Condition Your Clay Properly
Conditioning warms clay and improves flexibility. Skipping this step is the #1 cause of cracking.
How to condition:
- Slice clay into small chunks.
- Warm it between your palms.
- Fold and roll repeatedly.
- Continue until smooth and pliable.
If your hands get tired, a pasta machine works wonders.
Signs you’re ready:
- No crumbling
- Seamless folds
- Smooth consistency
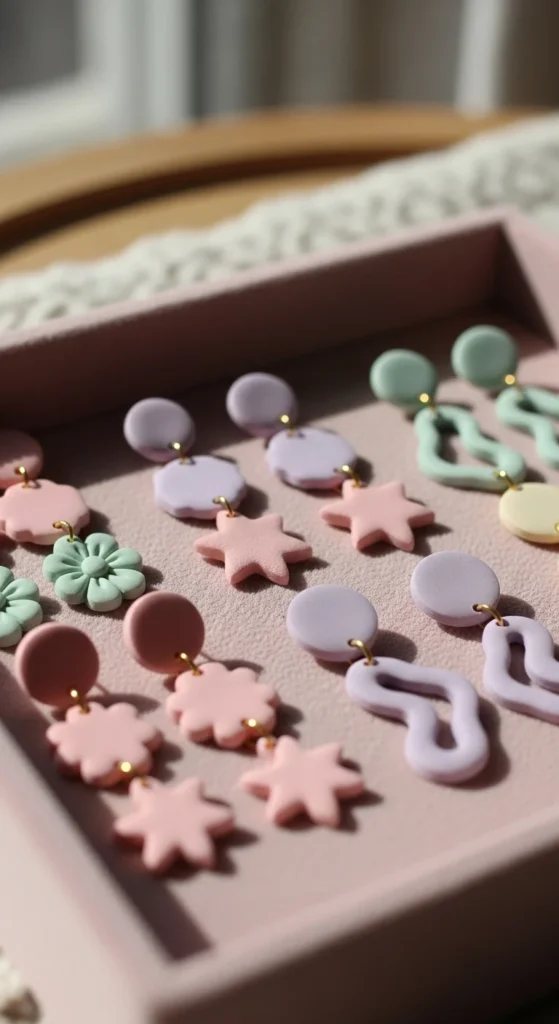
Shape and Cut Your Earrings
Here’s where the fun begins! Keep designs thin and clean to ensure lightweight comfort.
Popular shapes to try:
- Abstract arches
- Layered circles
- Geometric drops
- Organic florals
Cutting tips:
- Dust cutters with cornstarch for sharp edges
- Wiggle cutters gently for a clean release
- Use a blade to lift shapes from the surface

Don’t forget to make holes for jump rings before baking!
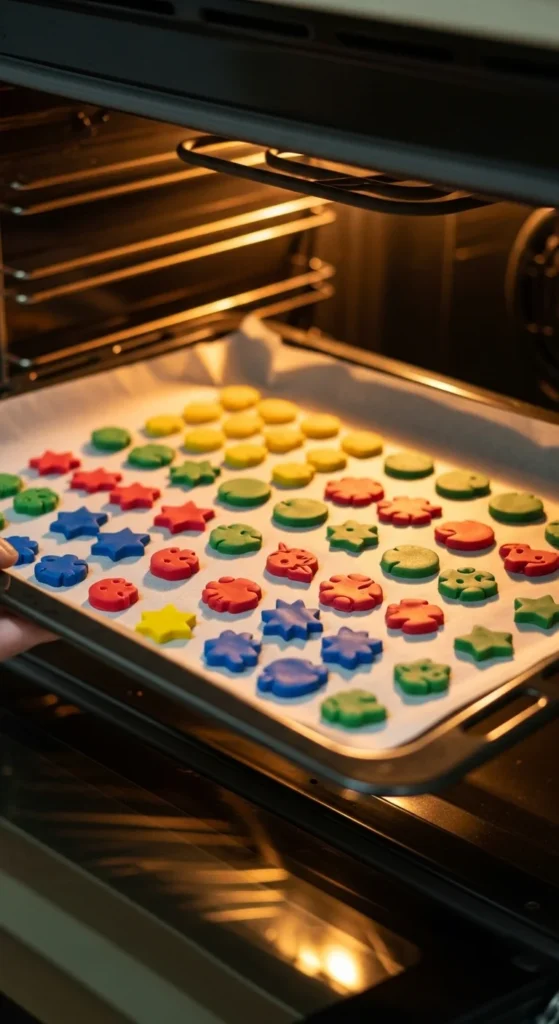
Bake With Precision (This Matters!)
Polymer clay doesn’t cure until it’s baked—time and temperature matter. Undercooking = weak earrings. Overcooking = scorching.
General guideline:
- Bake at 260–275°F (129–135°C)
- 30 minutes per ¼ inch thickness
Place your earrings flat on parchment and tent foil over the top to prevent browning.
After baking, the pieces should feel firm but flexible. If they snap, they didn’t cook long enough.
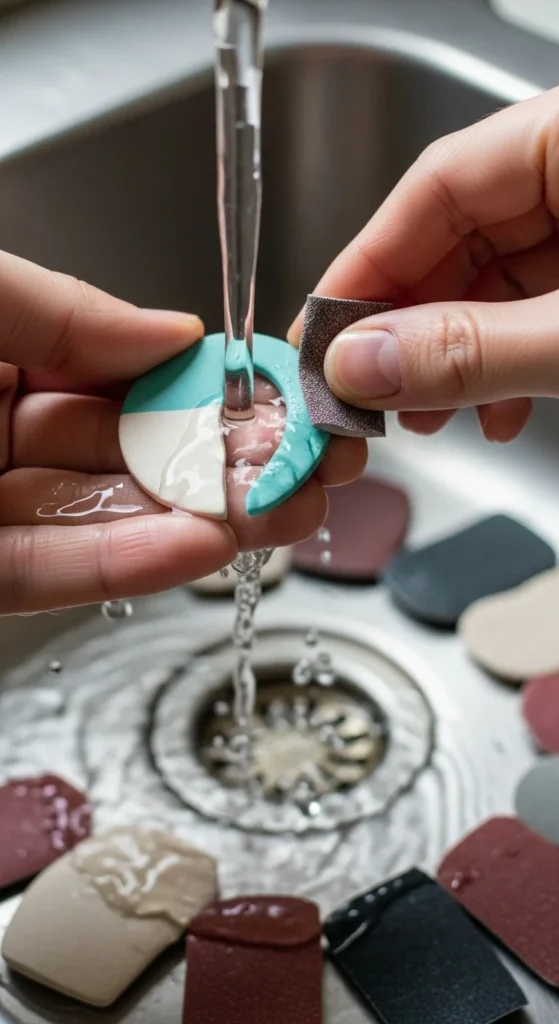
Sand, Buff & Finish Smoothly
This step takes earrings from “cute craft” to “boutique quality.”
How to finish:
- Wet-sand edges with 400–1200 grit.
- Buff gently for a soft sheen.
- Add resin or matte varnish for personality.
Sanding removes fingerprints, cutter lines, and tiny bumps your camera will definitely notice later.
Assemble Like a Jewelry Designer
Hardware matters! Cheap findings can tarnish or irritate skin.
Look for:
- Stainless steel
- Gold-plated brass
- Hypoallergenic backings
Assembly steps:
- Attach jump rings using jewelry pliers
- Ensure earrings dangle freely without rubbing
- Glue posts securely using E6000 adhesive
Let glue cure for at least 24 hours before wearing.
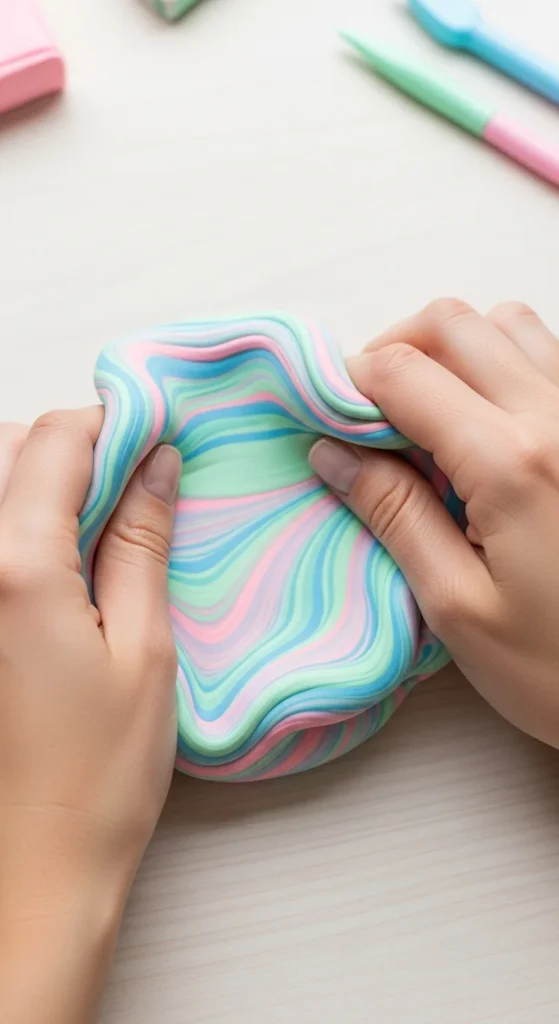
Try Trendy Techniques You’ll Love
Want more character? Test these beginner-friendly ideas:
- Marbling: Twist two colors lightly
- Color-blocking: Combine clean geometric segments
- Pressed florals: Add botanical textures
- Gold foiling: Speckle metallic leaf for shine
These small touches add wearability—you’ll want to reach for them again and again.
Store & Care for Long-lasting Wear
Polymer clay is strong, but caring properly keeps earrings perfect for years.
Keep in mind:
- Store separately to prevent scratching
- Wipe gently with baby wipes to clean
- Avoid harsh chemical cleaners
For travel, tuck them into a small jewelry case.
Ready to Make Your New Favorite Accessory?
Polymer clay earrings are fun, budget-friendly, and beautifully customizable. With the right materials, careful conditioning, smooth finishing, and quality hardware, you’ll craft pieces that look sold-right-off-the-shelf—without the boutique price tag.
Save this guide for your next craft night and get ready to build a collection you’ll actually wear!

Lily Summers is a digital artist and creative storyteller who loves bringing colorful characters to life. With a passion for cartoons, fan art, and playful sketches, she inspires others to explore their imagination through art. When she’s not sketching, you’ll find her dreaming up new ideas for CraftedWizard.com to spark creativity in every artist. 🌈✨


