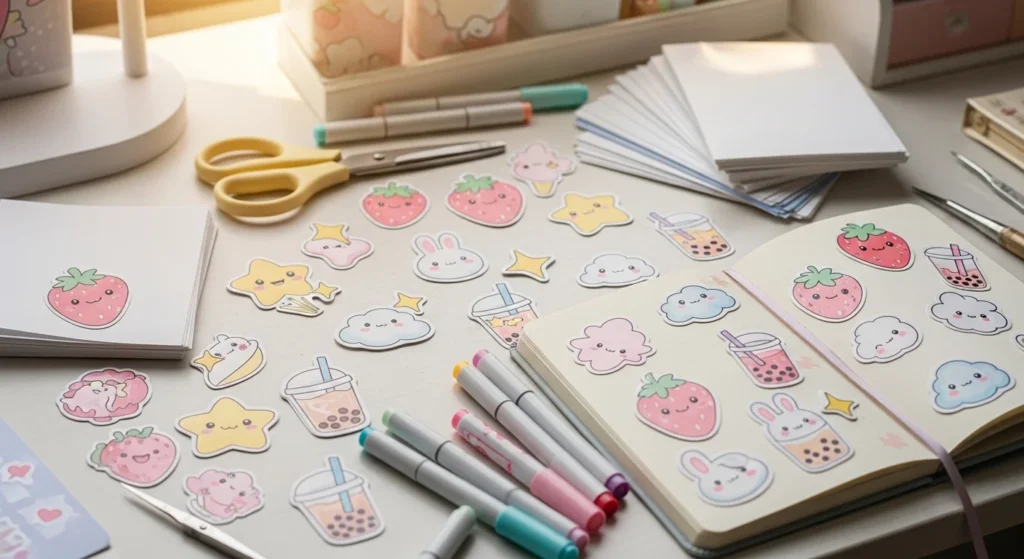
If you have ever looked at a laptop, journal, phone case, or planner and thought, this needs something cuter, kawaii stickers are the answer. They are tiny, cheerful, and full of personality. The best part is that you do not need a big budget or professional tools to make them. With a few simple supplies and some sweet design ideas, you can create kawaii aesthetic stickers at home that look playful, polished, and seriously adorable.
Whether you love pastel colors, smiling food characters, tiny animals, or soft dreamy shapes, this DIY is one of the easiest ways to add charm to your everyday things.
What Makes a Sticker Look Kawaii?
Kawaii style is all about making things look extra cute, soft, and friendly.
Most kawaii sticker designs have a few things in common:
- rounded shapes
- sweet facial expressions
- pastel or soft colors
- tiny details like blush cheeks or sparkles
- simple, clean outlines
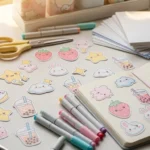
A strawberry becomes kawaii with a tiny smile. A cloud becomes kawaii with rosy cheeks. Even a cup of tea can look adorable if you give it sleepy eyes and a happy face.
That is what makes this craft so fun. Almost anything can be turned into a cute sticker idea.
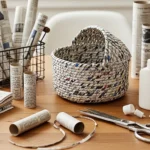
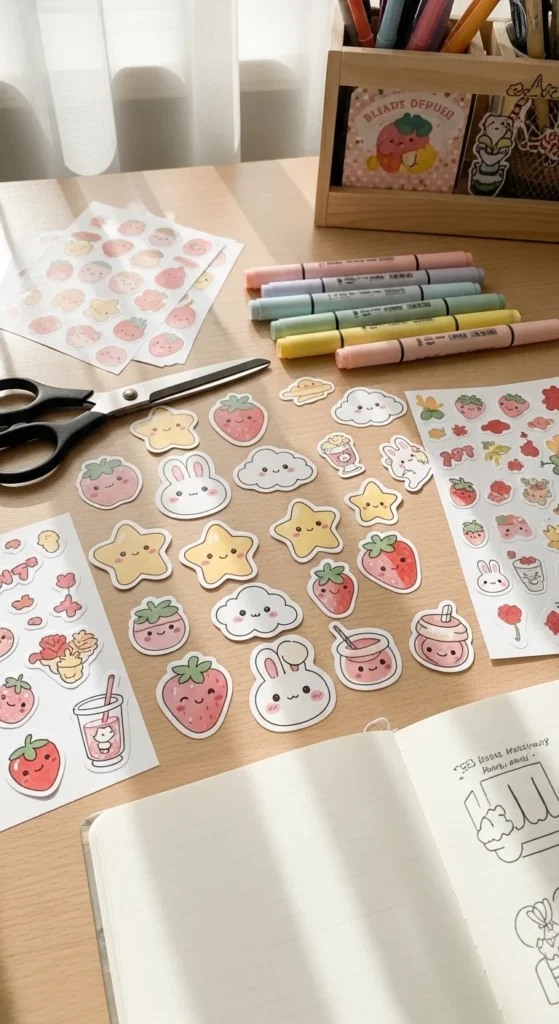
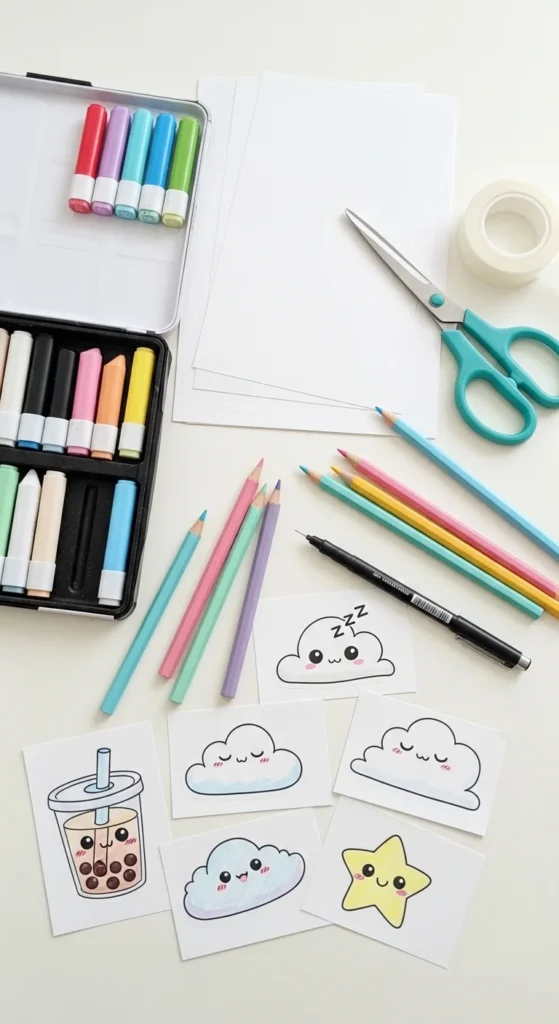
Gather Your Supplies
You do not need expensive materials to get started. In fact, many people make their first kawaii stickers using basic items they already have at home.
Here are a few helpful supplies:
- plain paper or sticker paper
- markers or colored pencils
- black fineliner or gel pen
- scissors
- glue or double-sided tape if using regular paper
- clear packing tape or laminating sheets
- printer, if you want to print your designs digitally
If you want a more polished look, sticker paper is the easiest option. If you are keeping it budget-friendly, plain paper with tape on top and glue on the back works too.
The key is not having fancy tools. The key is keeping your designs cute and clean.
Choose Cute Kawaii Sticker Ideas
Before you draw or print anything, decide on a theme.
This makes your stickers feel more cohesive and Pinterest-worthy. You can make one sticker on its own, but a little collection always looks even better.
Popular kawaii sticker themes include:
- fruits like strawberries, peaches, cherries, and lemons
- animals like bunnies, cats, bears, and chicks
- drinks like bubble tea, coffee cups, and milk cartons
- cozy items like candles, books, socks, and pillows
- dreamy shapes like moons, stars, clouds, and hearts
Try picking 3 to 5 related ideas and making them into a matching mini set. For example, you could create a soft pastel snack theme with smiling toast, jam, tea, and strawberries.
That kind of set looks especially cute in journals and planners.
Draw Simple Designs First
The easiest way to make kawaii stickers is to keep the design simple.
Start with basic shapes. A circle can become a face. A rounded triangle can become a strawberry. A small oval can become a tiny paw or cheek.
When sketching, focus on:
- bold, easy-to-recognize shapes
- minimal features
- balanced spacing
- gentle expressions
For a classic kawaii face, add:
- two small dot eyes
- a tiny curved mouth
- soft pink cheeks
- little sparkles or hearts nearby
Avoid making the design too crowded. Kawaii art usually looks best when it feels clean and airy.
If you are nervous about drawing, start by copying very simple objects around you and making them cute. A mug, a flower, a slice of cake, or even a pencil can work beautifully.
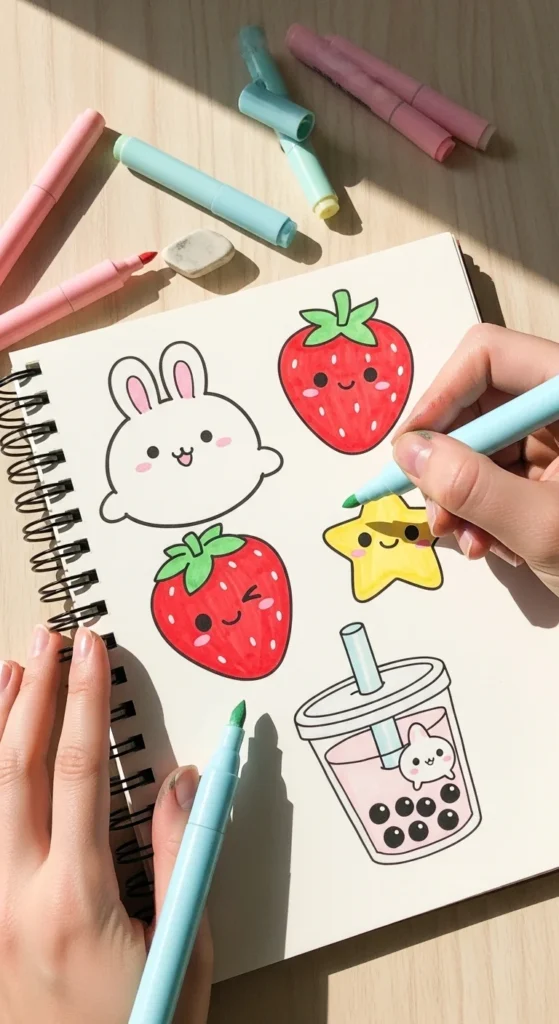
Add Color in a Soft, Adorable Way
Color is a huge part of the kawaii look.
Soft colors help your stickers feel sweeter and more aesthetic. Pastels are the easiest choice, but you can also use brighter shades if you keep the overall style playful.
Great kawaii color ideas include:
- blush pink
- soft yellow
- baby blue
- mint green
- lavender
- peach
- creamy beige
You can color your stickers with markers, pencils, or digitally if you are printing them. To make them look even cuter, try adding:
- tiny white highlight dots
- blush on the cheeks
- subtle shading on one side
- a matching border color
A soft palette makes even simple stickers feel more put together.
One helpful tip is to repeat the same few colors across all your designs. That gives your sticker set a coordinated and aesthetic look instead of a random one.
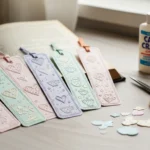
Turn Your Designs Into Real Stickers
Once your drawings are finished, it is time to turn them into stickers.
If you are using sticker paper, this part is easy. Just draw or print directly on the paper, then cut out each design.
If you are using regular paper, try this simple DIY method:
- draw and color your sticker design
- place clear packing tape over the front
- smooth it down carefully
- cut around the shape
- add glue, double-sided tape, or adhesive backing to the back
This method helps protect the design and gives it a slightly glossy look.
Cutting neatly makes a big difference. Leave a small white border around each sticker for that classic cute sticker style. It helps the design stand out and look more finished.
Make Them Look Extra Polished
A few tiny details can make homemade stickers look much more professional.
Try these easy upgrades:
- keep outlines smooth and clean
- use matching colors across your set
- add a white border when cutting
- make your characters face forward or slightly tilted
- keep facial expressions tiny and balanced
- avoid too many details in one small sticker
You can also arrange your stickers into mini collections based on mood or season. For example:
- spring florals and bunnies
- cozy fall drinks and leaves
- dreamy moon and cloud set
- pink dessert theme
These little sets are fun to make and even more fun to use.

Where to Use Your Kawaii Stickers
Once you make a few, you will probably want to put them everywhere.
They look especially cute on:
- journals
- planners
- phone cases
- laptops
- water bottles
- gift tags
- notebooks
- pen containers
They also make sweet little handmade gifts. You can package a mini sticker set in a small envelope or add them to a scrapbook bundle for a friend.
Because they are so customizable, you can match them to your room, favorite colors, or even your mood.
Final Thoughts
Making kawaii aesthetic stickers is one of the easiest and cutest DIY crafts to try. You do not need expensive tools or advanced drawing skills to create something adorable. A few simple shapes, soft colors, and tiny happy faces can turn ordinary designs into stickers that feel charming and personal.
Start with a small themed set, keep your designs simple, and have fun with the details. Once you make your first few, it gets addictive in the best way.

Lily Summers is a digital artist and creative storyteller who loves bringing colorful characters to life. With a passion for cartoons, fan art, and playful sketches, she inspires others to explore their imagination through art. When she’s not sketching, you’ll find her dreaming up new ideas for CraftedWizard.com to spark creativity in every artist. 🌈✨