Adding a handmade gift tag can instantly make any present feel extra special. Custom tags show thoughtfulness and creativity, and the best part is you don’t need a fancy store to make them. With some basic supplies and a little imagination, you can design unique tags that stand out.

Gather Your Supplies
Before you start crafting, it’s important to have all the basics on hand. The right tools make your gift tags look polished and professional.
Basic Supplies You’ll Need
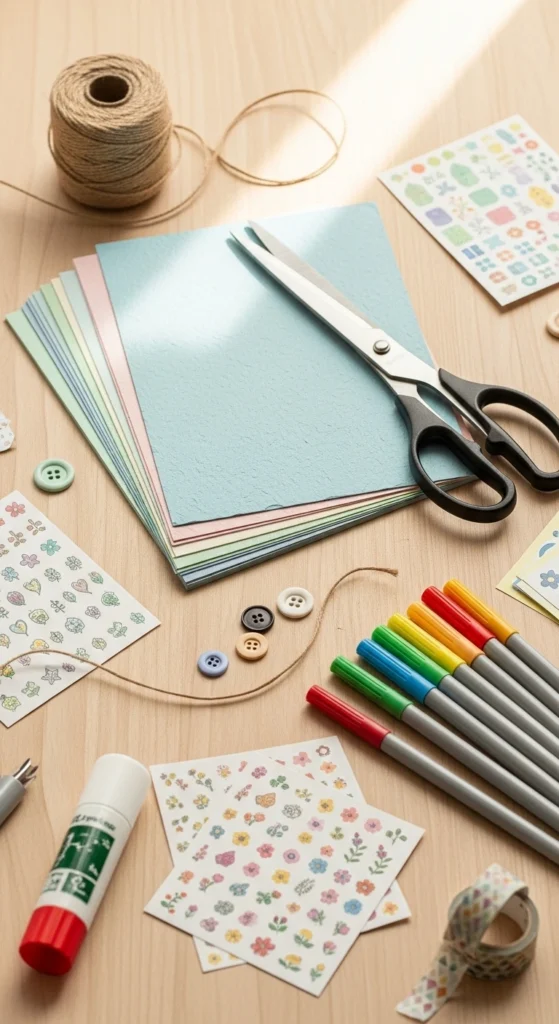
- Cardstock or thick craft paper
- Scissors or a craft knife
- Hole punch
- String, twine, or ribbon
- Pens, markers, or colored pencils
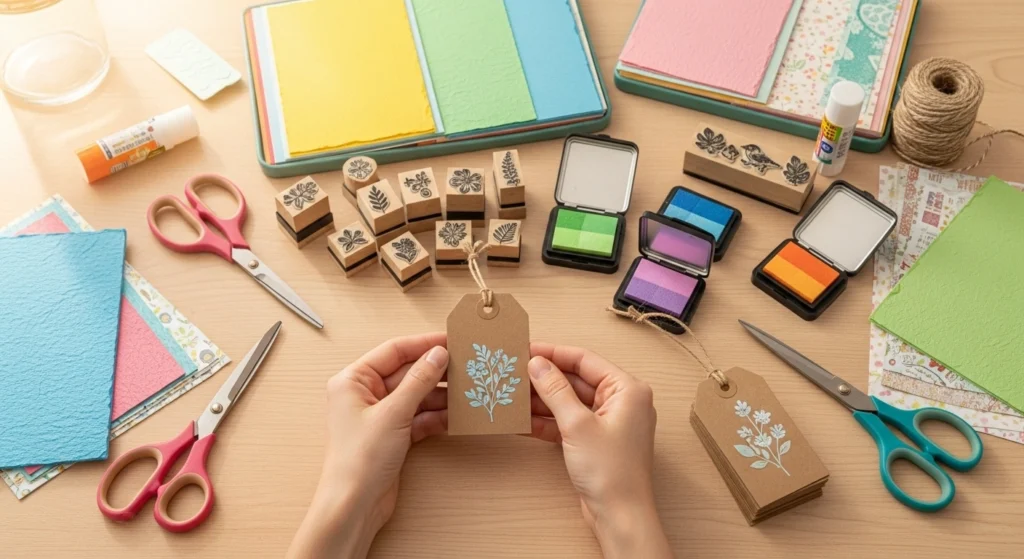
Optional Decoration Tools
- Stamps and ink pads
- Stickers or washi tape
- Glitter or small embellishments
Having everything ready keeps your workflow smooth and fun, with no last-minute scrambling.
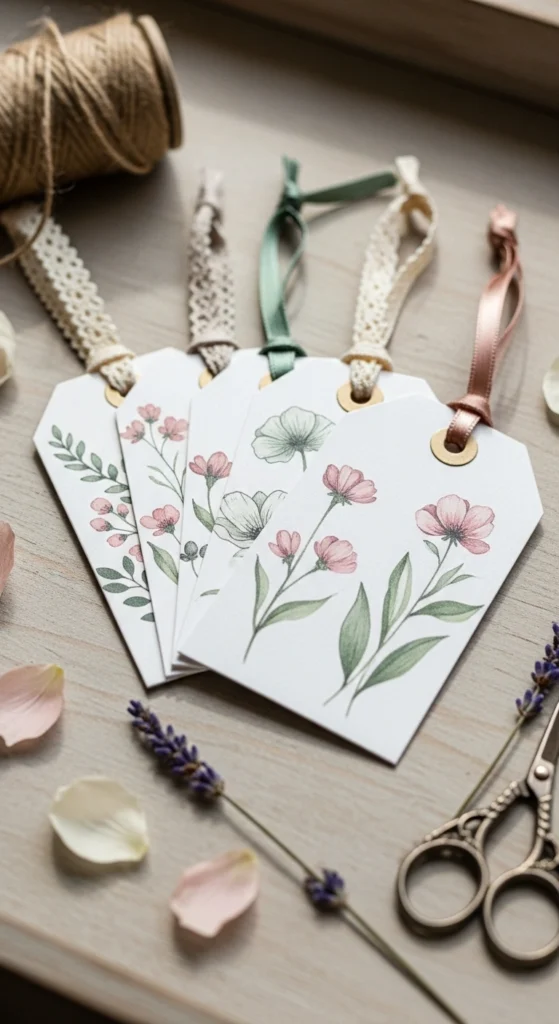
Choose Your Tag Shape and Size
Gift tags don’t have to be boring rectangles. Experimenting with shape adds personality to your packaging.
Popular Shapes
- Traditional rectangle or square
- Circle or oval for a softer look
- Mini banner or pennant shapes
- Custom shapes like stars, hearts, or leaves
Sizing Tips
- Small tags are perfect for delicate gifts
- Larger tags are ideal for adding detailed designs or handwritten messages
Cut your shapes carefully and punch a hole for the ribbon. Consistent sizing keeps a gift set looking cohesive.
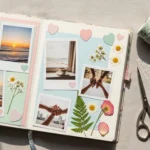
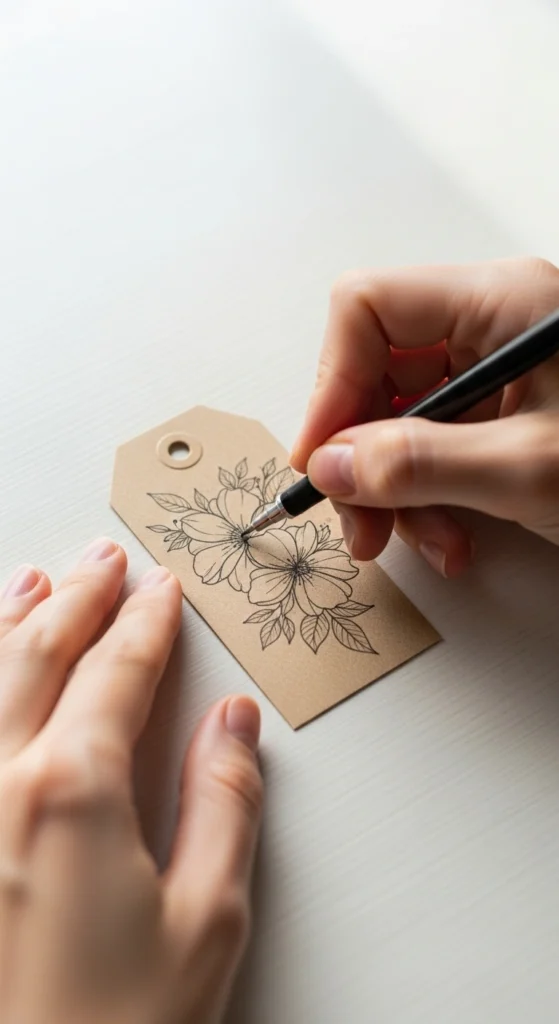
Personalize With Hand-Drawn Designs
Hand-drawn designs give your tags a warm, personal touch. Even simple doodles can elevate your packaging.
Design Ideas
- Small illustrations like flowers, leaves, or stars
- Simple patterns such as stripes, polka dots, or borders
- Hand-lettered messages like “Happy Birthday” or “Thank You”
Tips for Success
- Use a pencil first to sketch lightly
- Go over lines with fine-tip markers
- Add color with colored pencils or watercolor for extra charm
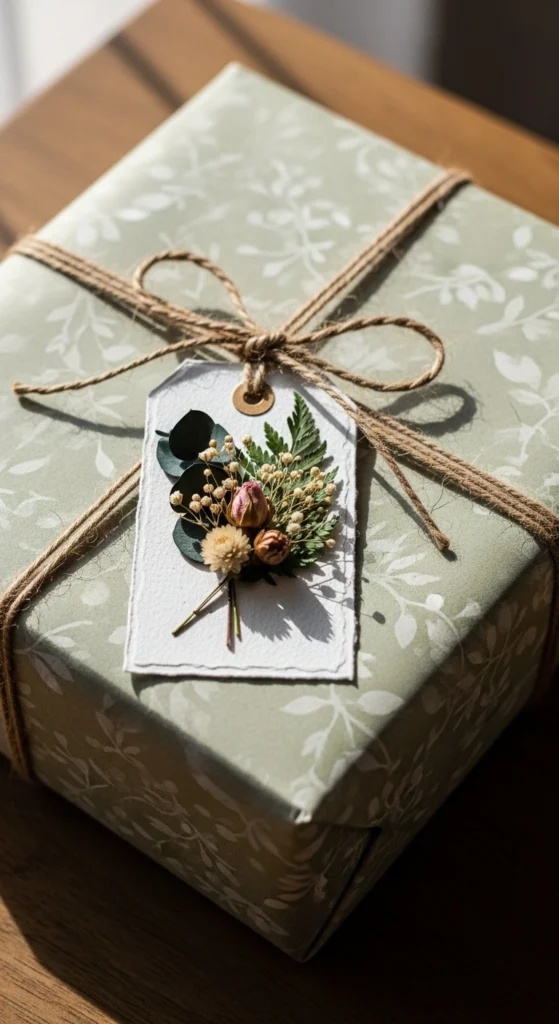
Add Texture and Dimension
Layering materials and textures makes tags feel more special and tactile.
Techniques to Try
- Glue small cutouts or stickers for a layered effect
- Add a touch of glitter to borders or letters
- Tie ribbons, twine, or thin fabric strips through the punched hole
These little touches make a handmade tag feel like a keepsake, not just a label.
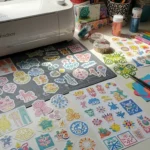
Create Coordinated Sets for Multiple Gifts
If you’re giving multiple presents, creating a matching set of tags adds a professional look.
Steps to Make Sets
- Use the same color palette for all tags
- Repeat a simple design element for cohesion
- Vary shapes slightly to keep it playful but organized
Tips for Finishing Touches
Finishing touches ensure your tags are polished and durable.
Ideas for Finishing
- Laminate tags for sturdiness
- Use a clear top coat or glue dots for shine
- Make sure ribbon or twine is securely tied
A neat finish elevates your handmade tags from charming to professional-quality.
Make Your Tags Memorable
Handmade gift tags are more than decoration they’re a way to express care. Whether for birthdays, holidays, or weddings, a thoughtfully designed tag adds personality and warmth to any gift.
Final Takeaway
Custom gift tags are easy to make, fun to personalize, and make every present feel extra special. Keep experimenting with shapes, designs, and textures you’ll never buy plain tags again! Save this guide for your next gift-giving occasion.

Lily Summers is a digital artist and creative storyteller who loves bringing colorful characters to life. With a passion for cartoons, fan art, and playful sketches, she inspires others to explore their imagination through art. When she’s not sketching, you’ll find her dreaming up new ideas for CraftedWizard.com to spark creativity in every artist. 🌈✨