
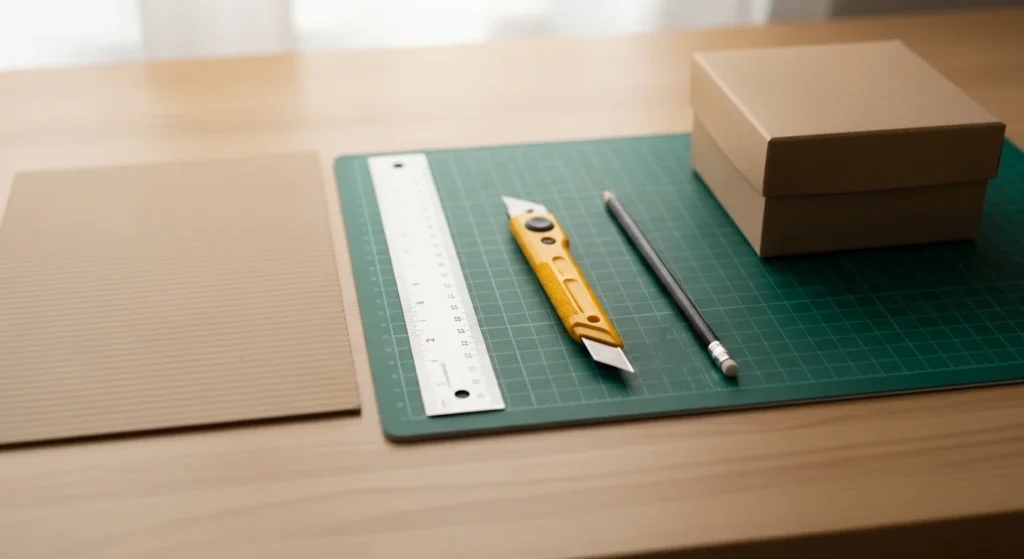
You know that moment when your gift is ready… but you still need a box? Store-bought boxes look perfect, but they’re pricey and the cheap ones bend, pop open, or look messy.
This tutorial shows you how to make a clean, sturdy, Pinterest-worthy gift box using one sheet of cardboard, a ruler hack, and one pro technique that changes everything: scoring.
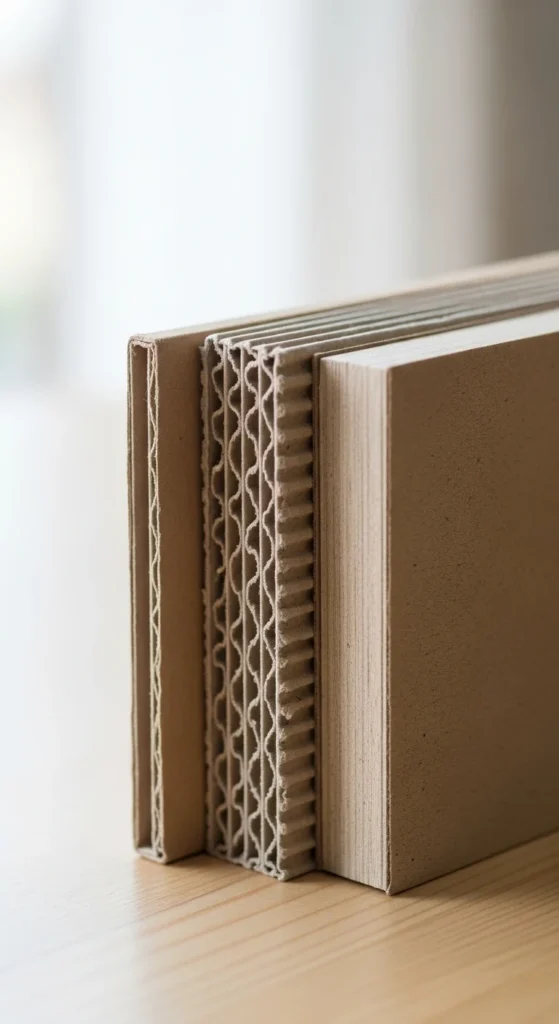
Step 1: Pick the Right Cardboard (So It Doesn’t Collapse)
Your box quality starts with the material. If the cardboard is too soft, the walls bow. If it’s too thick, it cracks at folds.
Best cardboard for DIY gift boxes
- Cereal box cardboard (best for small boxes, folds easily)
- Shipping box cardboard (best for medium/large boxes, stronger)
- Chipboard (most “luxury,” super sturdy)
Quick test: fold a small strip. If it cracks hard, it’s too thick or dry. If it flops, it’s too thin.
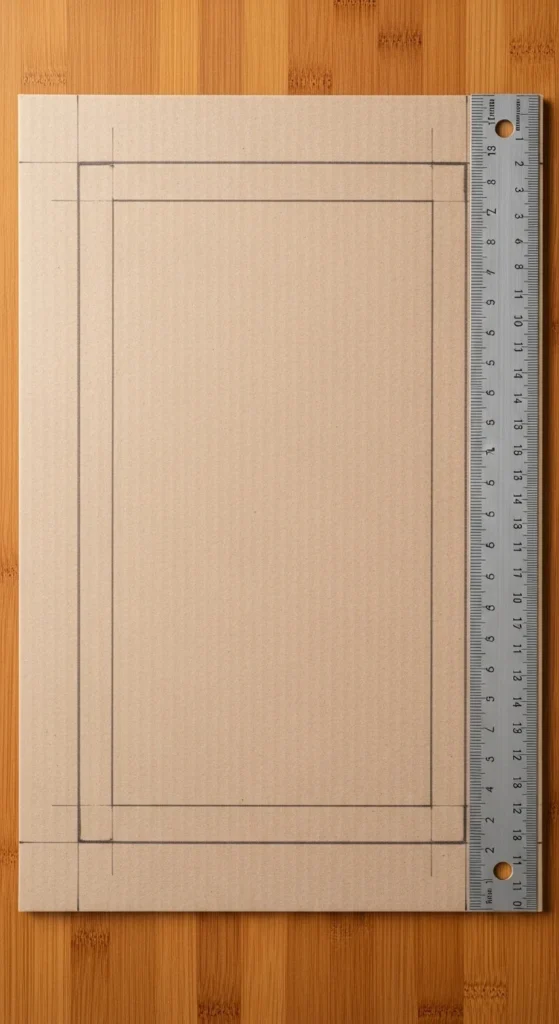
Step 2: Size the Box Without Math (Ruler-Width Hack)
This is the beginner trick that makes boxes come out even.
- Decide your box depth (example: 1 inch / 2.5 cm).
- Measure that same depth from all four edges of your sheet.
- Draw the inner rectangle this becomes the base.
- The border around it becomes the walls.
Why it’s magic: every side is identical, so your corners match perfectly.
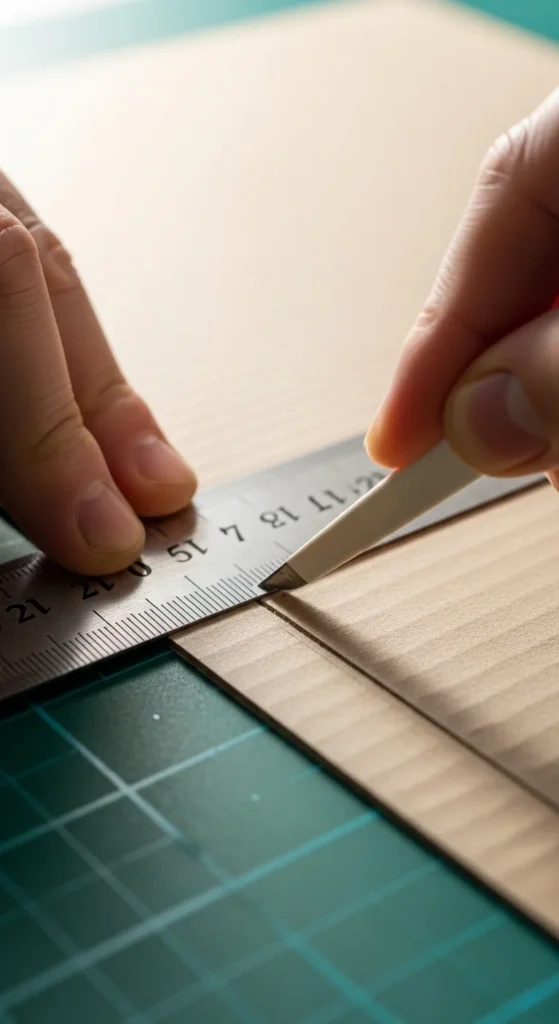
Step 3: Score the Fold Lines (The Secret to Sharp, Pro Edges)
If your boxes look “puffy” or uneven, you probably skipped scoring.
How to score
- Put the ruler on the fold line.
- Use a blunt tool (empty pen, butter knife, bone folder).
- Press a groove along the line (don’t cut).
Then fold along that groove. The crease becomes crisp and clean.
Step 4: Cut the Corner Squares (So the Walls Can Fold Up)
Now you’ll convert the sheet into a box shape.
- Cut straight along the border lines up to the inner rectangle.
- Remove the small corner squares.
- Don’t cut into the base rectangle.
When you fold the sides up, the box shape appears instantly.
Tip: make light passes with the knife instead of forcing one deep cut.
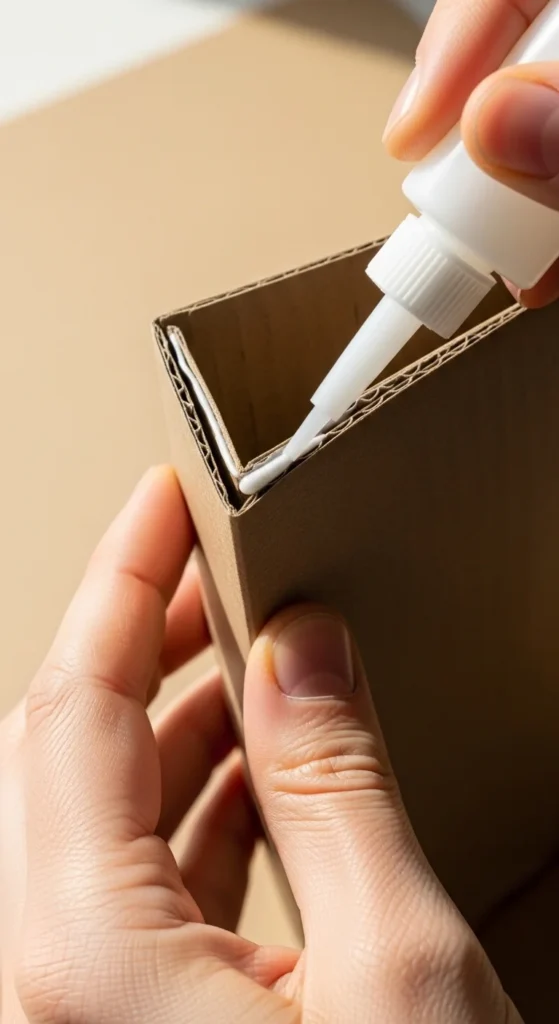
Step 5: Fold and Secure the Corners (Glue vs Tape)
This is the step where your box becomes sturdy.
- Fold all walls up along the scored lines.
- Fold one corner flap inward.
- Bring the next wall over it to form a tight corner.
- Secure it neatly.
Glue vs Tape (quick decision)
- Glue: strongest, cleanest, best for gifting
- Tape: fastest, best for batch-making favors
Avoid hot glue if you want a clean finish it leaves bumps and dries too fast to align perfectly.
Step 6: Make a Matching Lid (The Easy Fit Trick)
A lid is the same box method just slightly bigger.
Simple lid trick
- Repeat Steps 2–5.
- Make the lid depth line 2–3 mm wider than the base box.
That tiny difference makes the lid slide on smoothly without being loose.
Optional secure lid styles
- Half-moon flap lid (closes more securely than simple tuck flaps)
- Hinged lid (best if the box will be reused for storage)
Step 7: Reinforce Like a “Luxury” Rigid Box (Optional Upgrade)
If you want that premium feel, do this:
Chipboard lining
- Cut thin strips of chipboard/cardboard.
- Glue them inside the walls.
- Press flat and let dry.
This strengthens the walls and makes the box feel thick and expensive.
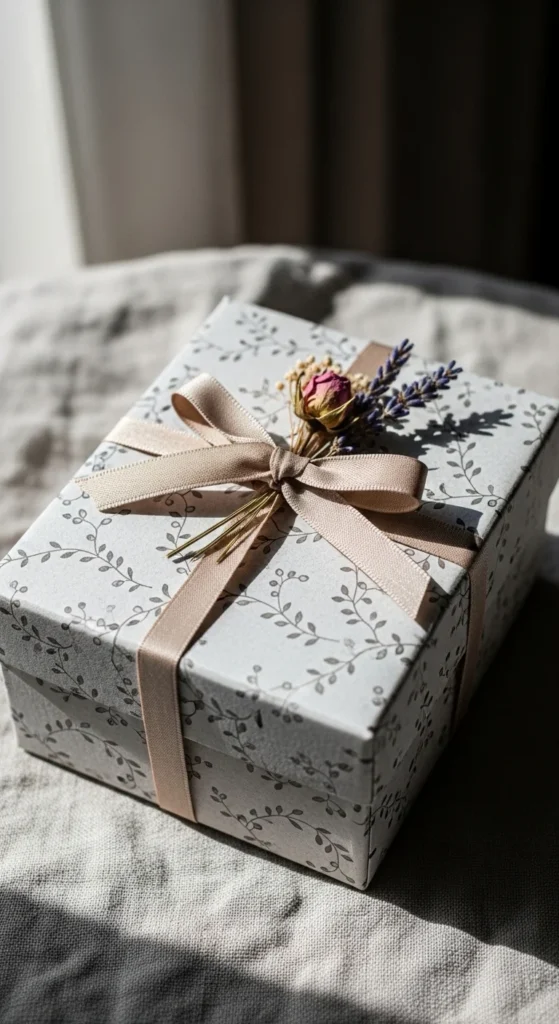
Step 8: Decorate + Hide Branding (Make It Pinterest-Pretty)
Upcycled cardboard is trending, but logos and shipping print can ruin the look.
Fast ways to hide branding
- Wrap with patterned paper
- Use kraft paper + ribbon (minimal and classy)
- Use tissue paper + Mod Podge to seal so edges don’t peel
Quick decoration ideas
- Ribbon + dried flower sprig
- Twine bow + mini charm
- Neutral contact paper (marble, linen, matte)
Final Takeaway
A pro-looking cardboard gift box comes down to three things:
- Consistent sizing (ruler-width hack)
- Scoring (sharp edges instantly)
- Clean corner sealing (glue for durability, tape for speed)
Once you make one, you’ll be able to make more in minutes perfect for gifts, party favors, and zero-waste packaging.
Save this tutorial for later, and next time you get a shipping box… you’ll see free gift boxes waiting to happen.

Lily Summers is a digital artist and creative storyteller who loves bringing colorful characters to life. With a passion for cartoons, fan art, and playful sketches, she inspires others to explore their imagination through art. When she’s not sketching, you’ll find her dreaming up new ideas for CraftedWizard.com to spark creativity in every artist. 🌈✨


