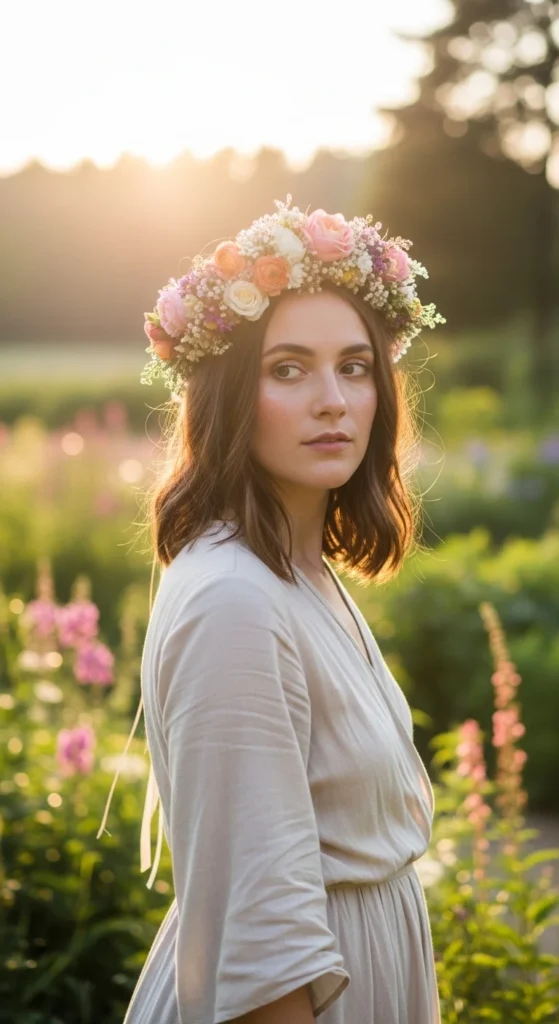
Flower crowns have a way of making everything feel a little more magical. They are soft, pretty, and surprisingly easy to make at home. Whether you want one for a picnic, birthday, bridal shower, baby photo shoot, or just a fun DIY afternoon, this project gives you something beautiful without needing fancy tools or expert skills.
The best part is that you can customize your crown to match your mood. Go wild and colorful, soft and romantic, or simple and earthy. Once you learn the basic method, you can make flower crowns for almost any occasion.
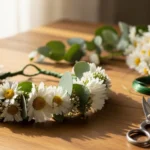
What You Need to Make a Flower Crown
Before you start, gather your supplies. Keeping everything within reach makes the process smoother and much more enjoyable.
Here’s what you’ll need:
- Fresh flowers or faux flowers
- Floral wire
- Floral tape
- Scissors or wire cutters
- Ribbon (optional)
- Greenery like eucalyptus, ivy, or baby’s breath
- A measuring tape or string to size your crown
If you are using fresh flowers, choose blooms that are small to medium in size. Flowers with strong stems usually hold up better. Good options include:
- Daisies
- Baby’s breath
- Spray roses
- Carnations
- Lavender
- Chamomile
- Small chrysanthemums
Step 1: Measure and Make the Base
Start by measuring your head. Use a soft measuring tape, or wrap a piece of string around your head where you want the crown to sit. Then measure that string and add about 2 extra inches so you have room to shape and secure the crown.
Cut a piece of floral wire to that length. Twist it into a circle that fits comfortably on your head. If the wire feels too thin, double it up for extra strength.
A few quick tips for the base:
- Make sure it is snug but not tight
- Leave a little flexibility so it feels comfortable
- Wrap the wire base with floral tape for grip and a cleaner finish
This base is the foundation of your flower crown, so take a minute to get it right.
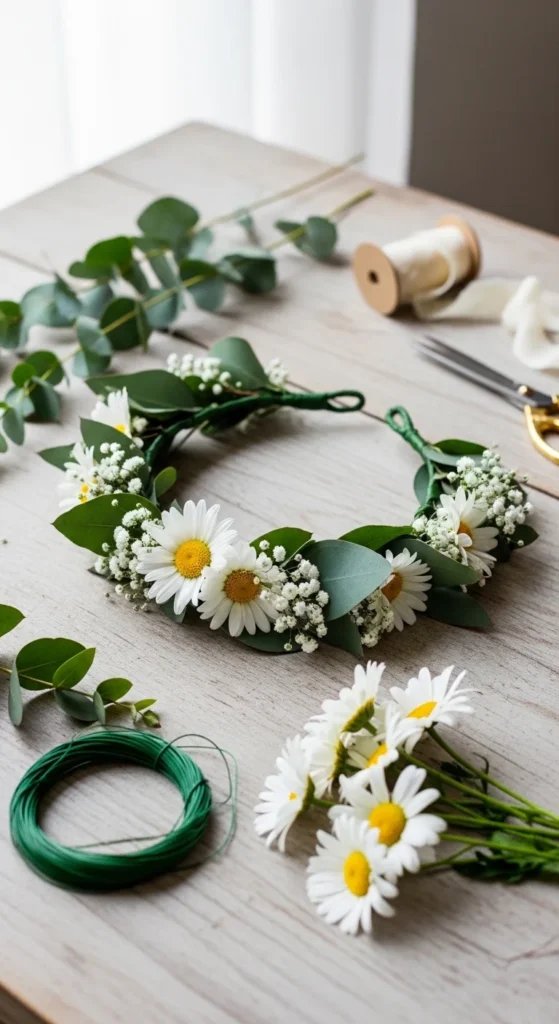
Step 2: Prep Your Flowers and Greenery
Now it’s time for the fun part. Trim the flower stems down so each one is around 2 to 3 inches long. Do the same for your greenery. Remove extra leaves that might make wrapping bulky.
If you are using fresh flowers, keep them in water until the moment you need them. This helps them stay fresh longer.
Try making tiny bundles first. Group together:
- 1 focal flower
- 1 or 2 smaller flowers
- A little greenery
These mini bunches make the crown easier to build and help the final look feel balanced instead of messy.
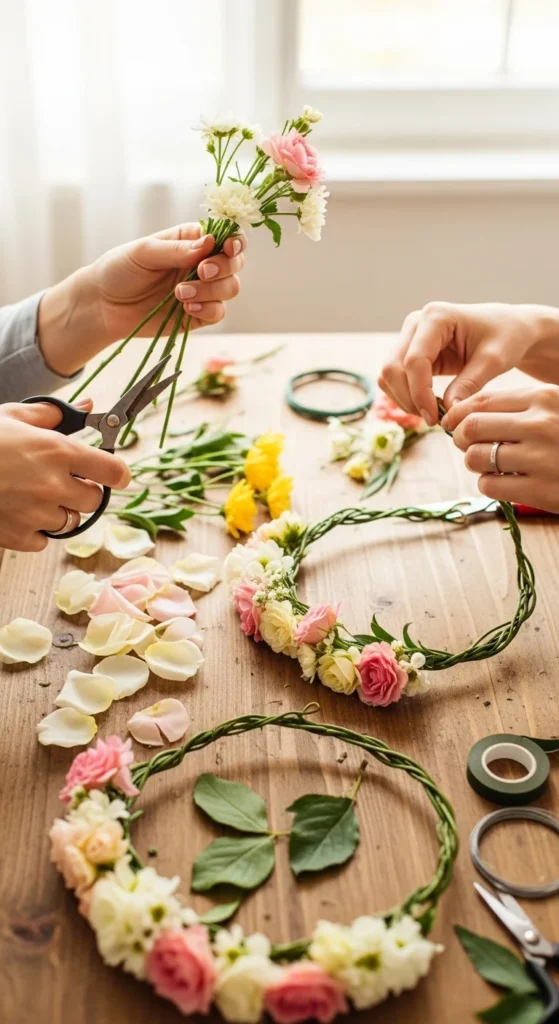
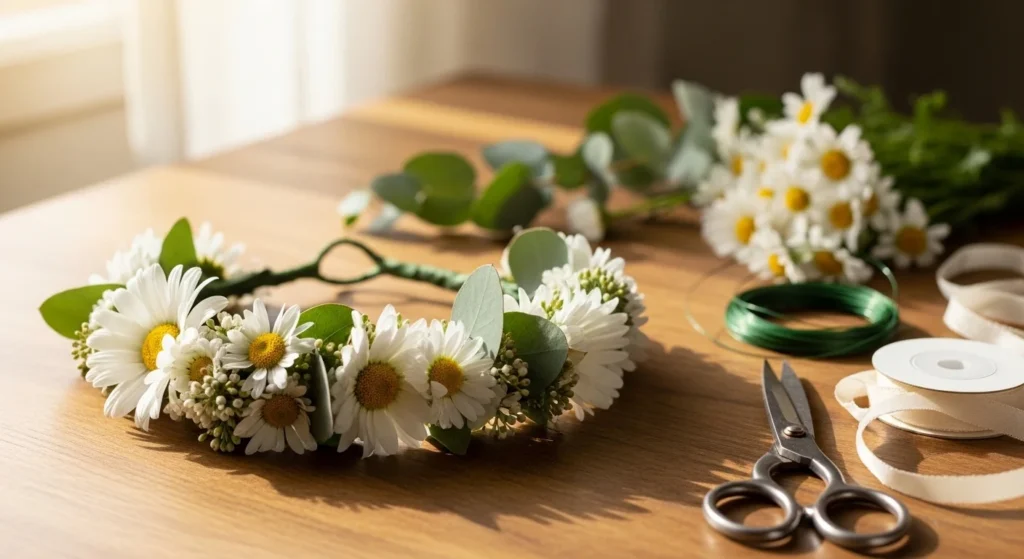
Step 3: Attach the Flowers to the Crown
Take your first mini bundle and place it against the wire base. Use floral tape to wrap the stems tightly onto the crown. Then place your next bundle so it slightly overlaps the first one. This overlapping method hides the stems and creates that full, flowing look people love.
Keep working in one direction around the crown.
As you build, step back every few bundles and check the shape. This helps you catch uneven spots early.
A few things to remember:
- Start with greenery for a soft base layer
- Add flowers gradually instead of all at once
- Keep the front slightly fuller if you want a more dramatic look
- Save delicate flowers for the top layer so they do not get crushed
If you want a looser, boho style, leave tiny bits of greenery sticking out. If you prefer a polished look, keep everything wrapped tightly and evenly.
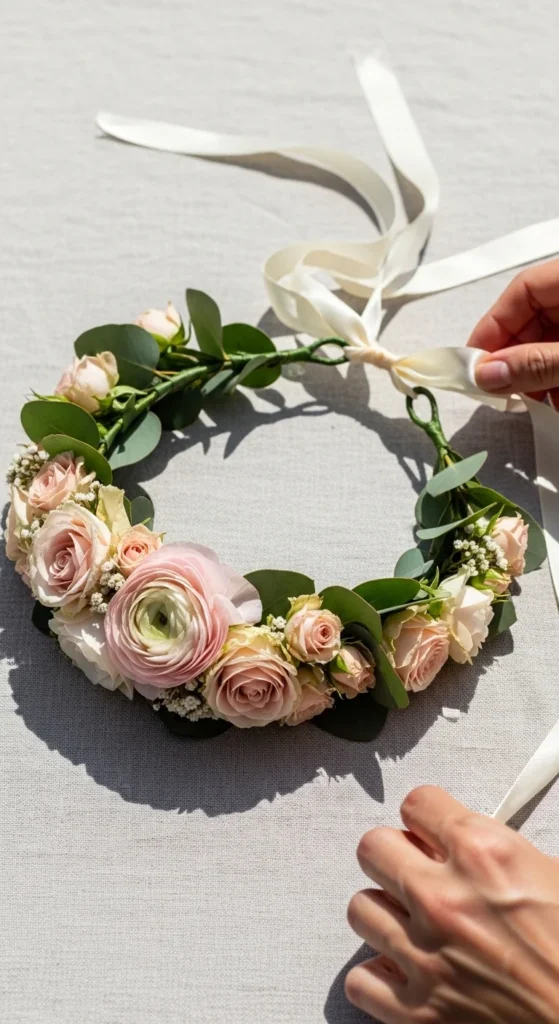
Step 4: Add Ribbon or Special Details
Once the flowers are attached, try on the crown and see if it needs anything extra. You can leave it simple, or add details that match your theme.
Pretty finishing touches include:
- Satin or velvet ribbon tied at the back
- Extra baby’s breath tucked into gaps
- A few dried flowers for texture
- Small faux pearls or tiny decorative accents for party looks
Ribbon is especially useful if you want the fit to be adjustable. It also makes the crown feel softer and more romantic.
Tips for Making Your Flower Crown Look Better
Even a simple crown can look amazing with a few smart choices. These little details make a big difference.
Choose a Color Palette First
Pick 2 to 4 colors before you begin. This keeps your crown looking styled instead of random.
Mix Large and Small Blooms
A few bigger flowers give the crown shape, while smaller flowers fill the gaps and make it look full.
Use Greenery Generously
Greenery adds softness and makes the flowers stand out. It also helps the design feel natural.
Don’t Overcrowd It
Too many flowers can make the crown heavy. Leave a little breathing room so the shape stays pretty and wearable.
How to Keep a Fresh Flower Crown Looking Nice
If you made your crown with real flowers, it will look best the same day. To help it last longer:
- Store it in the fridge until you wear it
- Mist it lightly with water
- Keep it away from direct sun before use
- Handle it gently when putting it on or taking it off
Fresh flower crowns are perfect for events, but faux flower crowns are better if you want something reusable.
Final Thoughts
Making a flower crown is one of those DIY projects that feels creative, relaxing, and rewarding all at once. You do not need to be a florist to make something beautiful. With a simple wire base, a handful of flowers, and a little patience, you can create a crown that feels personal and special.
Try one for your next party, photo shoot, festival, or cozy crafting day at home. Save this idea for later and make your own flower crown when you want something simple, pretty, and handmade.

Lily Summers is a digital artist and creative storyteller who loves bringing colorful characters to life. With a passion for cartoons, fan art, and playful sketches, she inspires others to explore their imagination through art. When she’s not sketching, you’ll find her dreaming up new ideas for CraftedWizard.com to spark creativity in every artist. 🌈✨