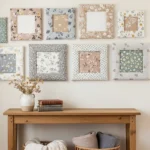
Blank walls can make a room feel unfinished, but filling them does not have to be expensive. Fabric-covered wall art frames are one of the easiest ways to add color, texture, and personality to your space without buying pricey decor. They look soft, stylish, and surprisingly polished, yet the process is simple enough for beginners.
This is the kind of DIY project that works beautifully in bedrooms, living rooms, nurseries, craft rooms, and even home offices. You can match your fabric to your room’s color palette, create a gallery wall, or make a single statement piece that ties everything together.
Why Fabric-Covered Frames Are Such a Great DIY
Fabric wall art is one of those home decor ideas that looks custom without requiring advanced crafting skills.
You do not need to paint a canvas or learn complicated techniques. If you can cut fabric and smooth it over a frame or board, you can make beautiful wall art.
A few reasons people love this project:
- it is beginner-friendly
- it is budget-friendly
- it adds texture to a room
- it is easy to customize
- it works with leftover fabric scraps
It is also a great way to use pretty fabric you have been saving for “something special.” Bold prints, linen textures, florals, stripes, and even vintage fabric can all look amazing once framed.
Gather Your Supplies
Before you start, set out everything you need so the project feels easy and organized.
Here are the basic supplies:
- empty picture frames or canvas frames
- fabric of your choice
- scissors
- measuring tape or ruler
- pencil or fabric chalk
- staple gun or strong craft glue
- cardboard, foam board, or canvas backing if needed
- iron for smoothing wrinkles
- wall hooks or hanging hardware
If you are using old frames, remove the glass and backing first. Fabric art usually looks best without glass because the texture stays visible and soft.
Choose fabric that is not too thick and not too stretchy. Cotton, linen, canvas blends, and lightweight upholstery fabric are often the easiest to work with.
Choose the Right Fabric for Your Space
The fabric you choose will shape the entire look of the finished piece.
For a calm and minimal style, try:
- linen
- soft beige tones
- muted stripes
- simple botanical prints
For a bolder look, go for:
- large floral patterns
- geometric prints
- rich jewel tones
- vintage-inspired patterns
A helpful trick is to think about the room where the frame will hang. Soft florals can look lovely in a bedroom. Clean stripes or abstract prints work nicely in a home office. Neutral textured fabric can feel elegant in a living room.
If you are making multiple frames, keep the colors connected so the set looks intentional. They do not have to match perfectly, but they should feel like part of the same family.
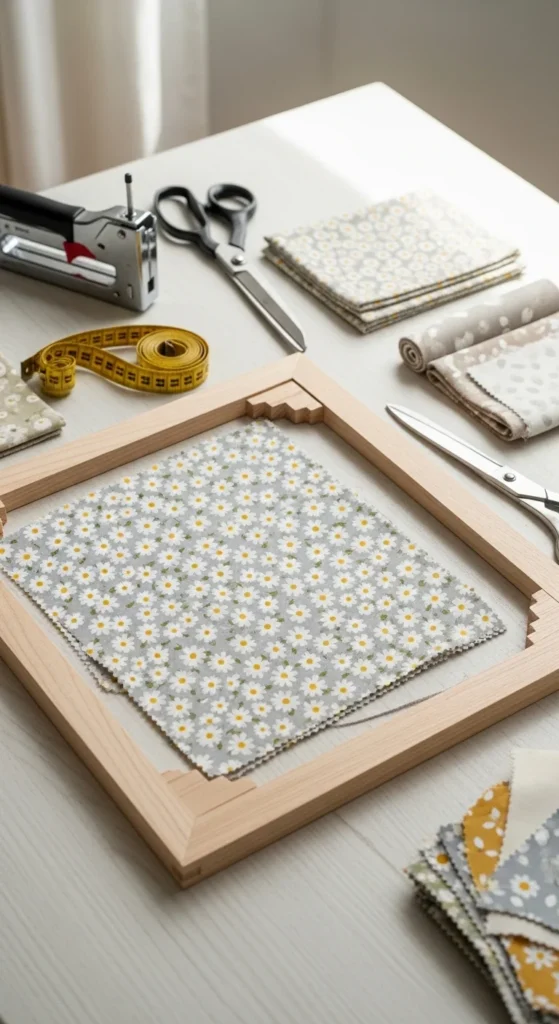
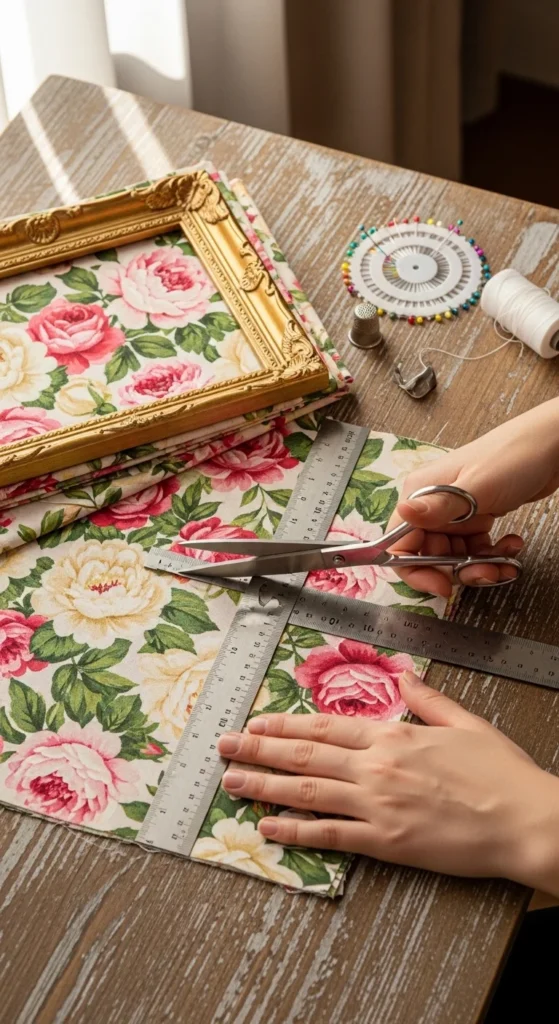
Step 1: Measure and Cut Your Fabric
Start by measuring the area you want the fabric to cover.
If you are wrapping fabric around a backing board or canvas, cut the fabric so it extends a few inches beyond each edge. That extra fabric gives you enough room to pull and secure it tightly on the back.
Keep these tips in mind:
- iron the fabric first so it lies flat
- cut slowly for cleaner edges
- make sure the pattern is centered if it has a main design
- leave enough extra fabric to wrap around the frame or board
This step matters a lot if you are using patterned fabric. A floral print with the main flower cut off at the edge will not look as balanced as one centered nicely in the frame.
Step 2: Wrap the Fabric Smoothly
Now it is time to turn your fabric into art.
Lay the fabric face down on a flat surface. Place your backing board, canvas, or frame insert on top. Then begin folding the fabric edges over to the back, pulling gently so the front stays smooth.
Secure the fabric with:
- a staple gun for a firm hold
- strong craft glue for a simpler no-tool method
Work one side at a time. Pull the fabric taut, but not so tightly that it distorts the pattern.
When you get to the corners, fold them as neatly as possible, almost like wrapping a gift. Clean corners instantly make the whole project look more finished.
Before fully securing everything, flip it over once to check the front. Smooth out any wrinkles or uneven spots before moving on.
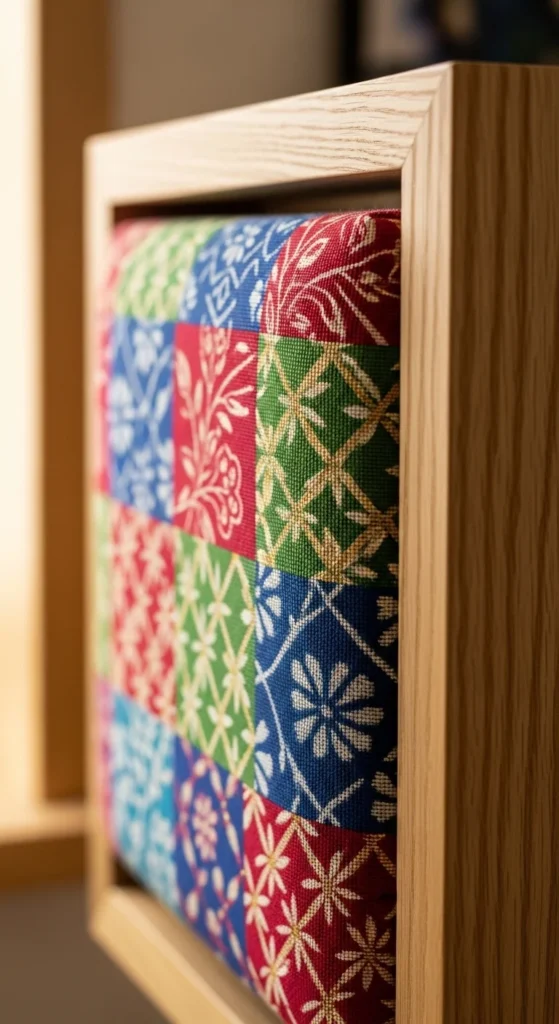
Step 3: Place It Into the Frame
Once your fabric is secured, insert the covered board or backing into the frame.
This is where the project suddenly starts to look polished and intentional. Even simple fabric can feel elevated once framed neatly.
You can use:
- natural wood frames for a warm look
- white frames for a light airy feel
- black frames for contrast
- vintage thrifted frames for charm
If your frame is shallow, make sure the fabric-wrapped backing still fits comfortably. Some people skip the original backing completely and use foam board cut to size instead.
This step is also a good time to decide whether you want one statement piece or a small wall collection.
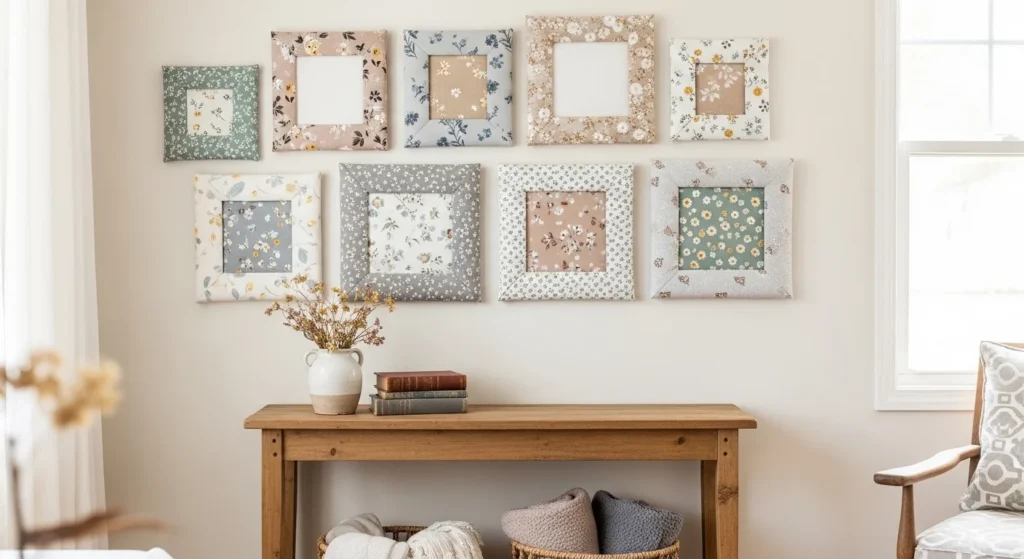
Easy Styling Ideas for Fabric Wall Art
Fabric-covered frames can be styled in so many ways, which makes them fun to personalize.
Try one of these ideas:
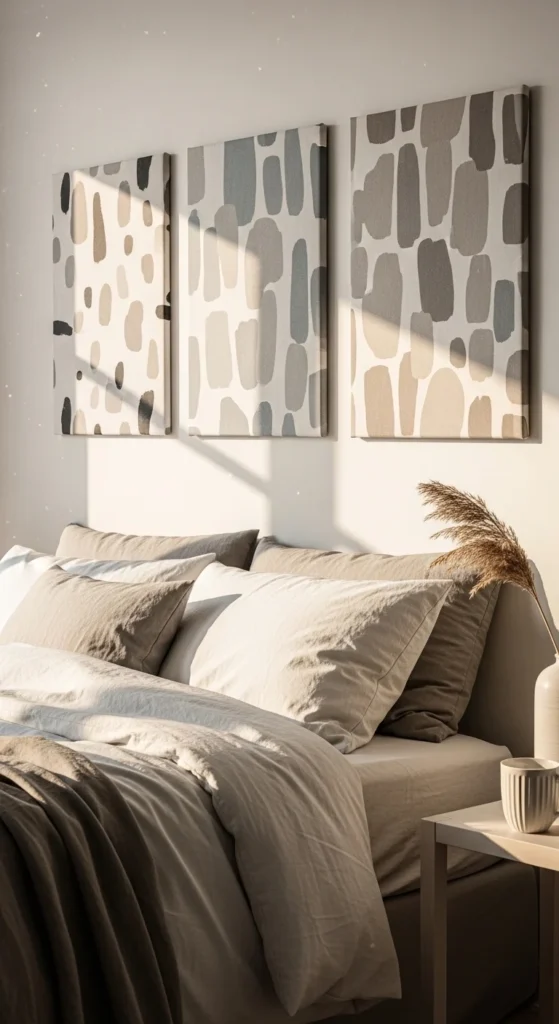
- create a set of three matching frames
- mix floral and striped fabrics in the same color palette
- use one oversized frame as a focal point
- combine fabric art with mirrors and photo frames
- make seasonal swaps using different fabrics throughout the year
This DIY also works well in rented spaces because it gives you a big decor impact without needing paint or expensive artwork.
If you want a Pinterest-friendly look, try keeping the frames cohesive with soft colors, layered textures, and simple styling nearby.
Tips for a More Professional Finish
A few small details can make homemade fabric art look much more expensive.
Use these tips:
- always iron your fabric first
- center bold patterns carefully
- keep the fabric tight and smooth
- use clean, neat folds at the corners
- choose frames that match your decor style
- hang pieces at eye level for the best effect
If one fabric feels too busy, pair it with a more neutral frame. If the pattern is simple, a darker or more decorative frame can help it stand out.
The nice thing about this project is that it is easy to redo. If you ever want a fresh look, you can simply swap the fabric.
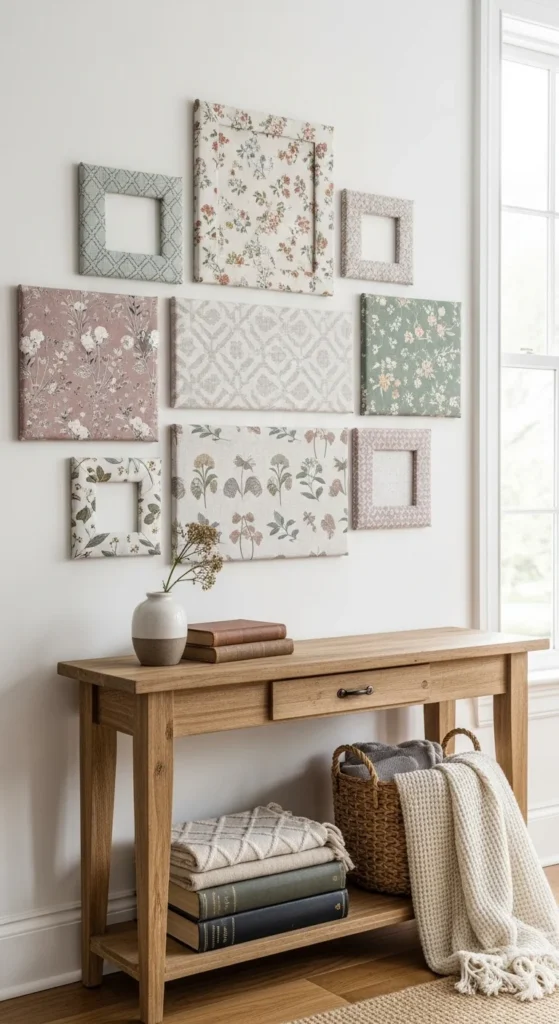
Where to Use Fabric-Covered Wall Art Frames
These frames work beautifully in all kinds of spaces.
You can hang them in:
- bedrooms above the bed
- entryways
- living rooms
- nurseries
- craft rooms
- home offices
- hallway gallery walls
They also make lovely handmade gifts for housewarmings, dorm rooms, or anyone who loves cozy decor.
Final Thoughts
Fabric-covered wall art frames are one of the easiest ways to create stylish DIY decor on a budget. With just a frame, a beautiful piece of fabric, and a little care, you can make wall art that looks custom, cozy, and completely personal.
It is a simple project, but it can make a big difference in how a room feels. Save this idea for later and try making your own fabric-covered wall art frames this weekend!

Lily Summers is a digital artist and creative storyteller who loves bringing colorful characters to life. With a passion for cartoons, fan art, and playful sketches, she inspires others to explore their imagination through art. When she’s not sketching, you’ll find her dreaming up new ideas for CraftedWizard.com to spark creativity in every artist. 🌈✨