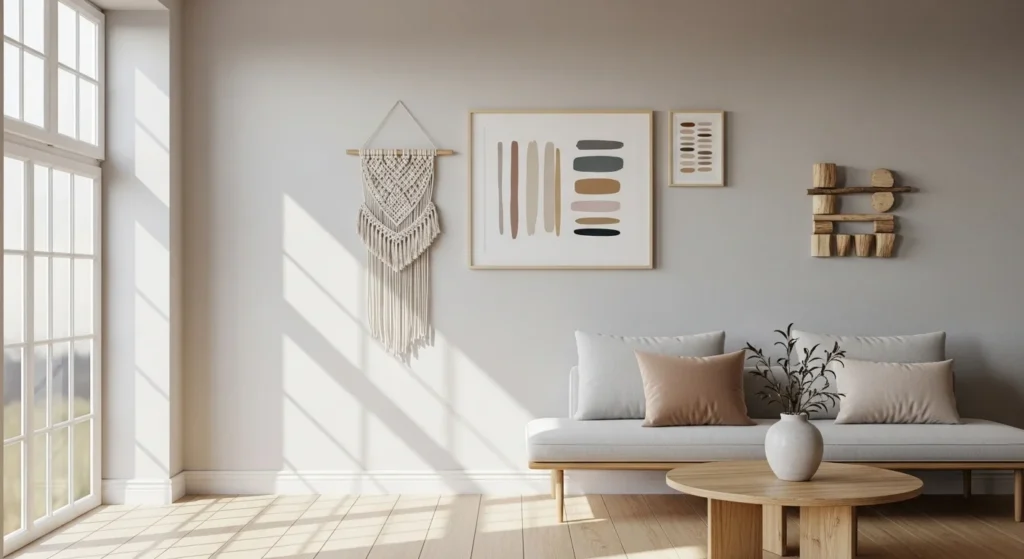
Blank walls can make even the coziest room feel unfinished. The good news? You don’t need expensive art, power tools, or a craft room full of supplies to fix that. With a few basic materials and a little creativity, you can make DIY wall décor that looks intentional, stylish, and completely personal.

This guide is perfect if you want big visual impact with small effort. Everything here is beginner-friendly, budget-conscious, and easy to customize for your space.
Why Minimal-Supply Wall Décor Works So Well
Simple wall décor has a quiet confidence. It doesn’t compete with your furniture or overwhelm the room.
Minimal-supply projects are great because:
- They’re affordable and low-risk
- They’re quick to make
- They fit many décor styles
- They’re easy to update or replace
You’ll focus more on layout, texture, and balance—and less on perfection.
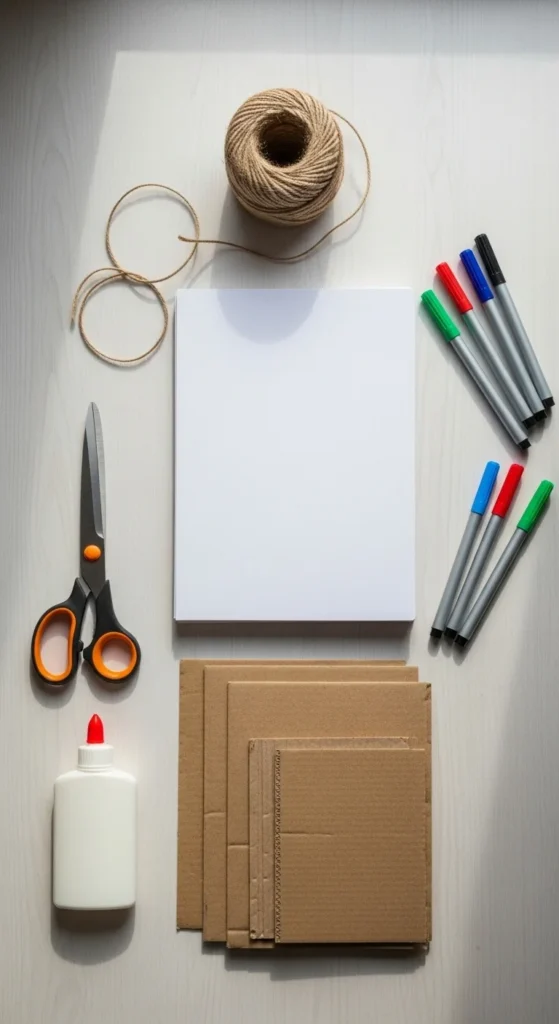
Supplies You Likely Already Have
Before buying anything, check what’s around your home. You’ll be surprised how far basics can go.
Common supplies include:
- Paper or cardstock
- Old magazines or books
- Cardboard or thin poster board
- Glue or double-sided tape
- Scissors
- Markers, pens, or paint
- String, twine, or yarn
Optional extras like frames, push pins, or washi tape can elevate the look—but they’re not required.
Idea 1: Simple Paper Art for Instant Impact
Paper art is one of the easiest ways to decorate a wall.
Try these ideas:
- Cut abstract shapes and arrange them in a grid
- Use folded paper for subtle 3D texture
- Tear paper edges for a soft, organic feel
Stick to a limited color palette to keep it looking intentional.

Attach with removable adhesive so you can rearrange anytime.
Idea 2: Textured Wall Hangings Using String or Yarn
Texture adds warmth, even with minimal materials.
You can create wall hangings by:
- Wrapping yarn around cardboard shapes
- Tying simple knots onto a stick or dowel
- Layering strings at different lengths
This style works beautifully in bedrooms, reading nooks, or cozy corners.
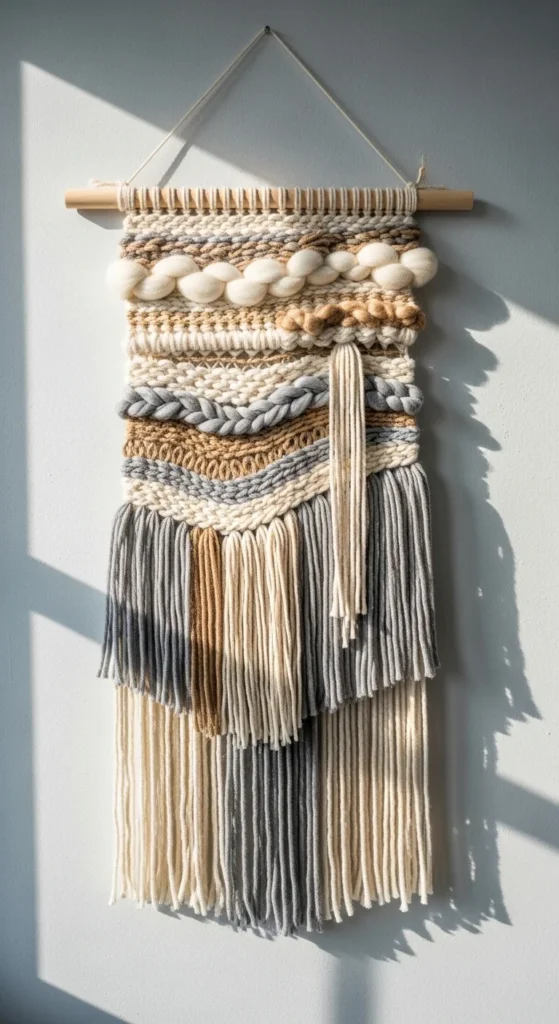
Keep colors muted for a modern look, or mix tones for playful energy.
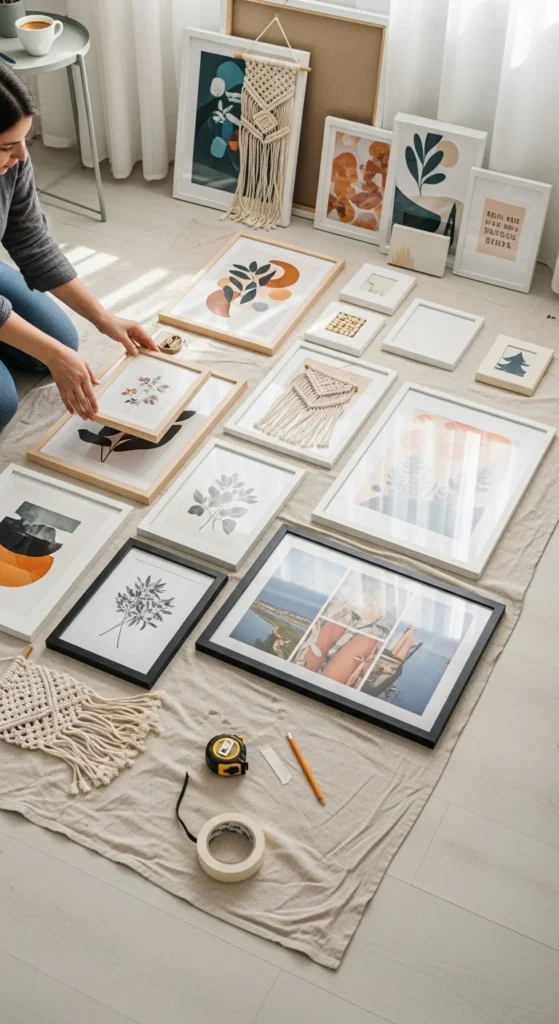
Idea 3: Framed Minimal Art Using What You Have
Frames instantly make DIY art feel finished.
Ideas to frame:
- Handwritten quotes or affirmations
- Simple line drawings
- Painted color swatches
- Pages from old books or magazines
You don’t need matching frames. A mix of sizes and finishes adds character.
Lay frames on the floor first to test your arrangement before hanging.
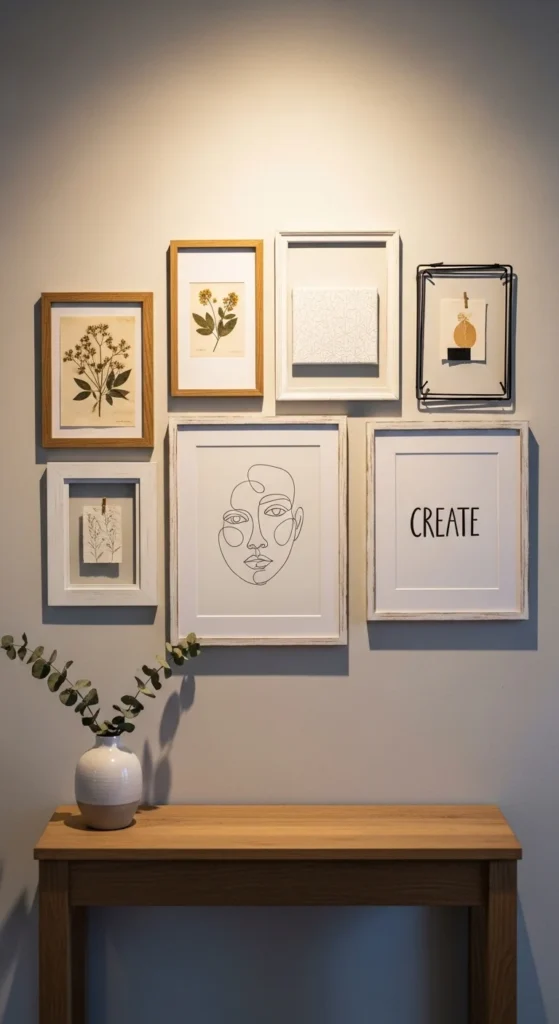
Idea 4: Grid or Gallery Layouts for Visual Balance
Even simple art looks impressive when arranged thoughtfully.
Popular layouts:
- Vertical stack for narrow walls
- Square grid for symmetry
- Loose gallery for relaxed spaces
Tips for clean layouts:
- Keep spacing consistent
- Align edges visually
- Limit the number of colors
Planning first saves holes—and frustration.
How to Attach Wall Décor Without Damage
If you’re renting or just cautious, skip nails.
Damage-free options:
- Removable adhesive strips
- Washi tape for lightweight pieces
- Push pins for fabric or paper
- Leaning art on shelves
Always test a small area first.
Styling Tips to Make DIY Décor Look Intentional
The secret isn’t the materials—it’s restraint.
Keep things polished by:
- Repeating colors or shapes
- Leaving negative space
- Grouping pieces instead of spreading them out
- Matching décor scale to wall size
Less clutter equals more impact.
Make It Personal (That’s the Real Magic)
DIY wall décor shines when it reflects you.
Personal touches could include:
- Travel maps or memories
- Children’s artwork
- Handwritten notes
- Favorite color palettes
These details turn walls into stories, not just decoration.
Final Takeaway
You don’t need fancy supplies to create beautiful wall décor. With a few basics, thoughtful layouts, and a bit of creativity, your walls can feel styled, warm, and uniquely yours.
Save this guide for later and start transforming your walls—one simple project at a time.

Lily Summers is a digital artist and creative storyteller who loves bringing colorful characters to life. With a passion for cartoons, fan art, and playful sketches, she inspires others to explore their imagination through art. When she’s not sketching, you’ll find her dreaming up new ideas for CraftedWizard.com to spark creativity in every artist. 🌈✨