
There’s something undeniably magical about turning a simple mold into a sparkling, personalized keychain. Resin crafts have taken the DIY world by storm, and adding glitter gives your creations that extra pop of charm. Making resin keychains is not only fun, but it’s also a fantastic way to create gifts, souvenirs, or even items to sell. Even beginners can craft adorable pieces with a few supplies and a little patience.
Gather Your Materials
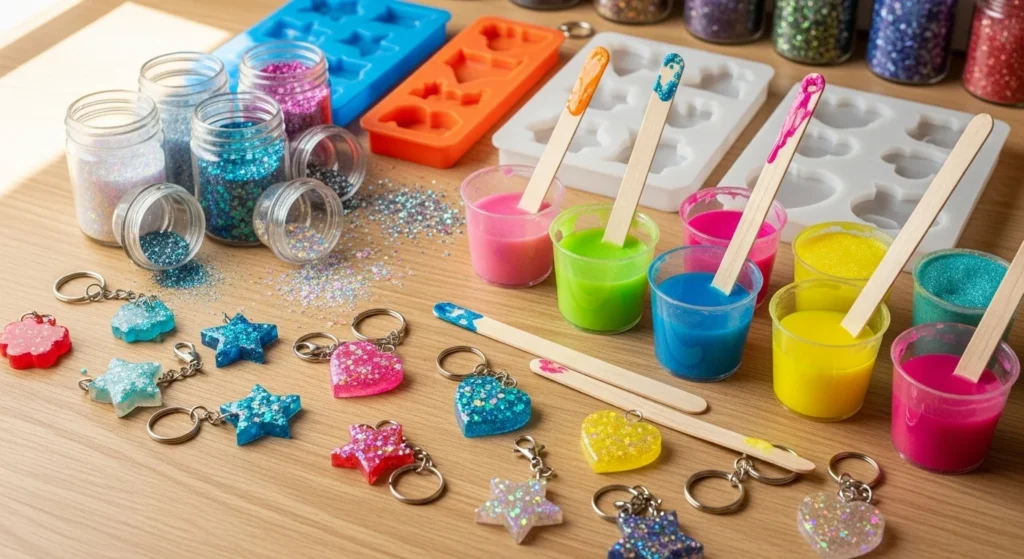
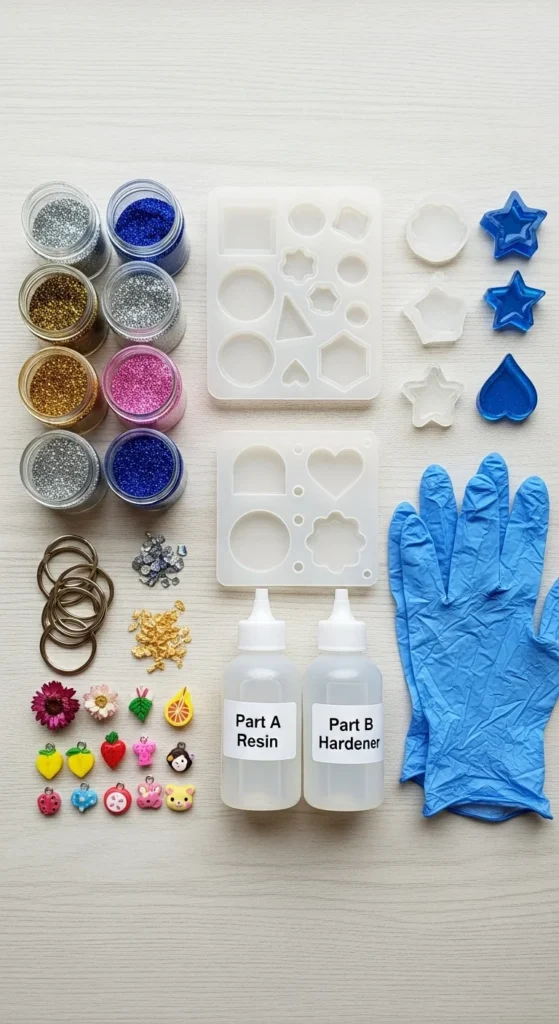
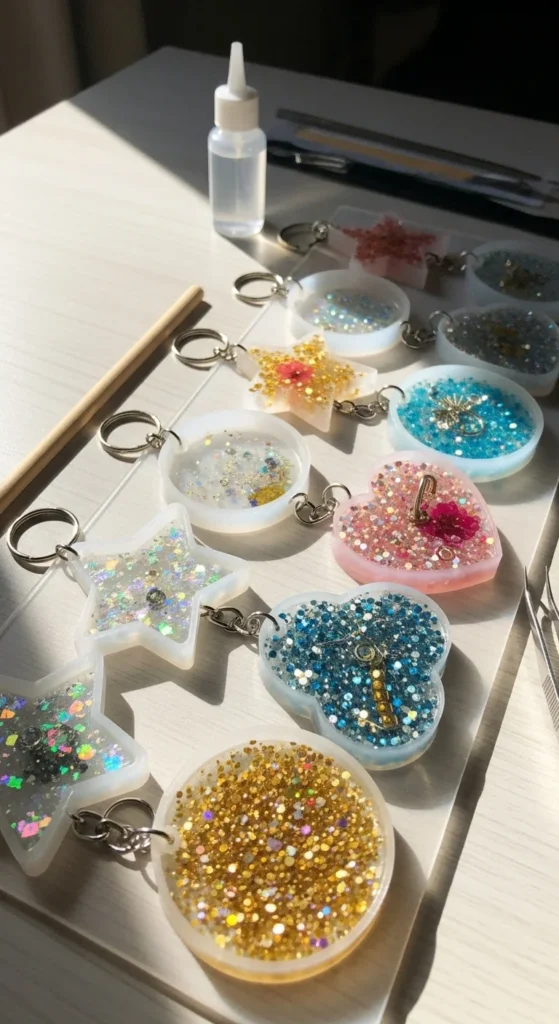
Before mixing resin and glitter, it’s important to have everything ready. This makes the process smoother and ensures beautiful results.
You’ll need:
- Clear epoxy resin and hardener
- Silicone keychain molds (shapes like hearts, stars, and animals)
- Fine glitter or glitter flakes
- Keychain hardware (rings, clasps, and small chains)
- Mixing cups, sticks, and disposable gloves
- Optional: resin dyes or small embellishments like dried flowers or charms
Tips:
- Work in a well-ventilated area to avoid resin fumes.
- Use gloves to prevent sticky fingers and keep your work clean.
- Choose mold shapes that match your personal style or theme.
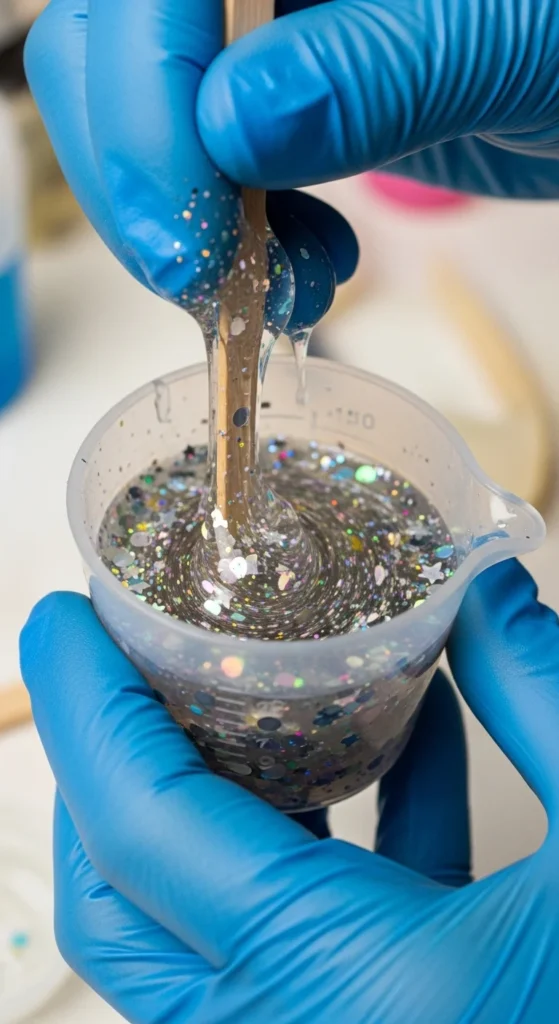
Step 1: Prepare Your Resin
Proper preparation is key to smooth, bubble-free keychains.
- Mix the resin and hardener according to the manufacturer’s instructions, usually a 1:1 ratio.
- Stir slowly to avoid air bubbles; scraping the sides and bottom helps achieve a consistent mix.
- If desired, add a few drops of resin dye or a small amount of glitter directly into the resin mixture.
Pro Tip: Use a heat gun or carefully blow on the surface to pop any stubborn bubbles before pouring.
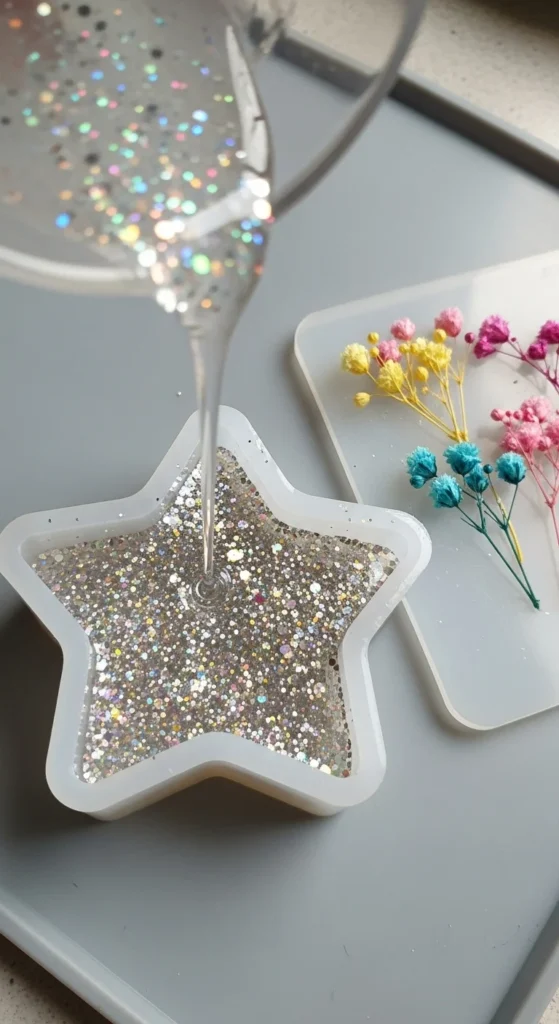
Step 2: Pour Into Molds
This is where your keychain begins to take shape.
- Pour the resin slowly into each mold cavity, filling to the desired thickness.
- Add extra glitter, dried flowers, or small charms for decoration.
- Tap the mold lightly on the table to settle the resin and release trapped air bubbles.
Tips for Success:
- Avoid overfilling the molds to prevent spills.
- Work in batches if using multiple molds.
- Use a toothpick to adjust or reposition small decorations.
Step 3: Let It Cure
Patience is key—resin needs time to harden properly.
- Cover your molds to protect from dust.
- Allow the resin to cure for the time specified on the packaging (usually 24–48 hours).
- Avoid moving the molds while curing to prevent uneven surfaces.
Pro Tip: For a glossy finish, lightly sand the edges after demolding and polish with a soft cloth.
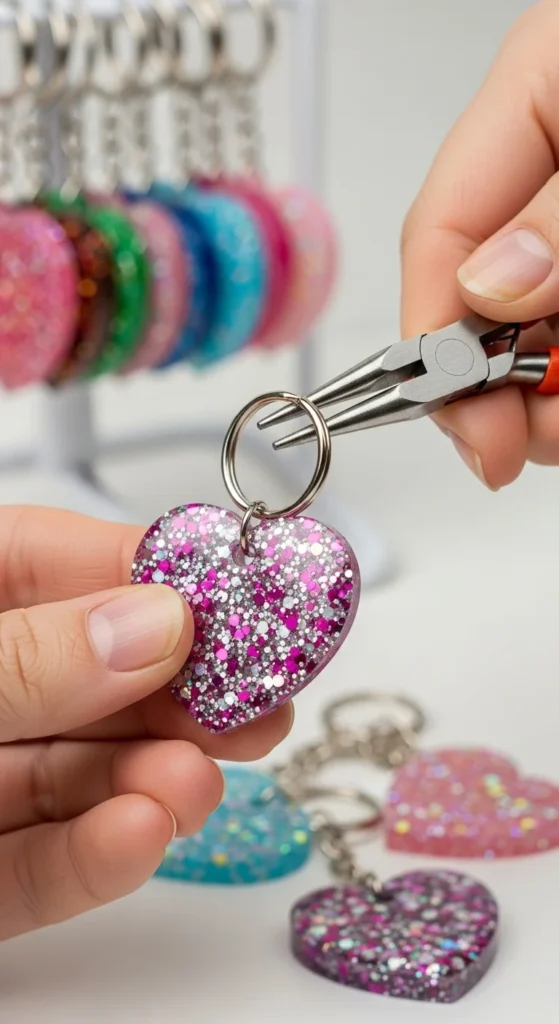
Step 4: Assemble the Keychains
Once the resin is fully cured, it’s time to add the hardware and turn your creations into functional keychains.
- Carefully remove the resin pieces from the molds.
- Attach jump rings, chains, and key rings using pliers.
- Double-check that all connections are secure to prevent pieces from detaching.
Tips:
- Mix and match different shapes or colors to create a themed set.
- Add charms or tassels for extra personality.
- Store finished keychains in a dust-free container if not gifting immediately.
Making resin keychains is a fun, creative craft that results in sparkly, personalized accessories. With a little patience and some glittery imagination, you can create pieces that are perfect for gifts, keepsakes, or even selling online.
Save this guide and start crafting your own resin keychains today—your keys, backpack, or purse will sparkle like never before!

Lily Summers is a digital artist and creative storyteller who loves bringing colorful characters to life. With a passion for cartoons, fan art, and playful sketches, she inspires others to explore their imagination through art. When she’s not sketching, you’ll find her dreaming up new ideas for CraftedWizard.com to spark creativity in every artist. 🌈✨


