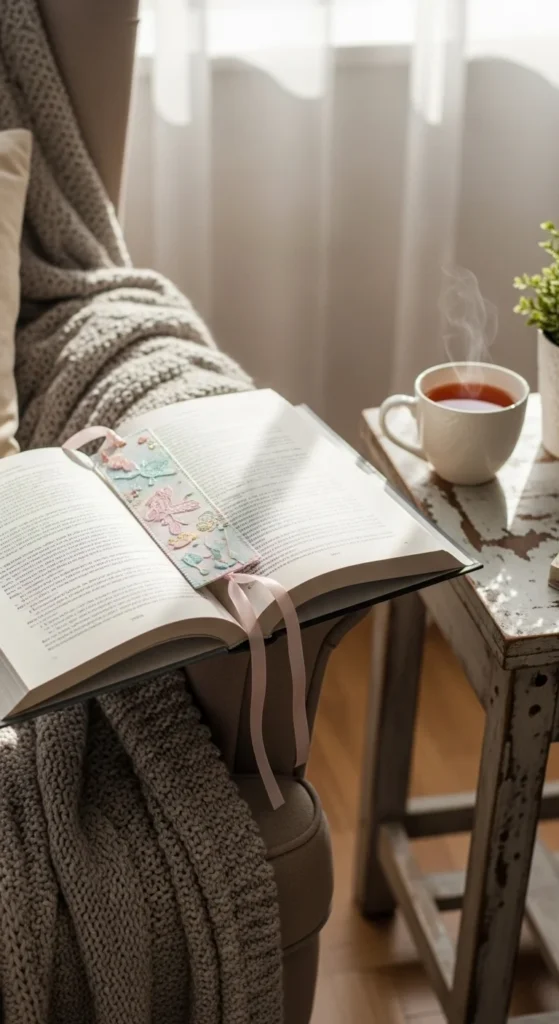
There is something oddly satisfying about opening a book and finding a bookmark you made yourself. It feels more personal, more cheerful, and honestly a lot more fun than using an old receipt or folded paper scrap. Cute DIY bookmarks are one of the easiest crafts to make at home, and they are perfect for kids, teens, students, book lovers, or anyone who wants a little extra charm in their reading routine.
The best part is that you do not need fancy tools or expensive supplies. With a few simple materials and a little creativity, you can make adorable bookmarks that are practical, giftable, and totally Pinterest-worthy.
Why DIY Bookmarks Are So Fun to Make
Cute bookmarks are the kind of project that gives instant results.
You can finish one in just a few minutes, and each design can be completely different. That makes them perfect for a relaxing afternoon craft session or a quick weekend DIY idea.
They are also great because they can be:
- budget-friendly
- beginner-friendly
- easy to personalize
- useful for school, journals, planners, or novels
- sweet handmade gifts for readers
You can go simple with cardstock and stickers, or get creative with ribbons, pressed flowers, paint, or washi tape. There is no single “right” way to make them, which is what makes this craft so enjoyable.
Supplies You Can Use
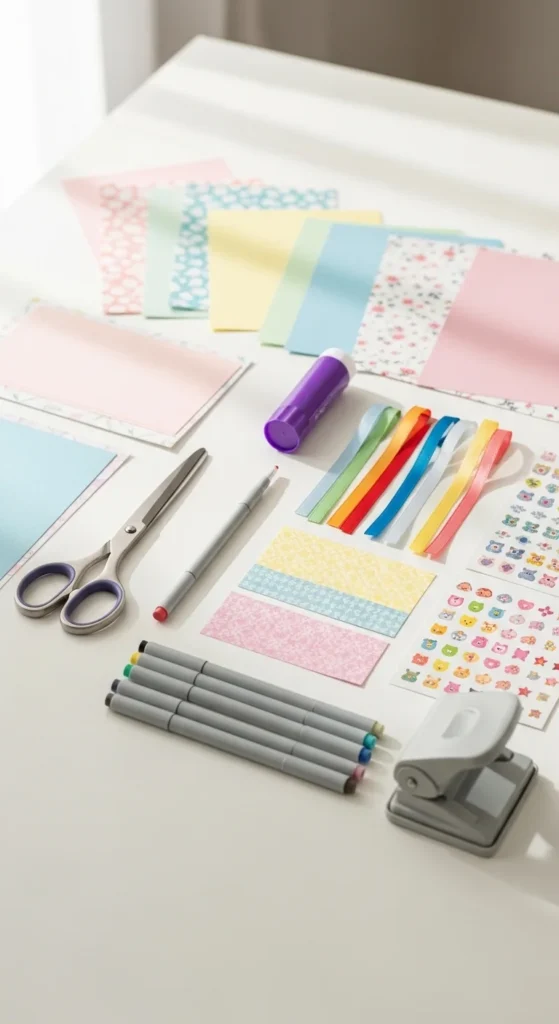
Before you start, gather a few basic materials. You probably already have many of them at home.
Here are some simple supplies that work well:
- cardstock or thick craft paper
- colored paper or patterned scrapbook paper
- scissors
- glue stick or craft glue
- markers, pens, or colored pencils
- stickers
- washi tape
- hole punch
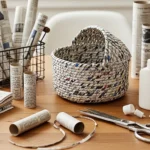
- ribbon, yarn, or embroidery thread
- laminating sheets or clear tape for durability
If you want a sturdier bookmark, cardstock is the easiest option. It holds its shape well and gives you a nice base for decorating.
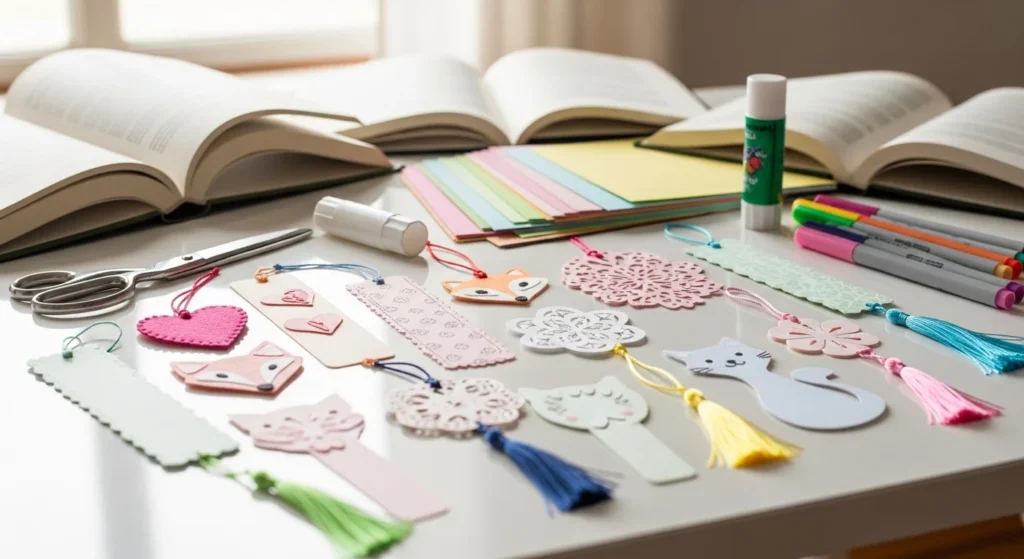
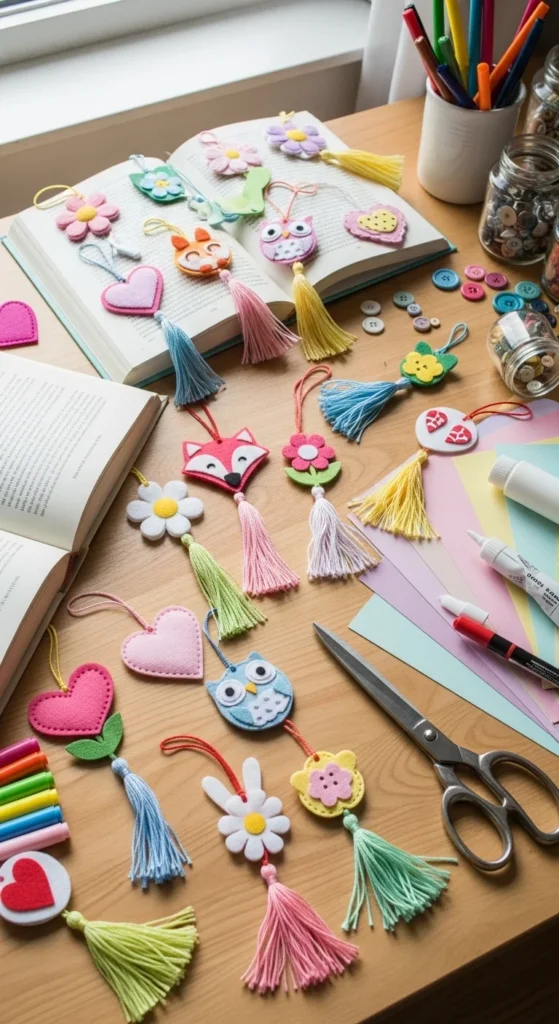
Step 1: Choose Your Bookmark Style
The first step is deciding what kind of bookmark you want to make.
Some cute and easy options include:
- classic rectangle bookmarks
- corner bookmarks that slide over the page
- heart-shaped bookmarks
- tassel bookmarks
- animal face bookmarks
- floral or nature-inspired designs
If you are making bookmarks for kids, animal shapes or bright colors are always a fun choice. If you want something more aesthetic, try soft pastel tones, dried flowers, or minimal hand-drawn patterns.
A classic rectangular bookmark is the easiest place to start. Just cut a strip of cardstock about 2 by 6 inches. That size fits nicely in most books without being too bulky.
Once you have your shape, you can start turning it into something cute and personal.
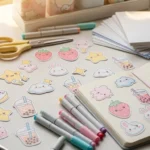
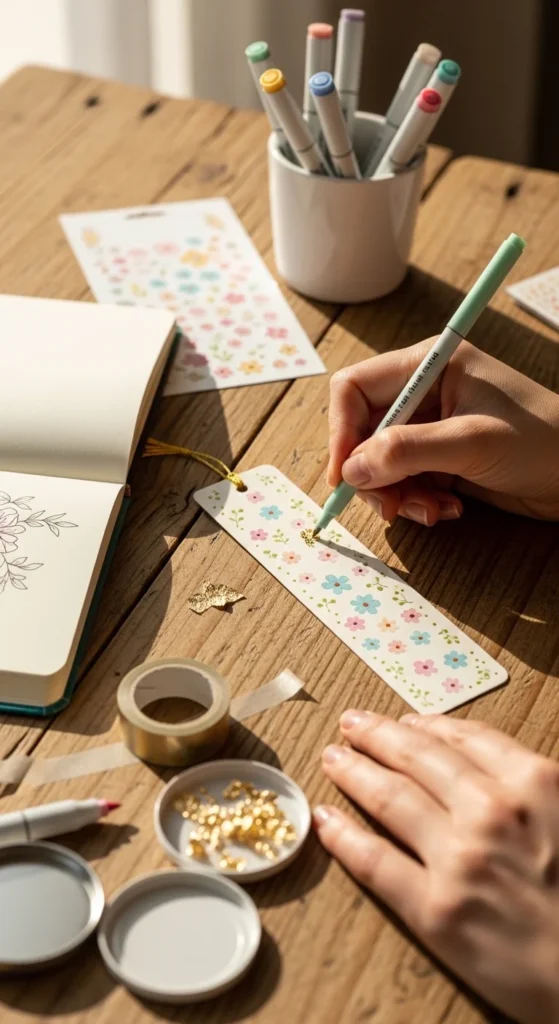
Step 2: Decorate With Simple, Adorable Details
This is where the real fun begins.
Decorating bookmarks does not need to be complicated. In fact, the cutest designs are often the simplest. Start with a clean base, then add a few charming details that make it stand out.
Try ideas like:
- tiny hearts, stars, or daisies
- smiley faces
- soft watercolor backgrounds
- polka dots or stripes
- stickers of animals, books, or flowers
- little doodles around the edges
- layered paper cutouts
You can also match your bookmark to your reading mood. For example, make one with moons and clouds for fantasy books, or a floral design for spring reading.
A good tip is to stick to one color palette. That helps the bookmark look more polished and put together. Pastels, warm earthy shades, or bright rainbow colors all work beautifully.
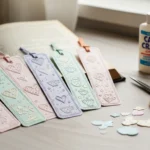
Step 3: Add Texture and Special Touches
Once your bookmark is decorated, you can make it even cuter with small finishing details.
One of the easiest ways is to punch a hole at the top and add a ribbon or tassel. This tiny detail makes a bookmark feel extra special and helps it peek out beautifully from the top of a book.
You can also:
- layer patterned paper over plain cardstock
- use washi tape along the edges
- add a pressed flower under clear tape
- outline the shape with metallic pen
- laminate the bookmark for a glossy finish
If you do not have a laminator, clear packing tape works surprisingly well. Just cover both sides carefully, smooth out air bubbles, and trim the edges.
This is especially useful if the bookmark will be used every day. A more durable finish means your cute design lasts longer.
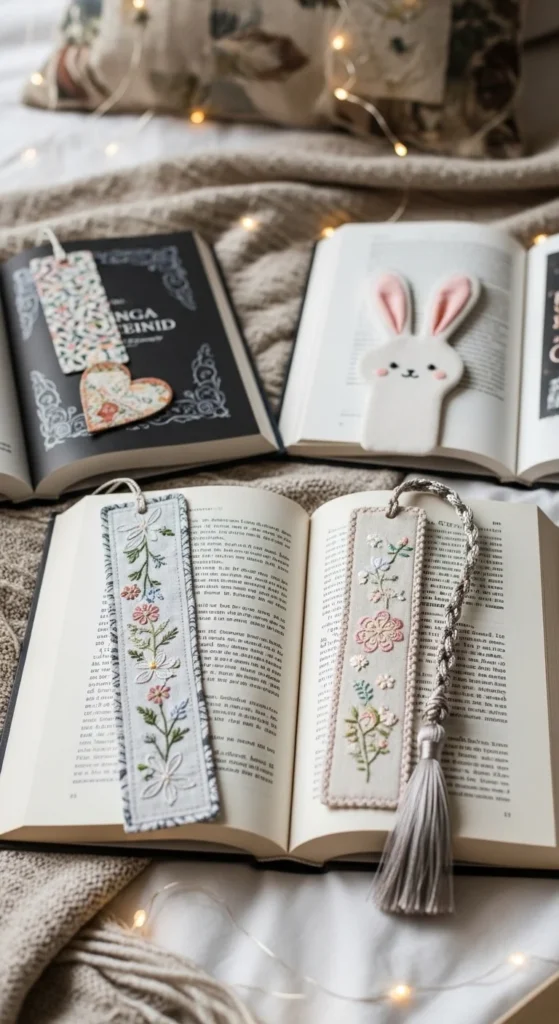
Step 4: Try Easy Bookmark Ideas Anyone Can Make
If you want inspiration, here are a few simple bookmark ideas that always turn out adorable:
Corner Heart Bookmark
Fold paper into a corner pocket shape and decorate the front like a heart. It slips right over the page corner and looks sweet and neat.
Animal Face Bookmark
Cut a rectangle or corner bookmark and add ears, whiskers, or sleepy eyes. Cats, bears, frogs, and bunnies are especially cute.
Floral Bookmark
Use a soft paper background and decorate with tiny flower drawings, pressed petals, or floral stickers for a delicate look.
Tassel Bookmark
Keep the bookmark simple and elegant, then add a fluffy tassel made from yarn or embroidery thread.
Patterned Bookmark Set
Make a matching set using different prints and colors. This works well if you want gifts for friends, classmates, or book club members.
Tips to Make Your Bookmarks Look Extra Cute
A few small choices can make a big difference.
Keep these tips in mind:
- use thicker paper so the bookmark feels sturdy
- trim edges neatly for a clean finish
- avoid over-decorating one small space
- mix 2 to 3 main colors instead of too many
- add one standout feature like a bow, tassel, or sticker cluster
- make a few at once so you can create a matching collection
It is also fun to theme your bookmarks by season. Think pastel flowers for spring, sunshine colors for summer, leaves for autumn, or cozy stars and moons for winter reading.
Make Them for Gifts, School, or Your Reading Nook
DIY bookmarks are not just cute. They are useful too.
You can make them:
- as party favors
- for classroom crafts
- as handmade gifts for book lovers
- for journaling and planners
- to match your bedroom or reading nook aesthetic
They are a small project, but they bring a lot of personality to your books. And because they are so easy to make, you can keep experimenting with new looks anytime inspiration strikes.
Final Thoughts
Making cute bookmarks is one of those simple DIY projects that feels creative, relaxing, and actually useful. You do not need a big budget or special crafting skills to make something charming. Just a few supplies, a little imagination, and a love for pretty details can turn ordinary paper into adorable reading accessories.
Whether you make one for yourself or a whole set for friends, these bookmarks add a handmade touch that makes reading feel even more special.
Save this idea for later and make a few bookmarks for your next reading day!

Lily Summers is a digital artist and creative storyteller who loves bringing colorful characters to life. With a passion for cartoons, fan art, and playful sketches, she inspires others to explore their imagination through art. When she’s not sketching, you’ll find her dreaming up new ideas for CraftedWizard.com to spark creativity in every artist. 🌈✨