There’s something instantly joyful about custom stickers. They’re small, expressive, and endlessly useful perfect for planners, laptops, water bottles, packaging, or gifts. Whether you love digital precision or hands-on crafting, making your own stickers is easier than you think.
The best part? You can make beautiful custom stickers with a Cricut or completely by hand using affordable supplies and beginner-friendly steps.
Why Make Your Own Stickers?
Custom stickers give you full creative control.
They’re great because:
- You design exactly what you want
- They’re cheaper than ordering online
- You can make small batches anytime
- They’re perfect for gifts or small businesses
Once you learn the basics, stickers become one of the most versatile crafts you can make.
Sticker Types You Can Make at Home
Before starting, decide what kind of stickers you want.
Popular options include:
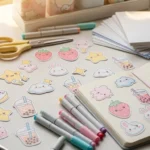
- Planner stickers (thin, matte paper)
- Vinyl stickers (durable and water-resistant)
- Die-cut stickers (shaped around the design)
- Kiss-cut stickers (easy-peel sheets)
Your method—Cricut or hand-cut—will influence which type is easiest.
Supplies You’ll Need (Cricut vs. Hand-Cut)
You don’t need everything. Choose based on how you want to work.
For Cricut Stickers:
- Cricut machine
- Cricut Design Space (or similar software)
- Sticker paper or printable vinyl
- Inkjet printer
- Cutting mat
For Hand-Cut Stickers:
- Sticker paper or adhesive paper
- Printer or markers
- Scissors or craft knife
- Clear tape or laminate (optional)
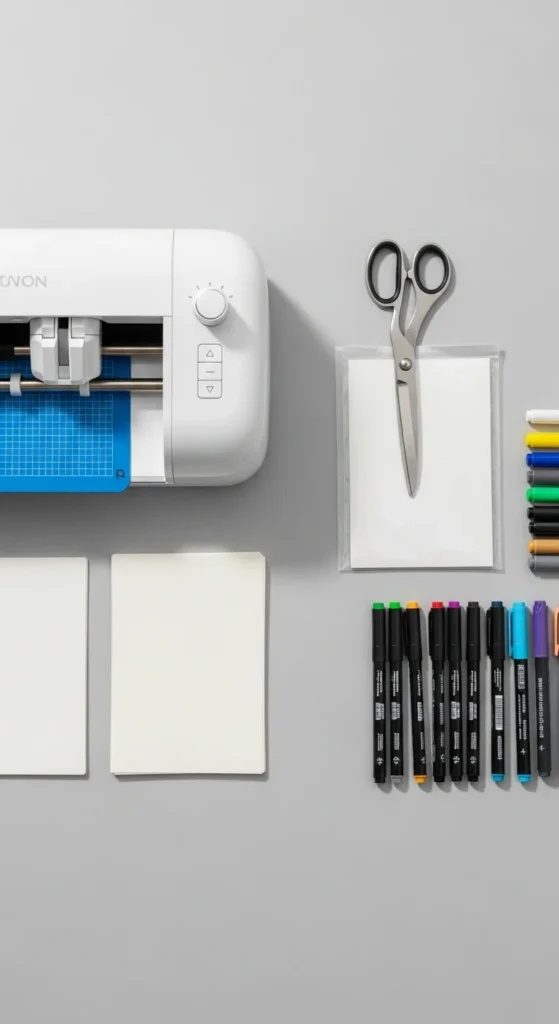
Both methods can produce great results—the difference is speed and precision.
Step 1: Create or Choose Your Sticker Designs
Start with the design.
You can:
- Draw designs by hand
- Use digital illustrations
- Create text-based stickers
- Use simple icons or shapes
Design tips:
- Keep details bold and clear
- Avoid super-thin lines
- Stick to a limited color palette
If working digitally, save designs as high-quality PNG files.
Step 2: Print Your Stickers
Printing is the same for both methods.
Helpful printing tips:
- Use the highest quality print setting
- Print on the correct side of sticker paper
- Let ink dry fully before cutting
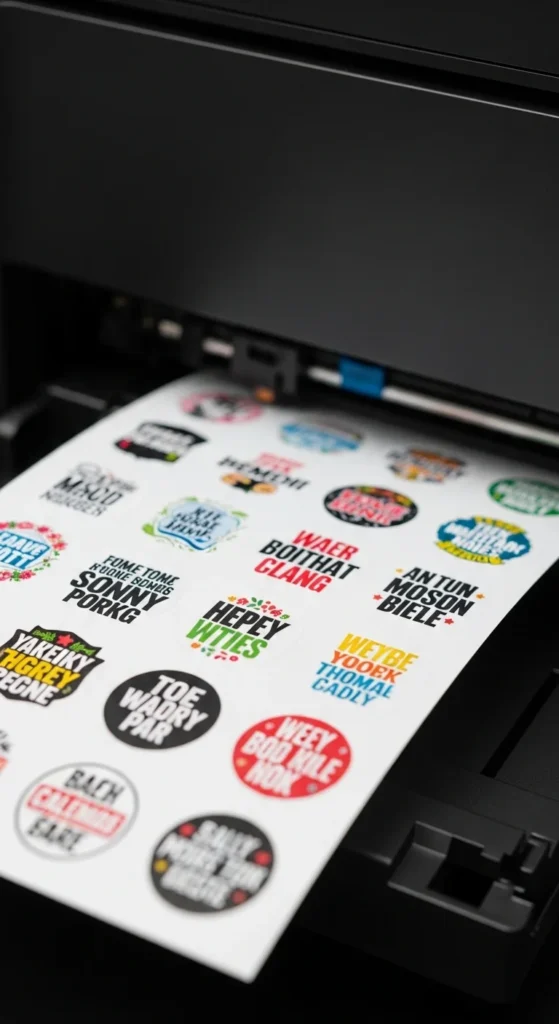
Always test-print on plain paper first to check size and layout.
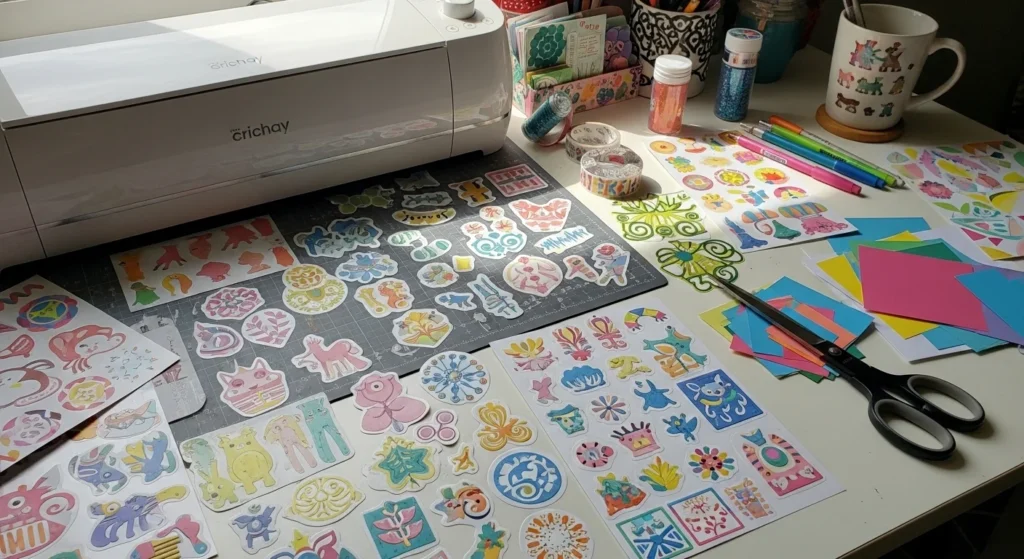
Step 3A: Cut Stickers Using a Cricut
If you’re using a Cricut, this step is fast and precise.
Basic Cricut process:
- Upload your design into Design Space
- Choose “Print Then Cut”
- Load your printed sticker sheet onto the mat
- Let the machine cut automatically
You can choose:
- Kiss cut for sticker sheets
- Die cut for individual stickers
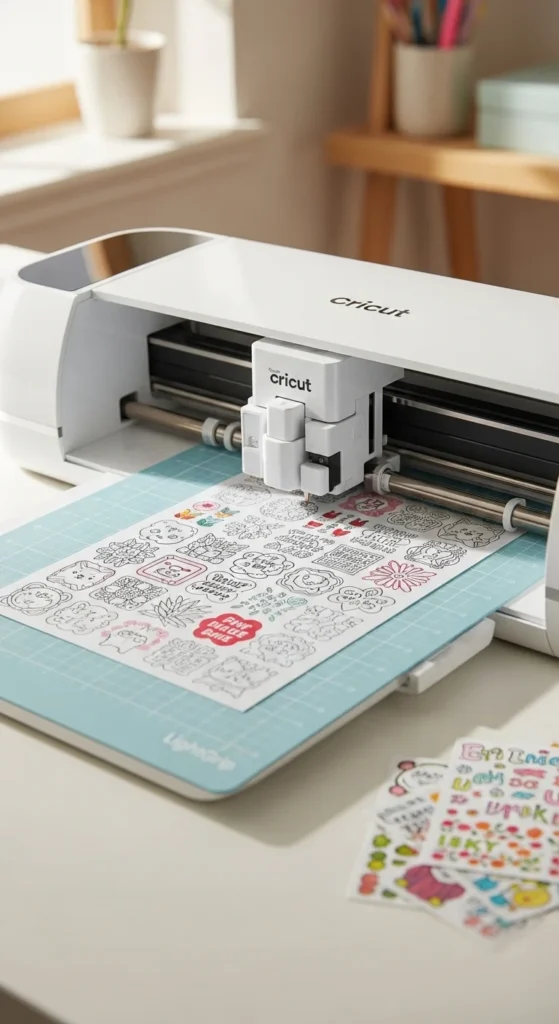
Cricut is ideal if you want professional-looking edges or plan to make many stickers.
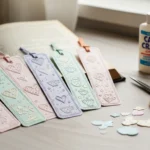
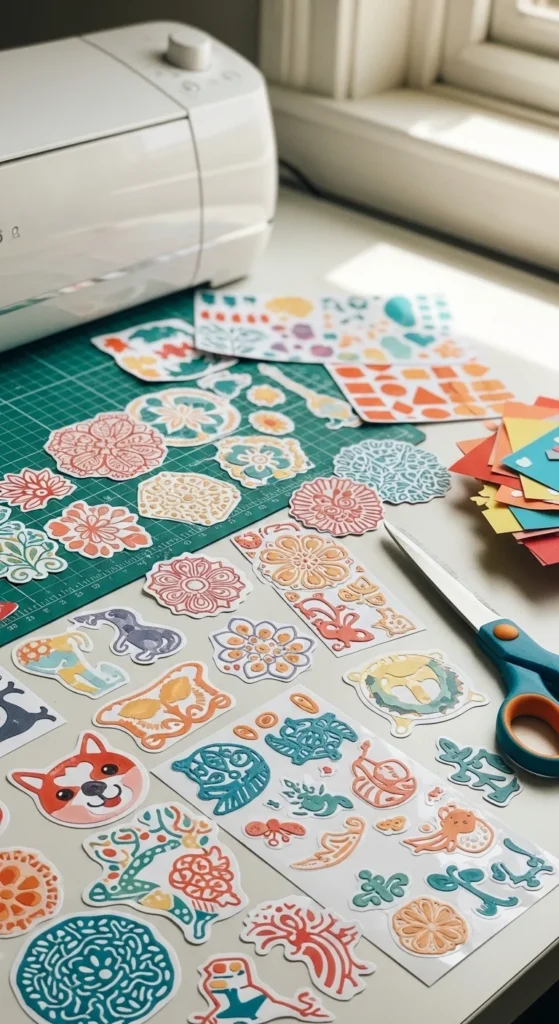
Step 3B: Cut Stickers by Hand
No machine? No problem.
Hand-cutting works best for:
- Simple shapes
- Small batches
- Relaxed, creative crafting
How to do it:
- Use sharp scissors for smooth edges
- Rotate the paper, not your hand
- Cut slowly around designs
For durability:
- Cover stickers with clear tape
- Trim edges again for a clean finish
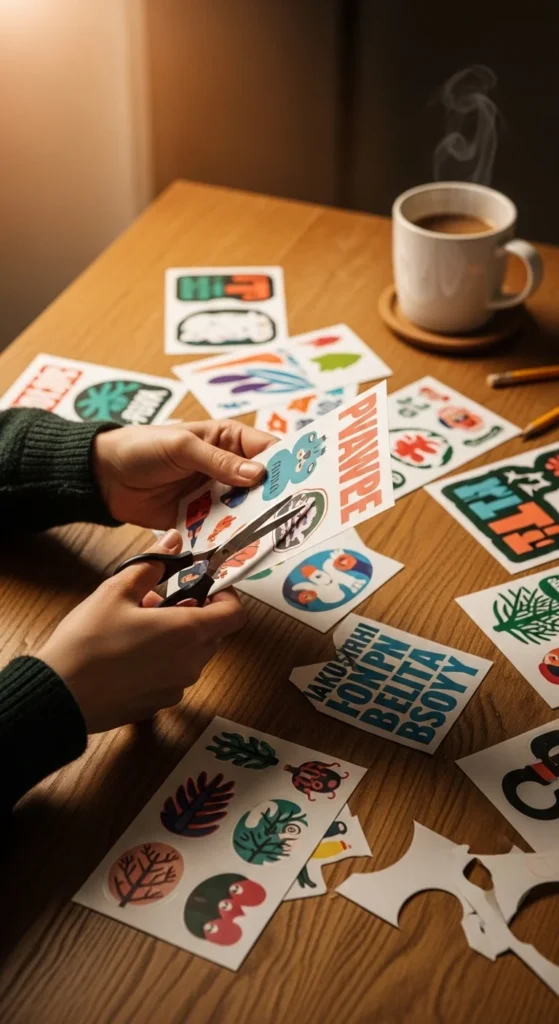
Hand-cut stickers feel personal and handmade—perfect for journaling or gifts.
Step 4: Optional Lamination for Durability
If you want stickers to last longer, add a protective layer.
Options include:
- Clear self-adhesive laminate sheets
- Clear packing tape
- Vinyl overlay (Cricut users)
This helps protect against:
- Smudging
- Light moisture
- General wear
Let everything dry completely before peeling or packaging.
Step 5: Peel, Test, and Adjust
Before making a big batch:
- Peel one sticker
- Stick it on a test surface
- Check adhesion and print quality
Adjust if needed:
- Thicker paper for sturdiness
- More laminate for protection
- Slightly larger designs for easier peeling
Testing saves supplies and frustration.
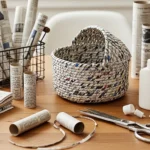
Creative Uses for Custom Stickers
Once you start, ideas multiply fast.
Use stickers for:
- Planners and journals
- Laptop or phone cases
- Gift wrapping
- Small business packaging
- Party favors
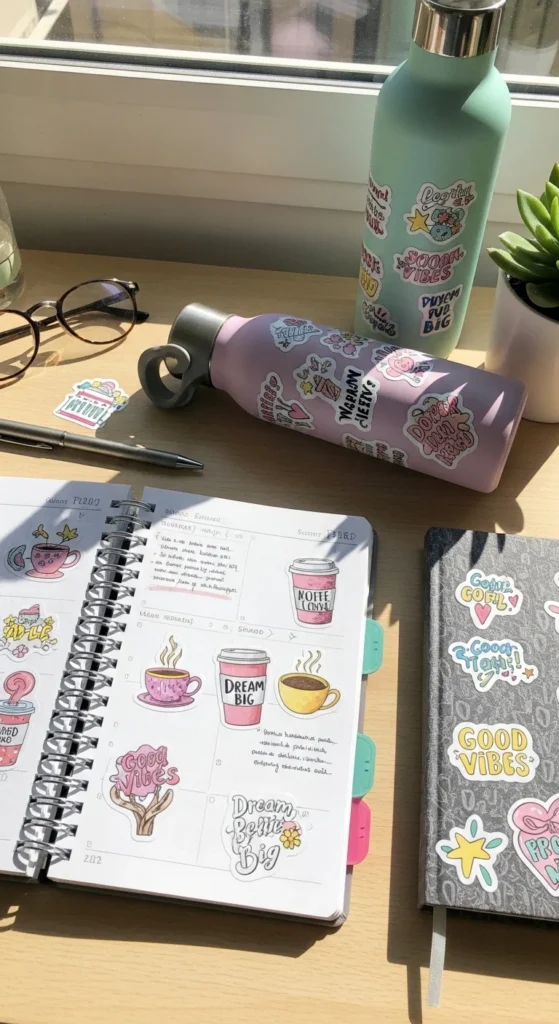
Stickers are small but they make a big visual impact.
Tips for Making Stickers Look Professional
A few details elevate your results.
Keep in mind:
- Consistent spacing on sticker sheets
- Clean white borders (or intentional no borders)
- Smooth cuts
- Simple designs over cluttered ones
Clean design always wins.
Cricut or Hand-Cut: Which Is Better?
Choose based on your goals.
- Cricut: faster, precise, great for selling
- Hand-cut: low-cost, relaxing, perfect for beginners
Many crafters start by hand and upgrade later.
Final Takeaway
Making custom stickers whether with a Cricut or by hand is creative, accessible, and incredibly fun. With simple supplies and a little experimentation, you can turn your ideas into stickers you actually love using.
Save this guide for later and start creating stickers that are uniquely yours.

Lily Summers is a digital artist and creative storyteller who loves bringing colorful characters to life. With a passion for cartoons, fan art, and playful sketches, she inspires others to explore their imagination through art. When she’s not sketching, you’ll find her dreaming up new ideas for CraftedWizard.com to spark creativity in every artist. 🌈✨