There is something instantly cozy about a candle glowing inside a pretty jar. It makes a room feel softer, warmer, and more put together in just a few seconds. The best part is that you do not need to buy expensive boutique candles to get that look. Making candles in jars at home is surprisingly simple, budget-friendly, and honestly a lot of fun.
Whether you want to create a calm corner in your bedroom, make handmade gifts, or add a stylish touch to your shelves, jar candles are one of the easiest DIY decor projects to try.
Why Jar Candles Are Such a Great DIY Project
Jar candles are perfect for beginners because they are practical and pretty at the same time.
The jar acts as both the mold and the final container, so the process feels less messy and more manageable than many other candle projects. They also look polished without needing a lot of decoration.
A few reasons people love making them:
- they are easy for beginners
- they make affordable handmade decor
- they can be customized with scents and colors
- they are perfect for gifts
- they look beautiful in almost any room
You can make them minimalist, rustic, soft and romantic, or clean and modern depending on the jars and scents you choose.
Gather Your Candle-Making Supplies
Before you begin, get your supplies ready so the process feels smooth and stress-free.
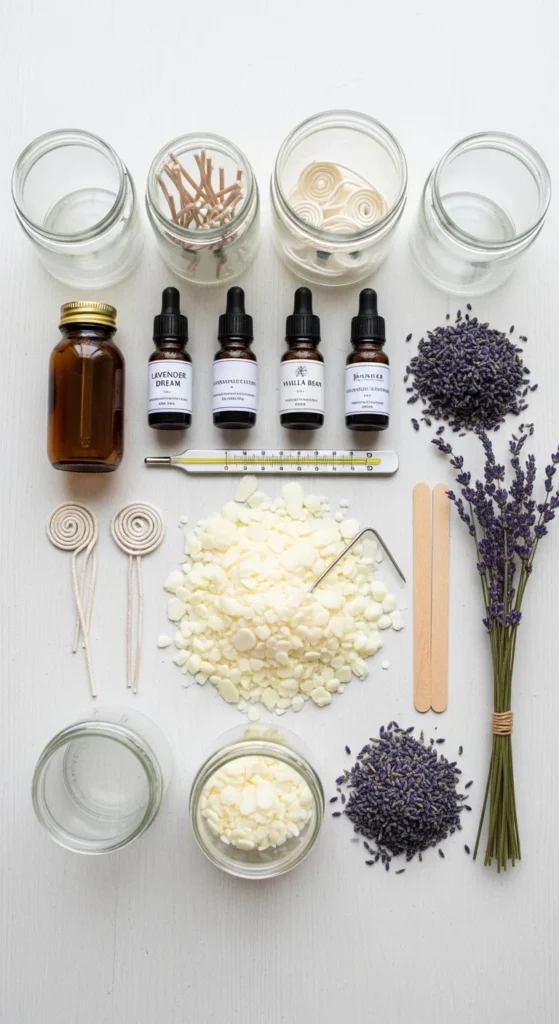
Here is what you will need:
- candle wax such as soy wax, paraffin wax, or beeswax
- clean jars or heat-safe glass containers
- candle wicks
- wick stickers or hot glue
- fragrance oil or essential oil if desired
- candle dye or wax color chips if desired
- a double boiler or heat-safe pouring container
- a thermometer
- a spoon or spatula for stirring
- clothespins, chopsticks, or wick holders
Soy wax is one of the most popular choices for beginners because it is easy to work with and gives a soft, clean look. Small glass jars, recycled jam jars, or amber apothecary jars all work beautifully.
Step 1: Prepare the Jars and Wicks
Start by making sure your jars are completely clean and dry. Even a little dust or moisture can affect the finished candle.
Next, attach the wick to the center bottom of each jar. You can do this with a wick sticker or a small dot of hot glue. Press it down firmly so it stays in place when you pour the wax.
To keep the wick straight, place a wick holder across the top of the jar. If you do not have one, a clothespin, pencil, or pair of chopsticks works just fine.
This step matters more than people think. A centered wick helps your candle burn more evenly and gives the finished jar a cleaner look.
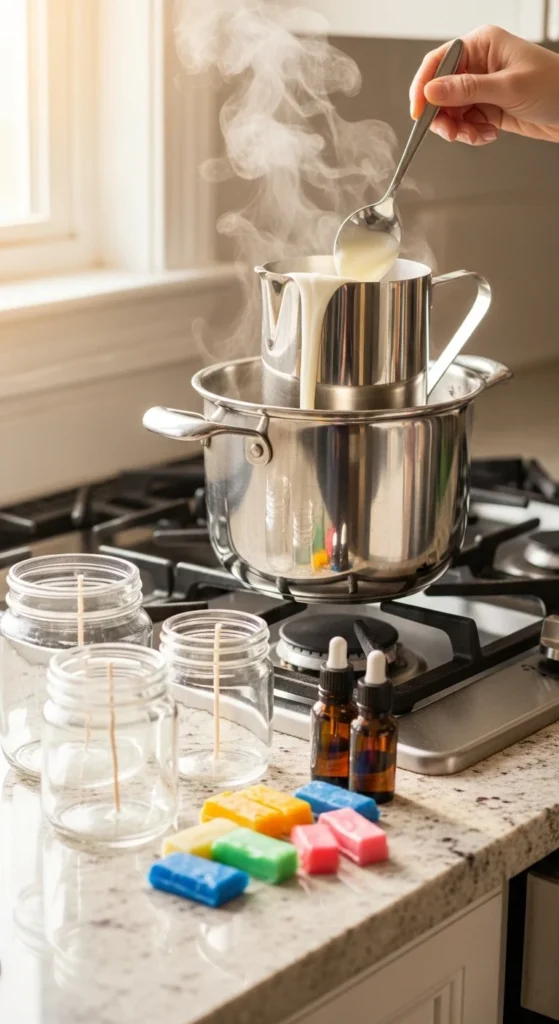
Step 2: Melt the Wax Slowly
Now it is time to melt the wax.
The safest method is to use a double boiler. Fill a pot with a little water, then place a heat-safe pouring pitcher or metal bowl over it. Add your wax and let it melt gently over medium-low heat.
Avoid rushing this part. Slow, even heat helps the wax melt smoothly.
As the wax melts:
- stir occasionally
- keep an eye on the temperature
- do not let water splash into the wax
- follow the wax package instructions if available
If you are adding color, mix it in once the wax is fully melted. If you are using fragrance oil, add it at the recommended temperature so the scent holds better.
Step 3: Add Fragrance and Pour Into the Jars
This is the part where your candles really start to come to life.
Once the wax has melted and cooled slightly to the right pouring temperature, stir in your fragrance oil if you are using one. Popular scent choices include vanilla, lavender, sandalwood, citrus, rose, and clean cotton.
Then carefully pour the wax into the prepared jars.
Try to pour slowly and steadily to avoid air bubbles or splashes. Leave a little space at the top of each jar for a neat finished look.
If the wick shifts while pouring, gently reposition it before the wax begins to set.
A few simple scent combinations to try:
- vanilla and cinnamon for a cozy feel
- lavender and eucalyptus for a calm vibe
- lemon and mint for a fresh clean scent
- rose and sandalwood for a soft elegant mood
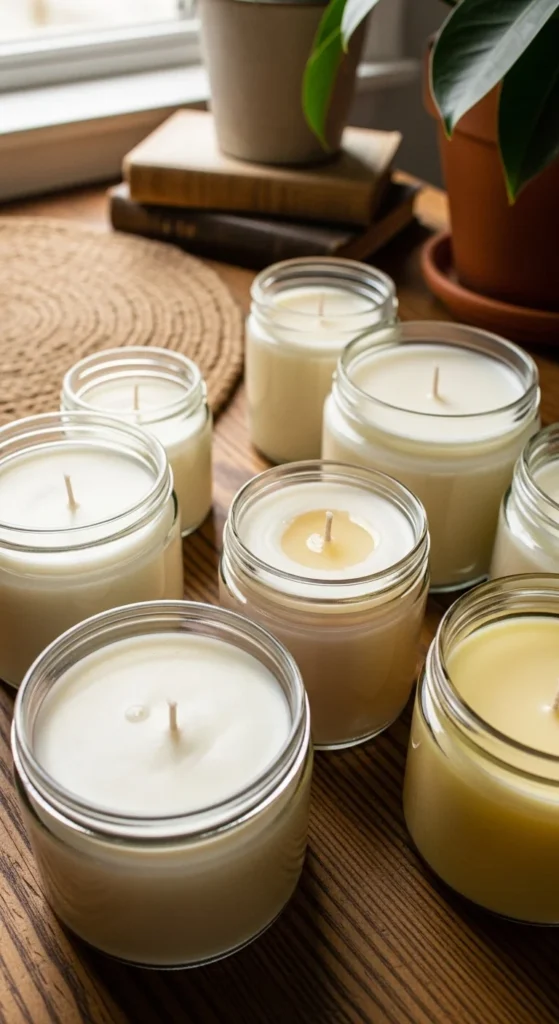
Step 4: Let the Candles Set Properly
After pouring, let the candles cool and harden completely at room temperature.
This part takes patience, but it makes a big difference. Moving the jars too soon can create uneven tops or small cracks in the wax.
Let them rest undisturbed for several hours or overnight if possible.
Once fully set:
- trim the wick to about 1/4 inch
- wipe the jar if needed
- add a lid or simple decoration if you want
- allow extra cure time for stronger scent throw, especially with soy wax
If the top looks a little uneven, that is normal for homemade candles. Many DIY candles have a natural handmade charm that makes them feel even more special.
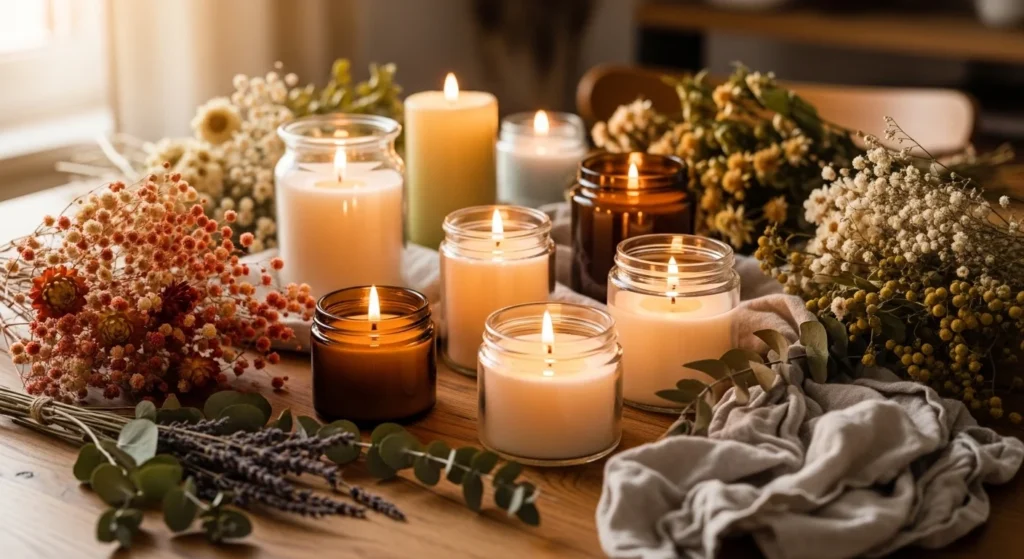
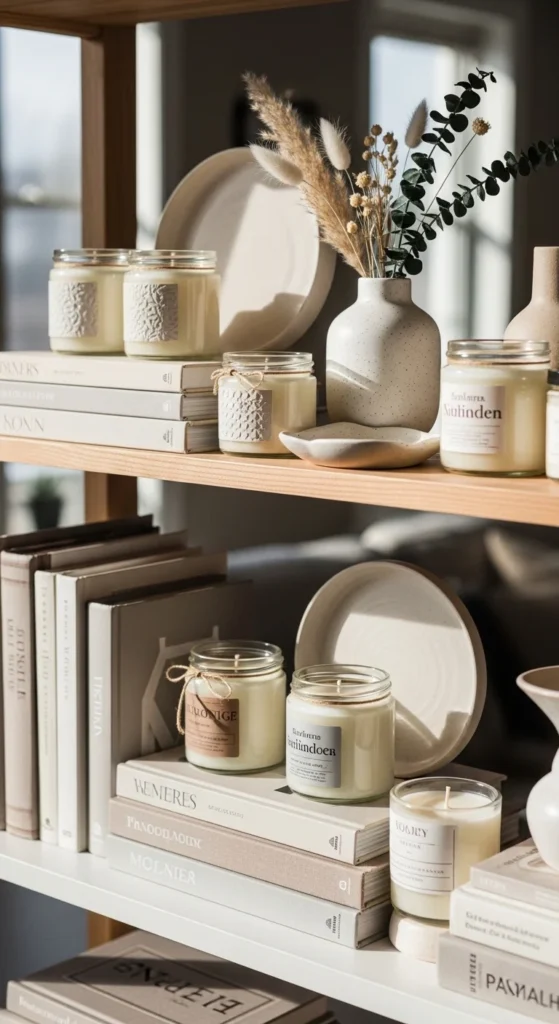
Easy Ways to Make Jar Candles Look Stylish
One reason jar candles are so popular is that they double as decor.
You can keep them simple or dress them up depending on your style. Even the most basic candle can look beautiful with the right finishing touches.
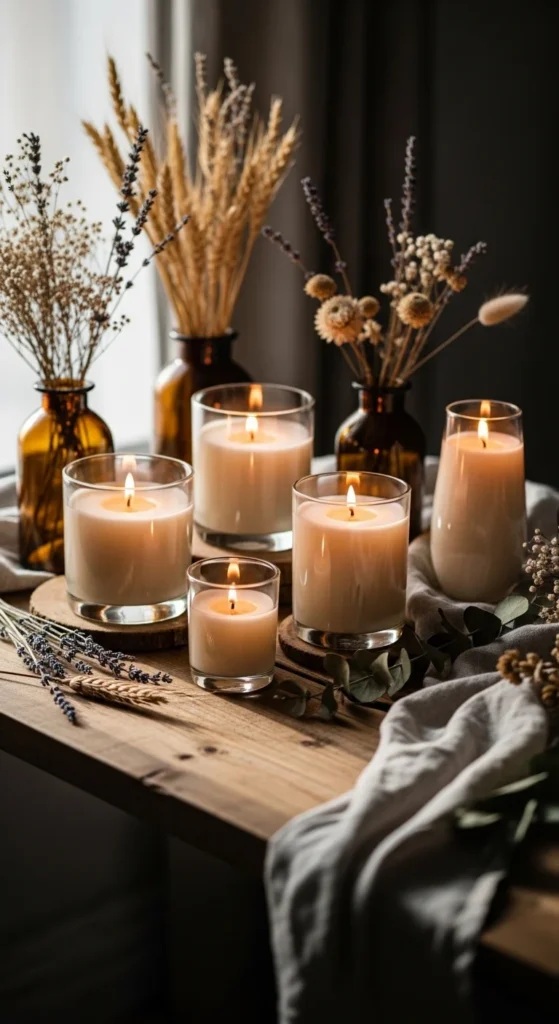
Try styling them with:
- amber or frosted jars for a modern look
- twine or ribbon tied around the lid
- small dried flowers nearby for a soft aesthetic
- minimalist labels if you are gifting them
- matching jar sets in different sizes
You can also create seasonal versions. Think fresh citrus for summer, pumpkin spice for fall, pine for winter, or floral scents for spring.
The jar itself makes a huge difference, so choose one that fits your decor style.
Beginner Tips for Better Homemade Candles
If this is your first time making jar candles, keep it simple.
These tips can help:
- use heat-safe containers only
- do not overdo the fragrance oil
- keep the wick centered from start to finish
- pour at the correct temperature for smoother tops
- let candles cure before using for best scent
- test one candle first before making a large batch
Homemade candles get easier every time you make them. Your first batch does not need to be perfect to look beautiful and work well.
Use Them for Decor, Gifts, and Cozy Moments
Jar candles are one of those DIYs that feel useful right away.
You can use them:
- on bedside tables
- in bathrooms
- on shelves or coffee tables
- as handmade gifts
- for dinner table styling
- in cozy reading corners
They add warmth without much effort, and because you made them yourself, they feel more personal than store-bought decor.
Final Thoughts
Making candles in jars is an easy and stylish DIY project that feels both creative and practical. With a few basic supplies, you can create beautiful candles that add warmth, scent, and personality to your home.
Whether you keep them for yourself or turn them into handmade gifts, jar candles are a simple way to make everyday spaces feel more special.

Lily Summers is a digital artist and creative storyteller who loves bringing colorful characters to life. With a passion for cartoons, fan art, and playful sketches, she inspires others to explore their imagination through art. When she’s not sketching, you’ll find her dreaming up new ideas for CraftedWizard.com to spark creativity in every artist. 🌈✨