There is something instantly comforting about a handmade candle. It makes a room feel warmer, a gift feel more personal, and an ordinary evening feel a little more special. If you have ever wanted an easy DIY project that looks beautiful, smells amazing, and actually feels useful, candle making at home is a great place to start.
The best part is that you do not need fancy tools or expert skills to make candles that look Pinterest-worthy. With a few simple supplies and a little creativity, you can make cozy decor for your home or thoughtful gifts for friends and family.
Why Making Candles at Home Is So Popular
Homemade candles are one of those DIY projects that feel both relaxing and rewarding. You get to choose the scent, the container, the color, and the overall vibe.
They are also perfect for:
- Cozy bedroom or living room decor
- Budget-friendly handmade gifts
- Holiday gift baskets
- Wedding or party favors
- Self-care nights at home
Store-bought candles can get expensive fast. Making your own lets you create something beautiful for much less, and you can customize every detail to match your style.
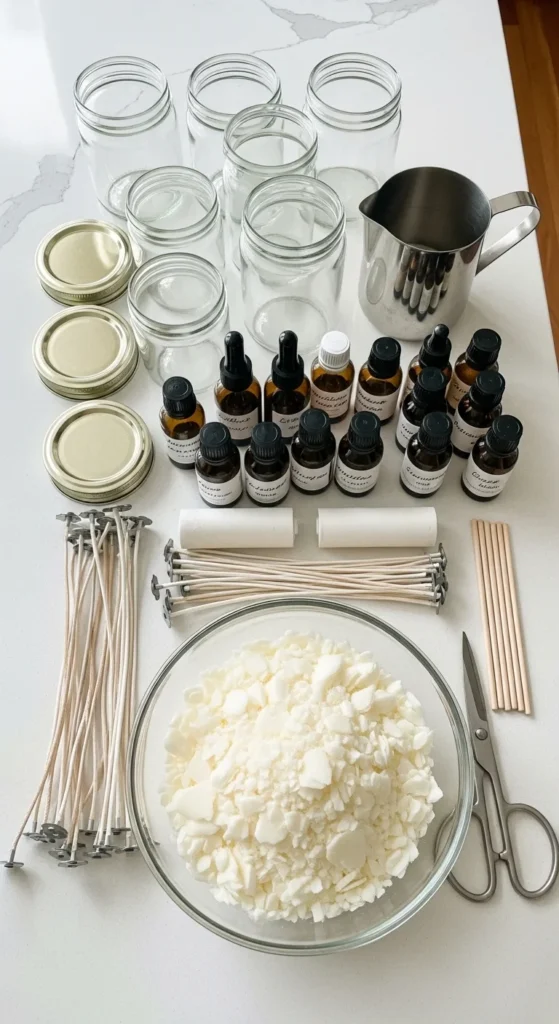
What You Need to Make Candles at Home
Before you start, gather your supplies. Most of them are easy to find online or at craft stores.
Here is a simple beginner-friendly candle supply list:
- Soy wax flakes or another candle wax
- Candle wicks
- Wick stickers or hot glue
- Glass jars, tins, or ceramic containers
- Fragrance oil or essential oil
- A heat-safe pouring pitcher
- A saucepan for double-boiler melting
- Clothespins, pencils, or chopsticks to hold wicks in place
- Optional dye chips or dried decorations for styling
Soy wax is a popular choice for beginners because it is easy to work with and gives a soft, clean look.
Step 1: Prepare Your Containers
Start by cleaning and drying your jars or candle containers. Any dust or moisture inside can affect the final candle.
Next, place the wick in the center of each container. You can use a wick sticker or a small dab of hot glue to secure it at the bottom. Once the wick is attached, wrap the top around a pencil or wooden stick laid across the jar opening. This helps keep the wick centered while you pour the wax.
A centered wick matters more than people think. It helps the candle burn evenly and gives your finished candle a polished look.
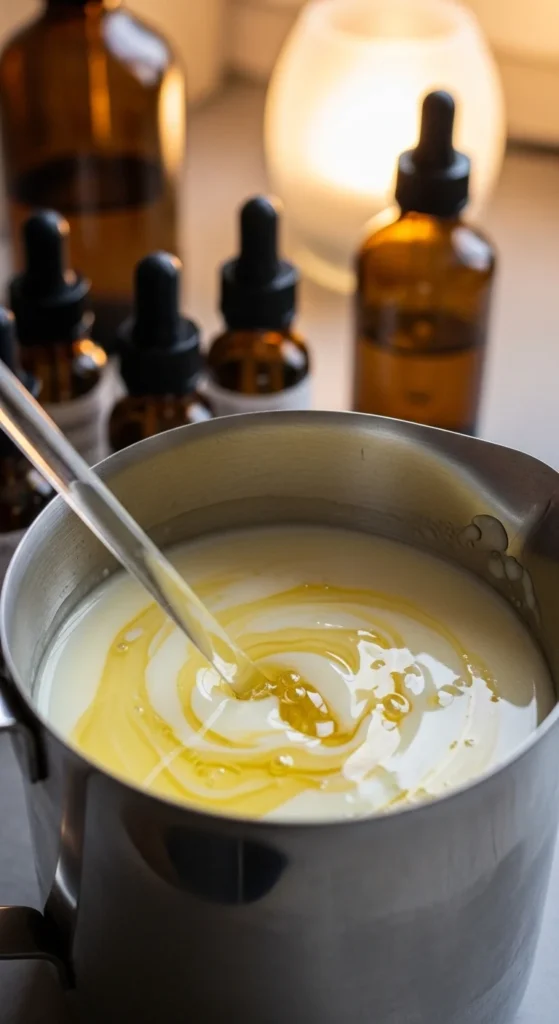
Step 2: Melt the Wax Safely
Fill a saucepan with a little water and place your pouring pitcher or heat-safe bowl inside to create a double boiler. Add your wax flakes and let them melt slowly over medium-low heat.
Do not rush this step. Gentle heat works best.
As the wax melts, stir it occasionally until it becomes smooth and fully liquid. Check the wax packaging for exact temperature recommendations, especially if you are using a specific wax brand.
A few quick safety tips:
- Never melt wax directly over high heat
- Do not leave melting wax unattended
- Keep water out of the wax
- Use heat-safe tools only
Step 3: Add Fragrance and Color
Once the wax has melted, remove it from the heat and let it cool slightly before adding fragrance oil. This helps the scent blend better instead of burning off too quickly.
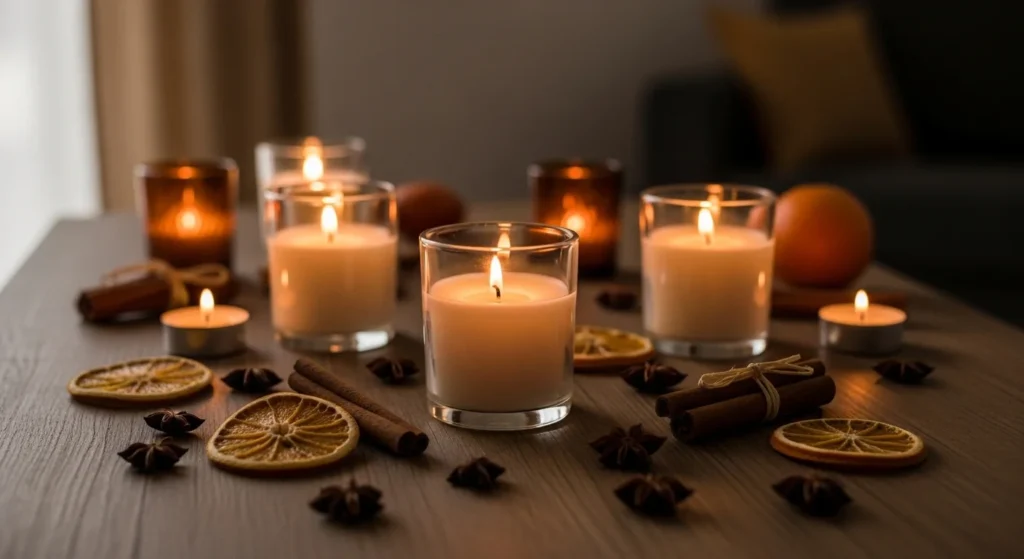
A good beginner rule is to use enough fragrance for a noticeable but not overpowering scent. Popular cozy candle scents include:
- Vanilla
- Cinnamon
- Lavender
- Amber
- Sandalwood
- Orange spice
You can also add candle dye if you want a tinted look. Soft neutrals, creamy whites, dusty pinks, and warm beige tones work beautifully for cozy home decor.
Step 4: Pour the Wax Into the Containers
Carefully pour the melted wax into your prepared jars. Leave a little space at the top so the candle looks neat and has room to burn safely.
Try to pour slowly and steadily. This helps reduce air bubbles and keeps the surface smoother.
After pouring, make sure the wick stays centered. Adjust it gently if needed.
Then let the candles cool completely at room temperature. Avoid moving them too much during this stage. A slow, undisturbed cooling process usually gives the best results.
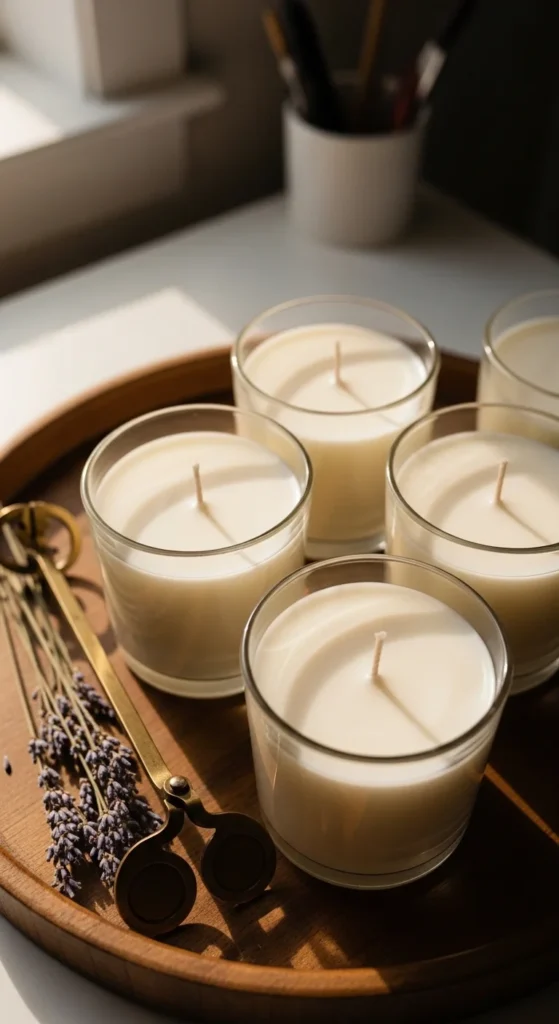
Step 5: Let the Candles Cure
This is the part many beginners want to skip, but it makes a big difference. Even if the candle looks set after a few hours, it is best to let it cure for at least a day or two before lighting it.
Curing helps the wax and fragrance bind together better. That means a stronger scent and a better burn.
Once the candle is fully set:
- Trim the wick to about one-quarter inch
- Wipe the jar clean if needed
- Add a lid, ribbon, or gift tag for presentation
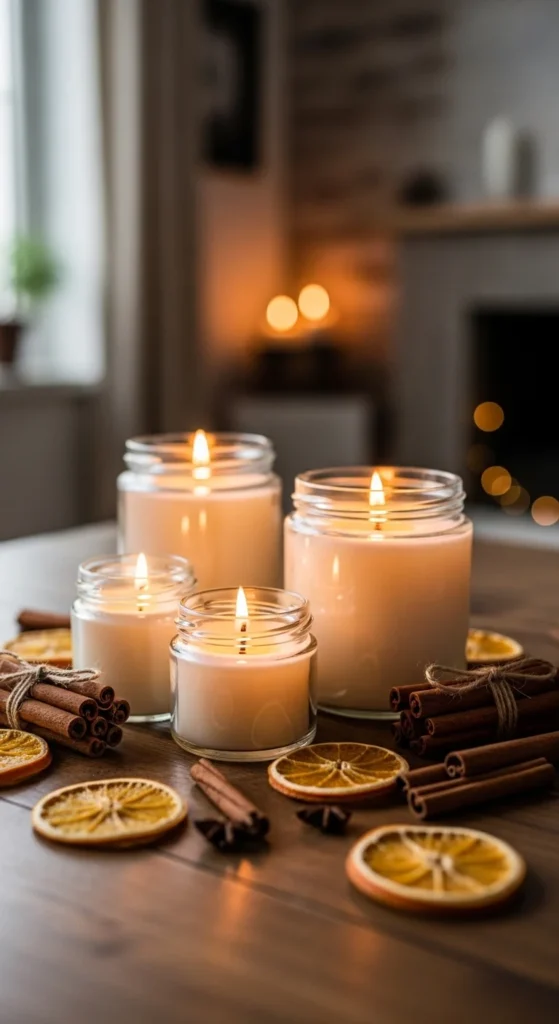
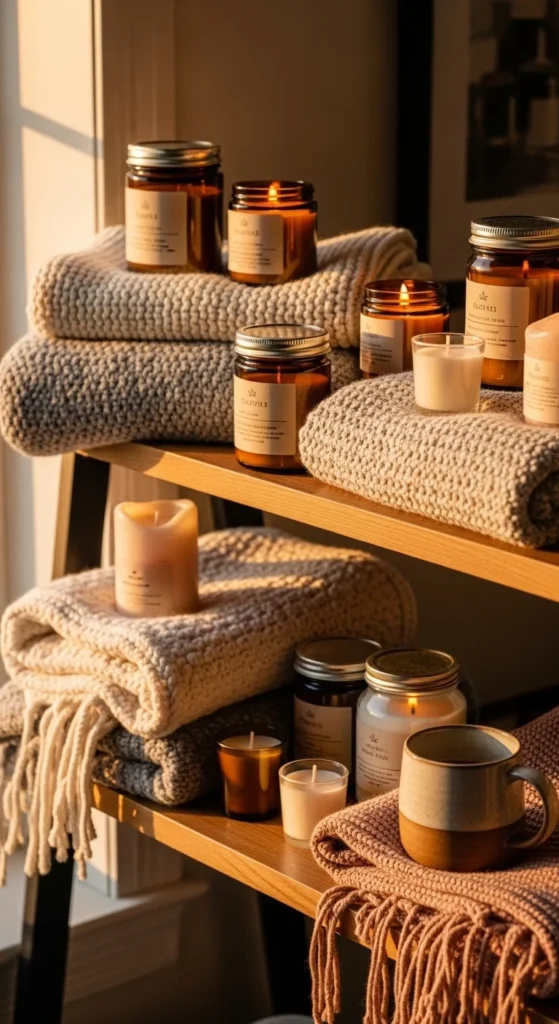
Easy Tips for Prettier Homemade Candles
If you want your candles to look extra giftable, a few small details go a long way.
Try these simple ideas:
- Use matching jars for a clean, modern set
- Decorate with twine, ribbon, or a minimal tag
- Stick to soft, cozy scent combinations
- Make small batches in different containers
- Pair candles with mugs, tea, or bath items for gifts
You can also create seasonal candles for different times of year. Think fresh floral scents for spring, citrus for summer, pumpkin spice for fall, and warm vanilla woods for winter.
Common Beginner Mistakes to Avoid
Candle making is simple, but a few mistakes can affect the final result.
Watch out for these common issues:
- Adding fragrance when the wax is too hot
- Using the wrong wick size for the container
- Pouring too fast
- Lighting the candle too soon
- Skipping wick trimming
Do not worry if your first candle is not perfect. That is part of the fun. Each batch teaches you something new, and even simple candles can still look beautiful.
Final Thoughts
Making candles at home is one of those DIY projects that feels calming, creative, and surprisingly practical. You get beautiful decor, custom scents, and handmade gifts all in one.
Start simple, enjoy the process, and do not stress about perfection. A homemade candle with a little personality often feels more special than anything store-bought.
Save this idea for later and make your own cozy candles this weekend.

Lily Summers is a digital artist and creative storyteller who loves bringing colorful characters to life. With a passion for cartoons, fan art, and playful sketches, she inspires others to explore their imagination through art. When she’s not sketching, you’ll find her dreaming up new ideas for CraftedWizard.com to spark creativity in every artist. 🌈✨