
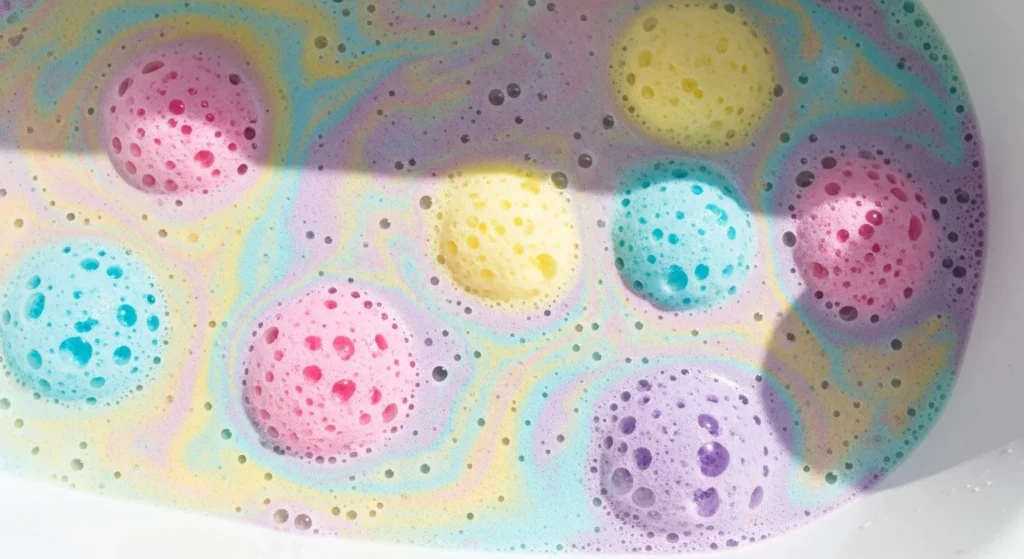
Ever drop a bath bomb into the tub only to watch it… barely fizz? That’s a letdown, especially when you’ve spent time mixing, molding, and waiting. The secret to that satisfying, bubbly reaction lies in the right balance of ingredients and a few small but mighty tricks during the making process. Whether you’re crafting them for gifts, self-care, or your Etsy shop, this guide shows how to make bath bombs that fizz beautifully—every single time.
Gather Your Simple Ingredients
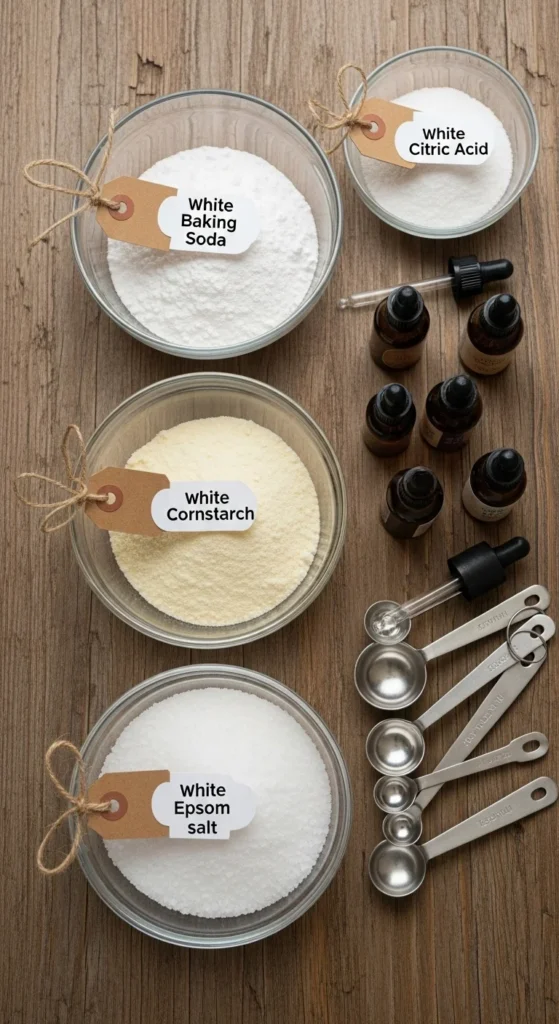
You don’t need fancy or expensive ingredients. The best bath bombs are made with pantry basics and a few easy add-ons.
Here’s your fizz-making starter pack:
- Baking soda (1 cup): gives the fizz and softens the water.
- Citric acid (½ cup): reacts with baking soda to create bubbles.
- Cornstarch (½ cup): slows down the reaction for longer fizz.
- Epsom salt (½ cup): adds a soothing touch for tired muscles.
- Oil (2–3 tsp): like coconut, almond, or jojoba for moisture.
- Witch hazel or water (a few sprays): binds everything together.
- Essential oils: for scent.
- Natural colorants or mica powder: optional for visual flair.
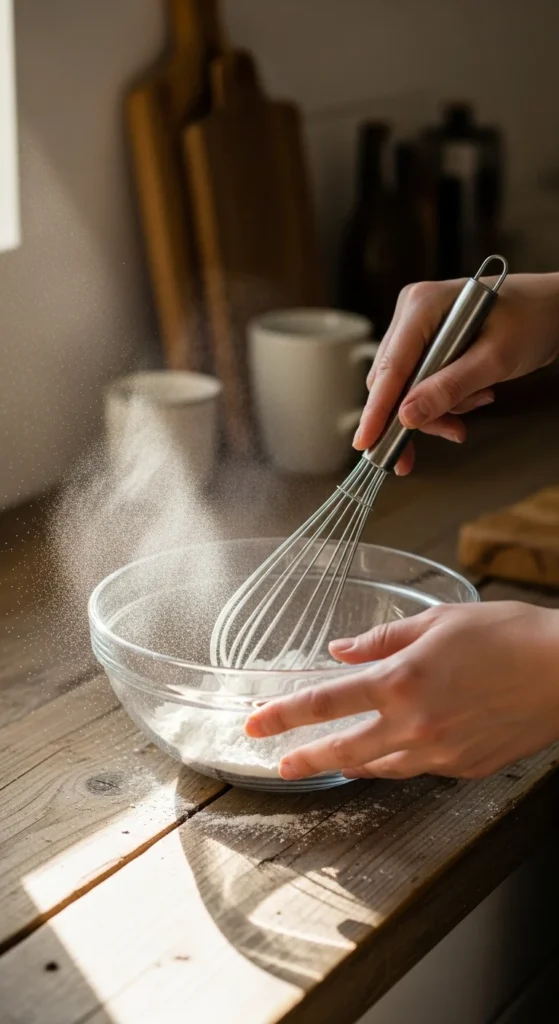
Step 1: Mix the Dry Ingredients
In a large bowl, combine baking soda, citric acid, cornstarch, and Epsom salt. Whisk gently to remove clumps. This step ensures a smooth texture and even fizzing later.
If you’re using natural powders for color—like turmeric for yellow or beetroot for pink—add them now. Mixing them in early keeps the color uniform throughout your bomb.
Pro tip: Sift the powders before adding. It keeps your mix light and prevents grainy textures.
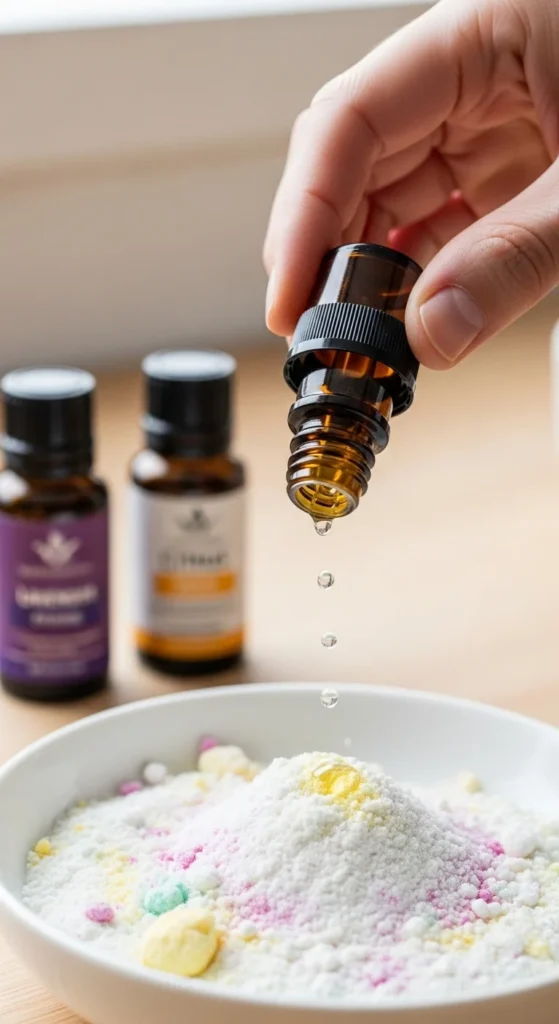
Step 2: Add the Oils and Scent
Now, drizzle in your chosen oil and essential oils. Mix with your hands (wear gloves if your skin is sensitive). The goal is a consistency similar to damp sand.
Start small: a few teaspoons of coconut or almond oil are enough to moisturize without making the bombs heavy. Add 10–15 drops of your favorite scent—lavender for calm, peppermint for energy, or citrus for freshness.
If you notice the mixture starting to fizz, you’ve added too much liquid. Quickly add more baking soda to rebalance it.
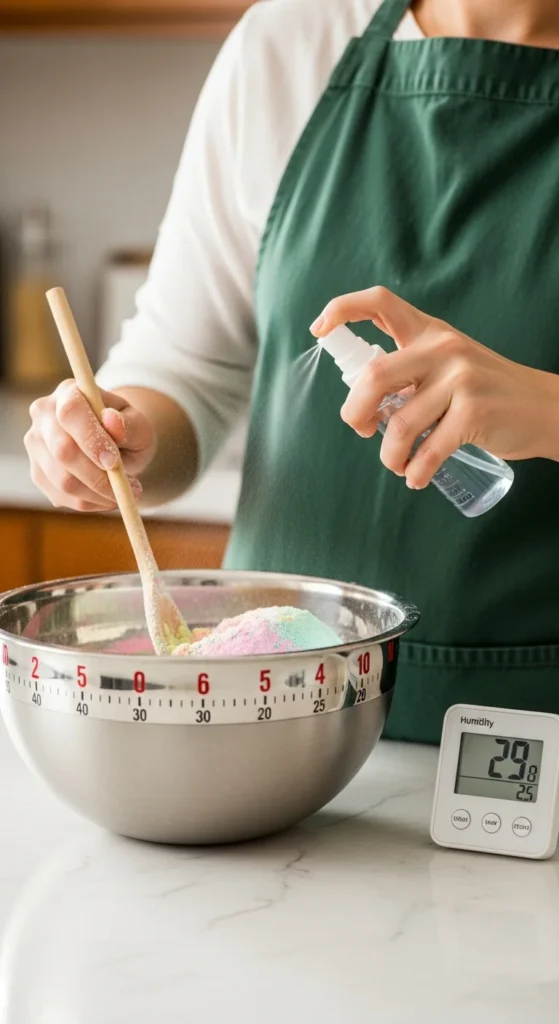
Step 3: Moisten Gently
This is where most beginners go wrong. The trick is to add moisture very slowly. Use a spray bottle to mist witch hazel or water while mixing continuously.
When the mixture clumps together in your hand without crumbling, it’s ready to mold.
Avoid pouring liquid directly—it activates the fizz too early. Slow, even spraying gives you the perfect moldable texture.
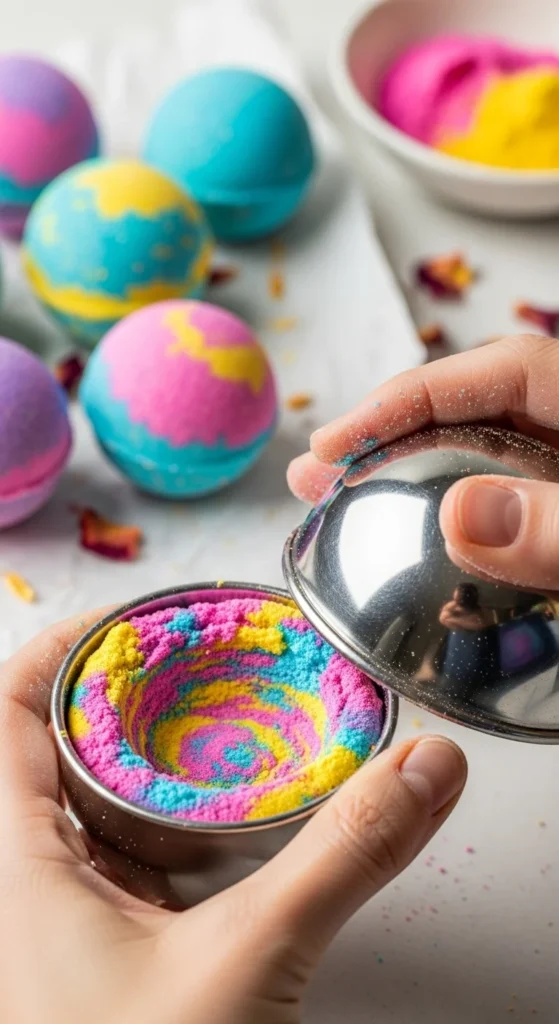
Step 4: Shape and Pack the Bombs
Grab your molds—metal spheres, silicone shapes, or even plastic ornaments work fine. Fill both halves with the mixture, pressing tightly so there are no gaps. Slightly overfill each half, then press them together firmly.
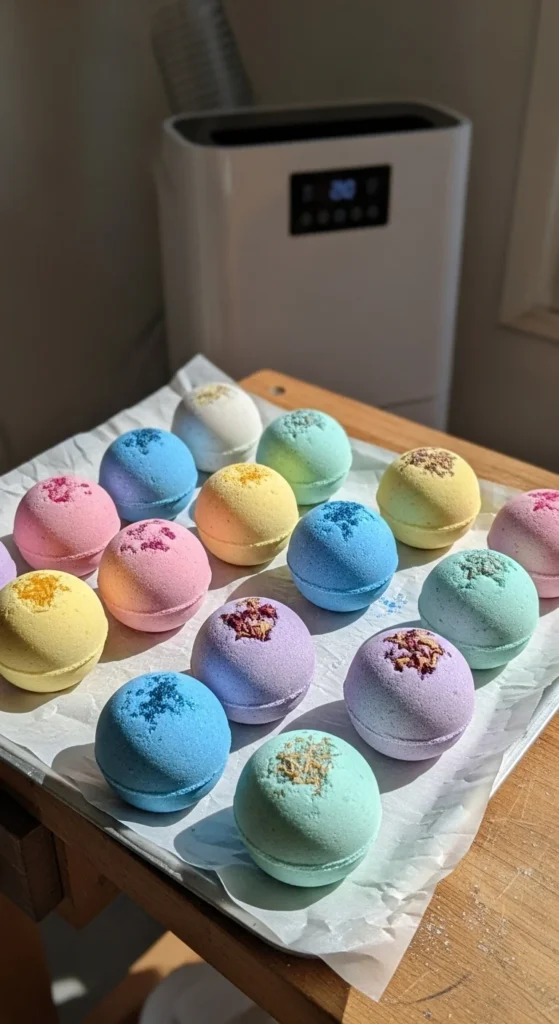
Let them sit for a few minutes before gently tapping the molds to release the bombs. If you live in a humid area, use a dehumidifier or air conditioner to help them dry evenly.
Step 5: Dry Completely
Air drying is best. Place your bath bombs on parchment paper in a cool, dry space for at least 24 hours. Turn them halfway through so they dry evenly.
Avoid ovens or direct sunlight—heat can cause early fizzing or cracks. Once dry, they should feel firm and smooth to the touch.
When ready, store them in airtight jars or wrap them in plastic to keep humidity out.
Bonus Tips for Extra Fizz and Fun
- Humidity is the enemy: Make your bombs on dry days if possible.
- Add sparkle: Dust a little eco-friendly glitter or mica on top before drying.
- Try layers: Mix two colored batches and fill molds halfway with each for a two-tone effect.
- Add botanicals: Dried lavender, rose petals, or chamomile look beautiful—but use sparingly so they don’t clog drains.
- Repurpose fails: Crumbled bath bombs still fizz! Store the powder in a jar as “bath dust.”
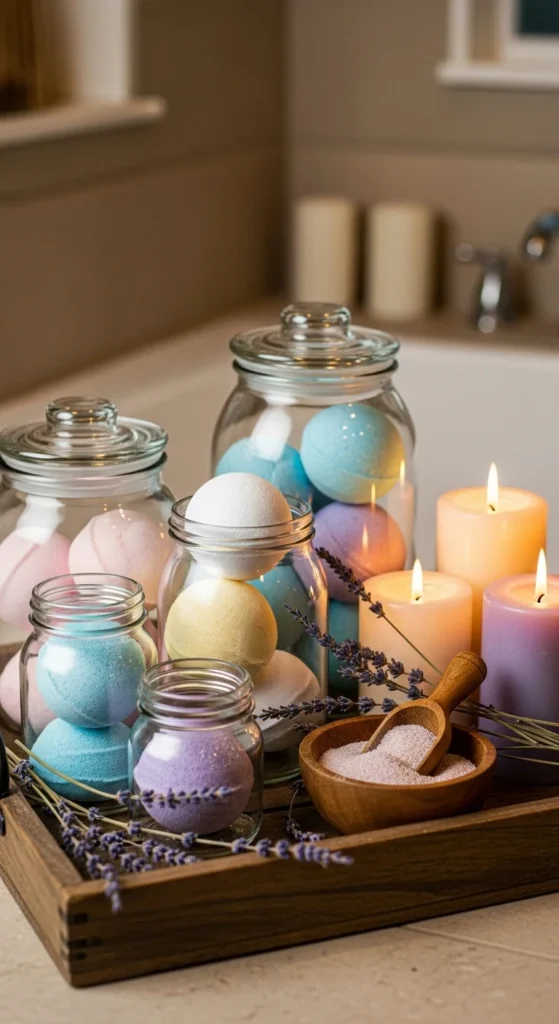
Step 6: Store Smart
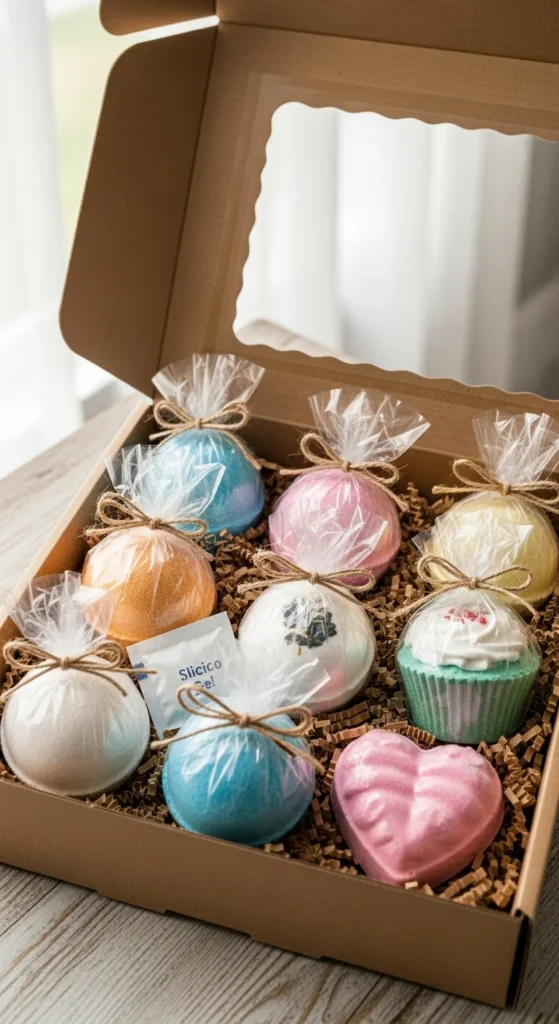
Even perfect bath bombs lose their fizz if exposed to moisture. Keep them sealed in an airtight jar or wrap each one individually. You can even add a small silica gel packet to the container to absorb extra humidity.
For gifts, wrap each bomb in colorful tissue paper or shrink film and tie with jute string. Add a small tag that lists the scent—like “Lemon Glow” or “Lavender Calm.”
Final Thoughts
Making bath bombs that fizz perfectly every time is about small adjustments, not complicated chemistry. Once you get the hang of balancing moisture and pressing tightly, you’ll have batches that bubble, scent your bath beautifully, and soften your skin.
Experiment with scents, colors, and add-ons until you find your signature mix. Then store a few for yourself, gift a few to friends, and enjoy that magical moment when they hit the water and come alive.

Lily Summers is a digital artist and creative storyteller who loves bringing colorful characters to life. With a passion for cartoons, fan art, and playful sketches, she inspires others to explore their imagination through art. When she’s not sketching, you’ll find her dreaming up new ideas for CraftedWizard.com to spark creativity in every artist. 🌈✨


