Want those dreamy, pastel, perfectly cut stickers you see all over journals and water bottles but don’t want to pay shop prices? Good news: you can totally make aesthetic stickers at home that look professionally made even if you’re a beginner.
Whether you love kawaii doodles, VSCO-style icons, or soft vintage designs, this guide walks you through the exact steps to create glossy, durable, store-bought–looking stickers using simple supplies or digital tools.
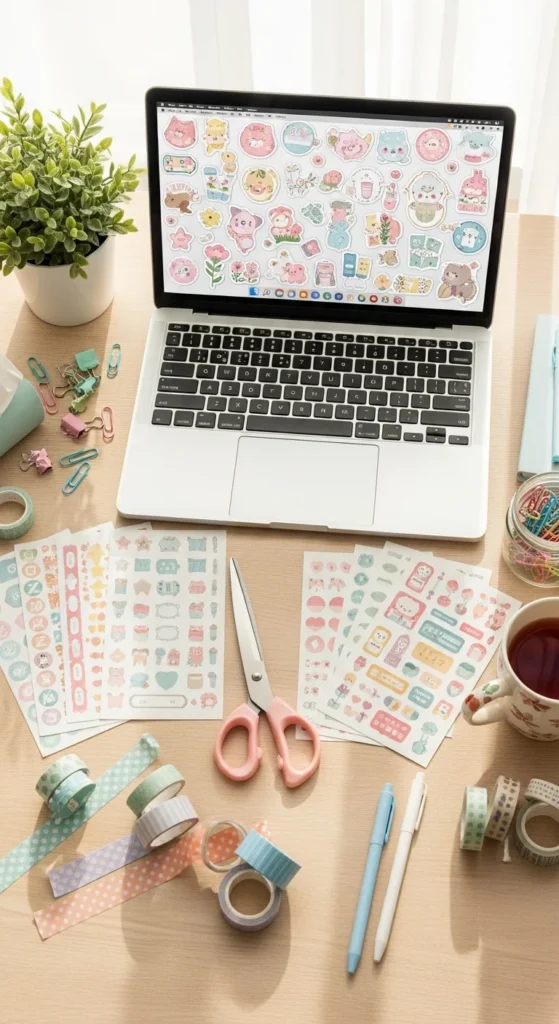
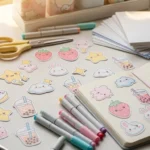
Step 1: Choose Your Aesthetic & Design Style
Before printing anything, decide on your vibe. Aesthetic stickers feel cohesive, not random.
Popular styles:
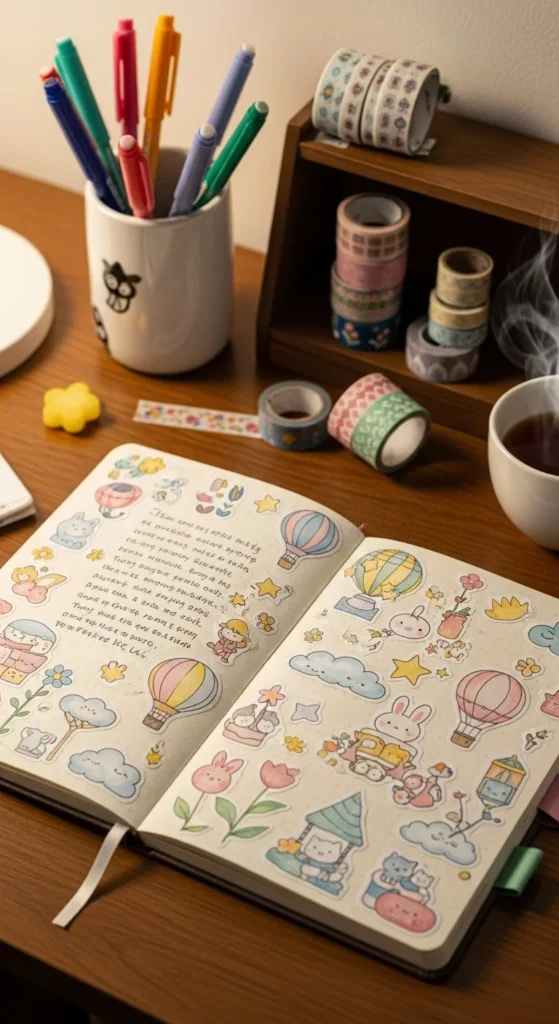
- Soft pastel doodles
- Minimal line art
- Vintage botanical prints
- Kawaii food or animals
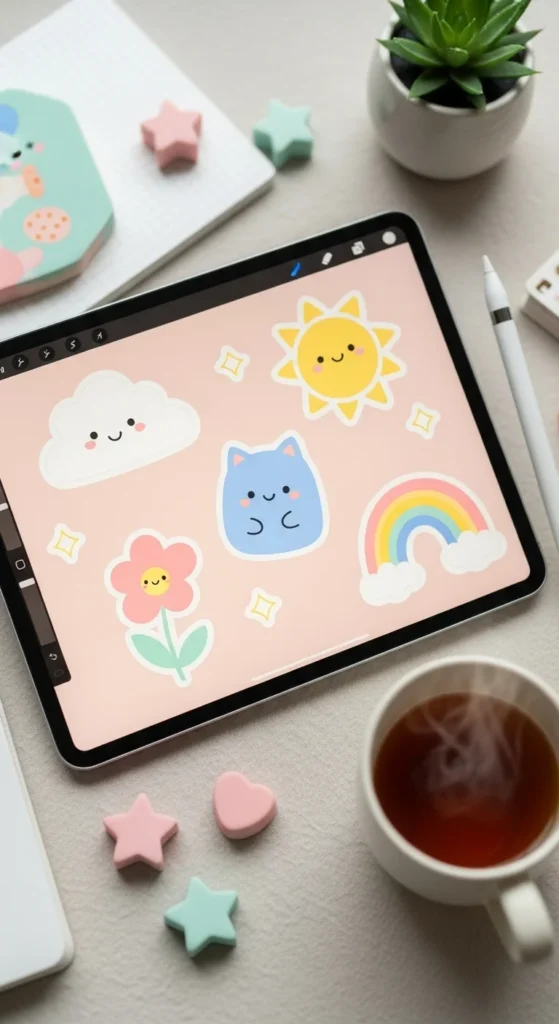
- VSCO icons (hearts, stars, clouds, smiley faces)
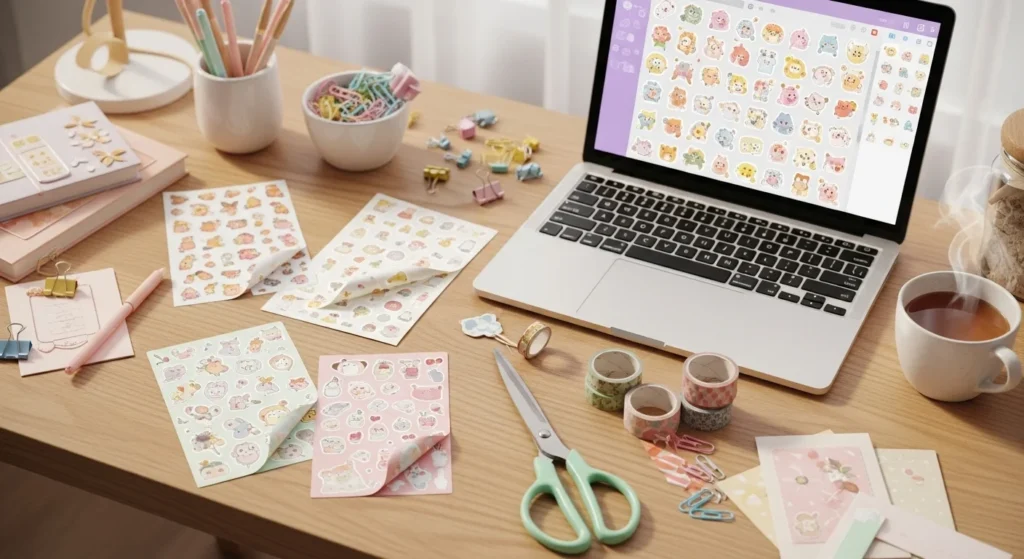
You can design your stickers using Canva (great for beginners) or draw your own in Procreate if you have an iPad.
Pro tip: Add a small white outline around each design. This makes stickers pop on dark surfaces and gives that professional finish.
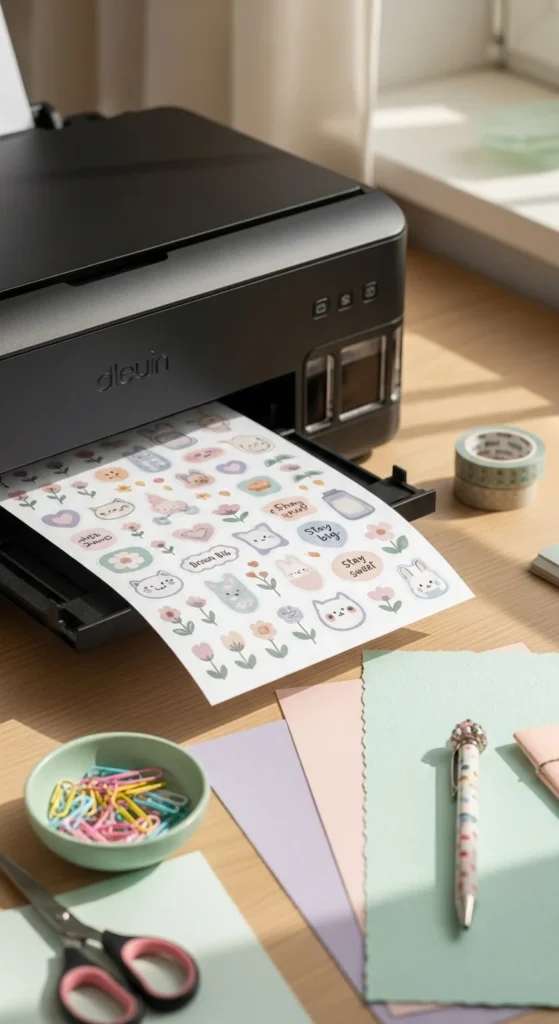
Step 2: Print Your Sticker Designs
Once your designs are ready, resize them into a sticker sheet layout. Mix:
- Small icons
- Medium decorative pieces
- A few larger statement stickers
This saves paper and gives you variety for journaling or decorating.
You can print on:
- Regular printer paper (budget option)
- Sticker paper (peel-and-stick backing)
- Matte or glossy photo paper for richer colors
Many crafters love ink-efficient printers like the Epson EcoTank because they’re great for printing lots of colorful sheets.
Step 3: Use the No-Printer Lamination Hack (Tape Method)
No sticker paper? No problem. The packing tape method is a beginner favorite.
You’ll need:
- Clear packing tape
- Parchment or baking paper
- Your printed designs
How it works:
- Place a strip of clear packing tape over your printed designs.
- Smooth it down firmly to remove air bubbles.
- Place the taped sheet onto parchment paper.
- Press again so the tape sticks to the paper backing.
This creates a glossy, slightly waterproof layer that looks surprisingly professional.
Important: Leave a small clear tape border around each design when cutting. This prevents peeling later.

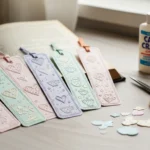
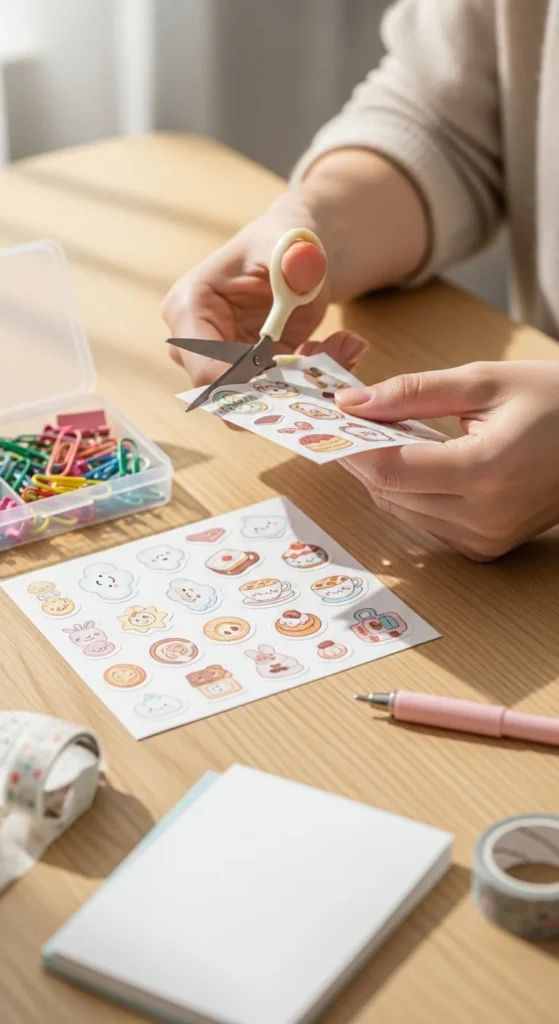
Step 4: Cut Like a Pro (With or Without a Machine)
If you have a cutting machine like the Cricut Maker, you can use a “print then cut” setup for perfect, smooth edges. This gives you that clean, shop-quality finish.
No machine? Totally fine.
Use small, sharp scissors and:
- Turn the paper, not the scissors, for curves
- Go slowly around rounded edges
- Practice on simple shapes first
Hand-cut stickers can still look amazing — especially with a white border.
Step 5: Make Them Look Extra Professional
Here’s how to level up your DIY stickers so they look store-bought:
Add Gloss or Lamination
Run your sheet through a laminator or add another layer of clear tape for extra shine and durability.
Try Holographic or Specialty Paper
Printing on holographic or transparent sticker paper instantly gives a premium feel.
Avoid Air Bubbles
Press tape slowly from one side to the other using a card or ruler.
Keep Sizes Practical
Tiny stickers for planners
Medium ones for journals
Larger ones for laptops or bottles
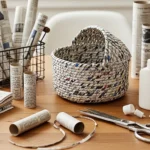
Step 6: Use Them (or Gift Them!)
Aesthetic stickers aren’t just cute — they’re incredibly versatile.
Use them for:
- Journals and planners
- Scrapbooks
- Phone cases
- Happy mail or gift wrapping
- Laptop decoration
They also make adorable handmade gifts when packaged in small sticker packs.
Final Thoughts
Making aesthetic stickers at home is easier than it looks — and way more fun than buying them. With a little creativity, some tape or sticker paper, and a few design tricks, you can create glossy, professional-looking stickers that totally match your style.
Start simple, experiment with finishes, and don’t worry about perfection — your unique designs are what make them special.
✨ Save this guide and try making your own sticker sheet this weekend!

Lily Summers is a digital artist and creative storyteller who loves bringing colorful characters to life. With a passion for cartoons, fan art, and playful sketches, she inspires others to explore their imagination through art. When she’s not sketching, you’ll find her dreaming up new ideas for CraftedWizard.com to spark creativity in every artist. 🌈✨