
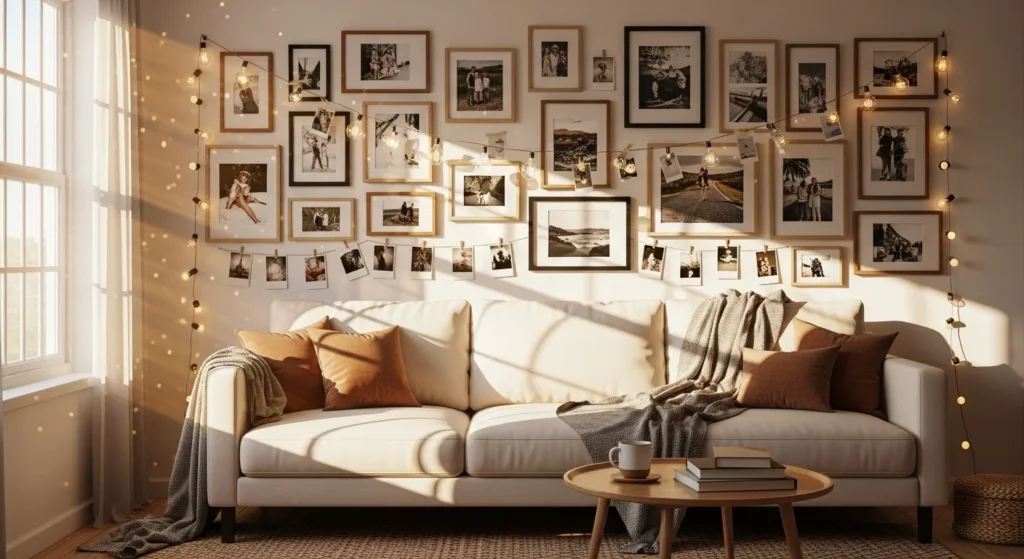
A photo collage wall is more than just a way to display pictures—it’s a storybook of your life, a gallery of your favorite memories, and a statement piece that instantly livens up any room. With a few simple tools, a little creativity, and your favorite snapshots, you can transform a blank wall into a captivating focal point that guests can’t stop admiring.
Gather Your Materials
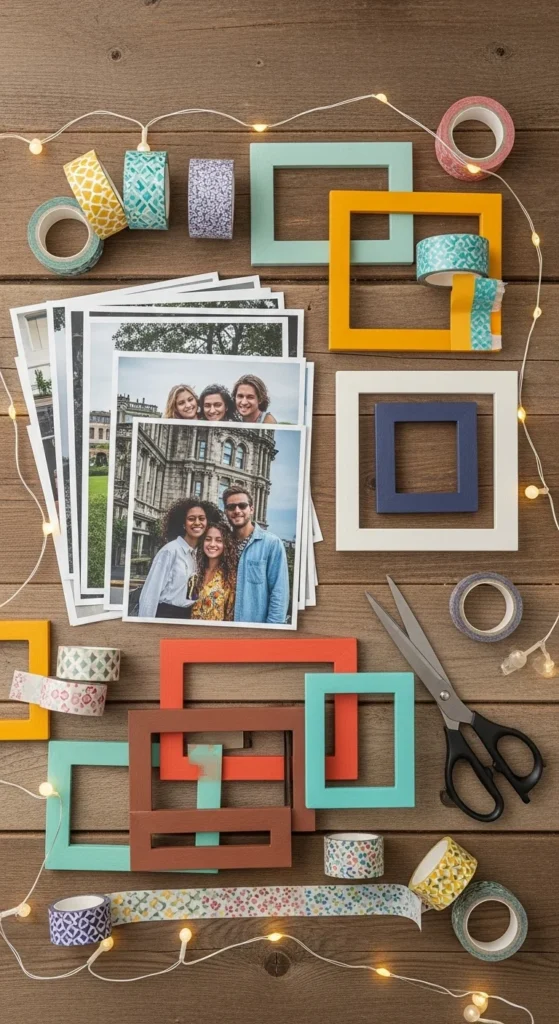
Before you start pinning or hanging anything, it helps to have everything ready. A well-prepared workspace makes the project smooth and stress-free.
You’ll need:
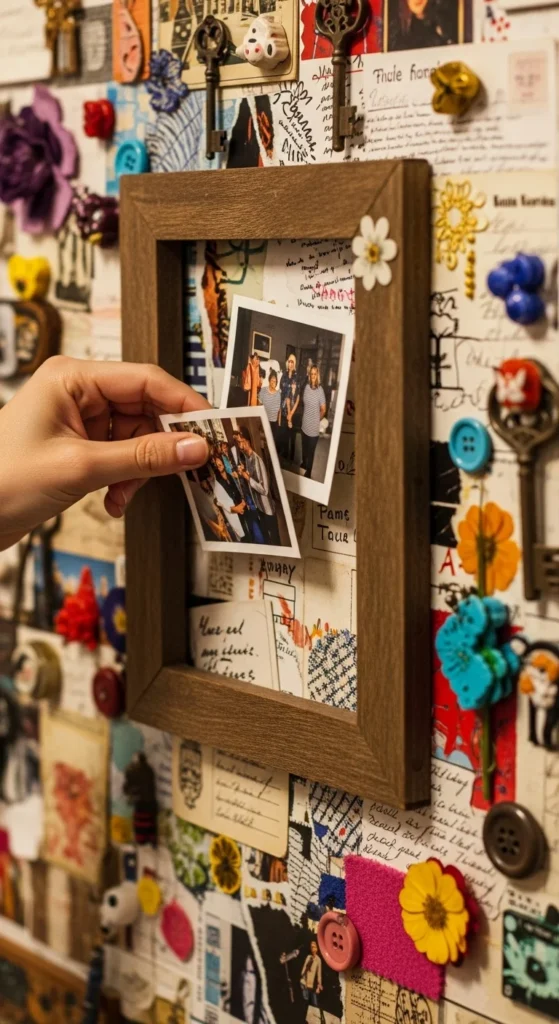
- Photos (prints, Polaroids, or even art prints)
- Picture frames in varying sizes (optional for a more structured look)
- Adhesive options: double-sided tape, removable wall hooks, or washi tape
- Scissors or photo cutter
- Ruler and pencil
- Optional: string lights, garlands, or decorative elements
Tips:
- Mix horizontal and vertical photos for visual interest.
- Choose a consistent color palette for a cohesive look, or go eclectic for a fun vibe.
- Consider printing duplicates of your favorite shots to create patterns or layers.
Step 1: Plan Your Layout
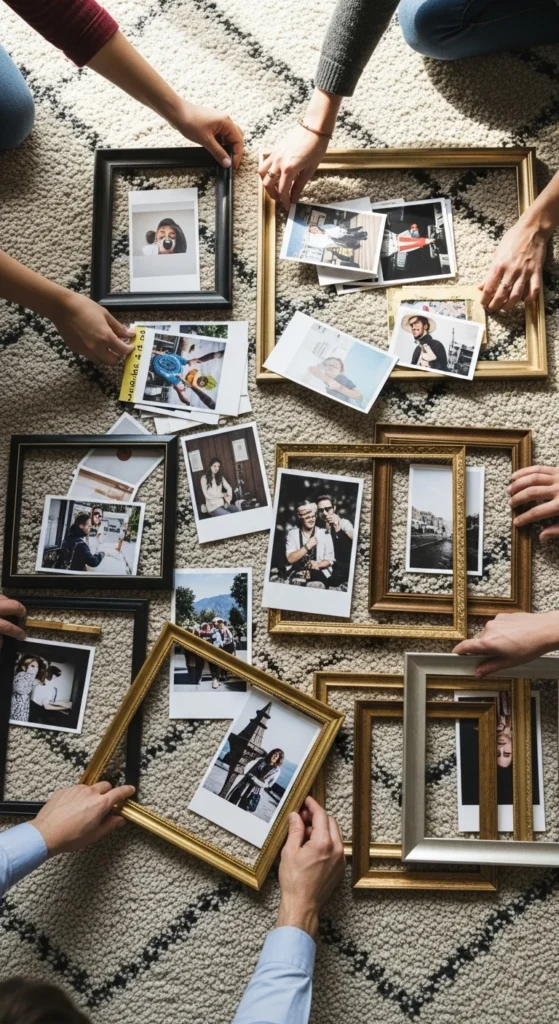
Planning is key to a balanced, eye-catching collage. Take a few minutes to visualize your design before putting anything on the wall.
- Start by laying your photos on the floor to experiment with placement.
- Decide if you want a symmetrical grid, a free-form arrangement, or a mix.
- Measure the wall space to determine spacing between photos.
- Mark light pencil outlines on the wall if you want a guide.
Pro Tip: For a modern gallery vibe, keep the spacing even (2–3 inches) between frames. For a casual, playful look, overlapping photos adds charm.
Step 2: Hang Frames and Photos
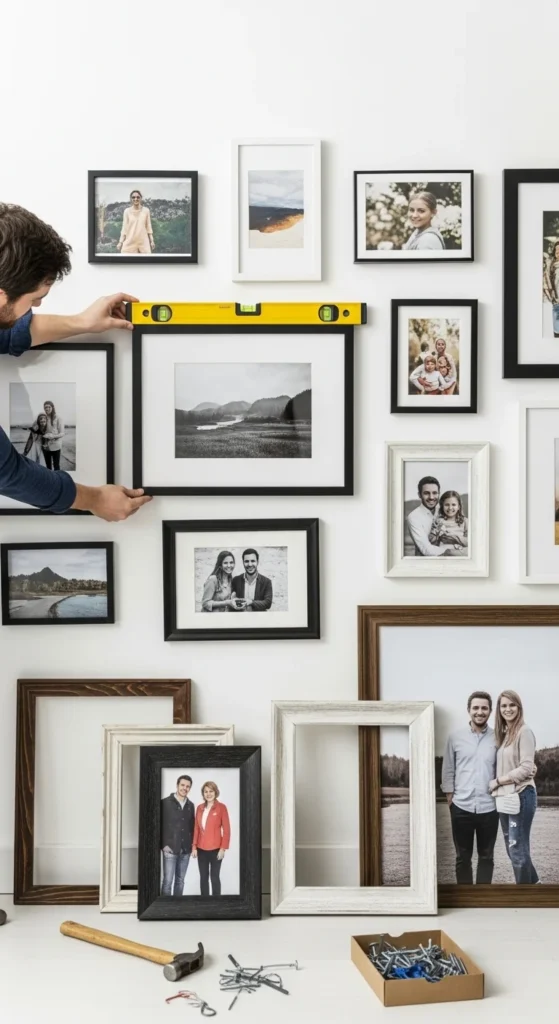
Now it’s time to bring your plan to life.
- Start with the largest frames first—they anchor the layout.
- Use a level to ensure straight lines.
- Hang smaller frames and photos around the larger ones, filling gaps gradually.
- For non-framed photos, use washi tape or removable adhesive to avoid wall damage.
Tips for Success:
- Step back often to see how the arrangement looks from a distance.
- Mix textures and frame styles for an interesting, layered look.
- Consider adding a central focal photo or artwork to draw attention.
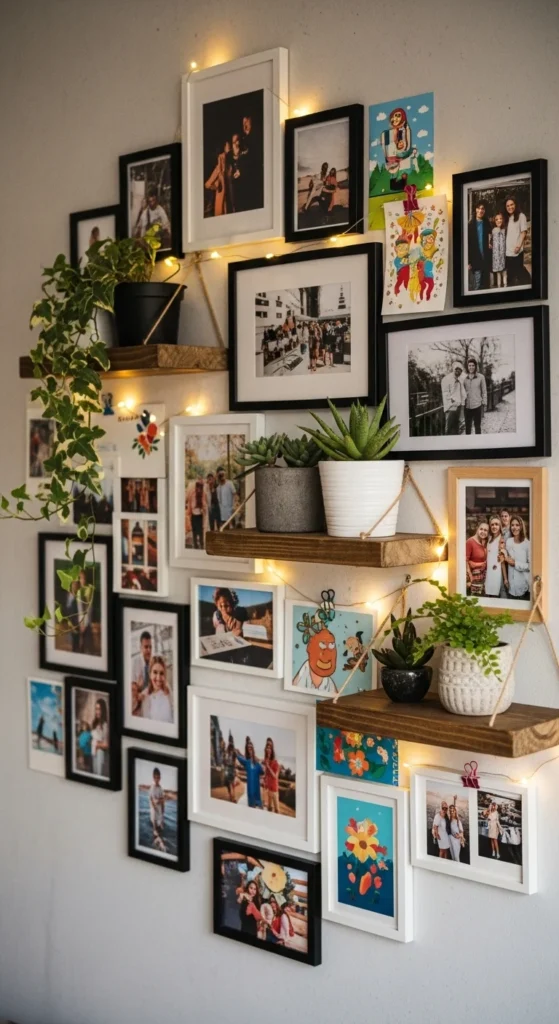
Step 3: Add Decorative Elements
A great collage wall isn’t just about photos—it’s about creating a mood. Small decorative touches can elevate the wall from simple to stunning.
- String fairy lights around the collage for warmth and sparkle.
- Add small shelves to display trinkets or souvenirs alongside photos.
- Include motivational quotes, postcards, or artwork prints for variety.
- Consider seasonal swaps or rotating photos to keep the display fresh.
Step 4: Maintain and Update
A collage wall is a living display that evolves with your life. Keeping it fresh makes it even more exciting for guests and for you.
- Rotate in new photos or artwork periodically.
- Clean frames and photos gently to keep them vibrant.
- Reposition elements if you add new ones to maintain balance.
- Incorporate themed sections, like travel photos or family moments, for storytelling.
Pro Tip: Take a photo of your arrangement before removing or changing anything—it helps recreate the layout if needed.
Conclusion
Creating a DIY photo collage wall is a fun, personal way to decorate any room. With careful planning, a mix of photos, and a few decorative accents, your wall becomes a conversation starter and a showcase of memories.

Lily Summers is a digital artist and creative storyteller who loves bringing colorful characters to life. With a passion for cartoons, fan art, and playful sketches, she inspires others to explore their imagination through art. When she’s not sketching, you’ll find her dreaming up new ideas for CraftedWizard.com to spark creativity in every artist. 🌈✨


