
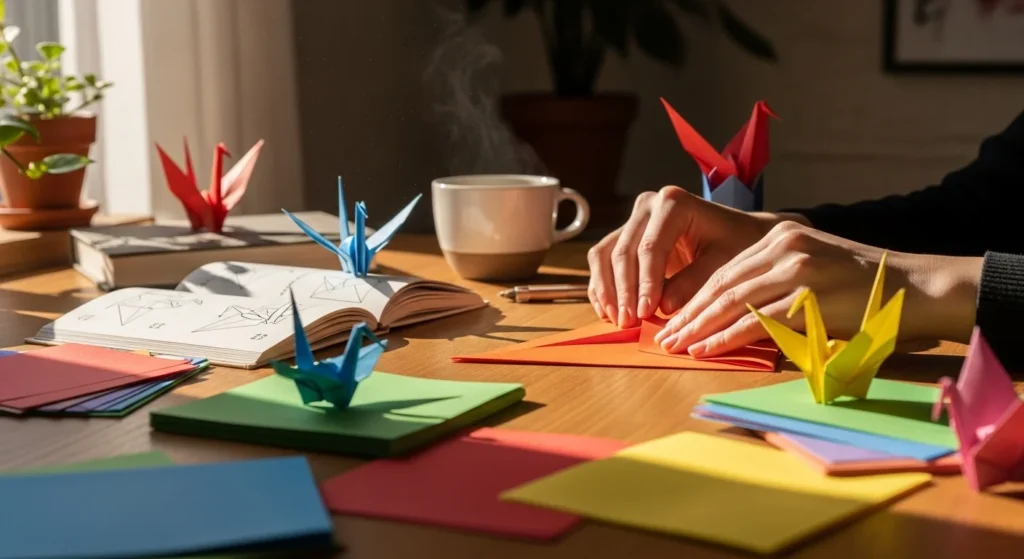
There’s something incredibly calming about folding a simple piece of paper into something stunning. Whether it’s a graceful crane, a blooming flower, or a tiny heart, origami combines mindfulness, creativity, and a touch of magic. The best part? You only need your hands, a square sheet of paper, and a few easy folds to start creating.
If you’ve always wanted to learn origami but felt intimidated by the intricate shapes, this guide walks you through simple, beautiful designs perfect for beginners—no fancy tools or experience needed.
Start with the Basics
Before diving into your first design, it helps to understand a few foundation folds used in almost every origami project.
Here are the most common ones:
- Valley fold: Fold the paper in half toward you.
- Mountain fold: Fold the paper away from you.
- Squash fold: Open a flap and flatten it into a triangle.
- Reverse fold: Push a flap inside out to form wings or petals.
These folds may sound tricky, but once your fingers get used to them, they’ll become second nature. Practice them on scrap paper until you feel confident.

Choose the Right Paper
The right paper makes a huge difference. Start with origami paper—it’s thin, crisp, and comes in beautiful patterns. But don’t worry if you don’t have any. You can use:
- Printer paper (cut into a square) for practice.
- Wrapping paper for colorful designs.
- Recycled magazine pages for an artistic twist.
Avoid thick paper like cardstock—it’s harder to fold and tears easily.
Tip: If your paper has a printed side, decide which color you want to show first. That side should face down at the start of most projects.
Step 1: The Classic Paper Crane
The paper crane is one of the most iconic origami figures—and surprisingly beginner-friendly once you learn the steps.
Here’s a quick breakdown:
- Start with your paper colored side up and fold it diagonally both ways.
- Fold it in half horizontally and vertically, then collapse it into a square base.
- Lift one flap and fold it upward into a long diamond (this forms the body).
- Fold one side to create the neck and the other for the tail.
- Fold down a small triangle to make the head—and you’ve got a crane!
Bonus tip: The thinner your paper, the sharper and cleaner your crane will look.

Step 2: The Easy Origami Heart
Origami hearts are perfect for bookmarks, cards, or small gifts. They take only a few minutes and look adorable.
- Start with a square piece of paper, color side down.
- Fold it in half horizontally and vertically, then unfold.
- Fold the top corner down to the center.
- Fold both side corners to meet at the middle point.
- Flip the paper over and fold the top edges down slightly to form rounded heart tops.
That’s it—you’ve made a sweet little heart!
These hearts also work beautifully as gift toppers or table decorations for events.

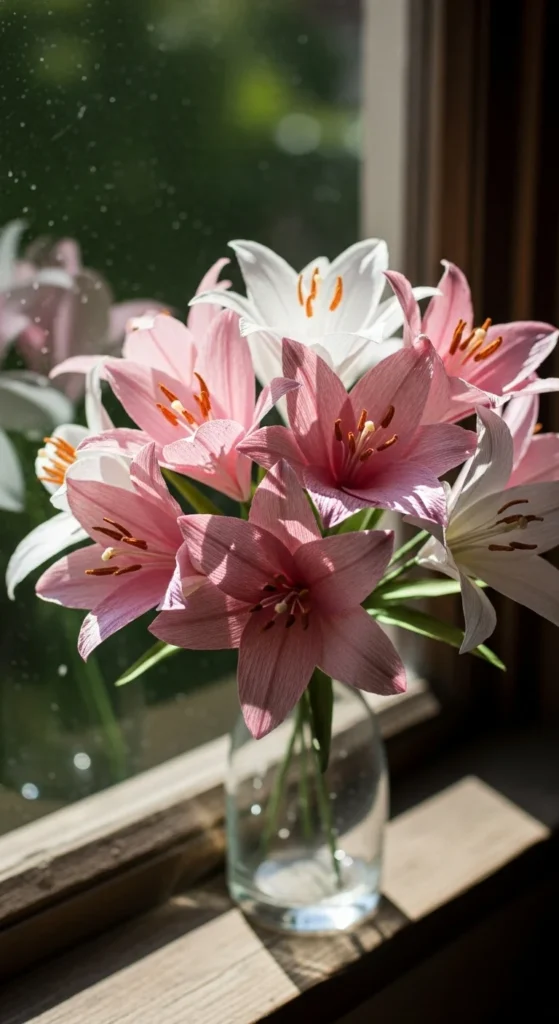
Step 3: Origami Lily for a Touch of Elegance
Once you’ve mastered basic folds, the origami lily adds a touch of sophistication. It looks complex but is easy once you understand the pattern.
- Start with a square base.
- Fold all corners to the top point to create a diamond.
- Carefully open each petal outward, curling the tips with a pencil.
- Adjust the petals until they look balanced and open.
The lily is a beautiful addition to handmade gifts, greeting cards, or DIY home décor.
Pro tip: Use thin paper with a subtle sheen for a realistic flower look.
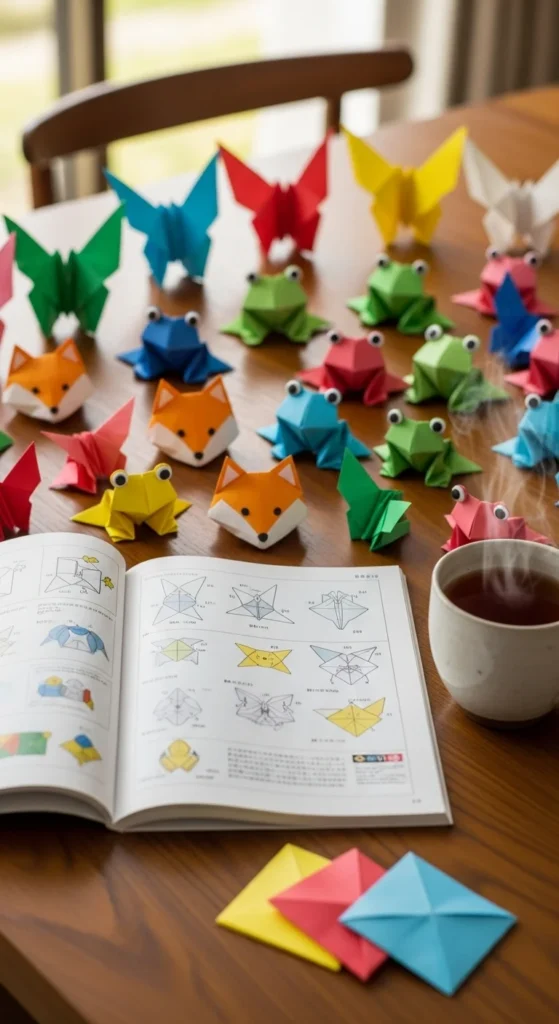
Step 4: Practice with Animals and Simple Shapes
After the crane and lily, explore other beginner-friendly designs like:
- Butterfly: Elegant and easy to shape.
- Frog: Folds into a shape that can hop when pressed.
- Fox face: Just a few folds for an adorable result.
- Star: Great for string decorations.
Start with simple animals and repeat each design a few times. Every repetition builds precision and confidence.
Keep a small box or jar to collect your finished pieces—it’s rewarding to see your progress grow over time.
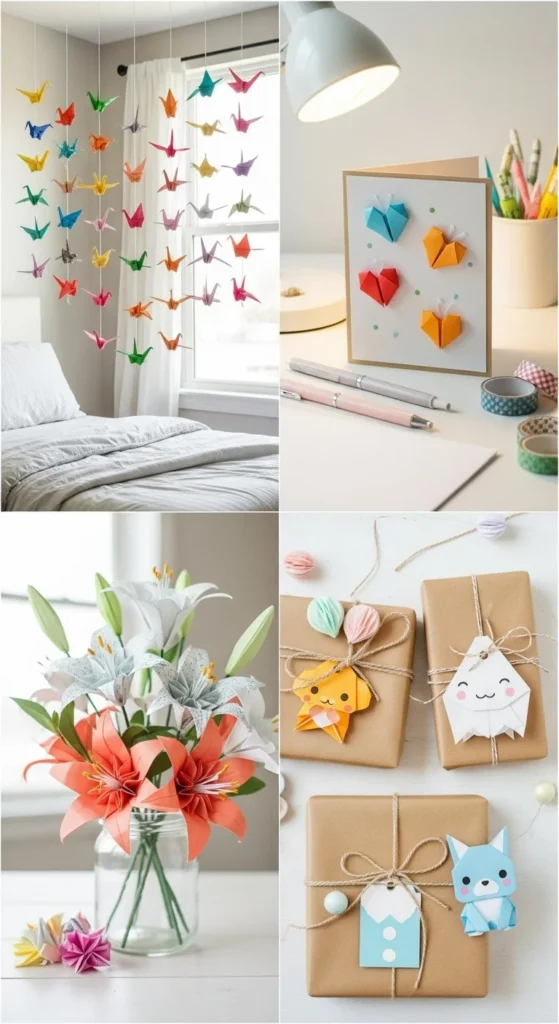
Display or Gift Your Creations
Your origami pieces don’t need to hide in drawers—show them off!
Here are some fun ideas:
- String several cranes or stars together to make hanging garlands.
- Glue small hearts onto cards or journals.
- Place lilies or flowers in a vase for a paper bouquet.
- Use colorful animals as party decorations or gift tags.
Origami also makes a thoughtful handmade gift—each fold carries time, focus, and care.
Final Thoughts
Origami is more than just folding paper—it’s a form of calm, focus, and creativity rolled into one. The more you fold, the more patient and precise your hands become.
Start small, repeat your favorite shapes, and enjoy the process rather than rushing through it. Over time, you’ll be amazed at what your fingers can create from a single square of paper.
✨ Save this guide for later and keep a stack of paper nearby—you never know when inspiration (or relaxation) might strike!

Lily Summers is a digital artist and creative storyteller who loves bringing colorful characters to life. With a passion for cartoons, fan art, and playful sketches, she inspires others to explore their imagination through art. When she’s not sketching, you’ll find her dreaming up new ideas for CraftedWizard.com to spark creativity in every artist. 🌈✨


