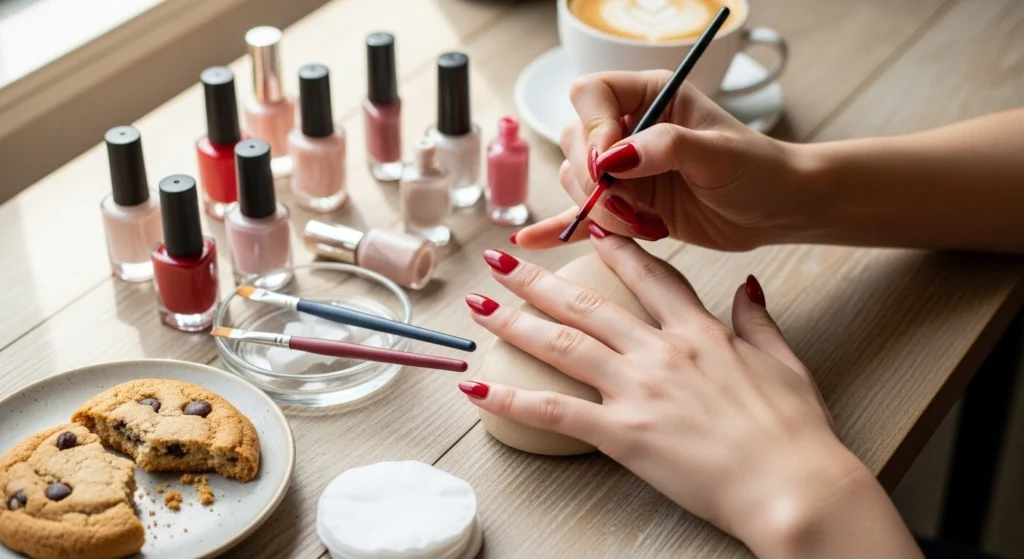
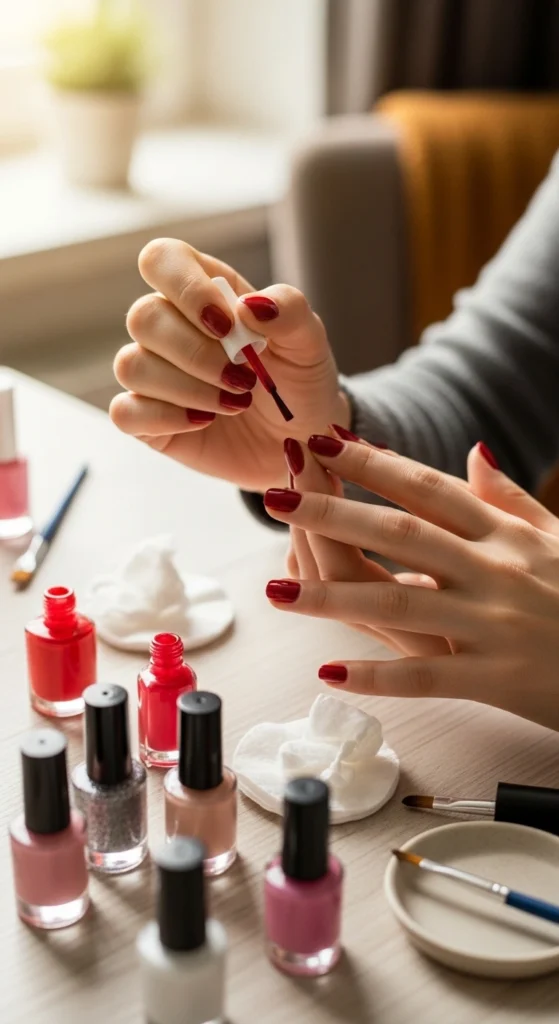
Salon-style nails are fun, but the price and time? Not so much. The good news is you can create beautiful DIY nail designs at home with a little practice and the right steps. Whether you love simple patterns or eye-catching details, home nail art lets you experiment, save money, and enjoy the process.
If you’ve ever thought nail art was “too hard,” this guide will change your mind.
Why DIY Nail Designs Are Worth Trying
Doing your nails at home is about more than saving money.
Benefits of DIY Nails
- You control colors and designs
- You can practice anytime
- No appointment stress
- Easy to change styles often
With patience, your results can look just as polished as a salon visit.
Nail Tools You’ll Need at Home
You don’t need a professional kit to get started.
Basic Nail Supplies
- Nail polish remover
- Nail file and buffer
- Base coat and top coat
- 2–3 nail polish colors
- Toothpicks or bobby pins
Optional extras:
- Thin nail art brush
- Dotting tool
- Nail stickers or tape
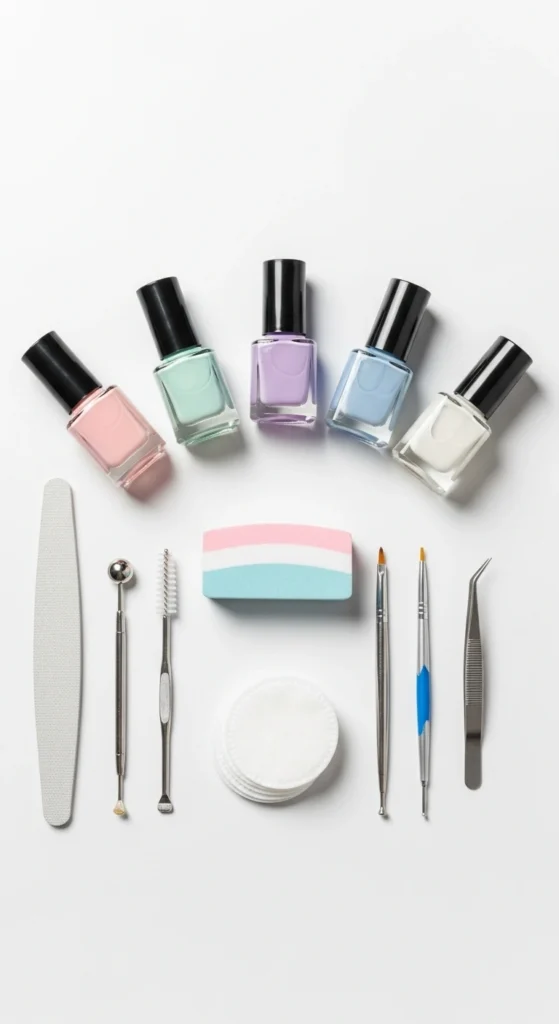
Tip: Keep your tools clean. Old polish residue can ruin designs.
Prep Your Nails Like a Pro
Great nail art starts with good prep.
Nail Preparation Steps
- Remove old polish
- File nails into one shape
- Gently push back cuticles
- Buff lightly for smoothness
Apply a thin base coat and let it dry fully. This helps polish last longer and prevents staining.
Skipping prep often leads to chipped designs.
Easy DIY Nail Designs for Beginners
You don’t have to start with complex patterns.
Simple Design Ideas
- Polka dots: Use a toothpick dipped in polish
- Accent nail: One bold nail, others simple
- French tip twist: Try colored tips instead of white
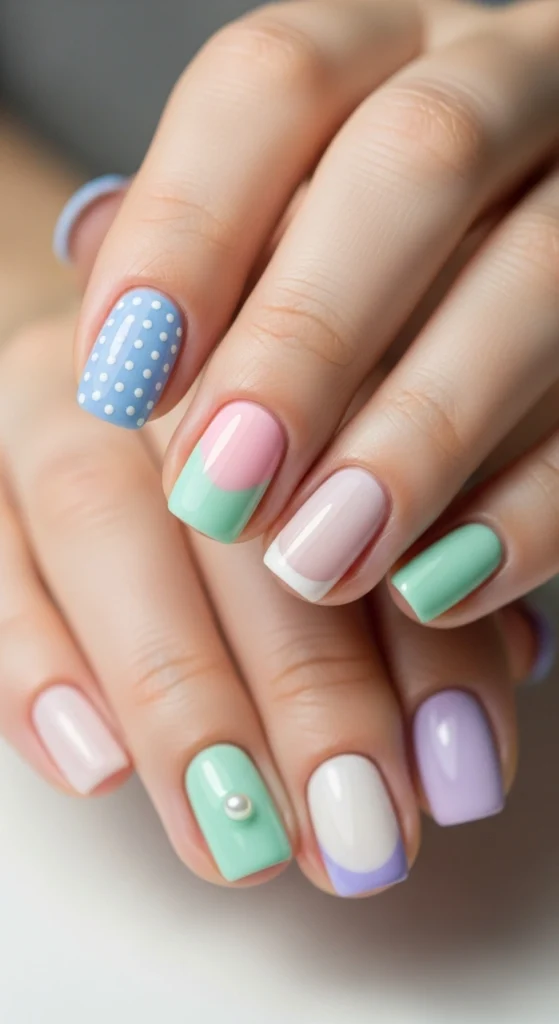
These styles look clean and stylish while being beginner-friendly.
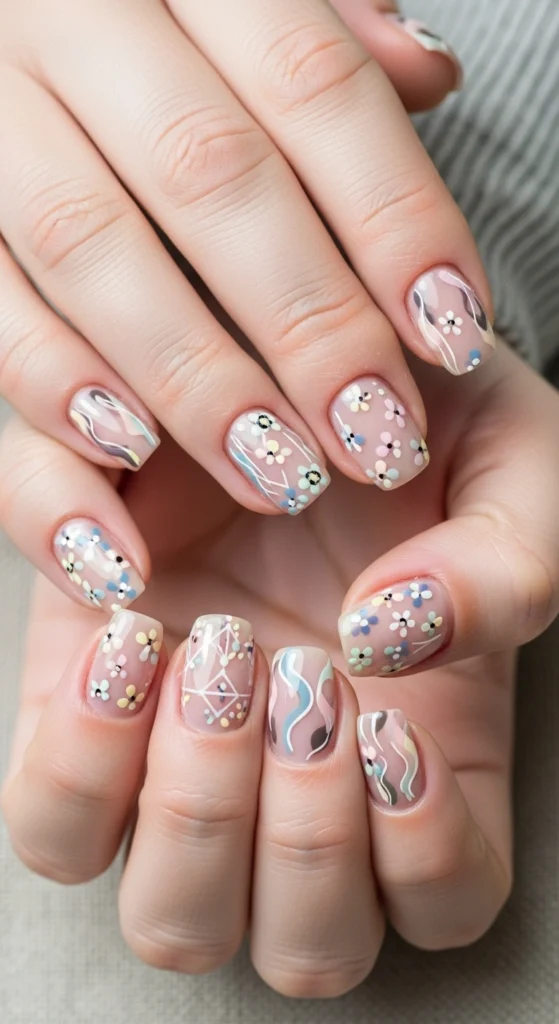
Creating Clean Lines and Patterns
Lines and shapes give nails a neat look.
How to Make Straight Lines
- Use nail tape or thin strips of tape
- Apply polish lightly
- Peel tape while polish is slightly wet
Pattern Ideas
- Vertical stripes
- Geometric blocks
- Half-moon designs
Work slowly. Rushing causes smudges.
Using Household Items for Nail Art
No nail tools? No problem.
Everyday Nail Art Hacks
- Toothpick for dots
- Sponge for gradient nails
- Bobby pin for small circles

These simple items help create creative designs without extra cost.
How to Make DIY Nails Last Longer
Nothing hurts more than chipped nail art the next day.
Tips for Long-Lasting Nails
- Apply thin polish layers
- Let each layer dry fully
- Seal with top coat
- Reapply top coat after two days
Avoid hot water for the first few hours after painting.
Fixing Mistakes Without Ruining the Design
Mistakes happen even to experienced nail artists.
Quick Fix Tricks
- Use a thin brush dipped in remover to clean edges
- Cover small smudges with glitter or dots
- Turn errors into part of the design
Nail art doesn’t have to be perfect to look good.
Finishing Touches That Make a Difference
A glossy or matte top coat can change the whole look.
Final Nail Care
- Apply top coat carefully
- Let nails dry fully
- Add cuticle oil after drying
Well-finished nails always look more polished.
Final Thoughts
Creating DIY nail designs without a salon is fun, relaxing, and rewarding. With simple tools, a little patience, and creativity, you can enjoy stylish nails anytime right at home. Try new designs, mix colors, and let your nails show your personality.
Save this guide for later and start your at-home nail art journey today!

Lily Summers is a digital artist and creative storyteller who loves bringing colorful characters to life. With a passion for cartoons, fan art, and playful sketches, she inspires others to explore their imagination through art. When she’s not sketching, you’ll find her dreaming up new ideas for CraftedWizard.com to spark creativity in every artist. 🌈✨