Glitter is magical. It turns ordinary crafts into eye-catching creations and instantly adds sparkle to anything it touches. But let’s be honest. Glitter also has a reputation. One wrong move and suddenly it’s on your table, your floor, your clothes, and somehow your face.
The good news? You can use glitter without creating chaos. With the right setup, tools, and techniques, glitter becomes fun again instead of stressful.
Let’s break it down step by step so you can sparkle smarter, not harder.
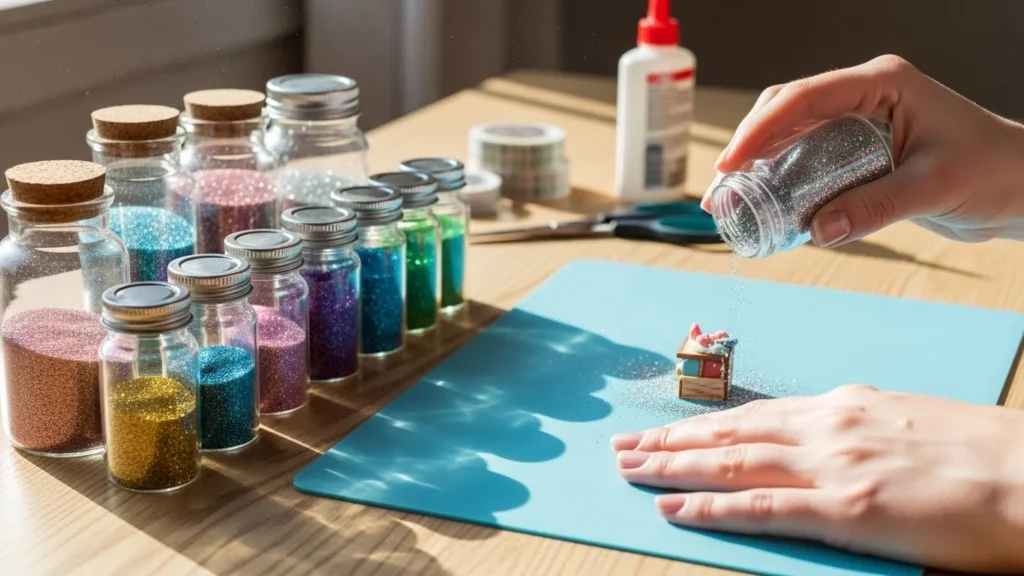
Set Up a Glitter-Safe Workspace
The biggest mistake people make with glitter is starting without preparation. A glitter-friendly workspace makes cleanup easy and stress-free.
Here’s how to set it up:
- Cover your surface with a silicone mat, wax paper, or parchment paper
- Work over a tray or shallow box to catch loose glitter
- Keep a small container or folded paper nearby to pour excess glitter back
- Wear old clothes or an apron just in case
Avoid fabric surfaces like carpets or couches. Glitter loves them a little too much.
Once your space is protected, you can relax and actually enjoy the process.
Choose the Right Type of Glitter
Not all glitter behaves the same. Picking the right kind can make a huge difference.
Best options for mess-free crafting:
- Chunky glitter: Easier to control and less likely to float
- Gel glitter: Already mixed with adhesive, minimal fallout
- Eco-friendly glitter: Heavier and often easier to clean
- Cosmetic-grade glitter: Designed to stick better
Ultra-fine loose glitter is beautiful, but it spreads fast. Save it for projects where you can fully contain it.
Tip: If you love fine glitter, use it sparingly and always over a catch surface.
Use Adhesives That Actually Hold Glitter
Glitter only gets messy when it doesn’t stick properly. The right adhesive keeps it exactly where you want it.
Reliable adhesive options:
- Glitter glue for kids’ crafts
- Tacky glue for paper and cardboard
- Clear-drying craft glue for wood and decor
- Spray adhesive for even coverage on flat surfaces
Apply glue in thin, even layers. Too much glue causes slipping and clumping, which leads to mess.
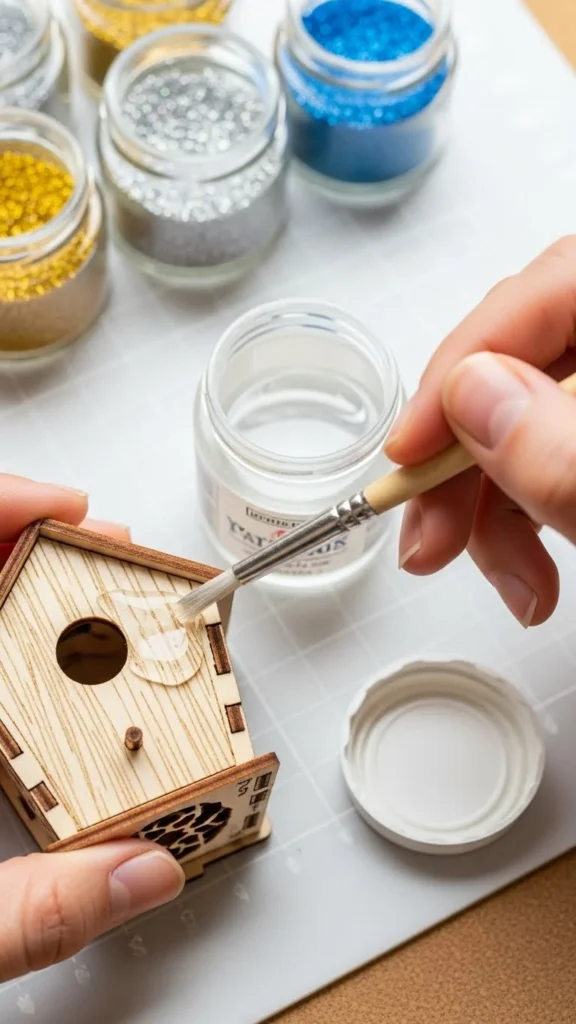
Let the glue get slightly tacky before adding glitter. This helps it grip faster and reduces fallout.
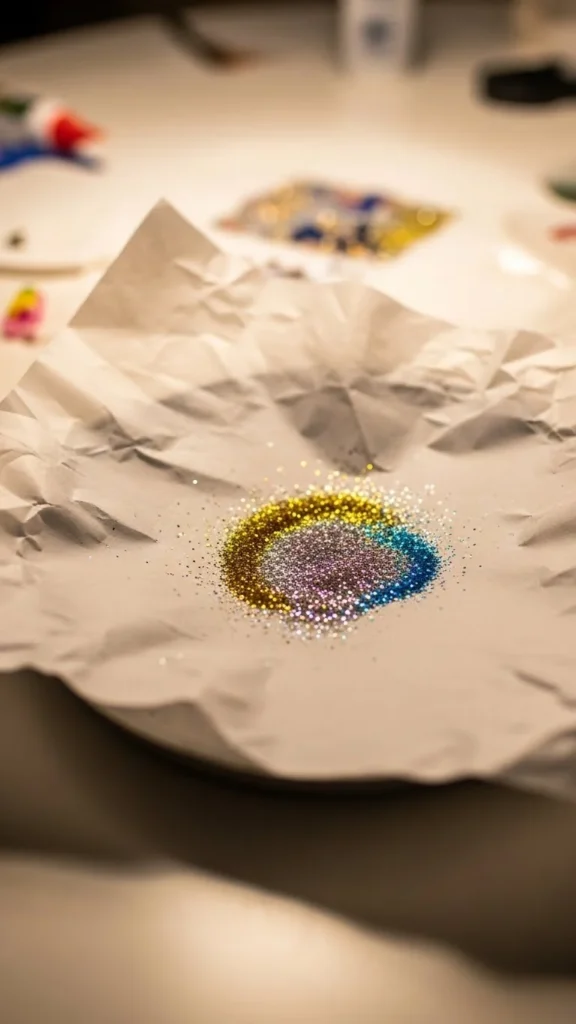
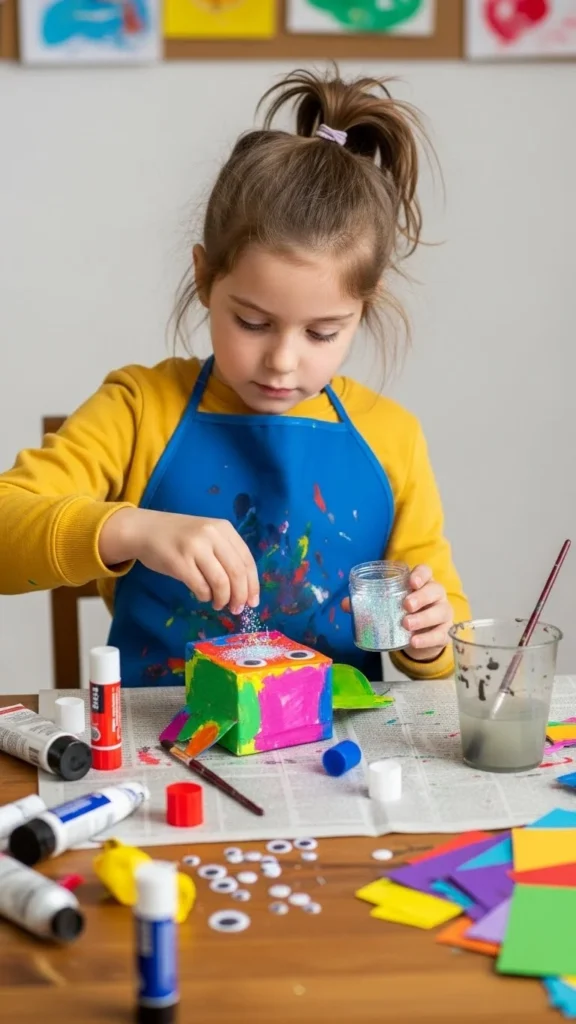
Sprinkle, Don’t Pour
One of the simplest tricks is also the most effective. Never dump glitter directly from the jar.
Instead:
- Use a small spoon or folded paper
- Sprinkle glitter slowly and intentionally
- Tap gently to remove excess
- Tilt your project over your tray to let loose glitter fall back
For detailed designs, use a small paintbrush to dab glitter exactly where needed.
This method gives you control and keeps glitter where it belongs.
Seal the Glitter to Lock It In
Sealing is the secret step many people skip. Without it, glitter continues to shed long after the project is finished.
Easy sealing options:
- Clear acrylic spray sealer
- Mod Podge or clear craft sealant
- Clear-drying glue lightly brushed over the top
Apply thin layers and let each coat dry fully. This locks in sparkle and prevents future mess.

Always seal in a well-ventilated area for best results.
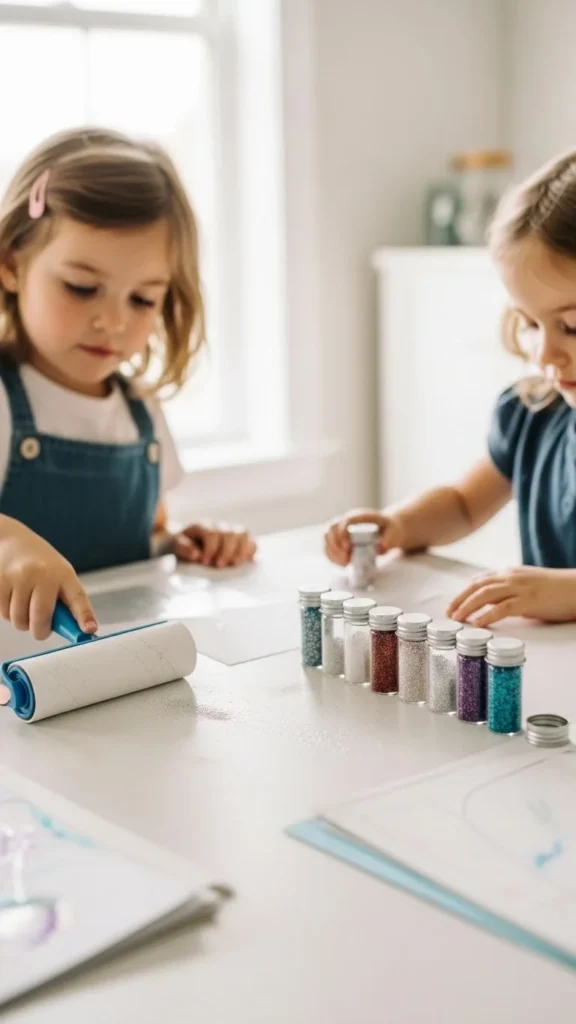
Clean Up Glitter the Smart Way
Even with precautions, some glitter will escape. The key is knowing how to remove it quickly.
Quick cleanup tricks:
- Use painter’s tape or lint rollers for surfaces
- Vacuum with a stocking inside the hose to collect glitter
- Wipe hard surfaces with a damp paper towel
- Keep a small handheld vacuum for craft areas
Avoid dry sweeping. It just spreads glitter around.
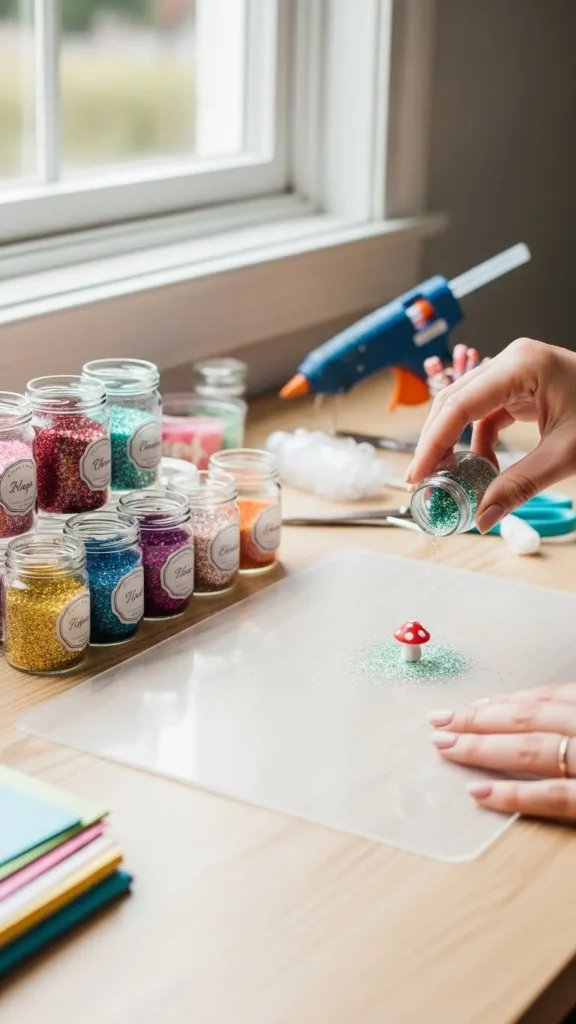
Store Glitter to Prevent Future Spills
Good storage saves you from accidental messes later.
- Use small jars with tight lids
- Label containers clearly
- Store glitter upright in a box or drawer
- Keep different colors separated to avoid mixing
If possible, transfer glitter into squeeze bottles for controlled use.
Final Takeaway
Glitter doesn’t have to take over your home. With a protected workspace, better tools, the right adhesive, and smart cleanup habits, you can enjoy all the sparkle without the stress.
Whether you’re crafting with kids, decorating for a party, or working on DIY projects, these tips will keep glitter fun and mess-free

Lily Summers is a digital artist and creative storyteller who loves bringing colorful characters to life. With a passion for cartoons, fan art, and playful sketches, she inspires others to explore their imagination through art. When she’s not sketching, you’ll find her dreaming up new ideas for CraftedWizard.com to spark creativity in every artist. 🌈✨