

Tired of plain picture frames that don’t match your style anymore? Or maybe you have a box of old frames collecting dust in a closet? The good news: you can transform them into unique décor pieces with just a few crafty touches. DIY frame decorating is budget-friendly, customizable, and surprisingly easy even if you don’t consider yourself an artist.
With a few simple ideas and creative details, your frames can become the standout accent on shelves, desks, and gallery walls.
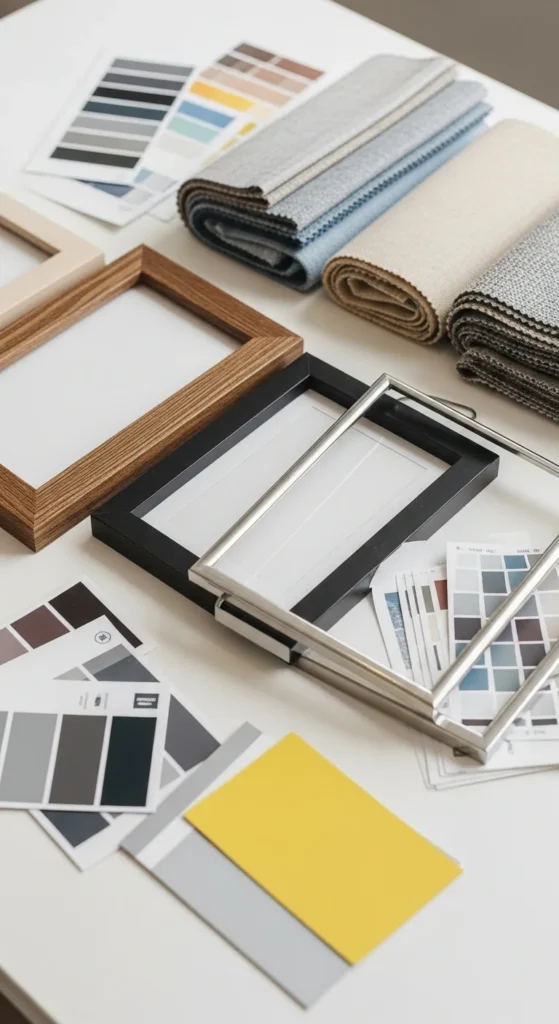
Choose the Perfect Frame to Customize
Before you reach for the paintbrush, take a moment to choose the right base. The frame you start with can influence your final design.
Best frame types to work with:
- Wooden frames: absorb paint beautifully
- Flat plastic frames: smooth surface for decoupage
- Chunky frames: ideal for embellishments
- Minimal frames: great for modern, sleek looks
Avoid ornate frames with deep carvings if you’re planning to glue elements they may not sit flat.
Tip: Thrift stores are gold mines for inexpensive frames.
Prep Your Frame for Decorating
Just like painting furniture, prep work matters. Start by removing the glass and backing. Set them aside safely.
Next, gently sand:
- Smooth rough patches
- Help paint and glue stick better
Wipe the surface with a dry cloth to remove dust. For plastic frames, wipe with rubbing alcohol for better adhesion.
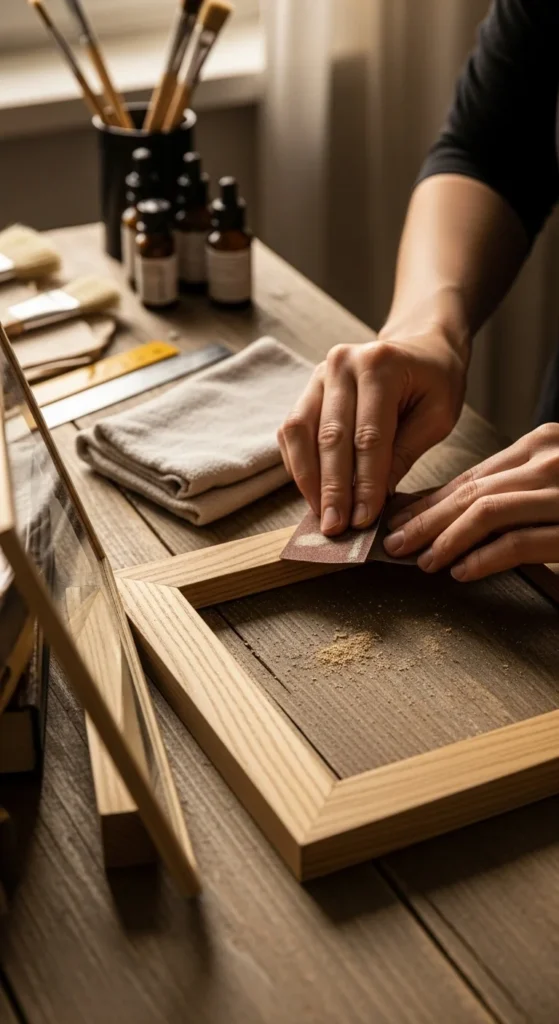
This step ensures your decorated frame lasts longer and looks cleaner.
Paint for a Fresh Pop of Color
A coat of paint instantly transforms a basic frame. Choose colors that match your room’s palette or seasonal décor.
Try trending finishes:
- Matte black: modern and bold
- Soft sage green: calming and chic
- Metallic gold: elegant and glam
- Pastel pinks and blues: sweet and playful
Use acrylic paint for quick drying. Apply 2–3 thin coats for even coverage.
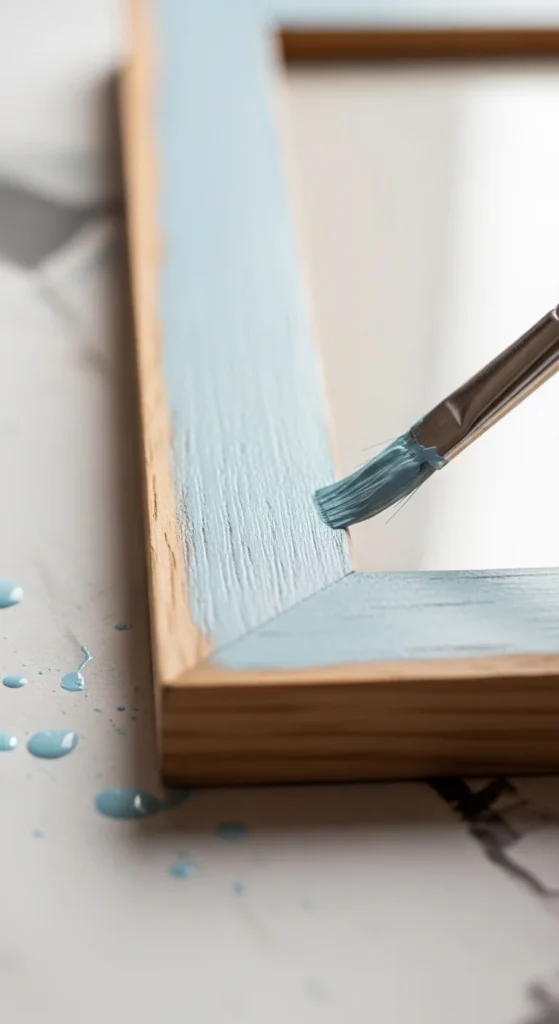
Once dry, you can move to the fun part—adding texture and detail.
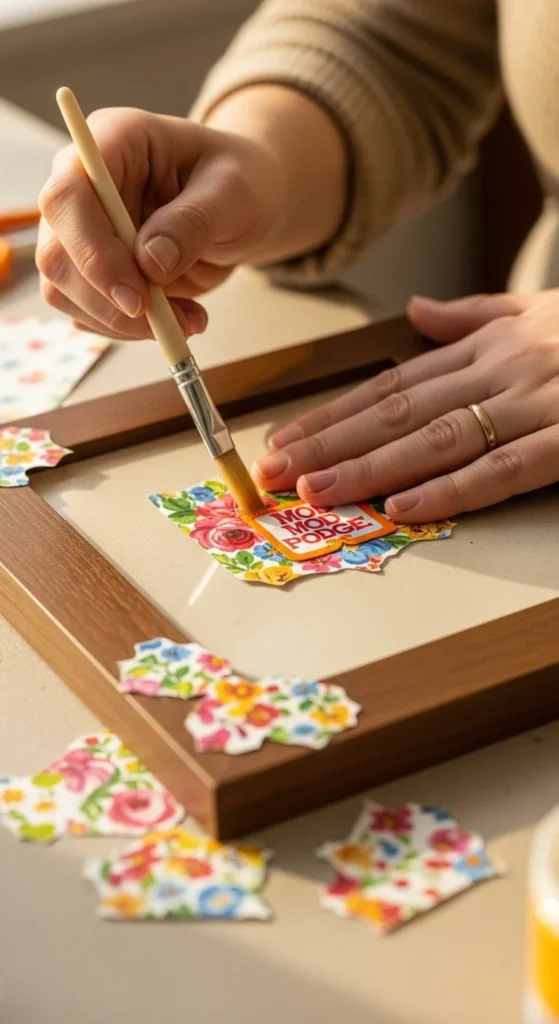
Try Decoupage for Stunning Patterns
Decoupage takes simple frames to the next level by applying patterned paper or napkins onto the surface.
You’ll need:
- Patterned tissue or scrapbook paper
- Mod Podge or craft glue
- Small paintbrush
How to do it:
- Cut paper slightly larger than the frame’s surface.
- Apply glue to the frame.
- Lay paper gently and smooth out wrinkles.
- Seal with a topcoat of Mod Podge.
Design ideas:
- Floral patterns for cottagecore vibes
- Map prints for travel lovers
- Book pages for cozy library décor
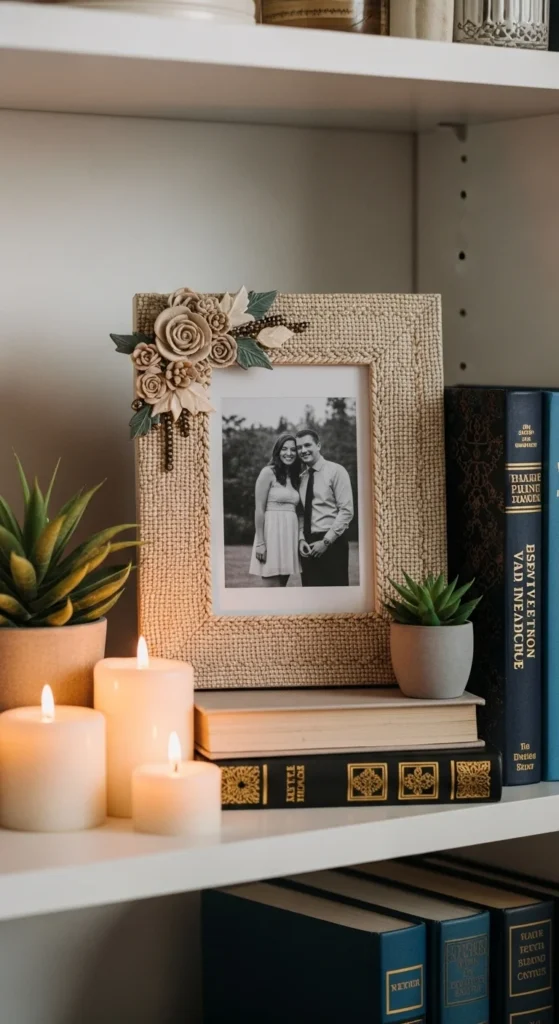
Add Embellishments for Texture and Dimension
Sometimes, your frame just needs a little sparkle—or personality.
Great embellishment options:
- Faux pearls or rhinestones
- Dried flowers
- Seashells from vacation memories
- Buttons and beads
- Wooden letters or shapes
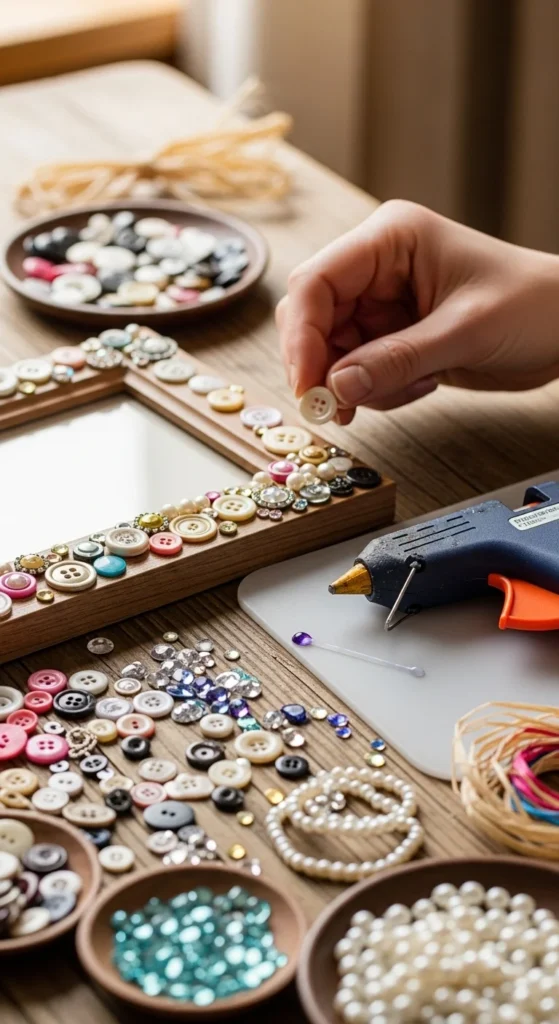
Glue pieces around the border, spacing evenly. For dried flowers, seal with a matte topcoat to protect them.
Pro tip: Stick to one theme to avoid clutter.
Try a Rustic Rope or Twine Wrap
If you’re decorating for a farmhouse or coastal vibe, rope wrapping is perfect.
How to wrap:
- Apply glue to a small section of the frame.
- Place rope or twine and hold until it sticks.
- Continue around the frame’s edge.
- Trim and seal ends.
The final look feels warm and handcrafted—perfect for entryways or mantel displays.
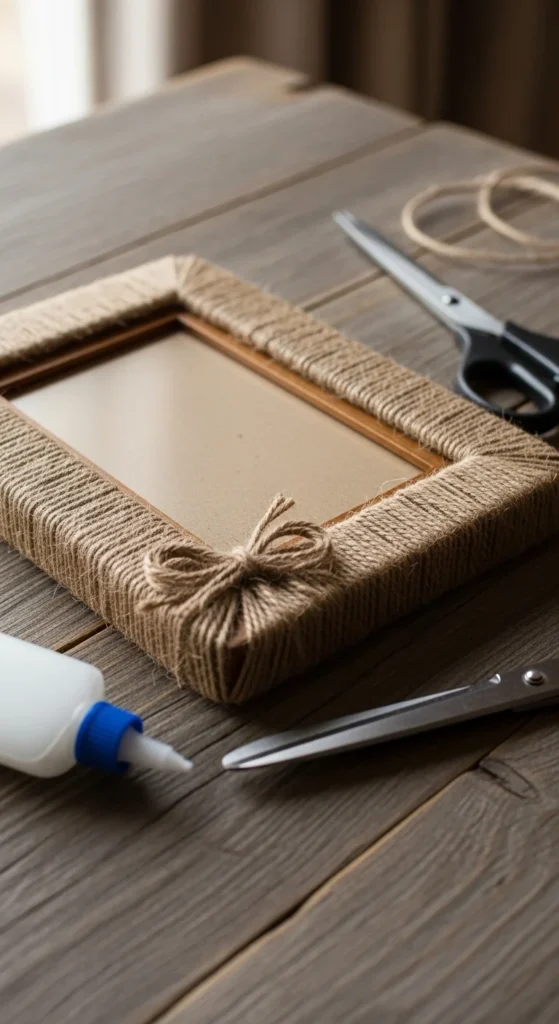
For a softer touch, use ribbon or lace instead.
Upgrade With Mini Charms or Clips
Add tiny charms to represent hobbies or memories. Or, glue mini clothespins on the frame for hanging small prints or notes—super cute for desks and dorms.
Try:
- Mini hearts
- Travel charms
- Star shapes
- Small faux leaves
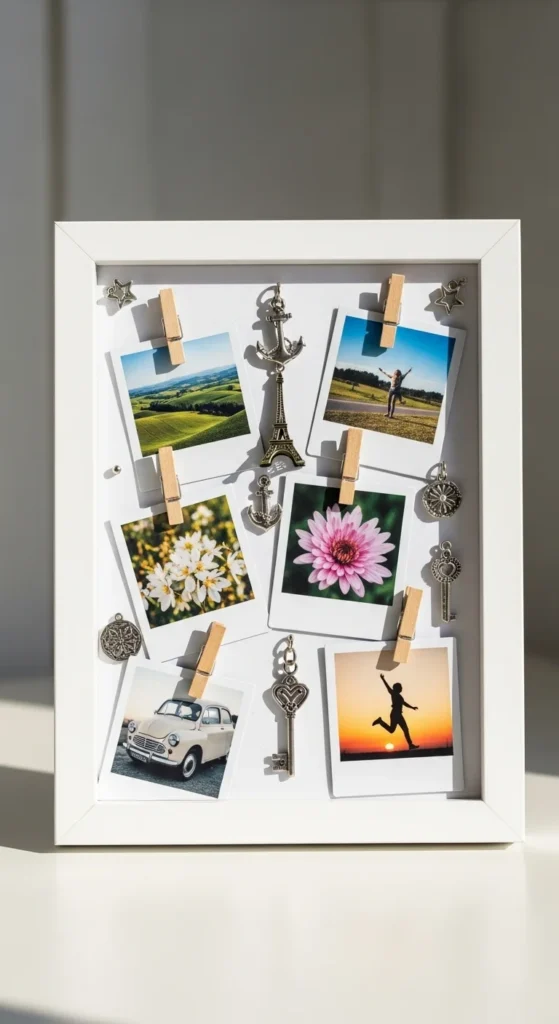
Keep embellishments on just one corner if you want a minimal style.
Seal Your Frame for a Professional Finish
Don’t skip sealing—this protects your hard work and gives a polished look.
Choose a sealant:
- Matte spray for soft texture
- Glossy varnish for shine
- Brush-on sealer for durable finish
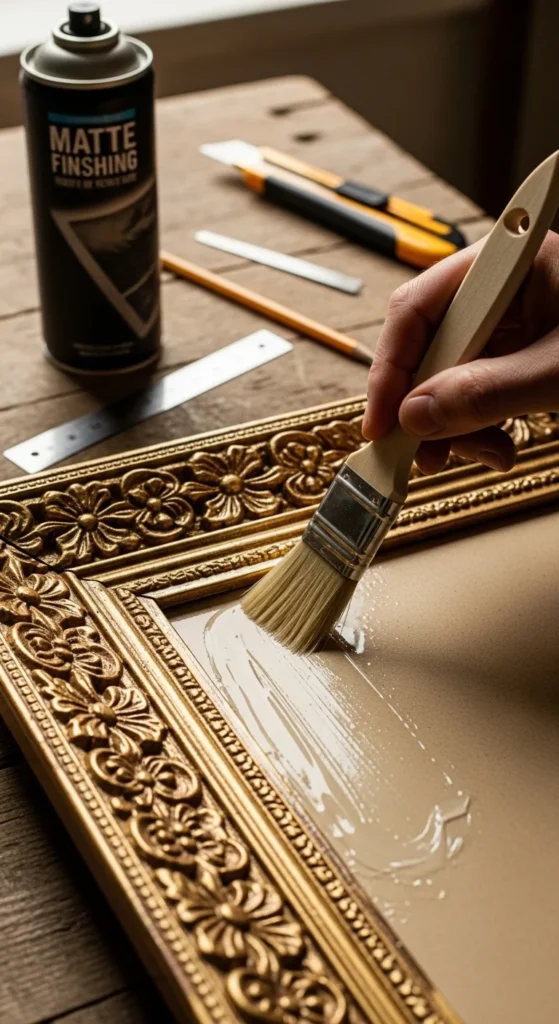
A sealed frame wipes clean easily and lasts longer, especially if displayed in sunny areas.
Style Your Finished Frame in Your Space
Your newly decorated frame deserves the spotlight!
Display ideas:
- On open shelving
- As part of a gallery wall
- Leaning on a mantel
- On bedside tables
- In home offices or craft rooms
Use your frame to hold:
- Family photos
- Postcards
- Art prints
- Inspirational quotes
Ready to Craft Your Own Statement Frame?
DIY picture frames add personality and charm to any space. With paint, texture, and favorite embellishments, you can create décor that matches your style perfectly. It’s creative, relaxing, and so satisfying to display something you made yourself.
Save this idea for your next craft day—and start decorating those forgotten frames!

Lily Summers is a digital artist and creative storyteller who loves bringing colorful characters to life. With a passion for cartoons, fan art, and playful sketches, she inspires others to explore their imagination through art. When she’s not sketching, you’ll find her dreaming up new ideas for CraftedWizard.com to spark creativity in every artist. 🌈✨


