
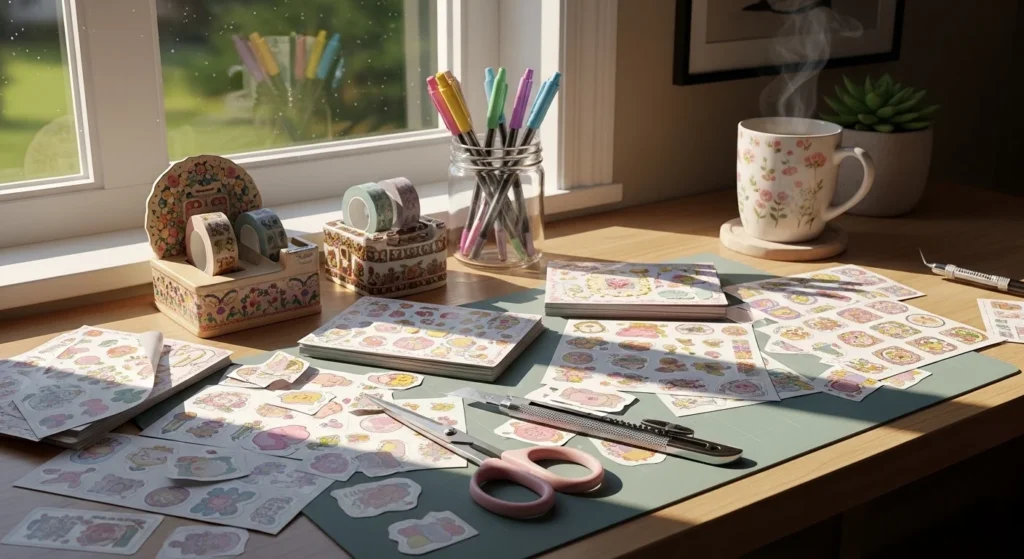
You printed the cutest stickers ever… and then came the cutting part, One wrong snip and suddenly your adorable design has a lopsided border or worse you accidentally chop off part of the art.
Don’t worry. Cutting aesthetic stickers by hand is a skill, and once you know a few simple tricks, your stickers will look clean, professional, and Pinterest-worthy every time.
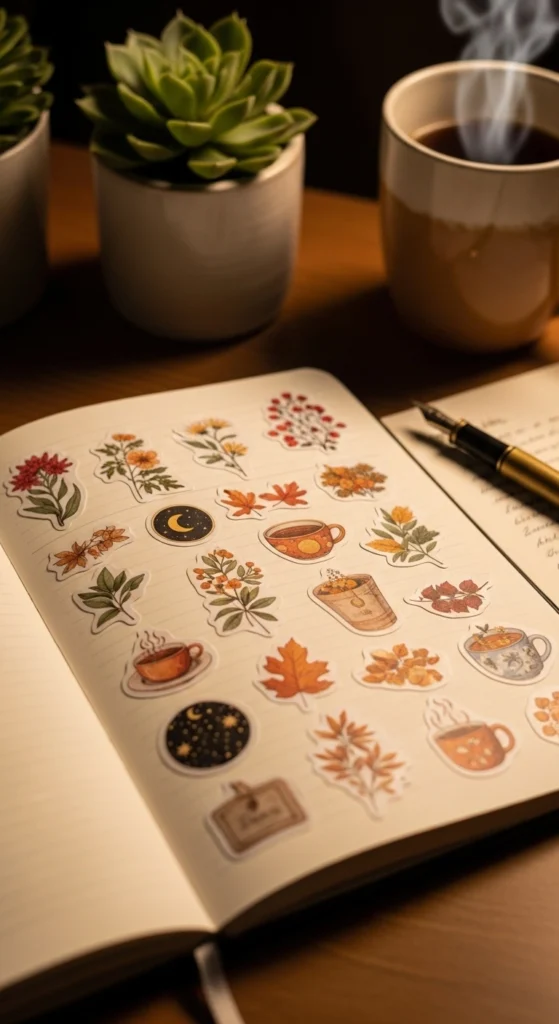
Let’s turn those sticker sheets into perfectly cut little works of art.
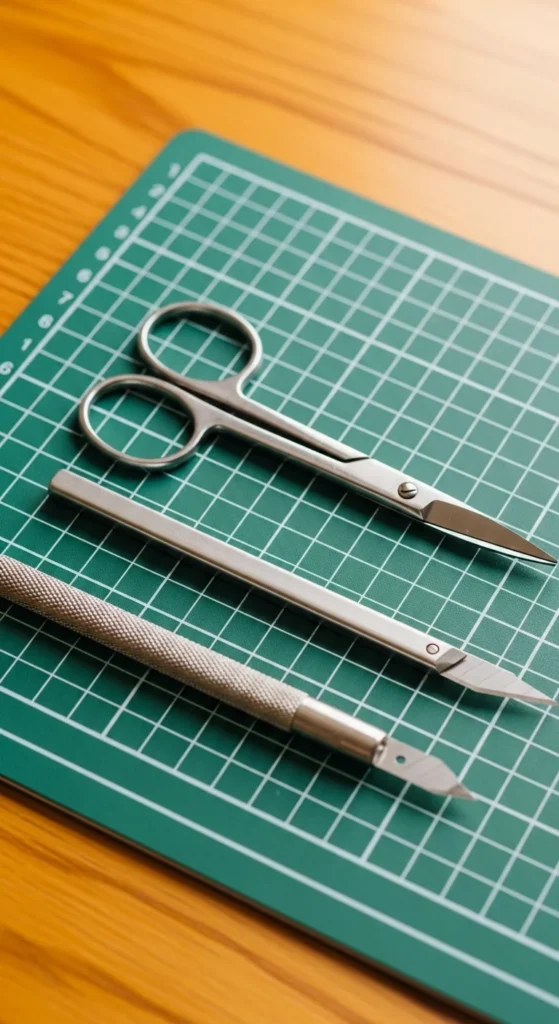
Start with the Right Tools
Before you even make your first cut, your tools matter more than you think. Dull scissors and rough surfaces are the fastest way to messy edges.
Best tools for hand-cutting stickers:
- Small precision scissors (like embroidery scissors)
- Craft knife or precision blade (great for detailed shapes)
- Cutting mat (protects your table and helps smooth cuts)
- Fine-tip pen or pencil (optional, for outlining borders)
Why small scissors work better:
They give you more control and make it easier to follow curves without jagged edges.
Leave a Border When Designing
If you’re still at the design stage or printing new stickers soon this tip will save you SO much stress.
Always leave a small white border around your sticker designs.
Why this helps:
- Hides tiny cutting imperfections
- Makes your stickers look more professional
- Gives you space to adjust your cutting angle
Aim for a border that’s about 2–4 mm thick. Too thin = hard to cut. Too thick = loses that delicate aesthetic look.
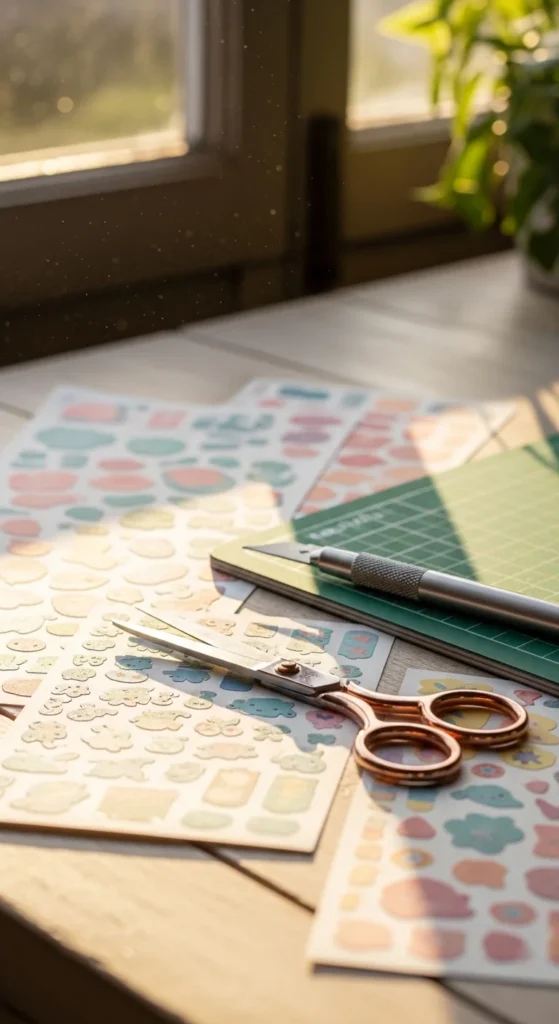
Cut Rough Shapes First
Instead of jumping straight into tiny curves and details, start by cutting each sticker into a rough shape.
Step-by-step:
- Cut the sheet into smaller sections around each sticker.
- Leave space around the design don’t go close yet.
- Once separated, focus on one sticker at a time.
This makes the paper easier to rotate and control. Big sheets are awkward; small pieces are manageable.
Rotate the Paper, Not Your Hand
This is the secret that changes everything.
Instead of twisting your wrist into weird angles, keep your cutting hand steady and turn the paper as you cut.
Why this works:
- Keeps lines smooth
- Prevents shaky edges
- Gives better control on curves
Move slowly, especially around rounded corners. Quick cuts = uneven borders.

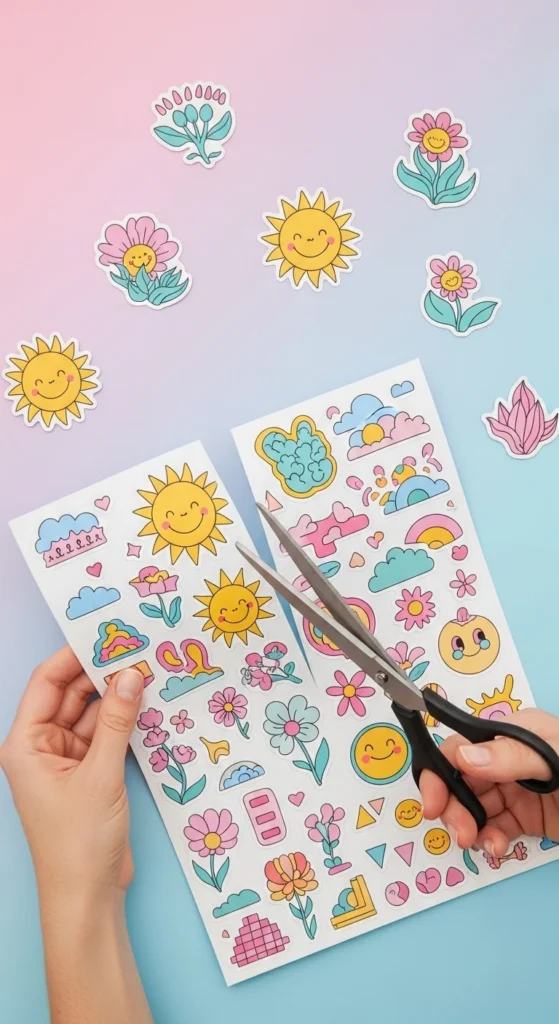
Use Small, Controlled Snips
Long, dramatic scissor cuts might feel efficient… but they usually lead to wobbly lines.
Instead:
- Make short, tiny snips
- Follow the curve gradually
- Pause and adjust your angle often
Think of it like sketching with scissors. Slow and steady gives that soft, clean aesthetic finish.
Switch to a Craft Knife for Tiny Details
Some sticker designs have tight corners or tiny gaps that scissors struggle with.
That’s where a craft knife becomes your best friend.
How to use it safely:
- Place the sticker on a cutting mat
- Hold the knife like a pen
- Use light pressure let the blade do the work
- Turn the paper for curves, not the knife
This is perfect for:
- Inside corners
- Sharp points
- Tiny cut-out shapes
Take your time here. Precision > speed.

Fix Mistakes Like a Pro
Even careful cutters slip sometimes. The good news? Most mistakes are fixable.
If the border looks uneven:
- Gently trim small areas to balance it out
- Round out sharp accidental corners
If you cut too close:
- Slightly trim the other sides to match
- Turn it into a thinner border design
Most “mistakes” aren’t noticeable once the sticker is placed on a surface. Perfection is the goal but tiny imperfections add handmade charm.
Take Breaks to Avoid Shaky Hands
Cutting lots of stickers at once can make your hands tired, which leads to messy lines.
Every few stickers:
- Stretch your fingers
- Shake out your hands
- Relax your grip
A relaxed hand = smoother cuts.
Practice on Scrap Paper First
If you’re new to cutting stickers, don’t start with your favorite design.
Print a test sheet on regular paper and practice:
- Cutting curves
- Making even borders
- Turning the paper smoothly
After a few tries, your hands will naturally learn the motion.
Final Touches for That Aesthetic Look
Before calling your stickers done, check for finishing details.
✨ Gently rub edges to remove paper fuzz
✨ Trim any tiny sticking-out corners
✨ Wipe off pencil marks if you used guidelines
Lay them out together you’ll be surprised how professional they look when neatly cut.
You’ve Got This
Cutting aesthetic stickers by hand isn’t about rushing it’s about control, patience, and a few smart techniques. With practice, your cuts will get smoother, your borders more even, and your stickers more beautiful every time.
So grab your scissors, put on your favorite playlist, and enjoy the process.
Save this guide for later and start cutting your next sticker sheet with confidence!

Lily Summers is a digital artist and creative storyteller who loves bringing colorful characters to life. With a passion for cartoons, fan art, and playful sketches, she inspires others to explore their imagination through art. When she’s not sketching, you’ll find her dreaming up new ideas for CraftedWizard.com to spark creativity in every artist. 🌈✨


