
There’s nothing quite like wrapping yourself in a soft, handmade blanket after a long day. Crochet is a perfect way to create that cozy comfort—and the best part? You don’t need years of experience to make something beautiful. With a little patience, some basic stitches, and a cozy yarn, even beginners can craft a blanket that’s warm, stylish, and uniquely theirs.
[Image Prompt] A comfy armchair with a partially completed chunky crochet blanket draped over it, a skein of yarn and crochet hook resting nearby in natural sunlight.
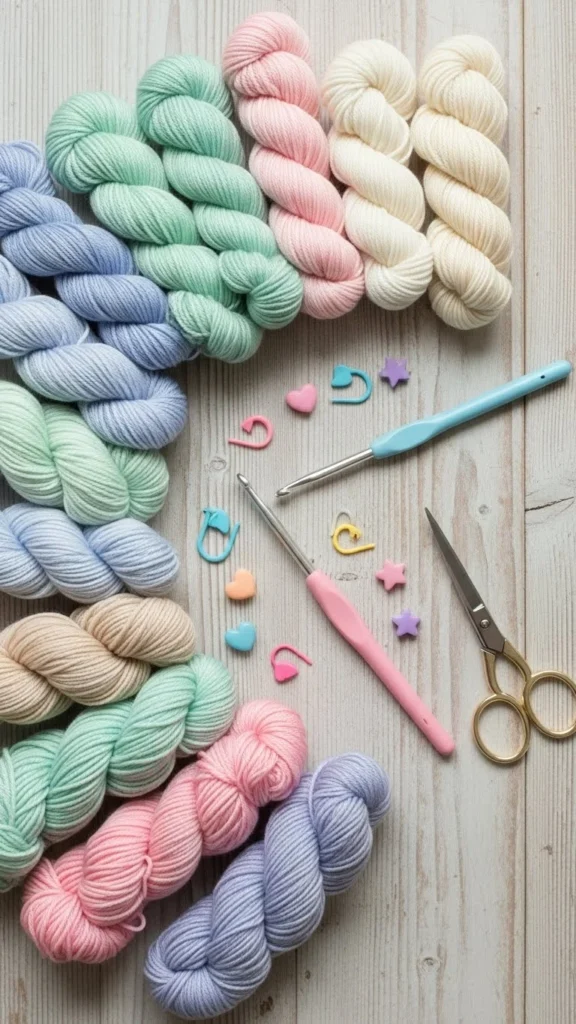
Gather Your Materials
Before diving in, it’s important to have all your supplies ready. Having everything organized makes the process smooth and enjoyable.
You’ll need:
- Soft, bulky yarn (acrylic or wool blends work well for beginners)
- A crochet hook appropriate for your yarn size (check the yarn label)
- Scissors
- Yarn needle for weaving in ends
- Optional: stitch markers for keeping track of rows
Tips:
- Chunky yarn is ideal for beginners—it works up quickly and looks impressive even with basic stitches.
- Choose colors that match your home décor or personal style.
- Make sure your yarn and hook are comfortable for long periods of crocheting.
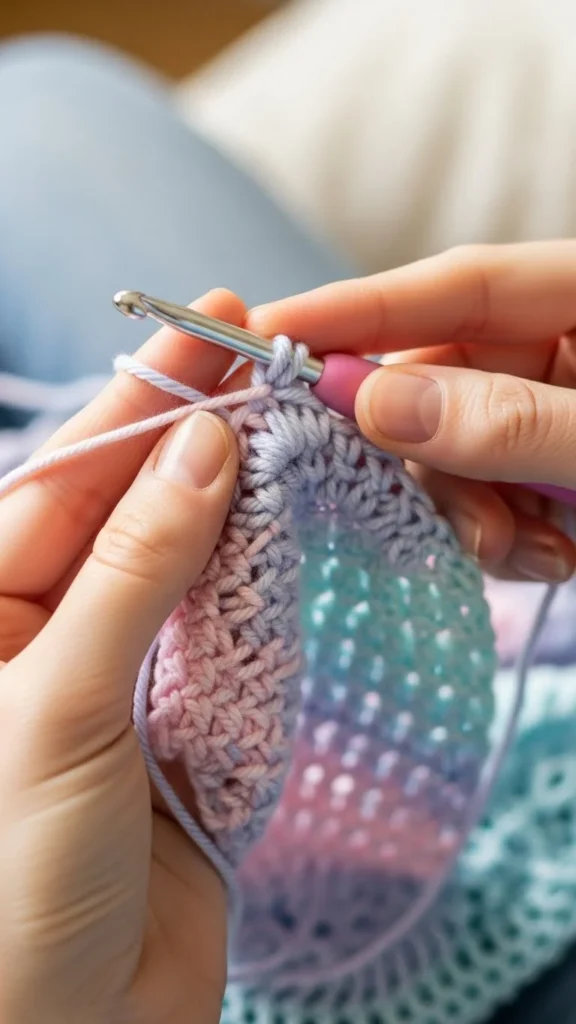
Step 1: Learn Basic Stitches
Starting with the right stitches makes all the difference.
- Chain stitch (ch): This is the foundation of your blanket.
- Single crochet (sc): Creates a tight, dense texture.
- Double crochet (dc): Gives a looser, more flexible fabric, perfect for blankets.
Tips for Beginners:
- Practice on a small swatch first to get comfortable with tension and stitch size.
- Keep stitches consistent; uneven tension can make edges wavy.
- Don’t worry about perfection—crochet is forgiving, and minor mistakes add character!
Step 2: Start Your Blanket
Once you’re comfortable with basic stitches, it’s time to begin.
- Start with a chain the width you want your blanket to be.
- Turn your work and begin the first row using single or double crochet stitches.
- Continue row by row, turning your work at the end of each row.
- Keep your edges straight by counting stitches each row.
Tips:
- For extra texture, try alternating rows of single and double crochet.
- Chunky yarn works up faster, helping you see progress quickly.
- Take breaks to stretch your hands and avoid fatigue.
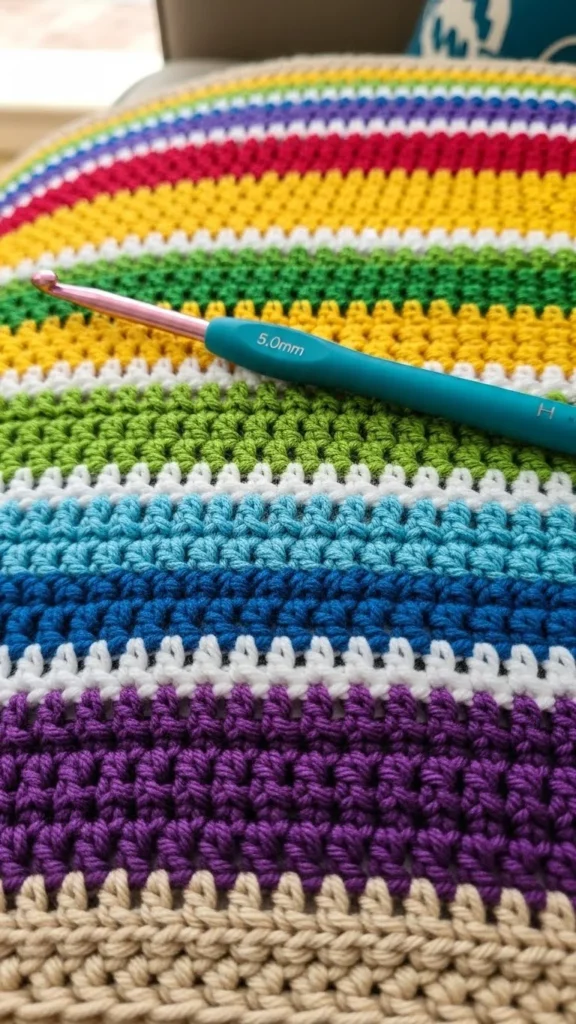
Step 3: Add Patterns or Borders
Once you’ve mastered the basic shape, you can make your blanket even more charming.
- Experiment with simple patterns like stripes, chevrons, or granny squares.
- Add a border using single crochet or shell stitches for a polished look.
- Change yarn colors gradually for a smooth transition between stripes.
Tips for Stylish Results:
- Stick to 2–3 colors for a cohesive look.
- Use stitch markers for pattern consistency.
- Borders not only add style but also help straighten edges.
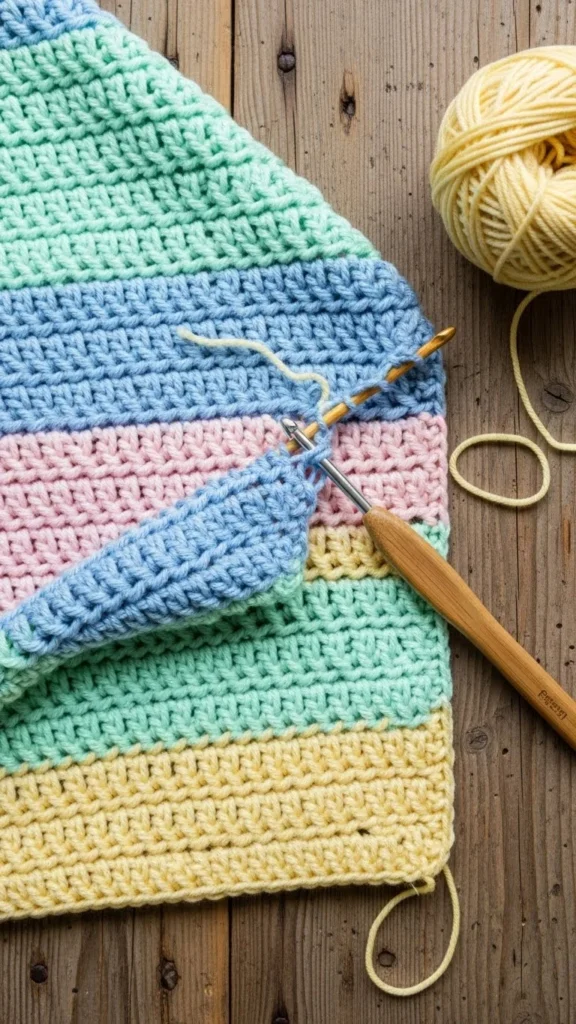
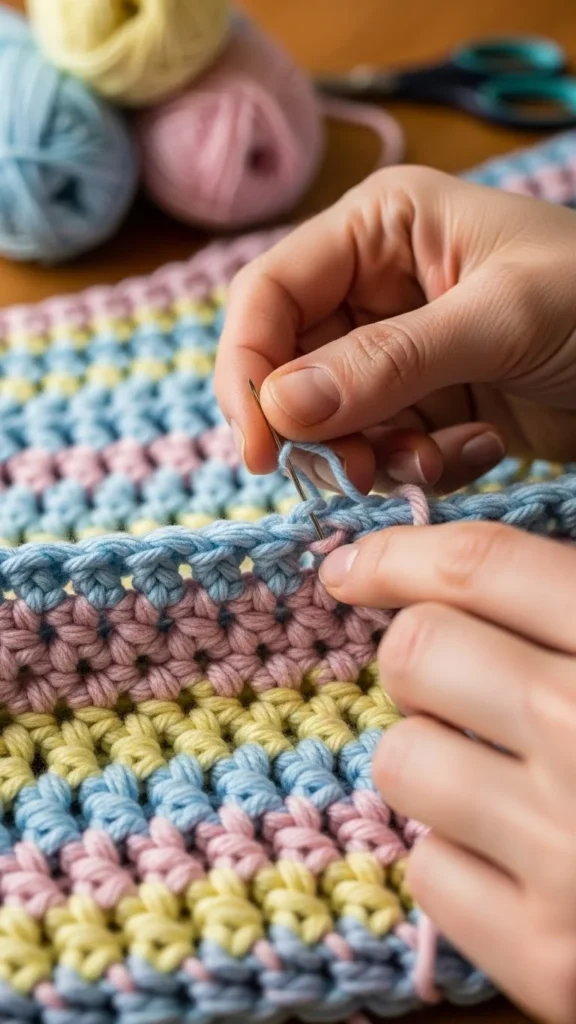
Step 4: Finish and Weave in Ends
Finishing touches make your blanket look professional and long-lasting.
- Cut the yarn, leaving a few inches.
- Use a yarn needle to weave in loose ends securely on the back side.
- Smooth out any uneven stitches gently with your fingers.
Pro Tip: Wash and block the blanket according to yarn instructions to help it lay flat and look polished.
Crocheting a cozy blanket is a rewarding project that combines creativity with comfort. With basic stitches, chunky yarn, and a little patience, even beginners can create something beautiful to snuggle under or gift to a loved one.
Save this guide and start your first crochet blanket today—you’ll love wrapping yourself in your handmade creation!

Lily Summers is a digital artist and creative storyteller who loves bringing colorful characters to life. With a passion for cartoons, fan art, and playful sketches, she inspires others to explore their imagination through art. When she’s not sketching, you’ll find her dreaming up new ideas for CraftedWizard.com to spark creativity in every artist. 🌈✨


